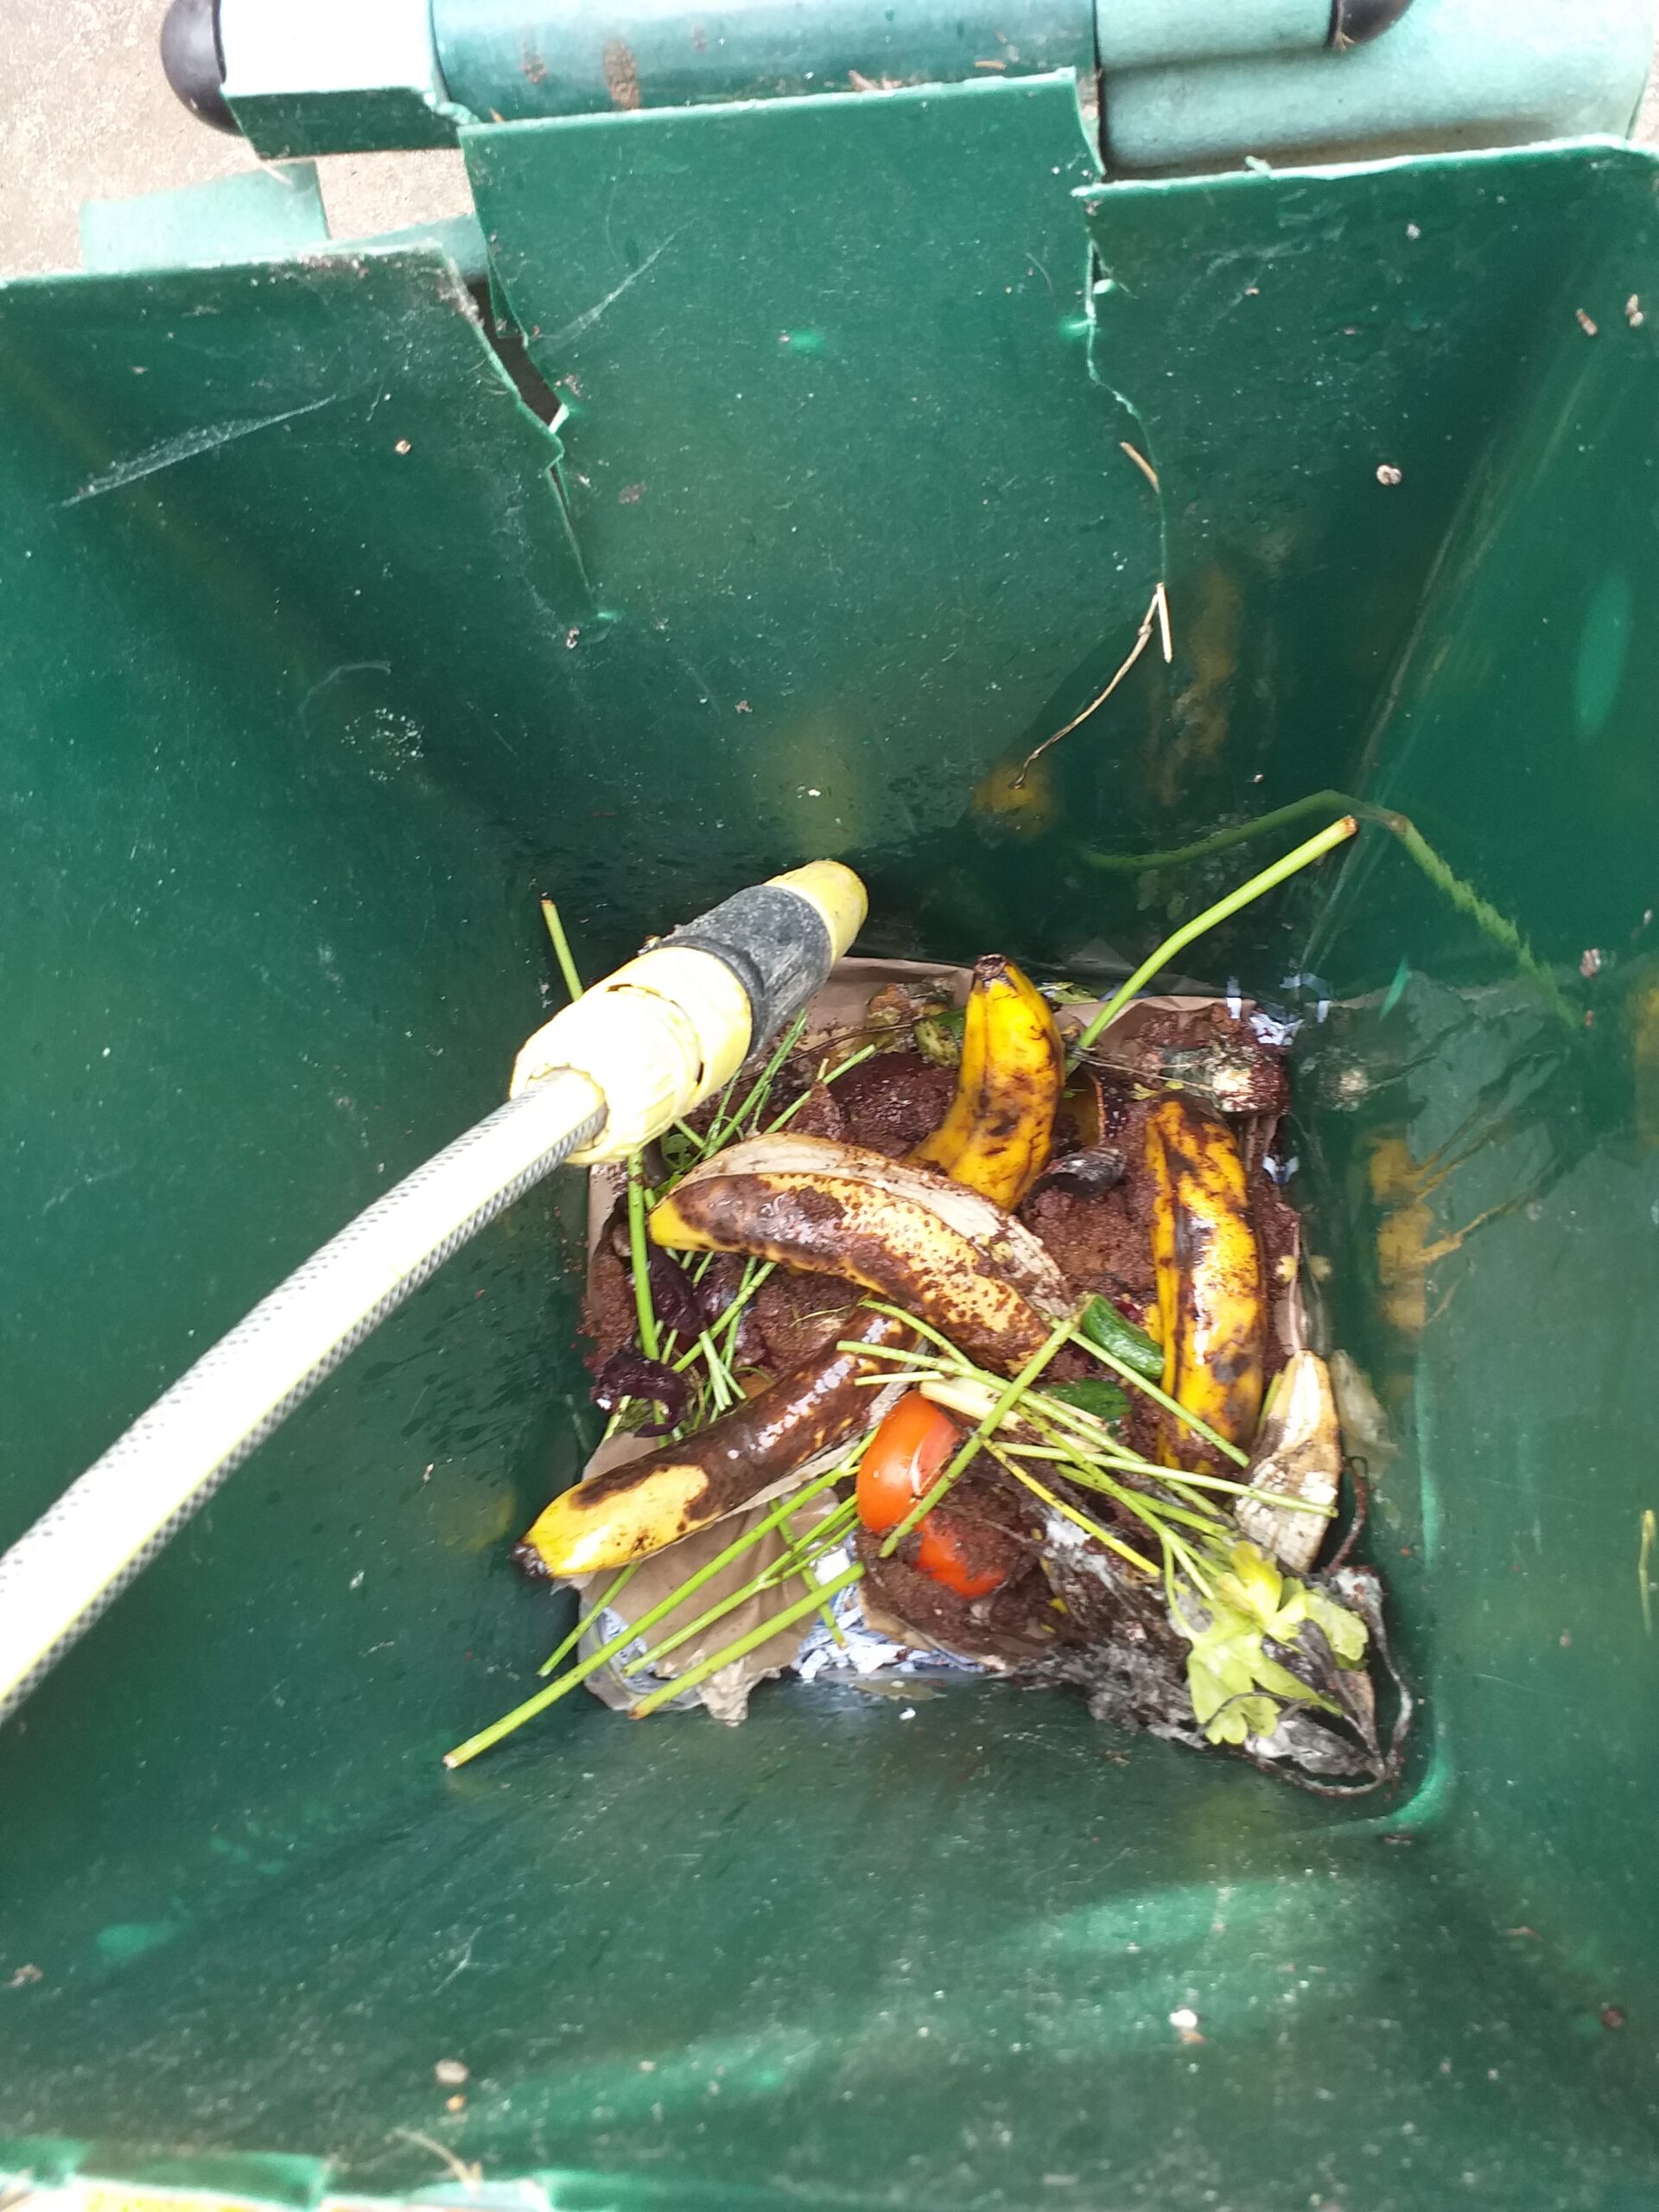
What you must avoid is adding cooked foods of any kind as when it starts to break down it will rot very quickly and cause unpleasant smells and may attract rodents and flies.
So let’s avoid cooked foods. Stick with raw kind of foods and garden surplus, grass, leaves as mentioned above.
CONTAINER
Next what you will need to get started is a BIN plastic type, or an AREA in the GARDEN put aside for composting or a TUMBLER, that spins round when you turn a handle to toss and mix the nitrates and carbons together.
PREPARE AND COLLECT
You may not have all your produce to hand, so you will have to start collecting or put aside your veggie and your paper stock.
LAYERING.
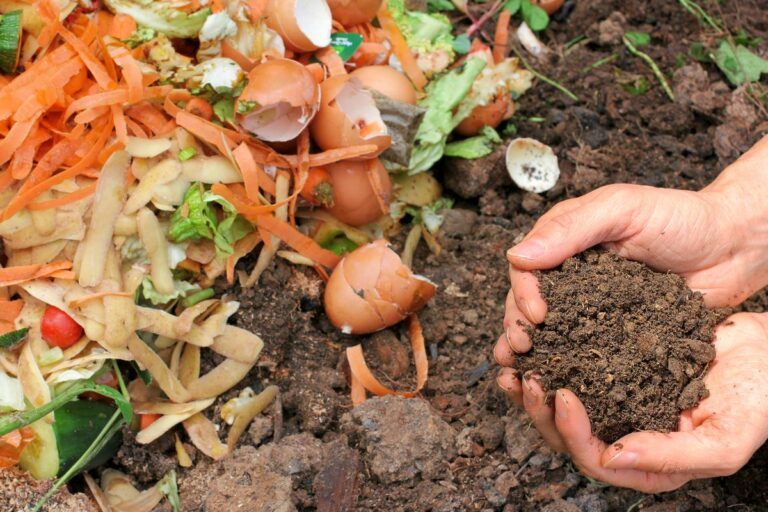
So let’s define this to make it easier. Veggie being Nitrates we’ll regard it as Green and Carbon being paper will be the Brown stuff.
HOW THIS WORKS
To start the layering process, begin with some soil, then layer up with shredded paper some brown torn up card, packaging and or cut up toilet rolls.
KEEP MOIST
This should be damp needing to be sprayed with water. Not too soggy, as this will prevent oxygen from infiltrating, hence leading to smelly decomposition.
HOW THIS WORKS
On top you add the veggie Green, anything in your recycling peels, or garden collection, leaves grass, spreading it over the Brown. So you achieve at least 50% of Green and 50% of brown, within the mix.
TIPS
Tear or cut your cardboard packaging so it can be laid easily with a mix of shredded paper or what ever paper source you have saved. Remember newspaper and egg boxes will do,
Dampen or wet your paper Brown stock. Continue this layering or sandwiching process as far as you can go with it. Any mix or combination you like.
If it’s in a large bin remember you will have to get in with a garden tool and turn or toss it about to bring centre to the outside and the outside to the middle.
TIME OUT
This now needs to be left to DECOMPOSE, allow a few days before you start to churn it around.
In a couple of weeks, the centre will start to heat up and microbes will start to break down the compost.
HOW TO GET THE KIDS INVOLVED!
Make sure you have a kitchen Caddy or a friendly container and any foods appropriate for composting can be stored in the container and your kids can be responsible for this.________________
In the garden they can help collect leaves, sweeping up or raking and saving it in a heap, ready to add as a layer._________
When mowing the lawn, they can also transfer the collected grass into the garden collection, if by then you are ready to start layering, your kids can begin by adding the ‘Greens’ and then the ‘Browns’ appropriately.____________________
Giving your kids a responsibility like this is quite gratifying for them, a learning process almost like a science project where they see how mini beasts and earth worms role is, in the making of compost.
Get hold of some magnifying glasses to inspect the compost, when the time is right.
The choice is yours how you make your compost. I will bring it down to 4 methods:-
- On the ground, section off an area with planks of wood, so it’s like a pit.
- In a large plastic bin with lid.
- A composting bin with a door at the base, to open and pull out the compost.
- A tumbler. ( This looks like a horizontal barrel that rotates when you turn a handle, this tosses the material inside it. (Take note the larger the barrel the heavier the volume, hence more effort is needed to turn the handle.)
Check out Amazon and ebay sites, there you will find a vast range of composting bins and tumblers.
They range from reusable garden waste bags to wooden, plastic or metal bins. The cost varies, As we are looking at recycling here, maybe start small using what you already have and see how you get on, then invest in a durable long lasting bin.
Which ever method you choose, it will take a few weeks for the waste material to break down into compost.
You are required to toss and turn the composting substance around.
If it dries up you need to add water to moisturise it and make it damp.
If it is too wet you can then add more carbon or paper to draw up the liquid.
Once the compost starts to turn and look almost like soil, it is then ready.
So give yourself a couple of months and be patient.