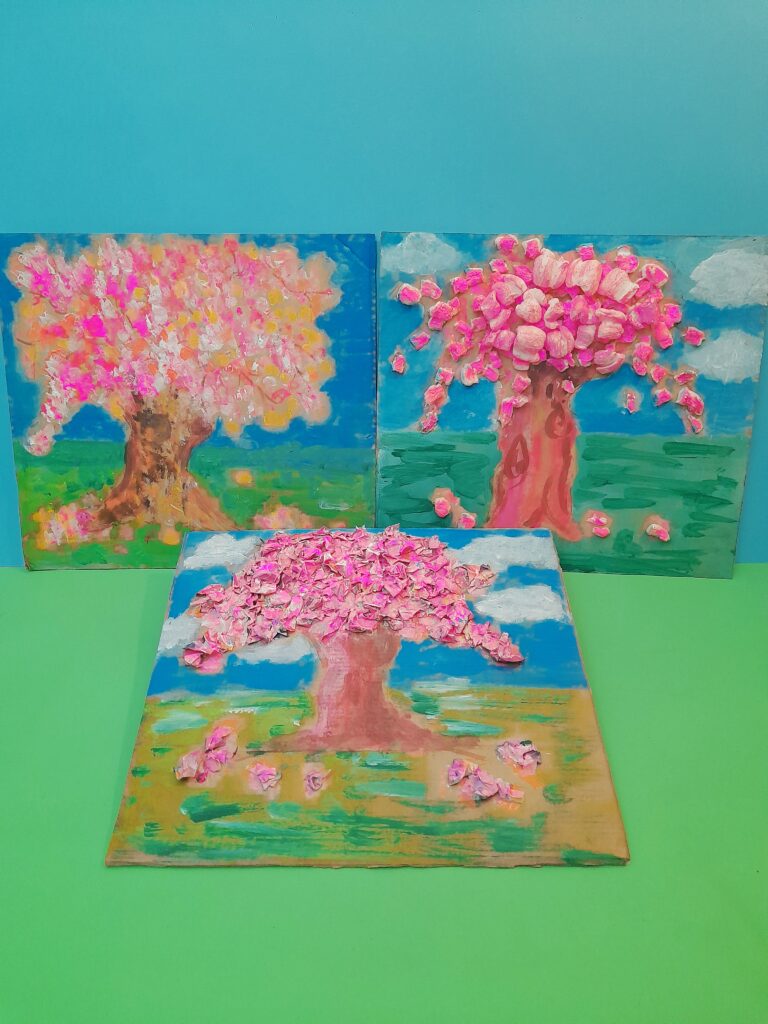
Here are 3 cherry blossom craft ideas for kids to choose one and create a fabulous cherry blossom tree!
Cherry Blossom craft ideas for kids!
In this post, I show you 3 ways you can craft a cherry blossom tree.
You can choose what resource you prefer to work with.
Out of the cherry blossom craft ideas for kids, you can choose either newspaper, polystyrene fillers, or sponge stamping to create your cherry blossom tree!
CHERRY BLOSSOMS INSPIRED ME!
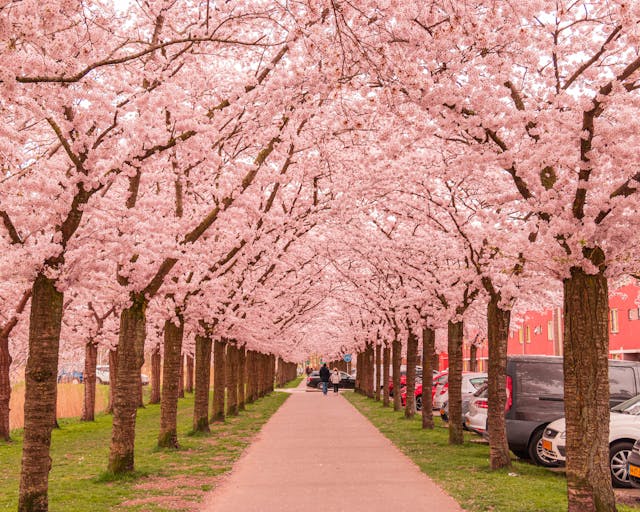
I always look forward to spring, when it’s that time of the year when you have these glorious trees lining our streets.
So what is a cherry blossom? Check out here to find out more!
Blossom tree lined street. Picture from Pexels.com by Sevda Ozdemir.
So I shall reproduce as closely as possible these amazing trees, using different recycled materials.
BUT FIRST LET’S FIND OUT MORE ABOUT BLOSSOM TREES AND CHERRY BLOSSOM TREES!
Here is a short video on what are blossoms.
Where do Cherry blossom trees originally come from, Let’s go back in time and see…….
This is a tale of friendship across the world, and seeing how beautiful cherry blossom trees are, has inspired me to create some cherry blossom craft ideas for kids.
So kids can use different recycling materials that I recommend, or you have on hand and then they can choose which one of the styles they want to work with and create their version of a cherry blossom tree!
LET’S RECAP, WHAT OF THE UK?
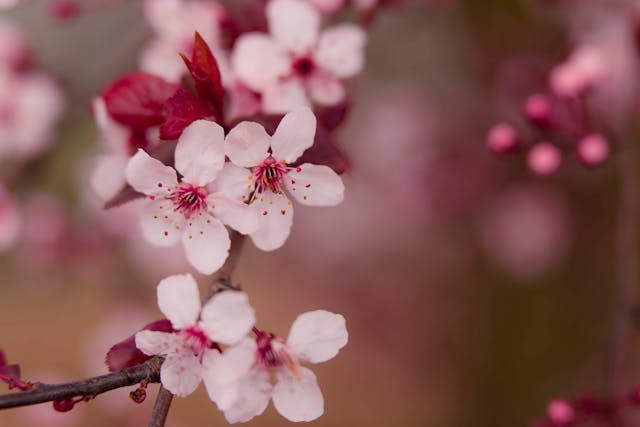
Blossom petals. Picture from Pexels.com by Tabitha Mort.
So now we know the beautiful cherry blossom tree, with its soft pink petals comes from Japan.
A long time ago people of Japan wanted to share something special with other countries to celebrate friendship. So in 1912, they sent over 3,000 cherry trees to America, where they were planted near a big lake in Washington, D.C.
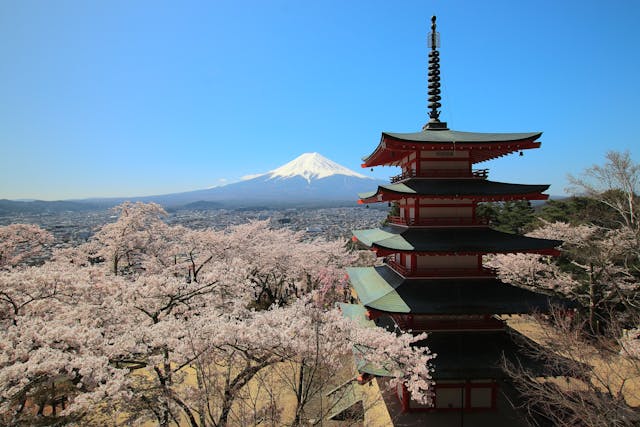
Cherry blossom trees in Japan. Picture from Pexels.com by Raphael Hideki Tamanaha.
Every spring the trees bloom and the city turns pink! People celebrate with a big Cherry Blossom Festival.
BUT GUESS WHAT? THE UK HAS CHERRY BLOSSOM TREES TOO!
Many years ago, travellers and plant collectors brought Japanese cherry trees to British gardens and parks. People loved how pretty they looked in spring. And in 2019 Japan sent a special gift of 6,5000 cherry trees to the UK. These trees were planted in parks, schools, and all over the country.
A way to say ‘we’re friends forever’
So next time you see a cherry tree blooming in the park, you’ll know it’s more than just a pretty tree – it’s a symbol of peace and friendship that connects us with people far away.
ARE YOU READY?
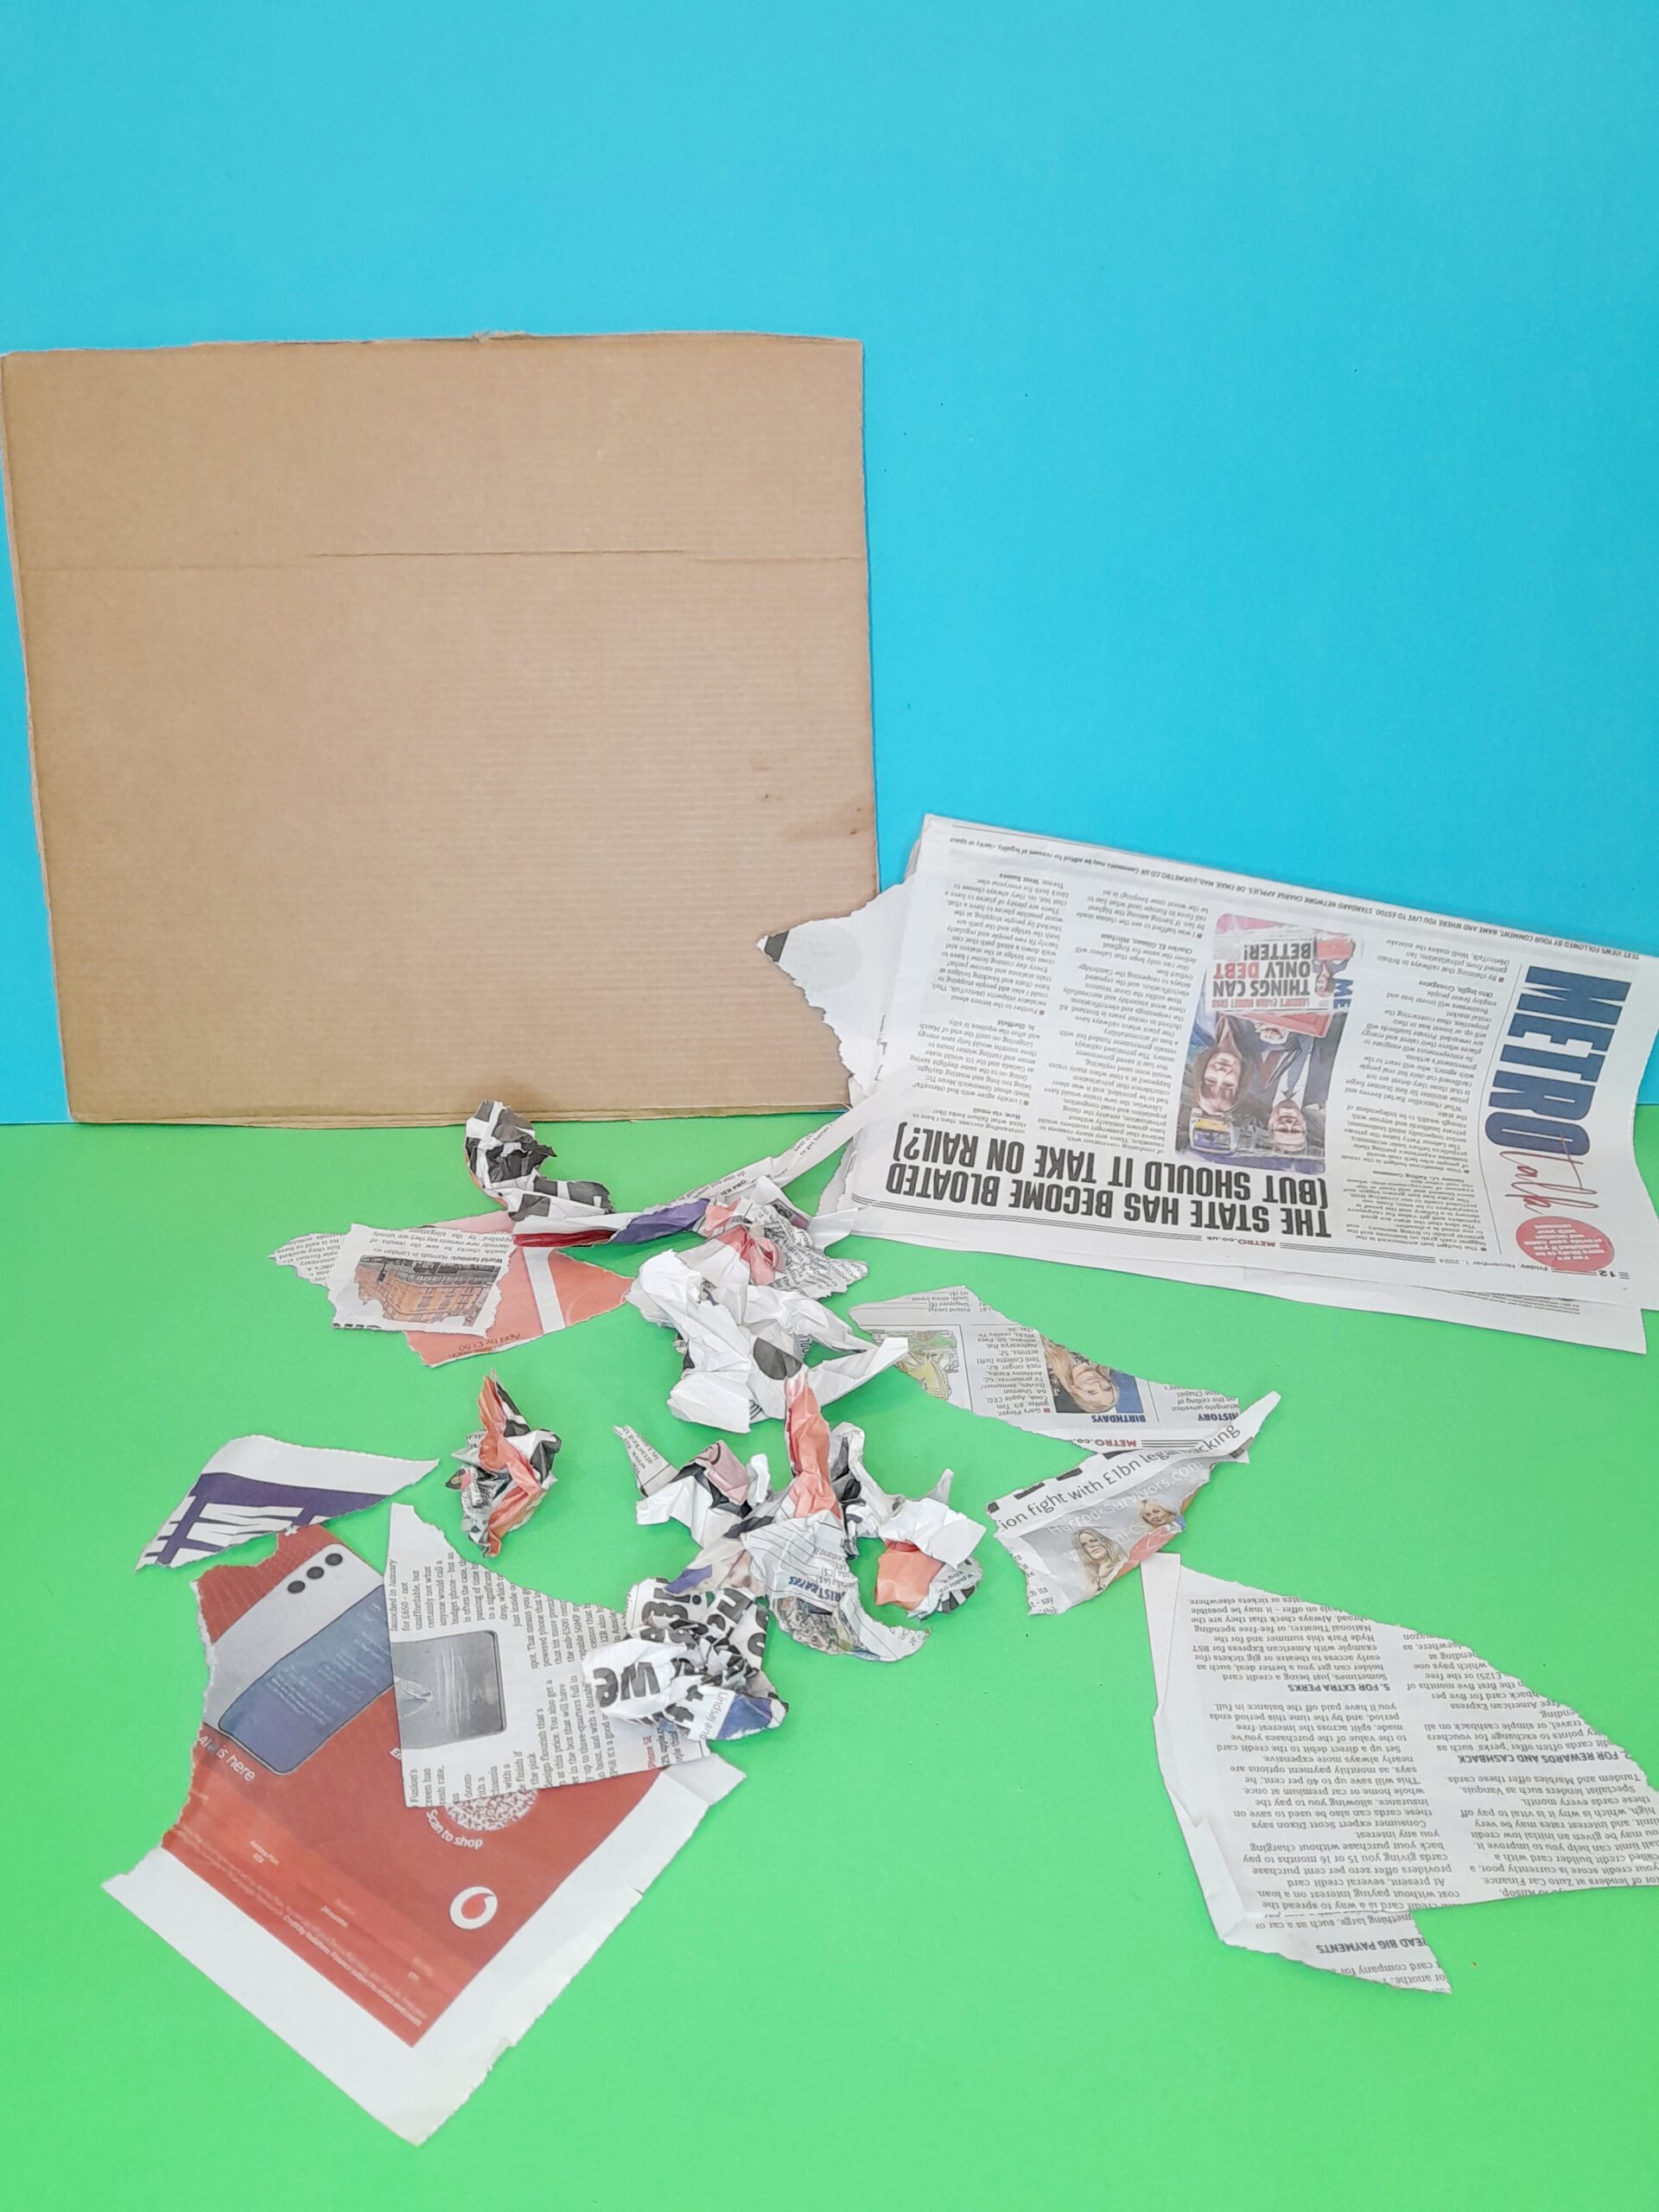
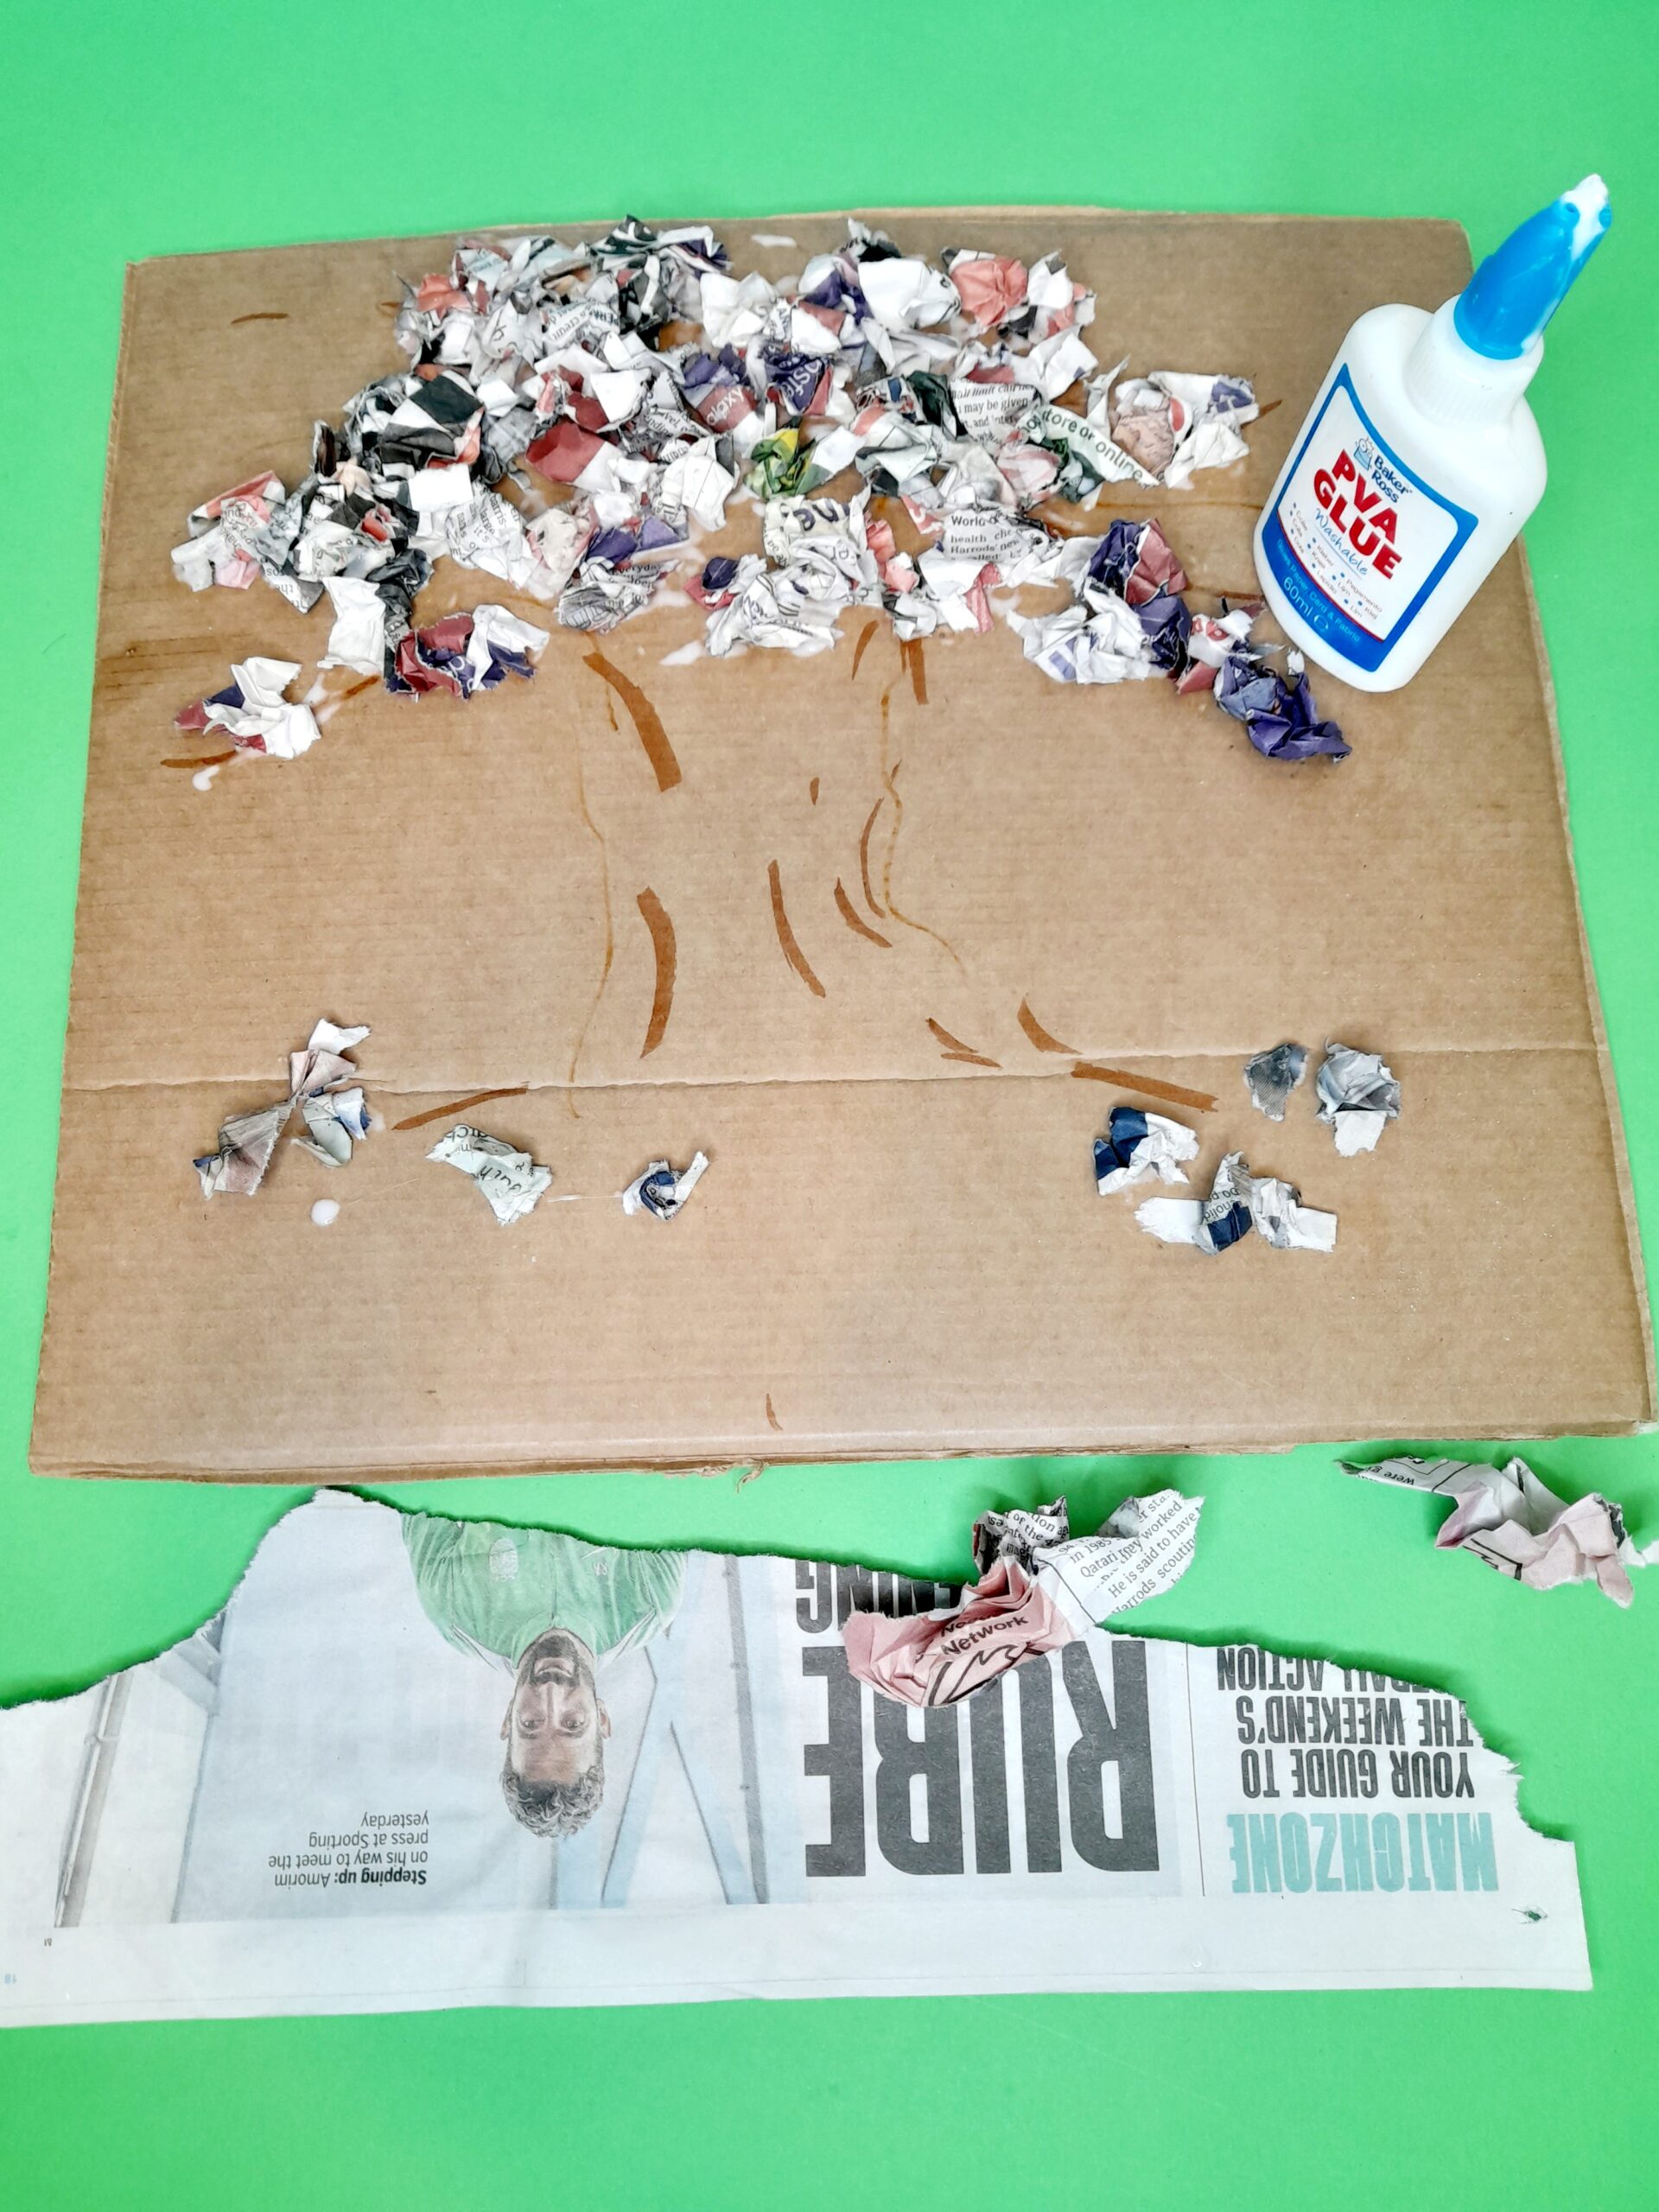
The first of our cherry blossom craft ideas for kids is using newspapers.
Using newspaper to make a cherry blossom craft ideas for kids!
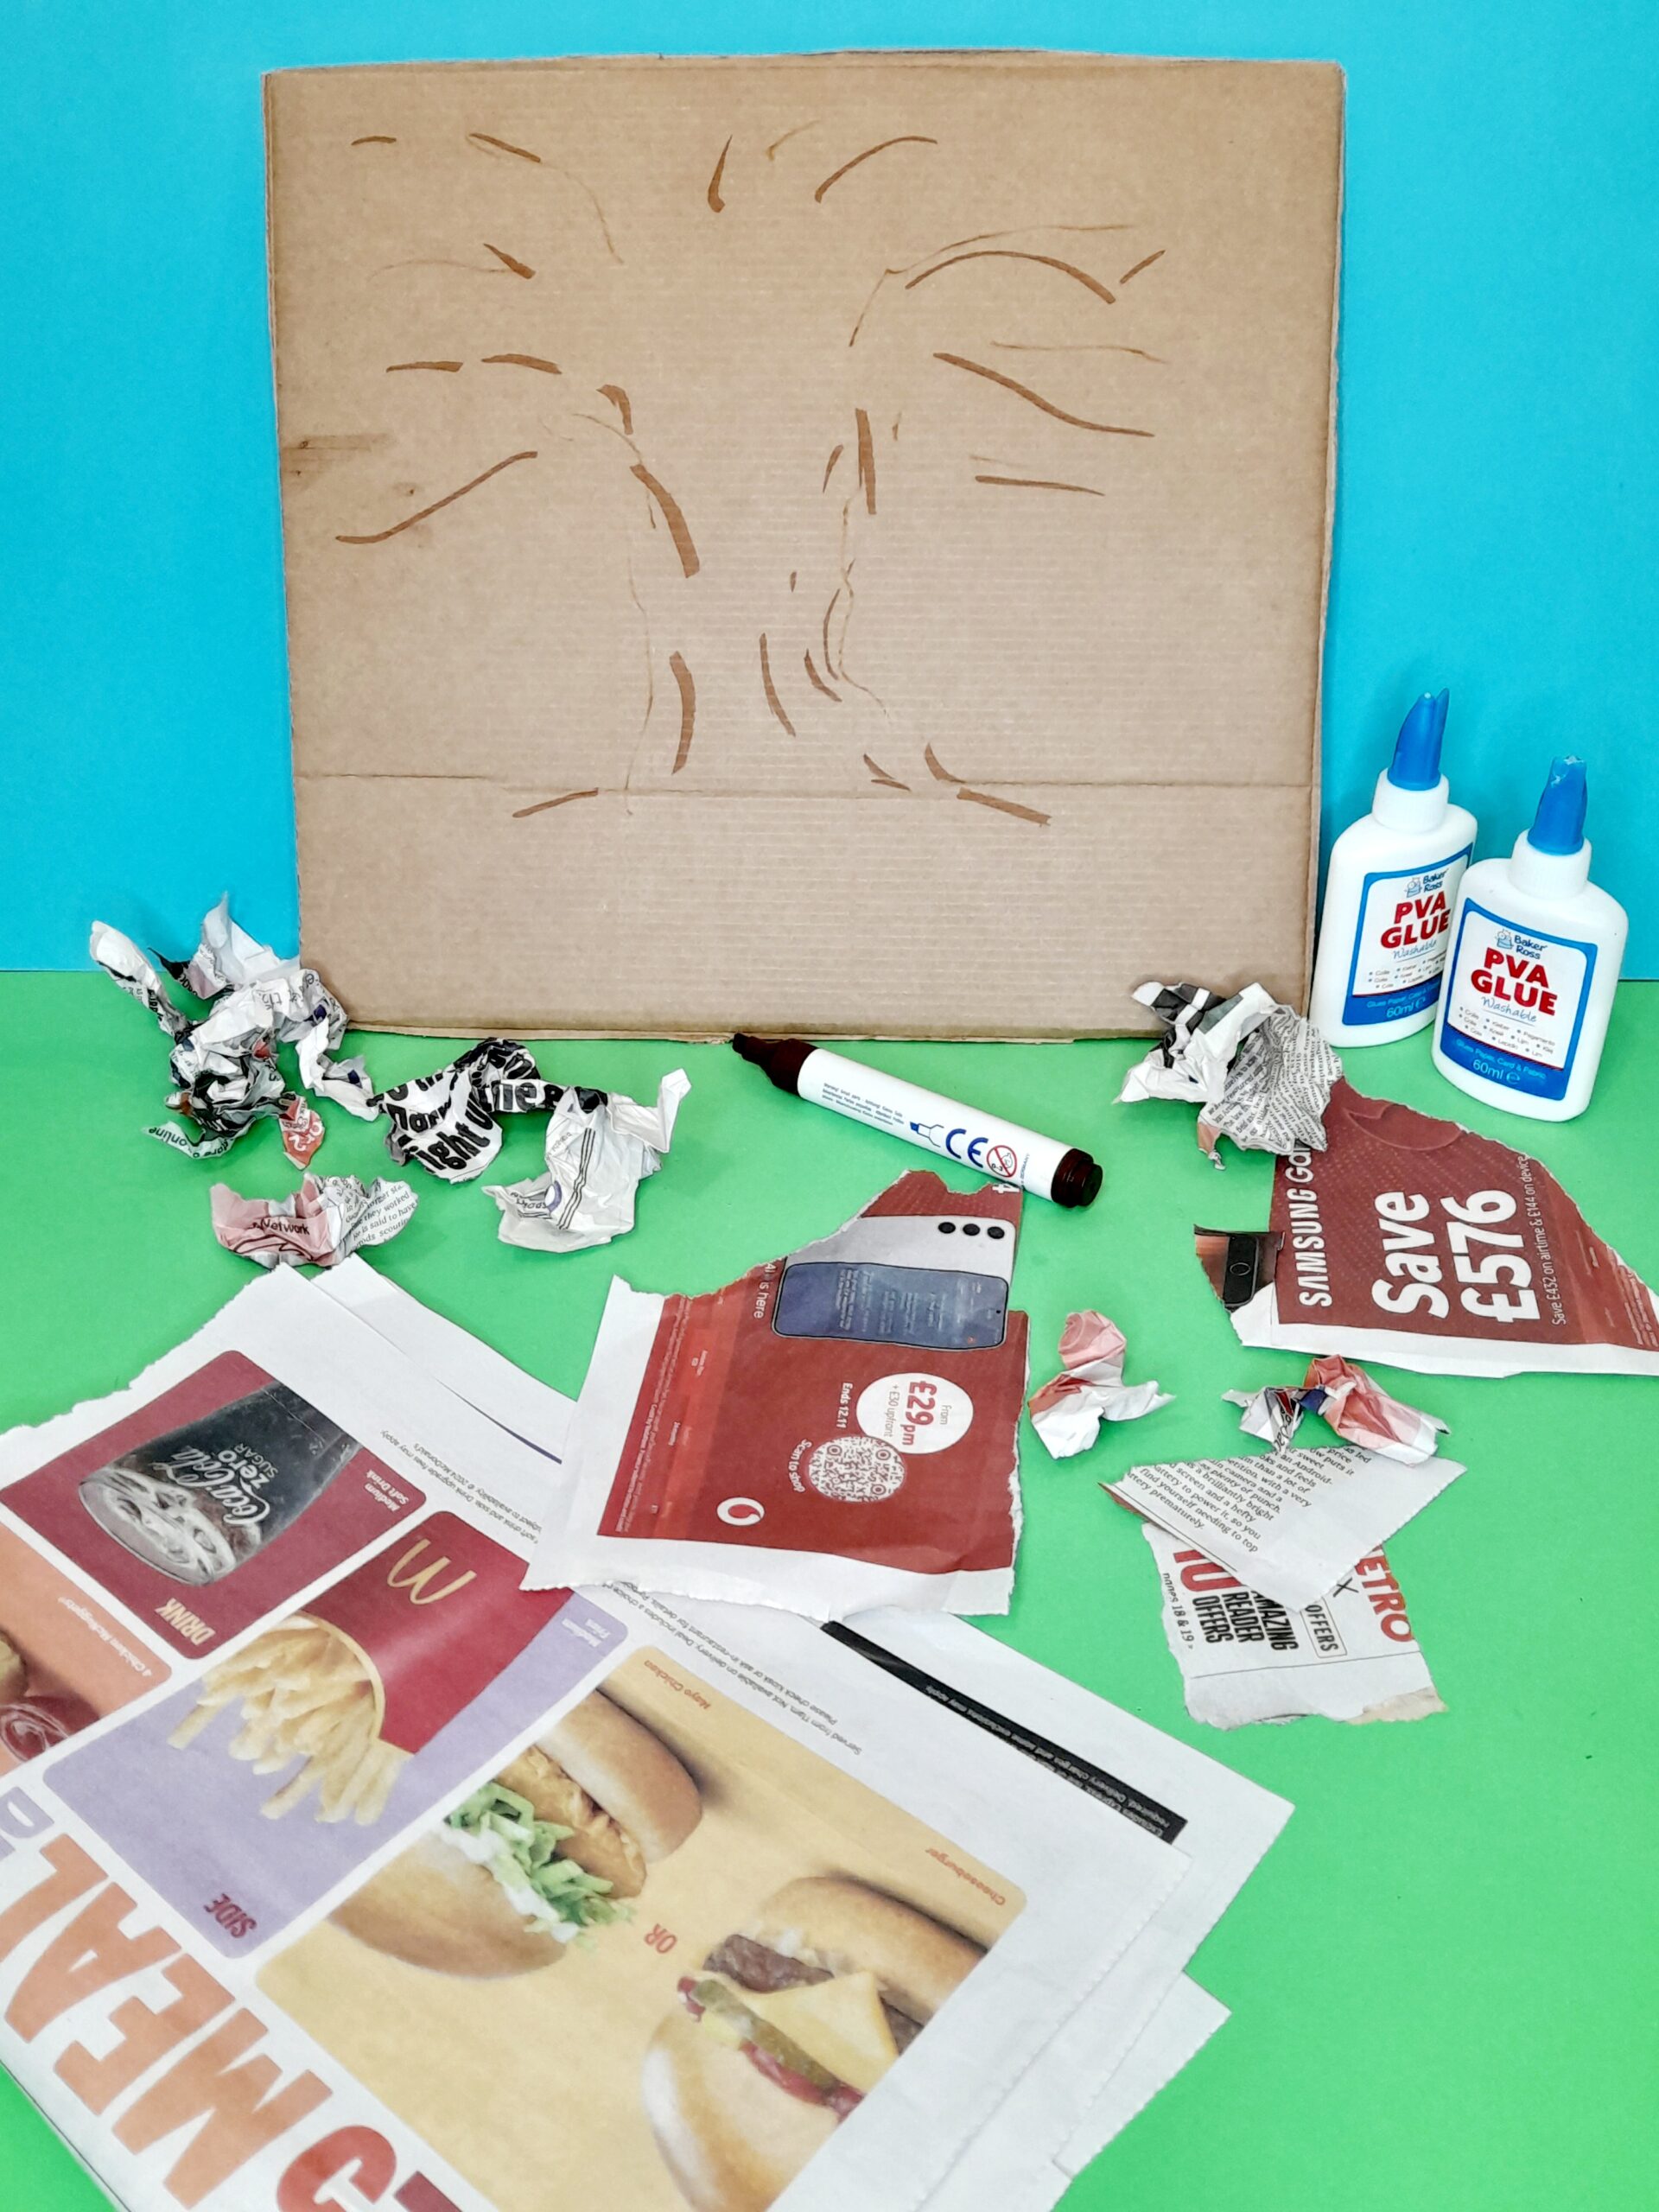
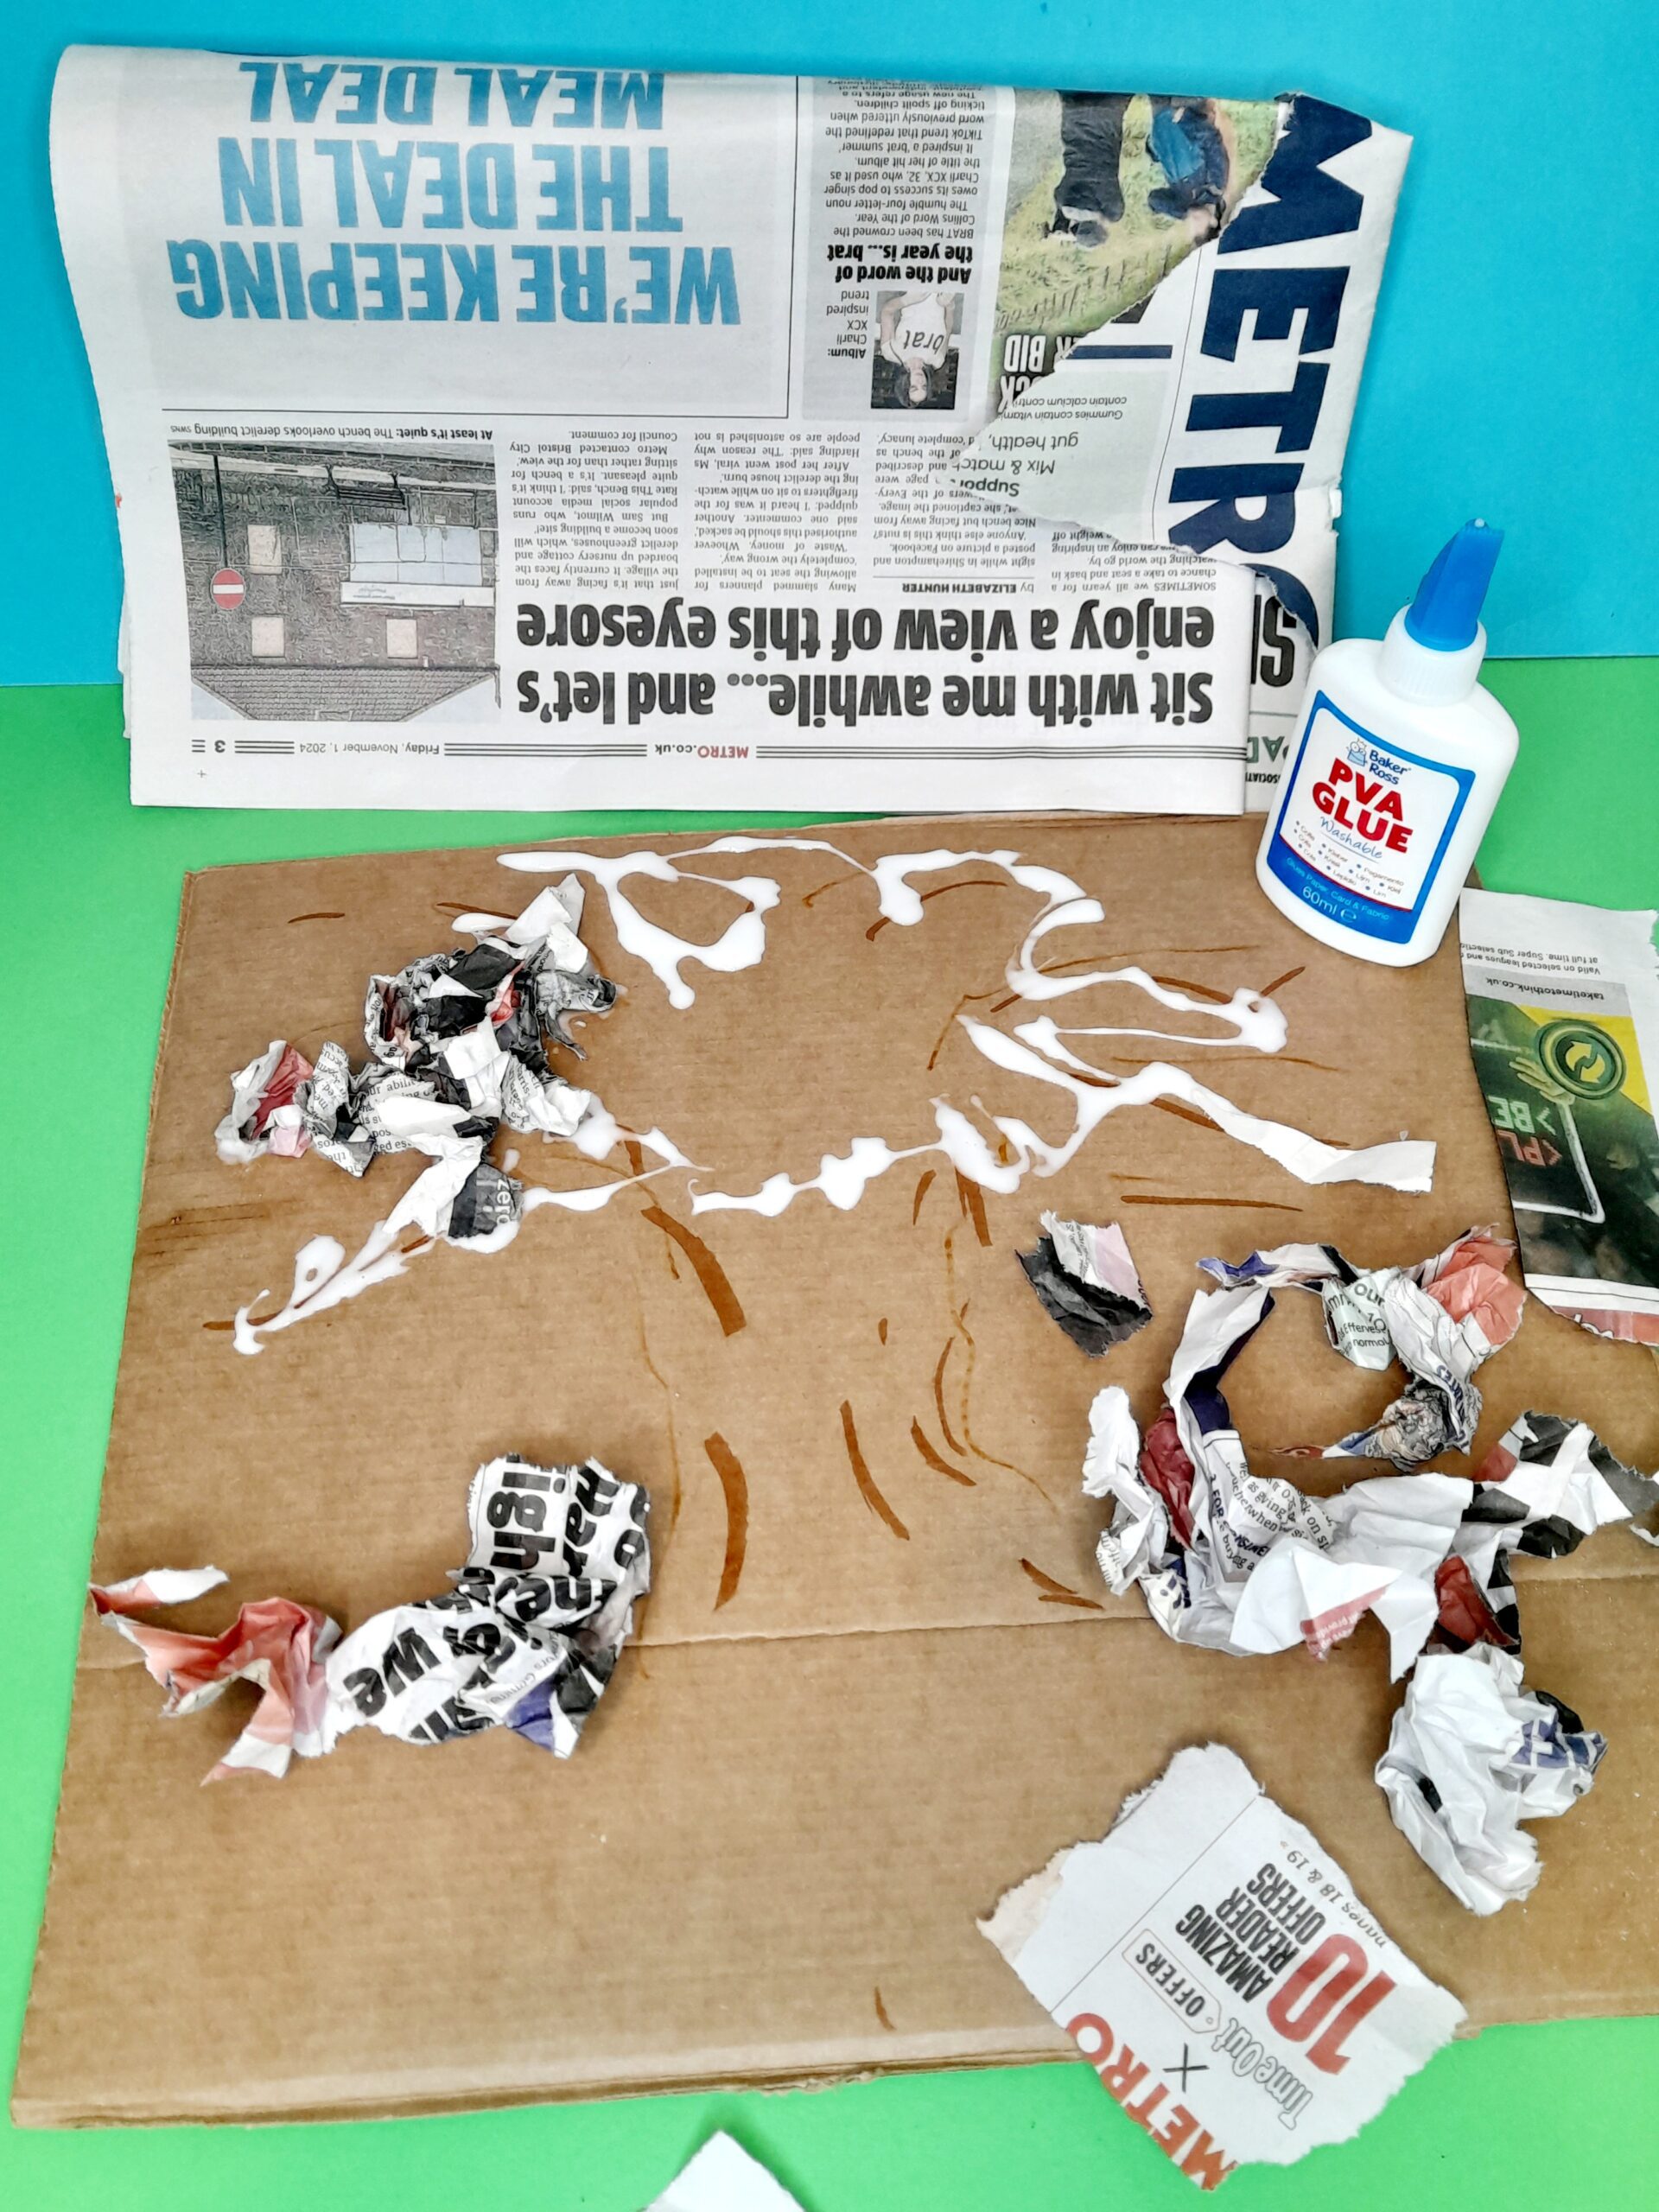
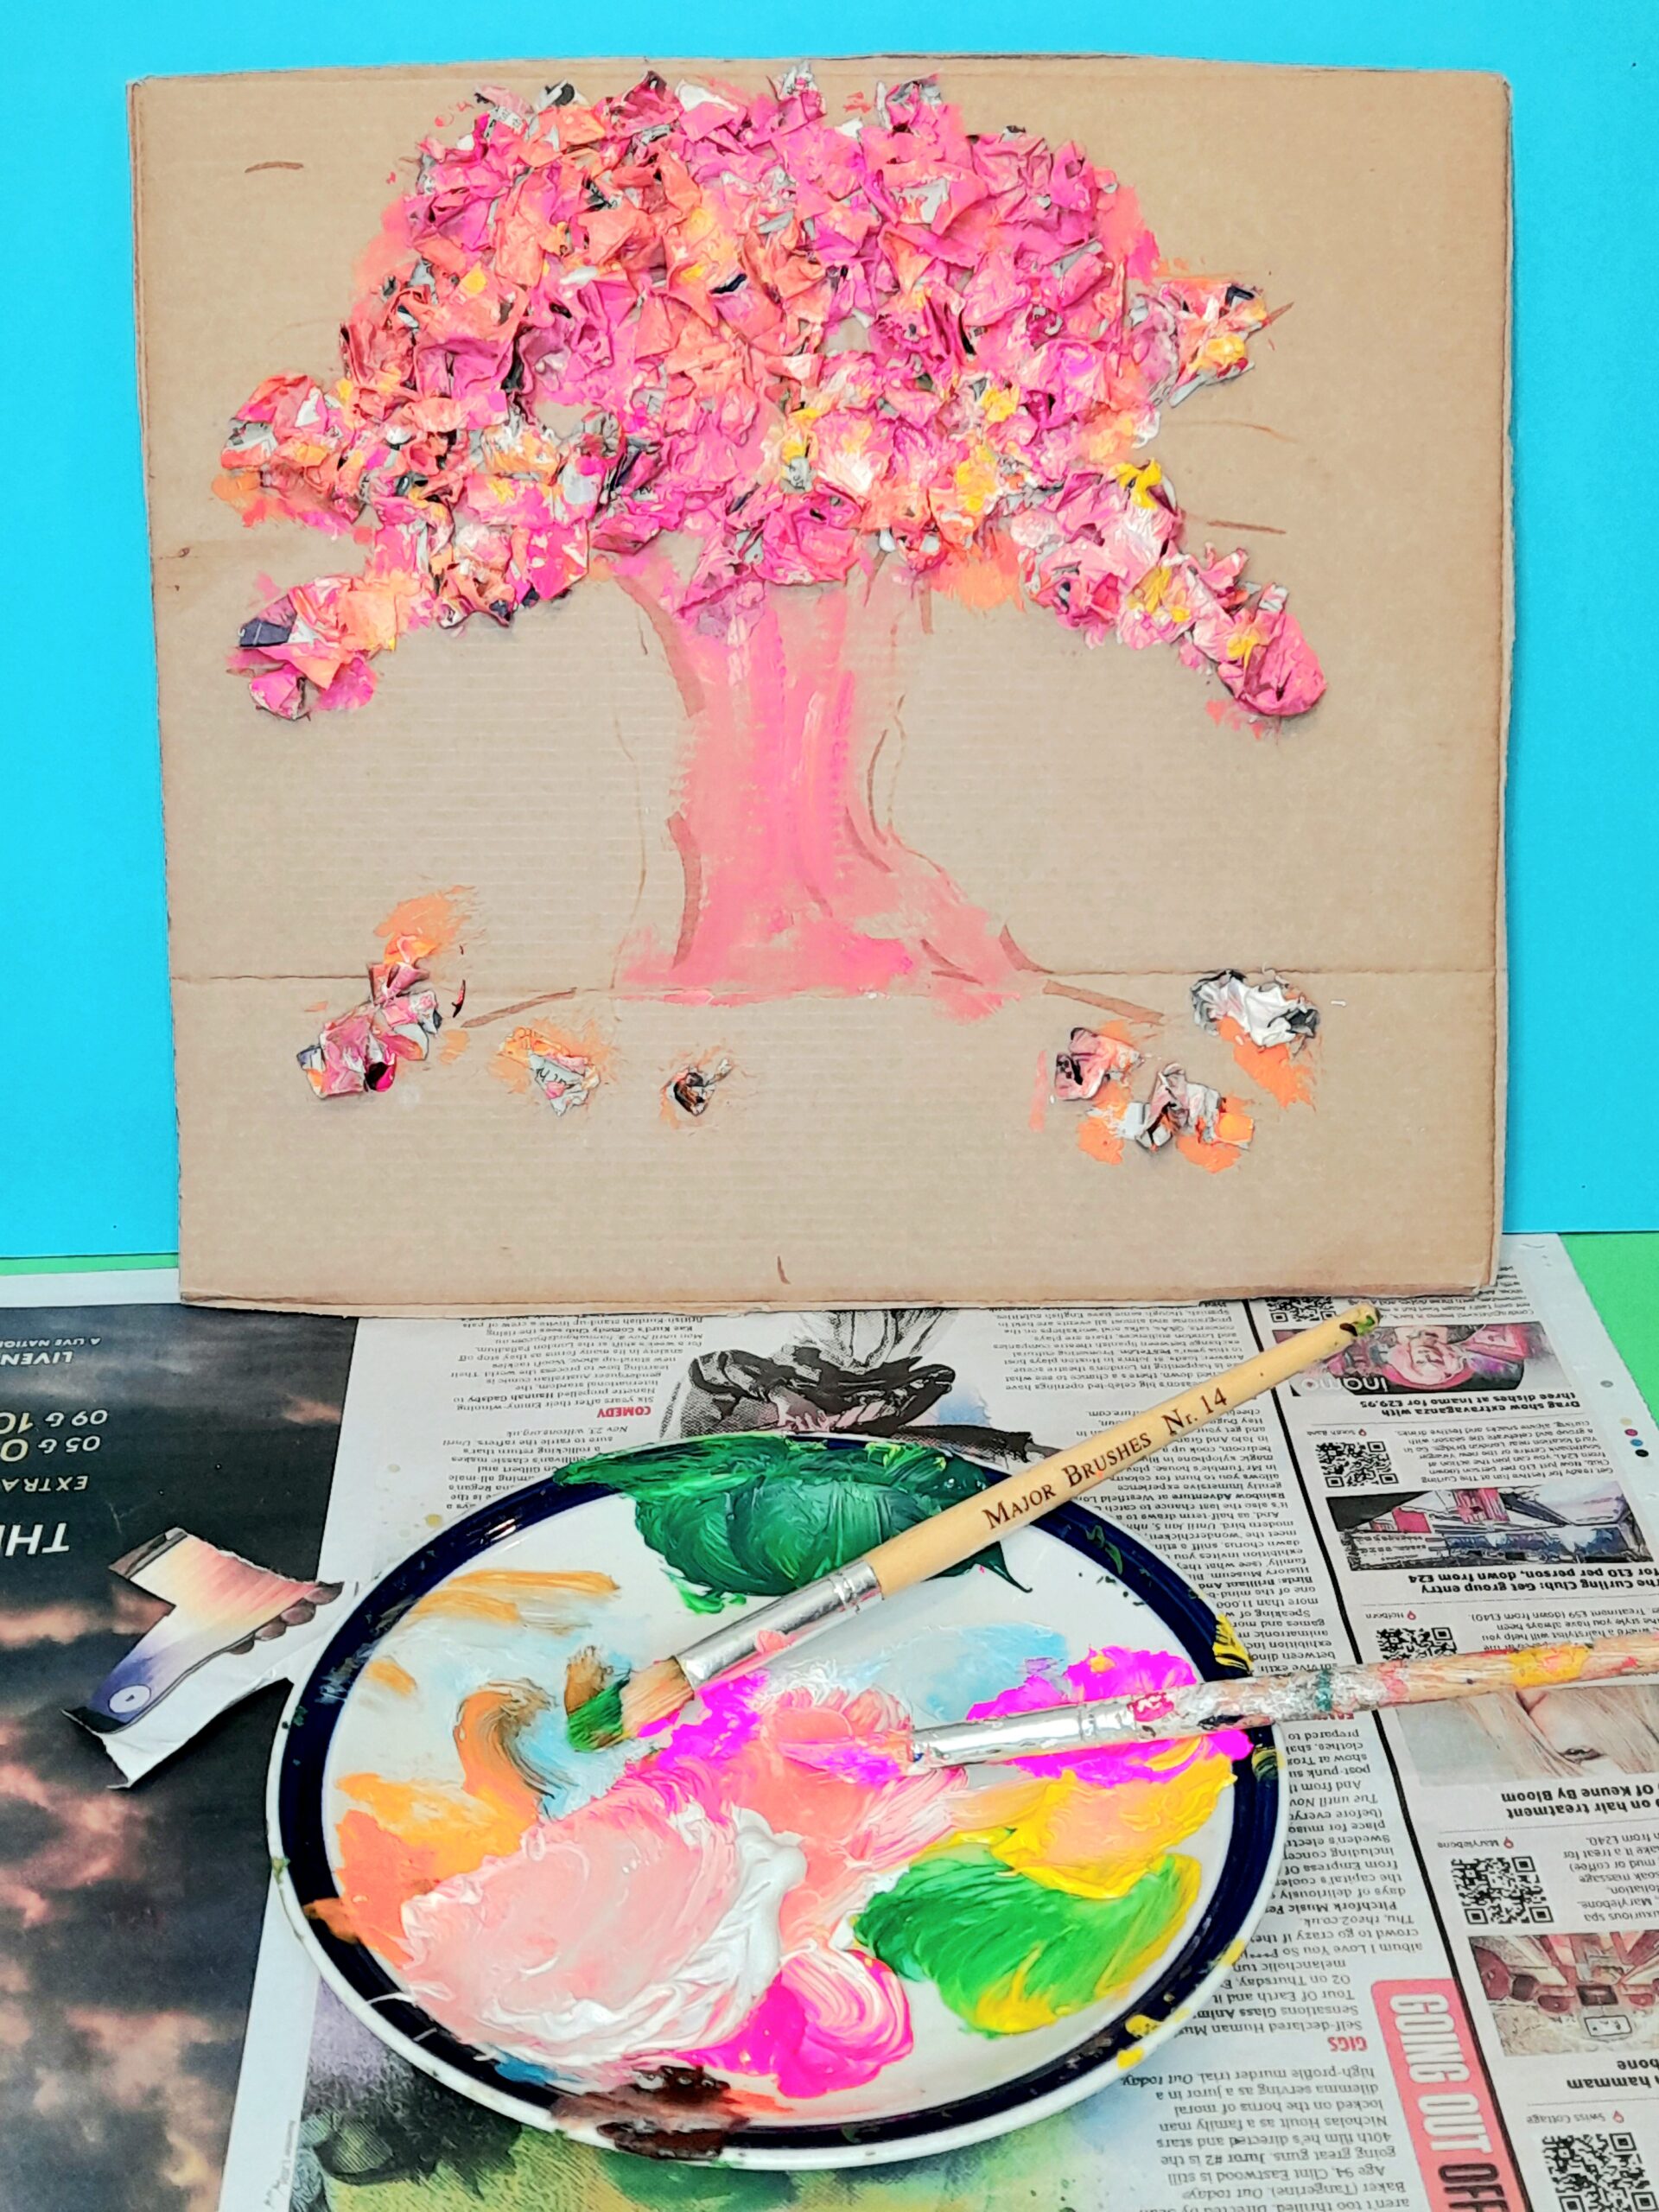
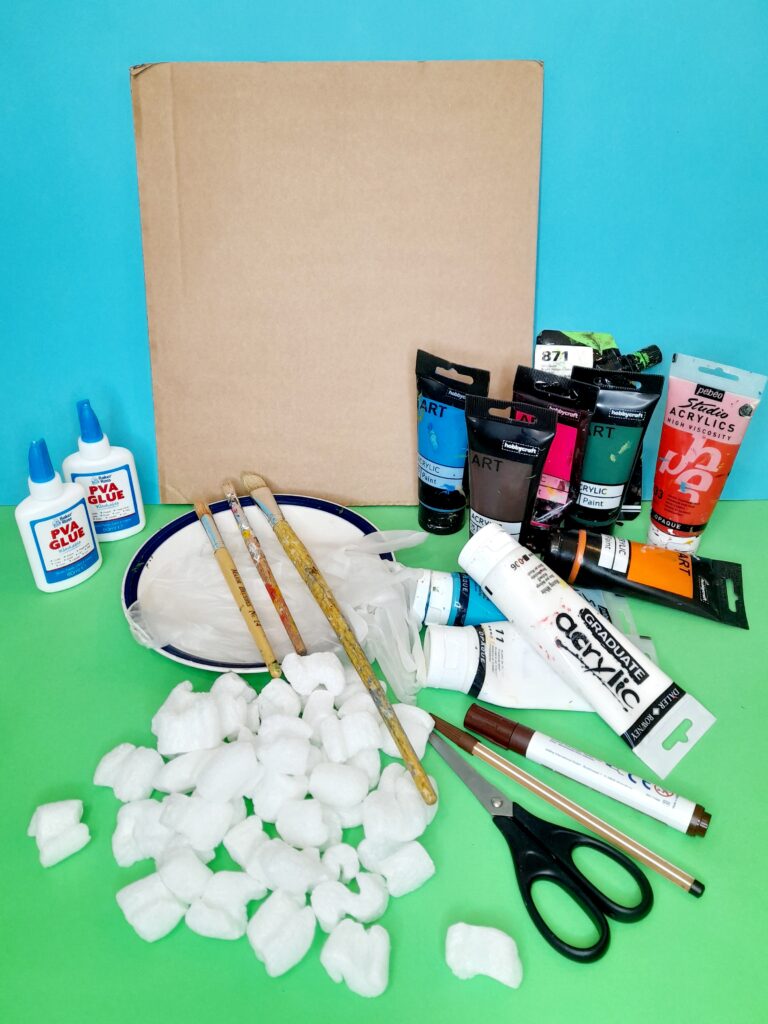
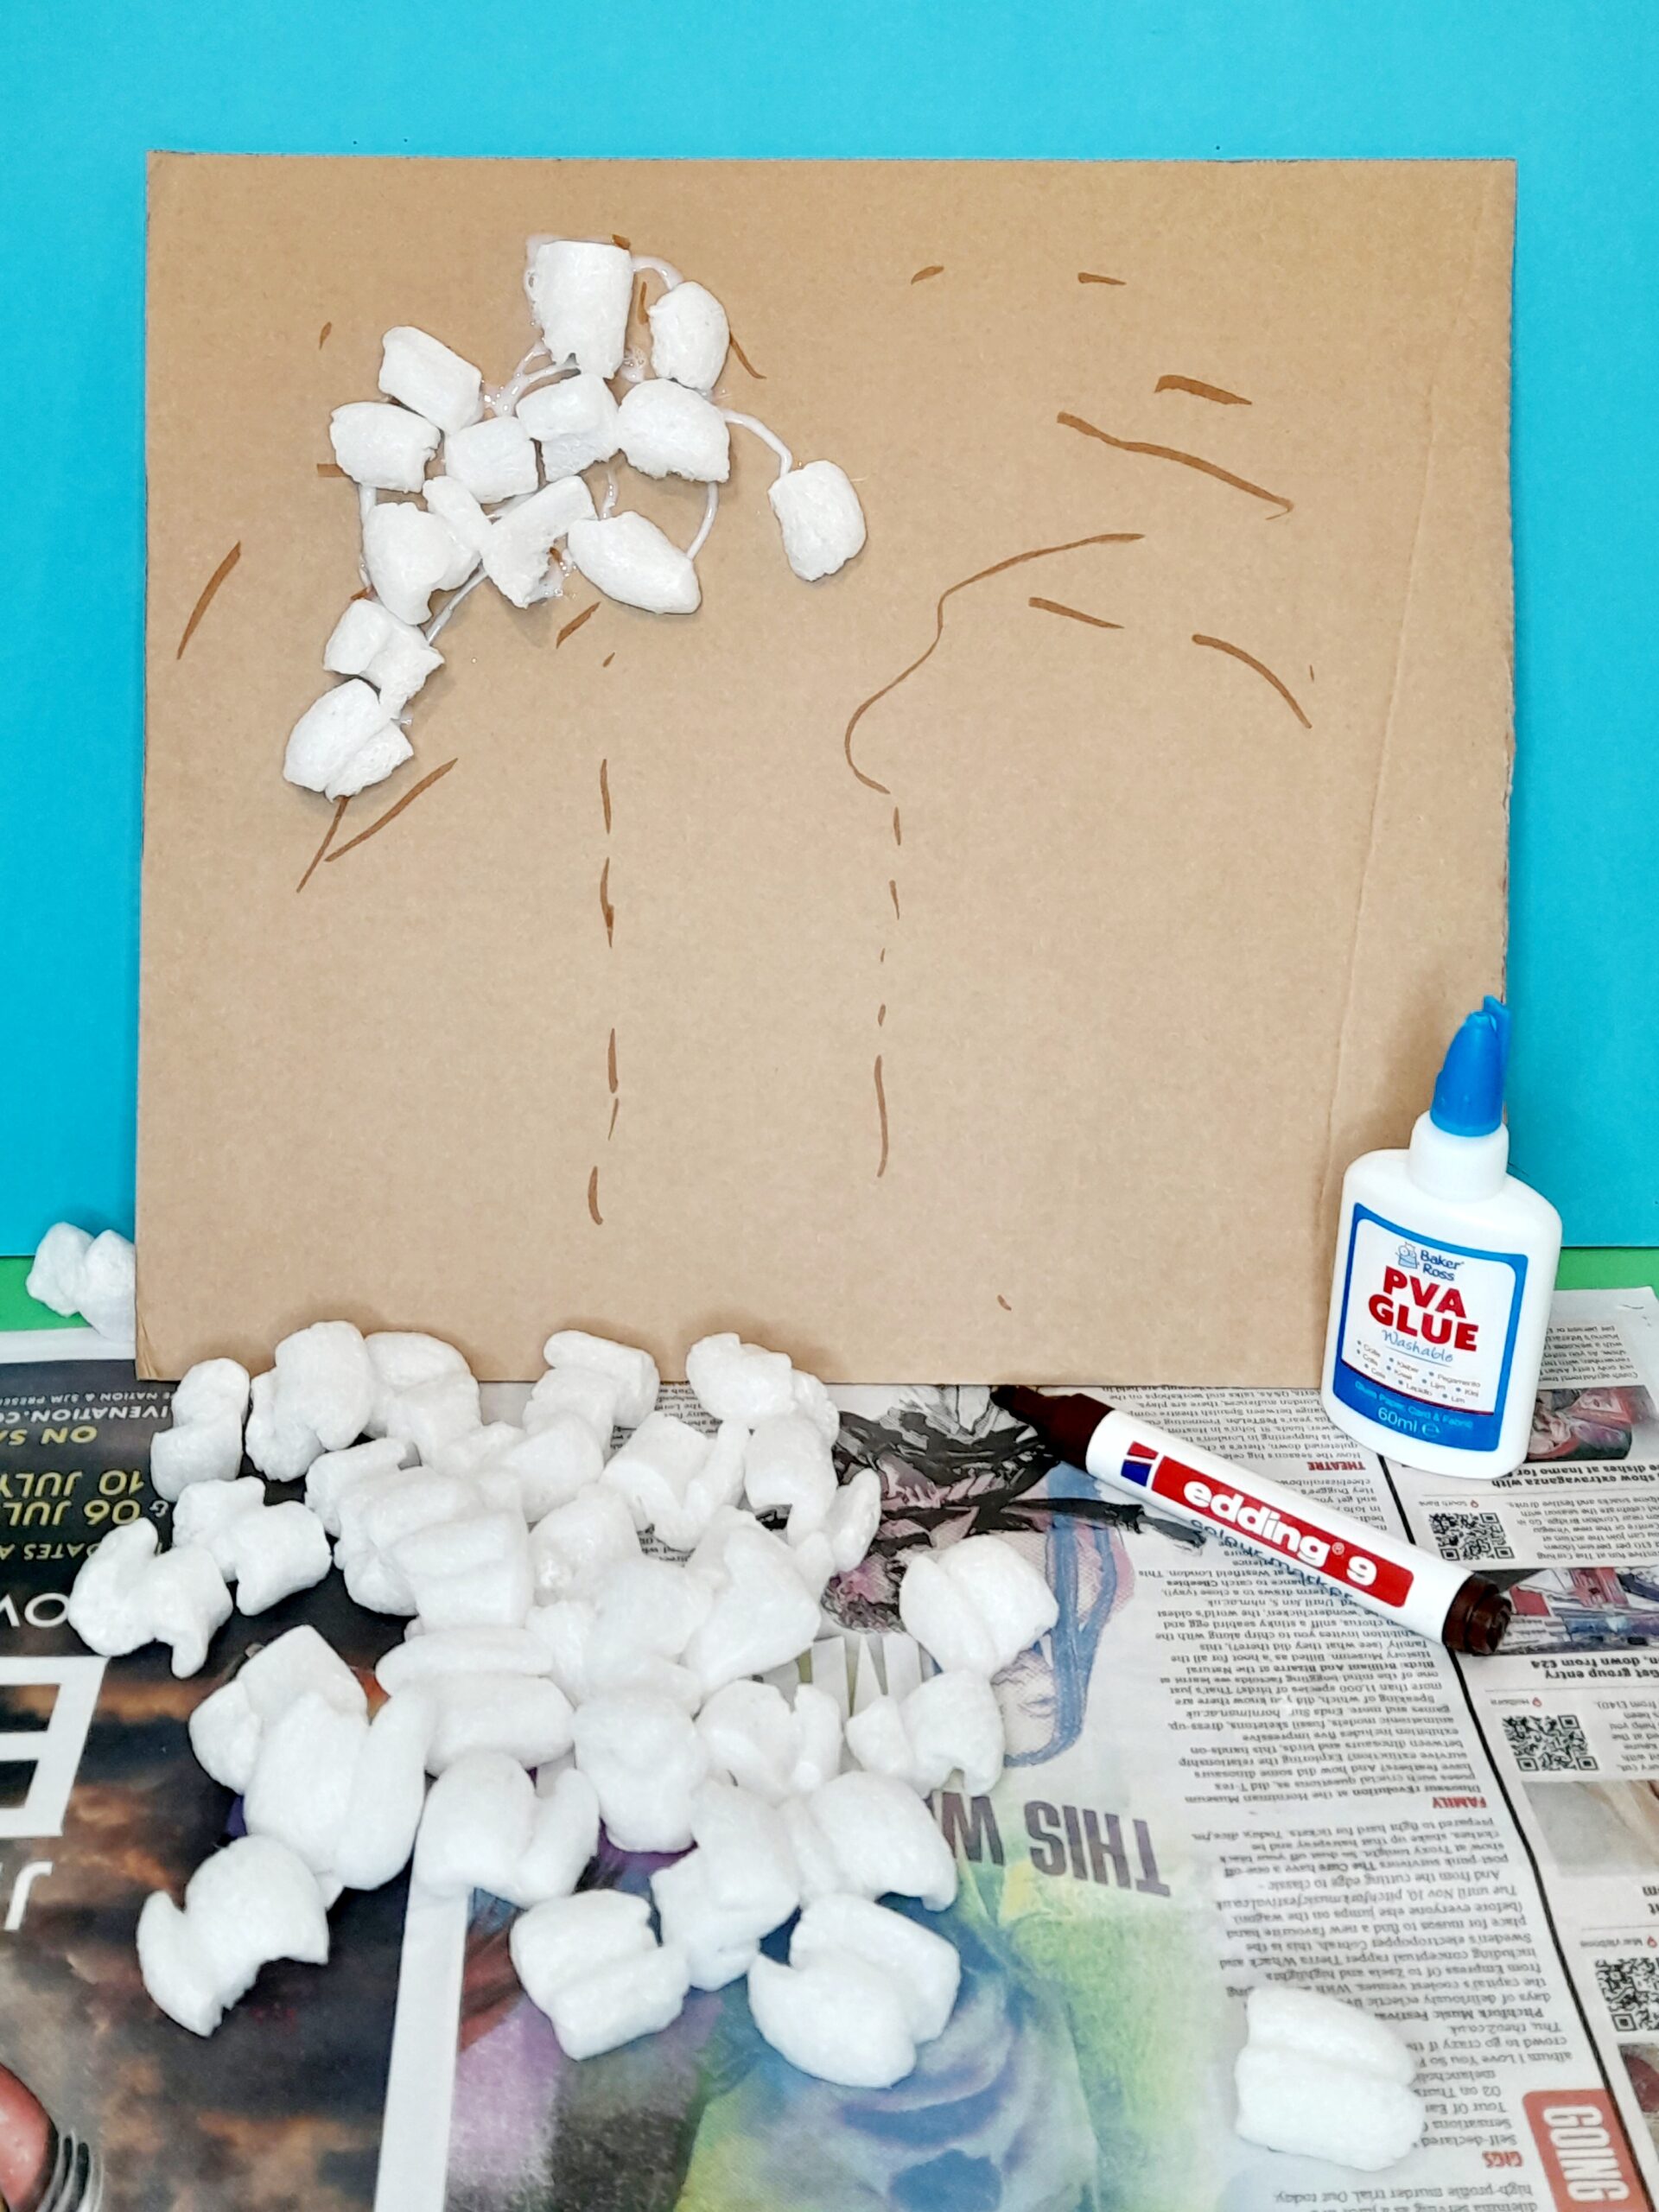
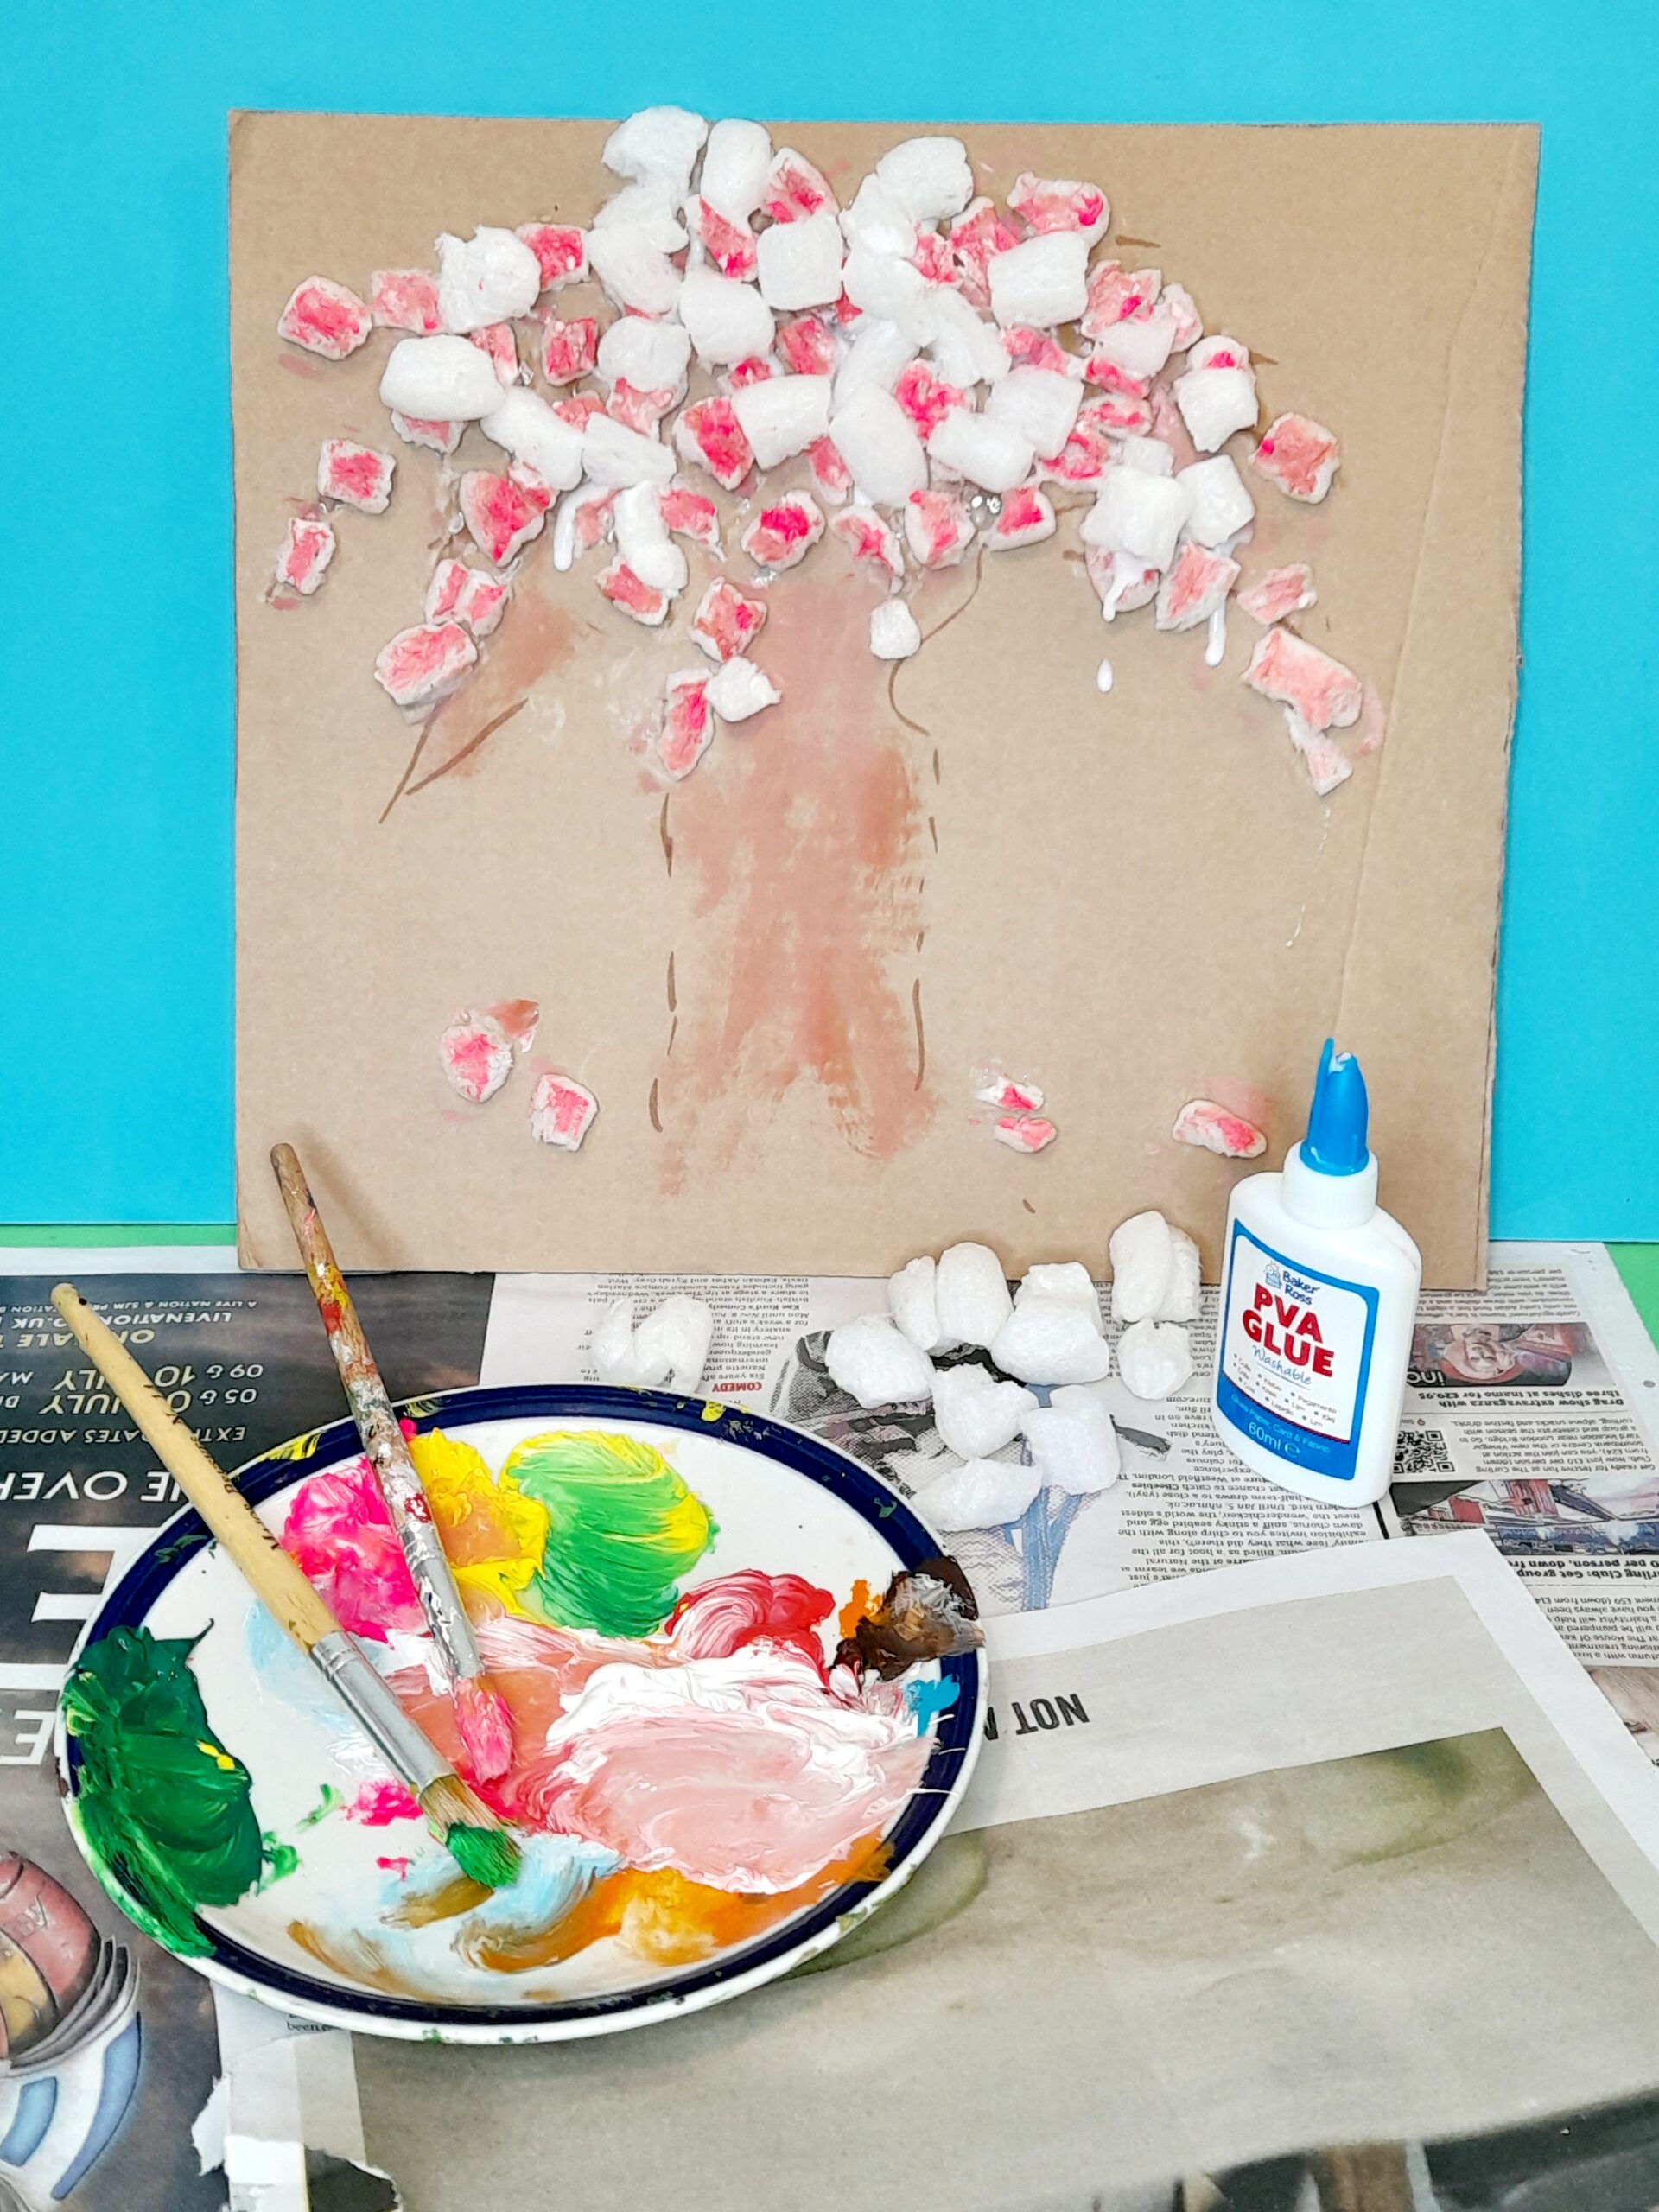
1) Cut to size a piece of packaging card and draw an outline of a tree with a brown pen, then start to glue on polystyrene pieces. Cut into smaller pieces and add to fill up spaces.
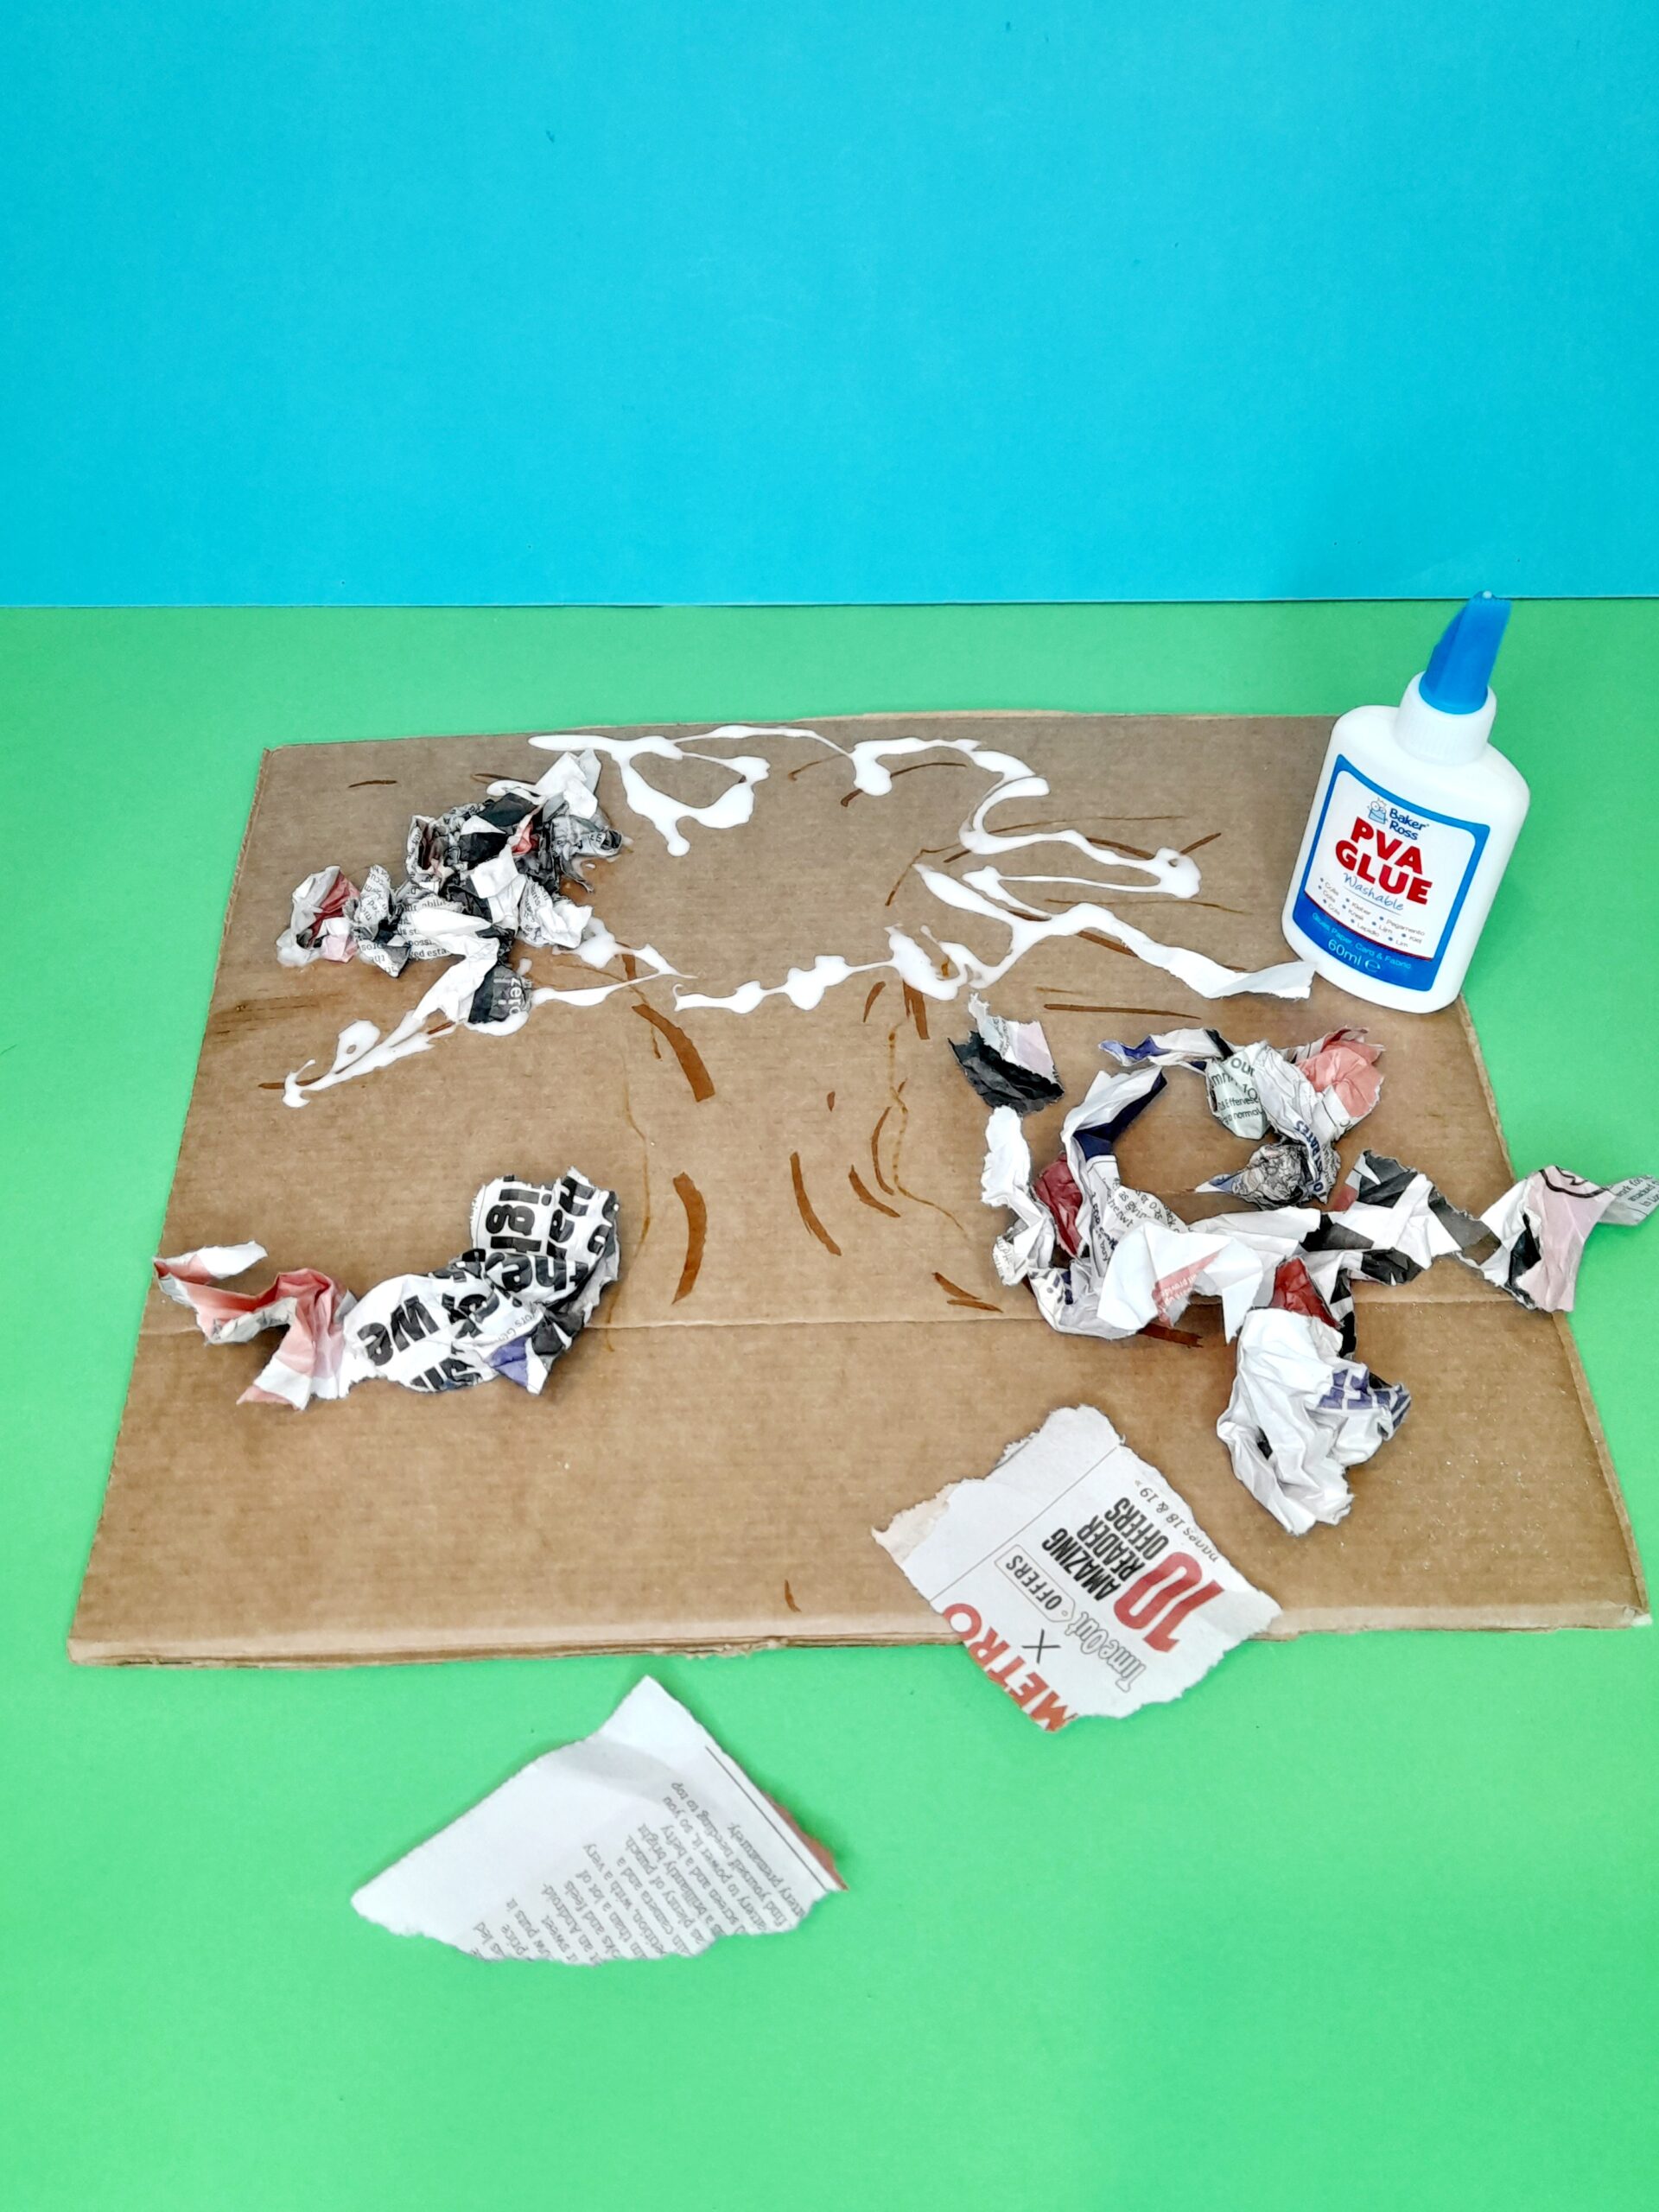
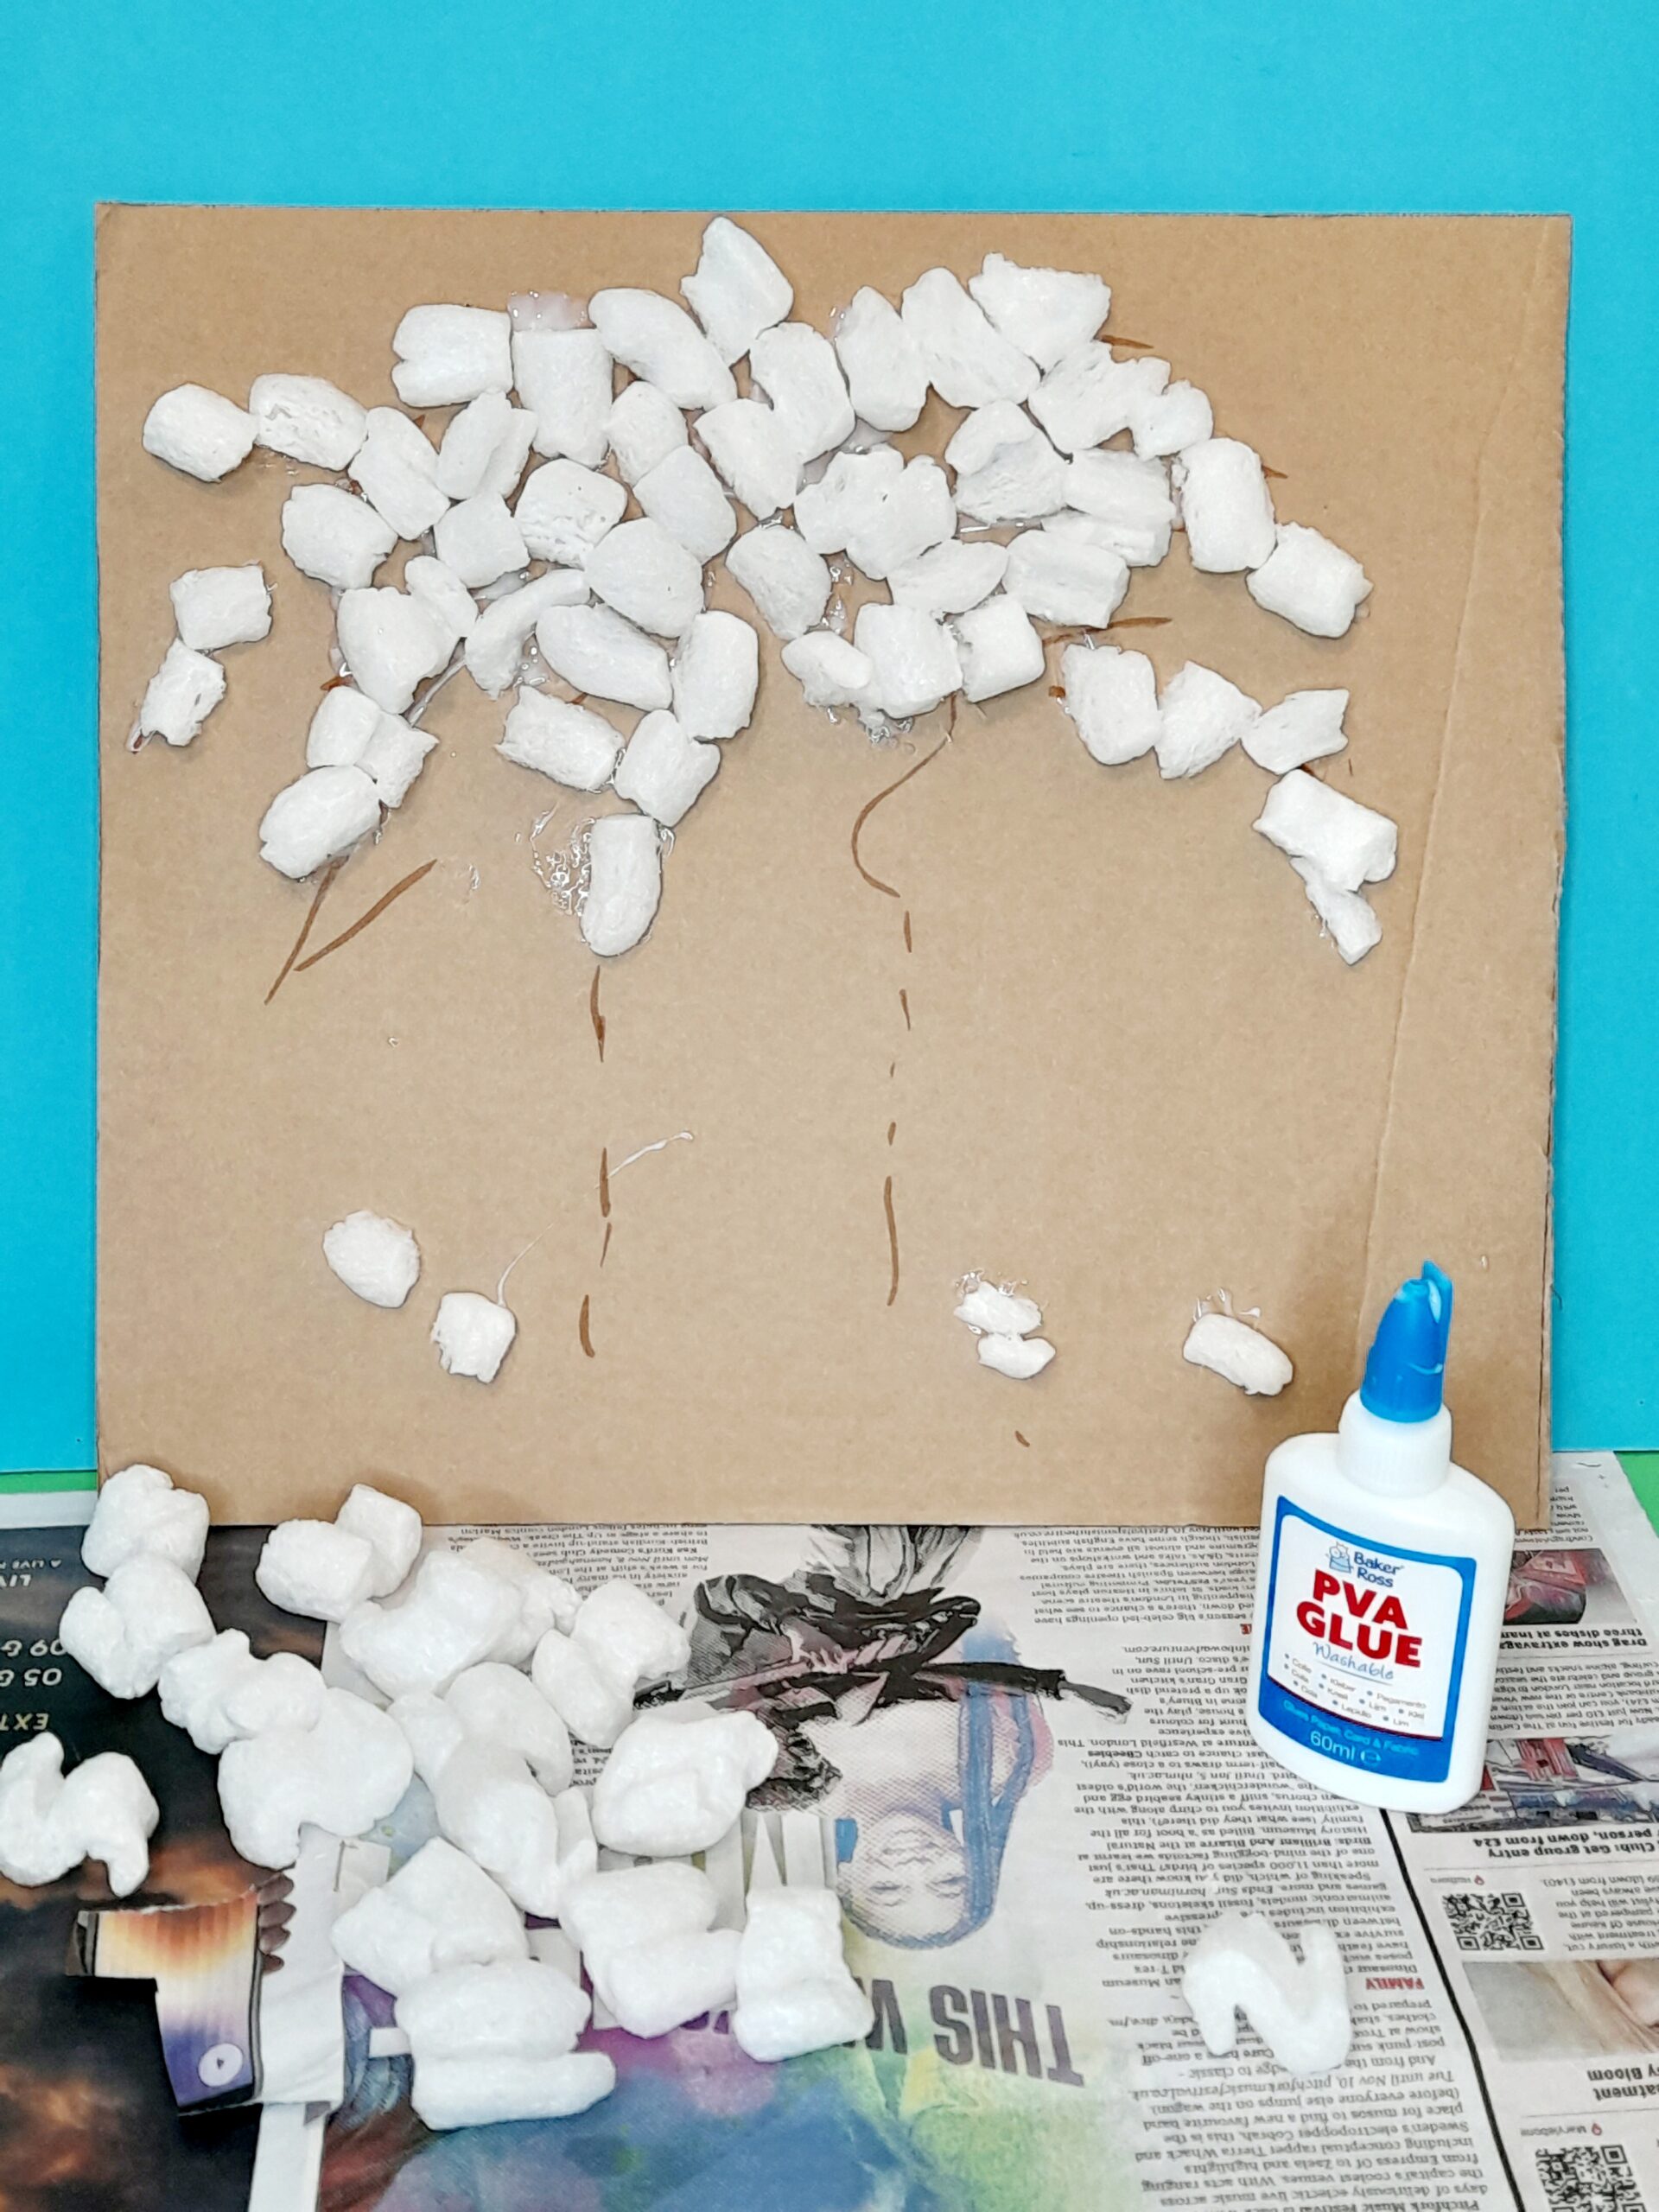
2) Keep gluing on the polystyrene pieces until you have covered all the branches, adding a few at the base of the tree.
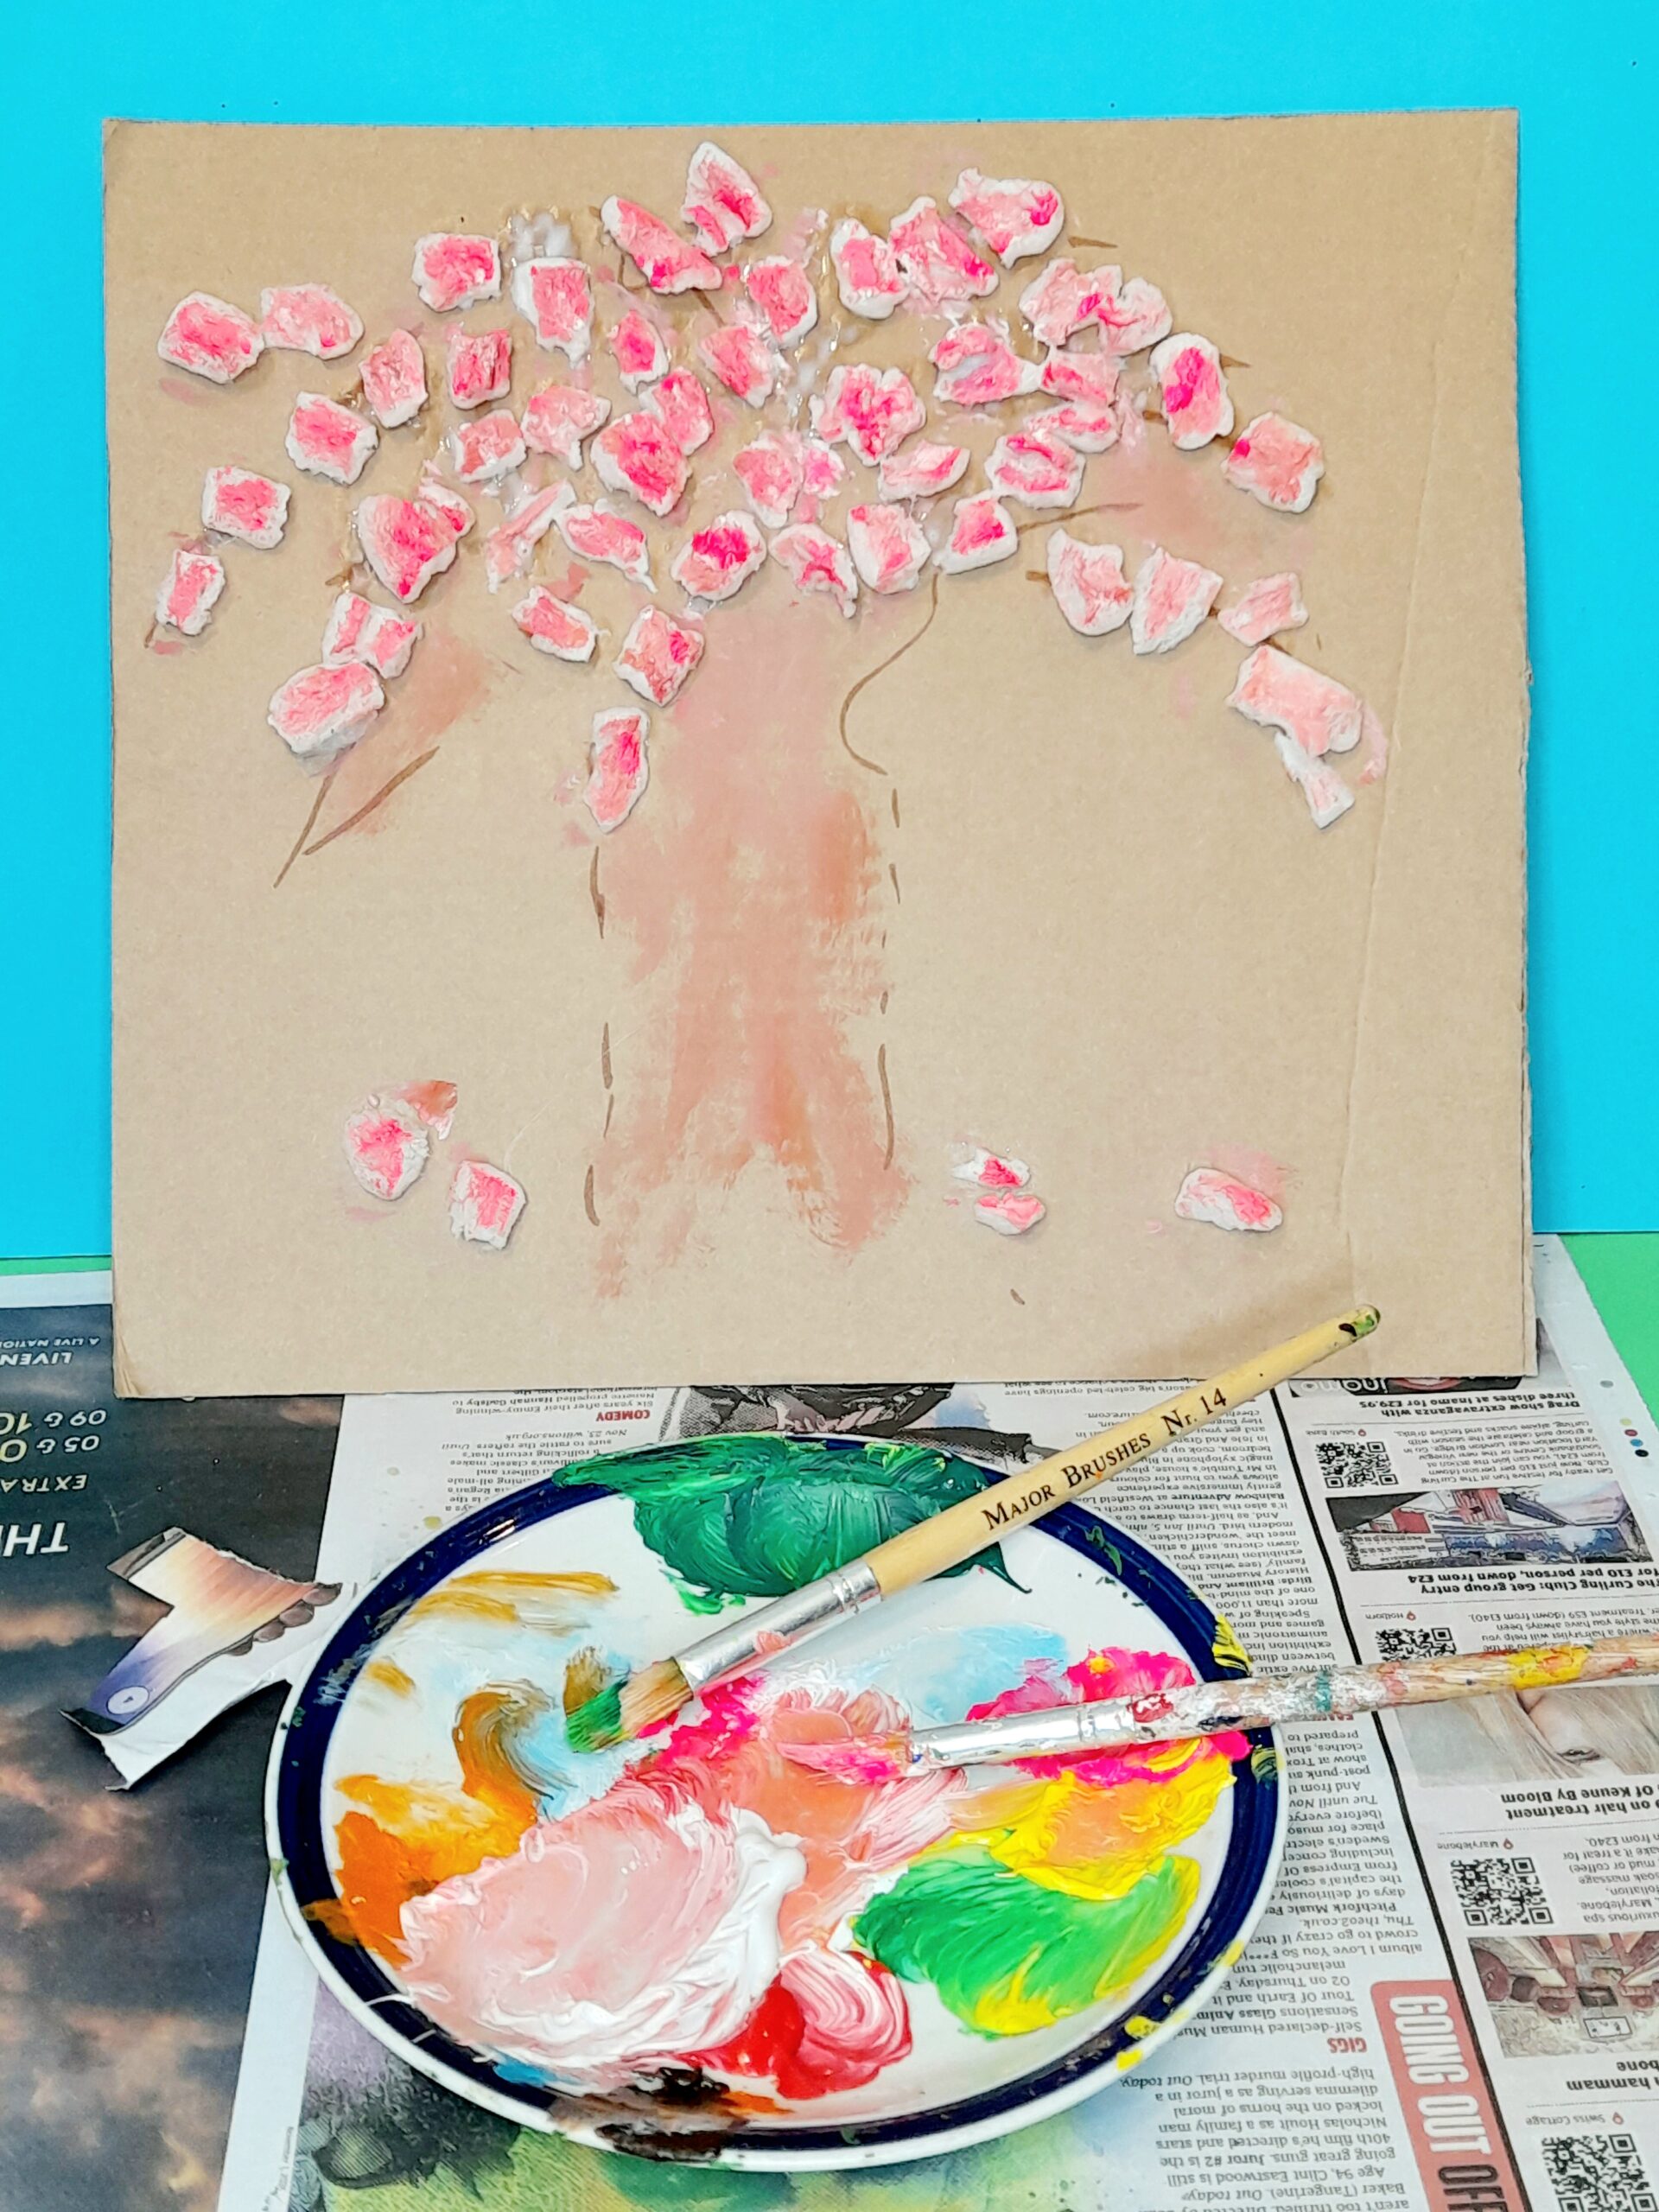
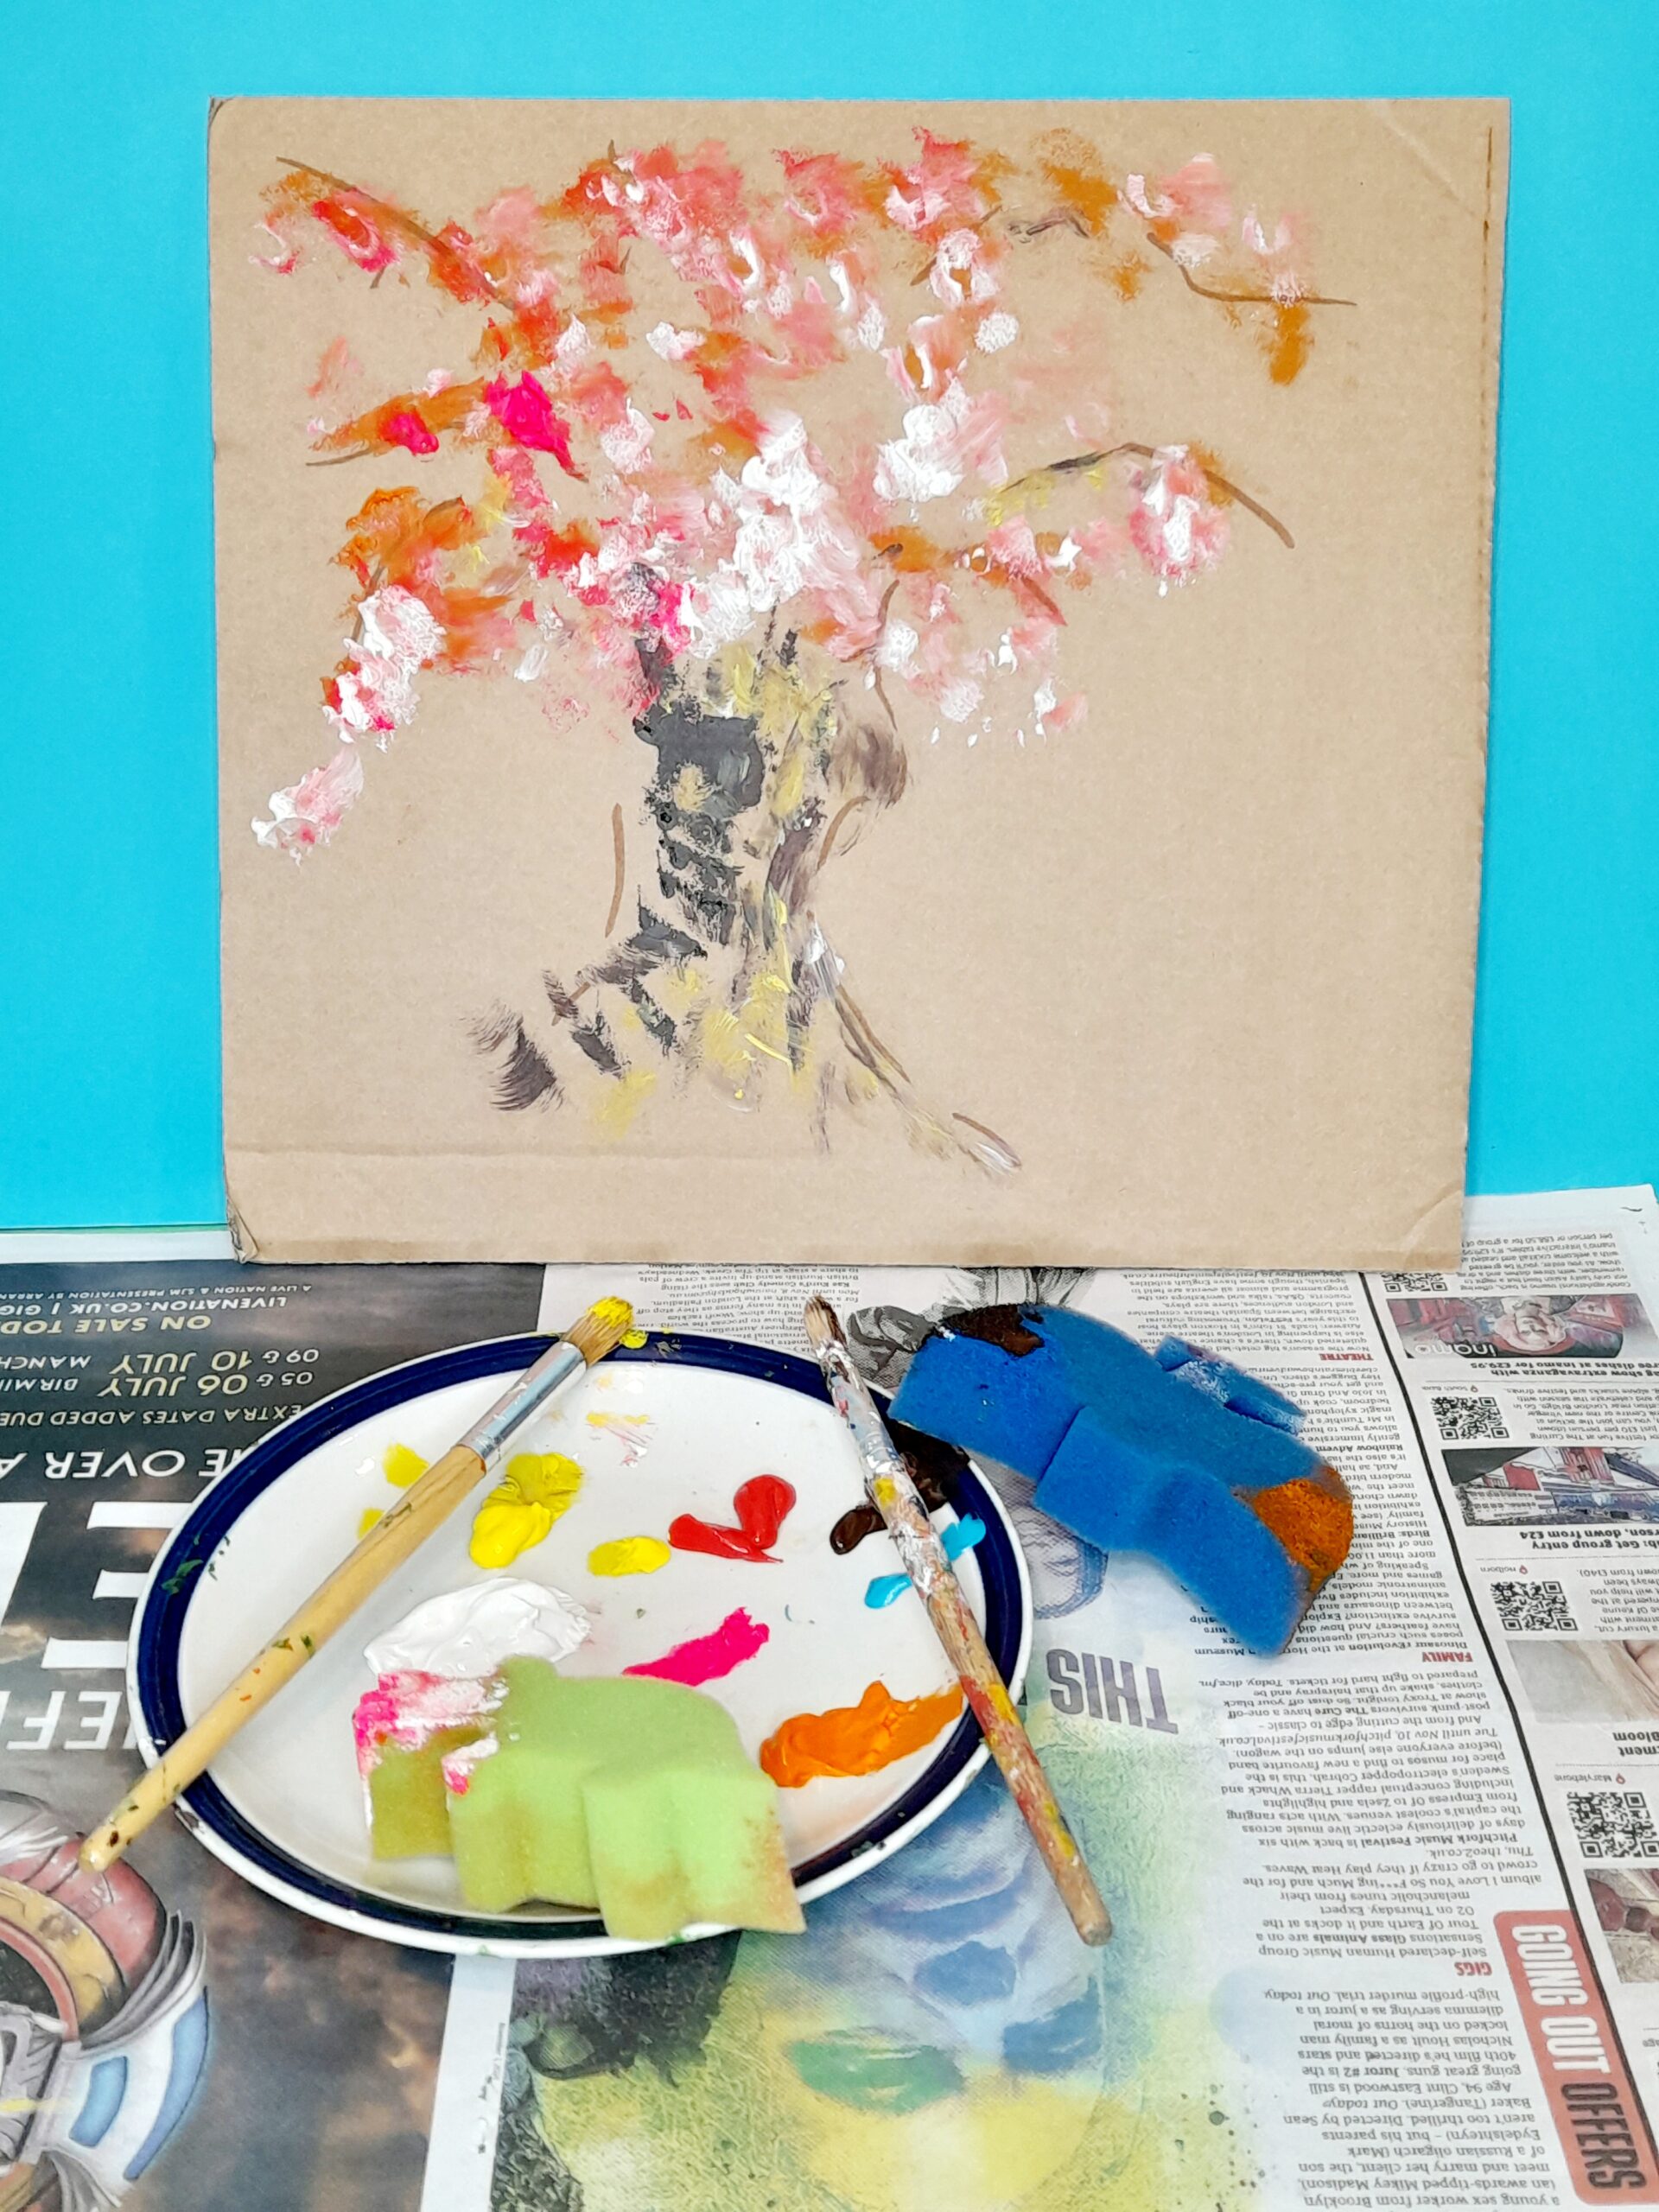
3) Once you have covered all the branches, start to delicately tap pink paint onto the polystyrene.
4) You may need to keep adding polystyrene on top to build depth and then paint again.
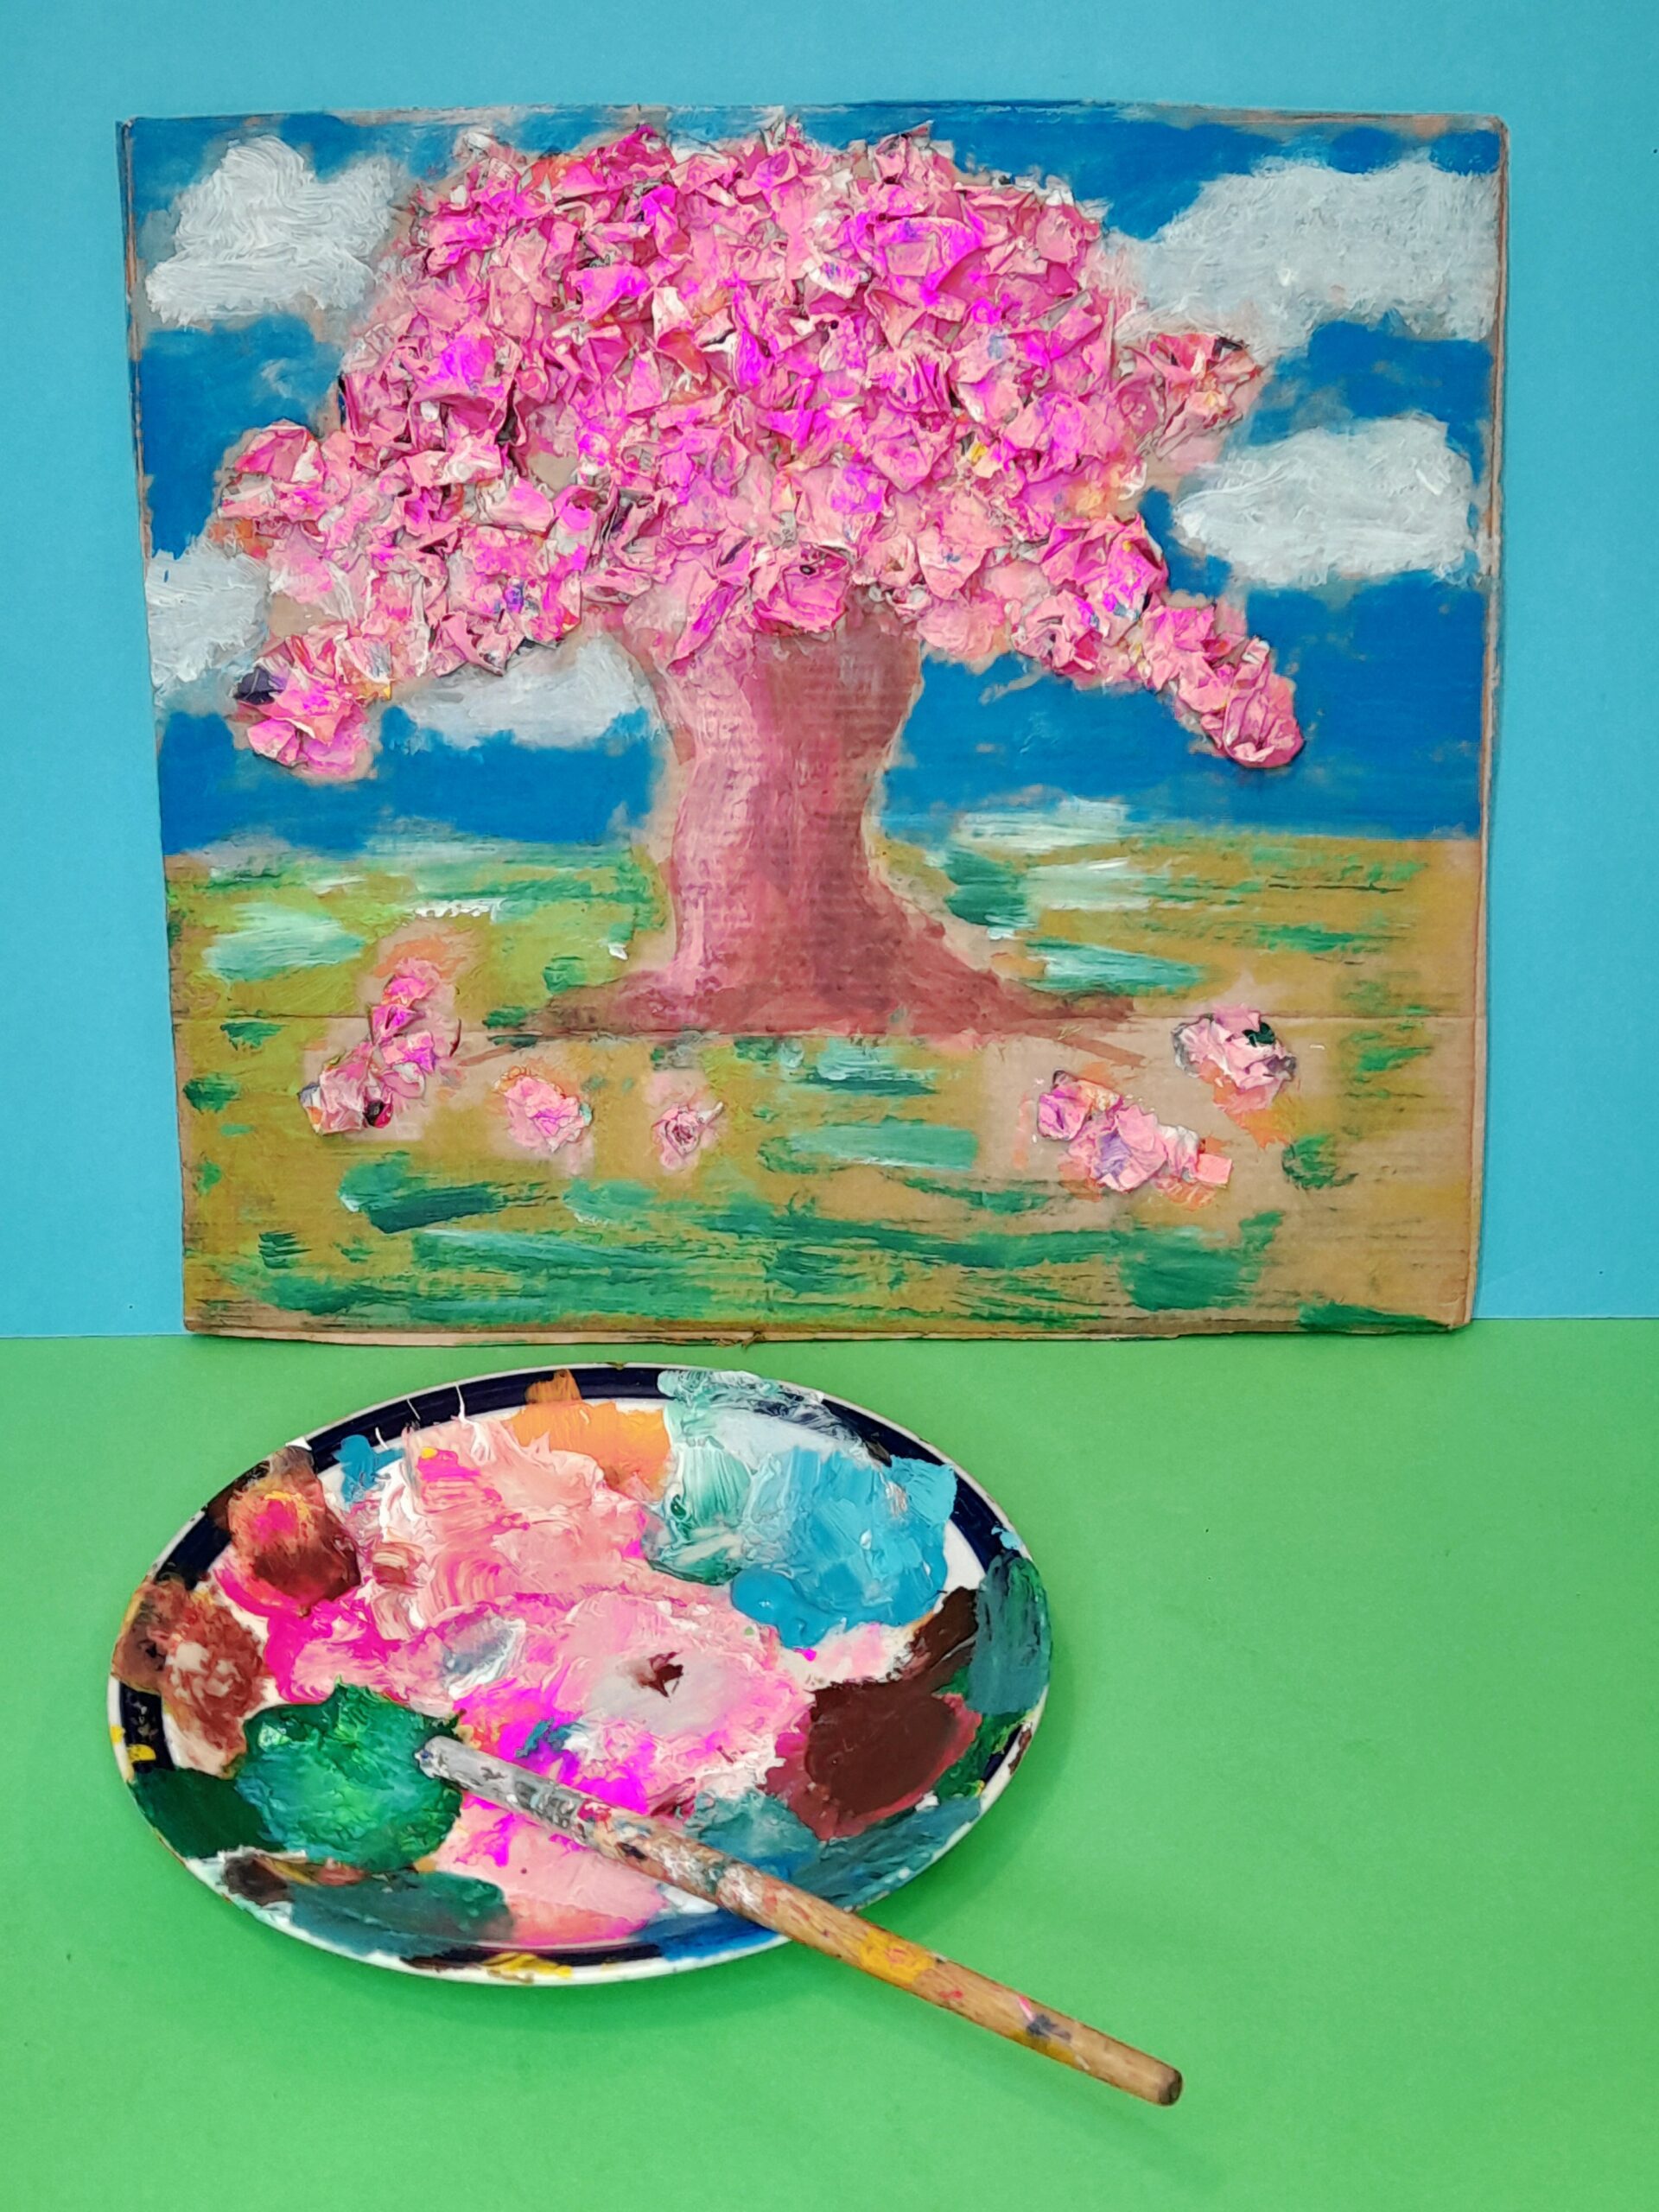
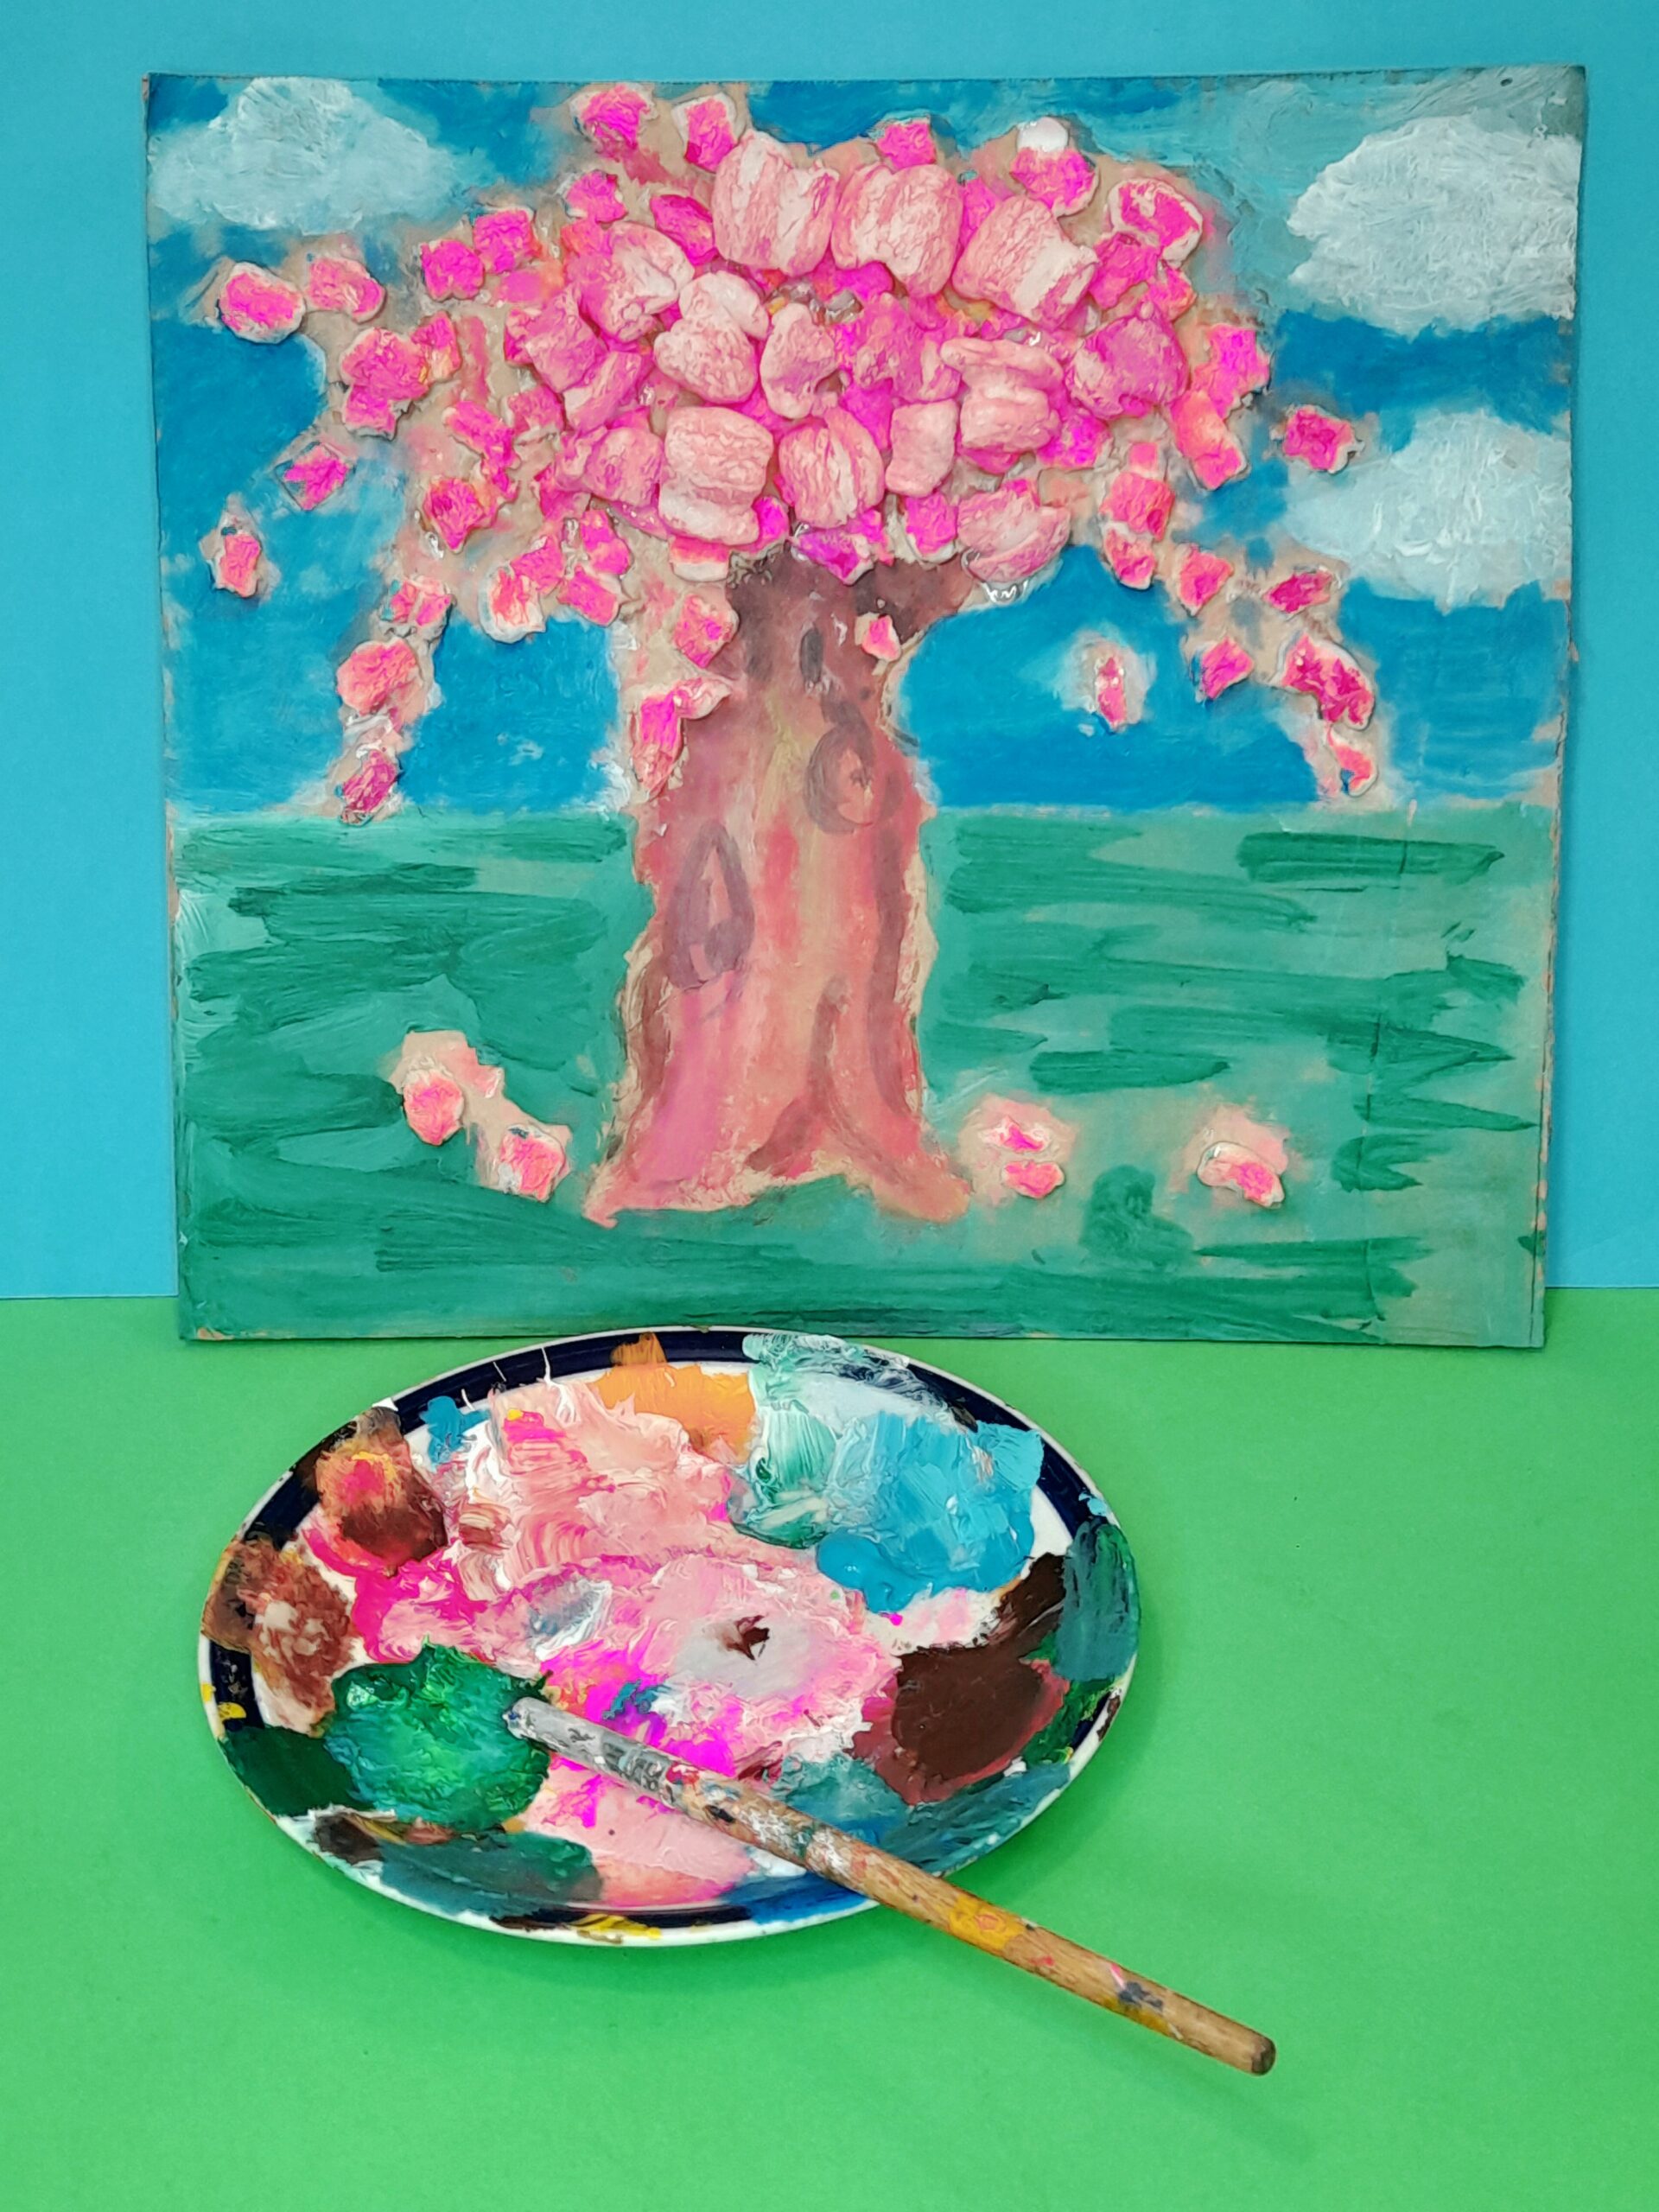
5) Next paint the rest of the scenery.
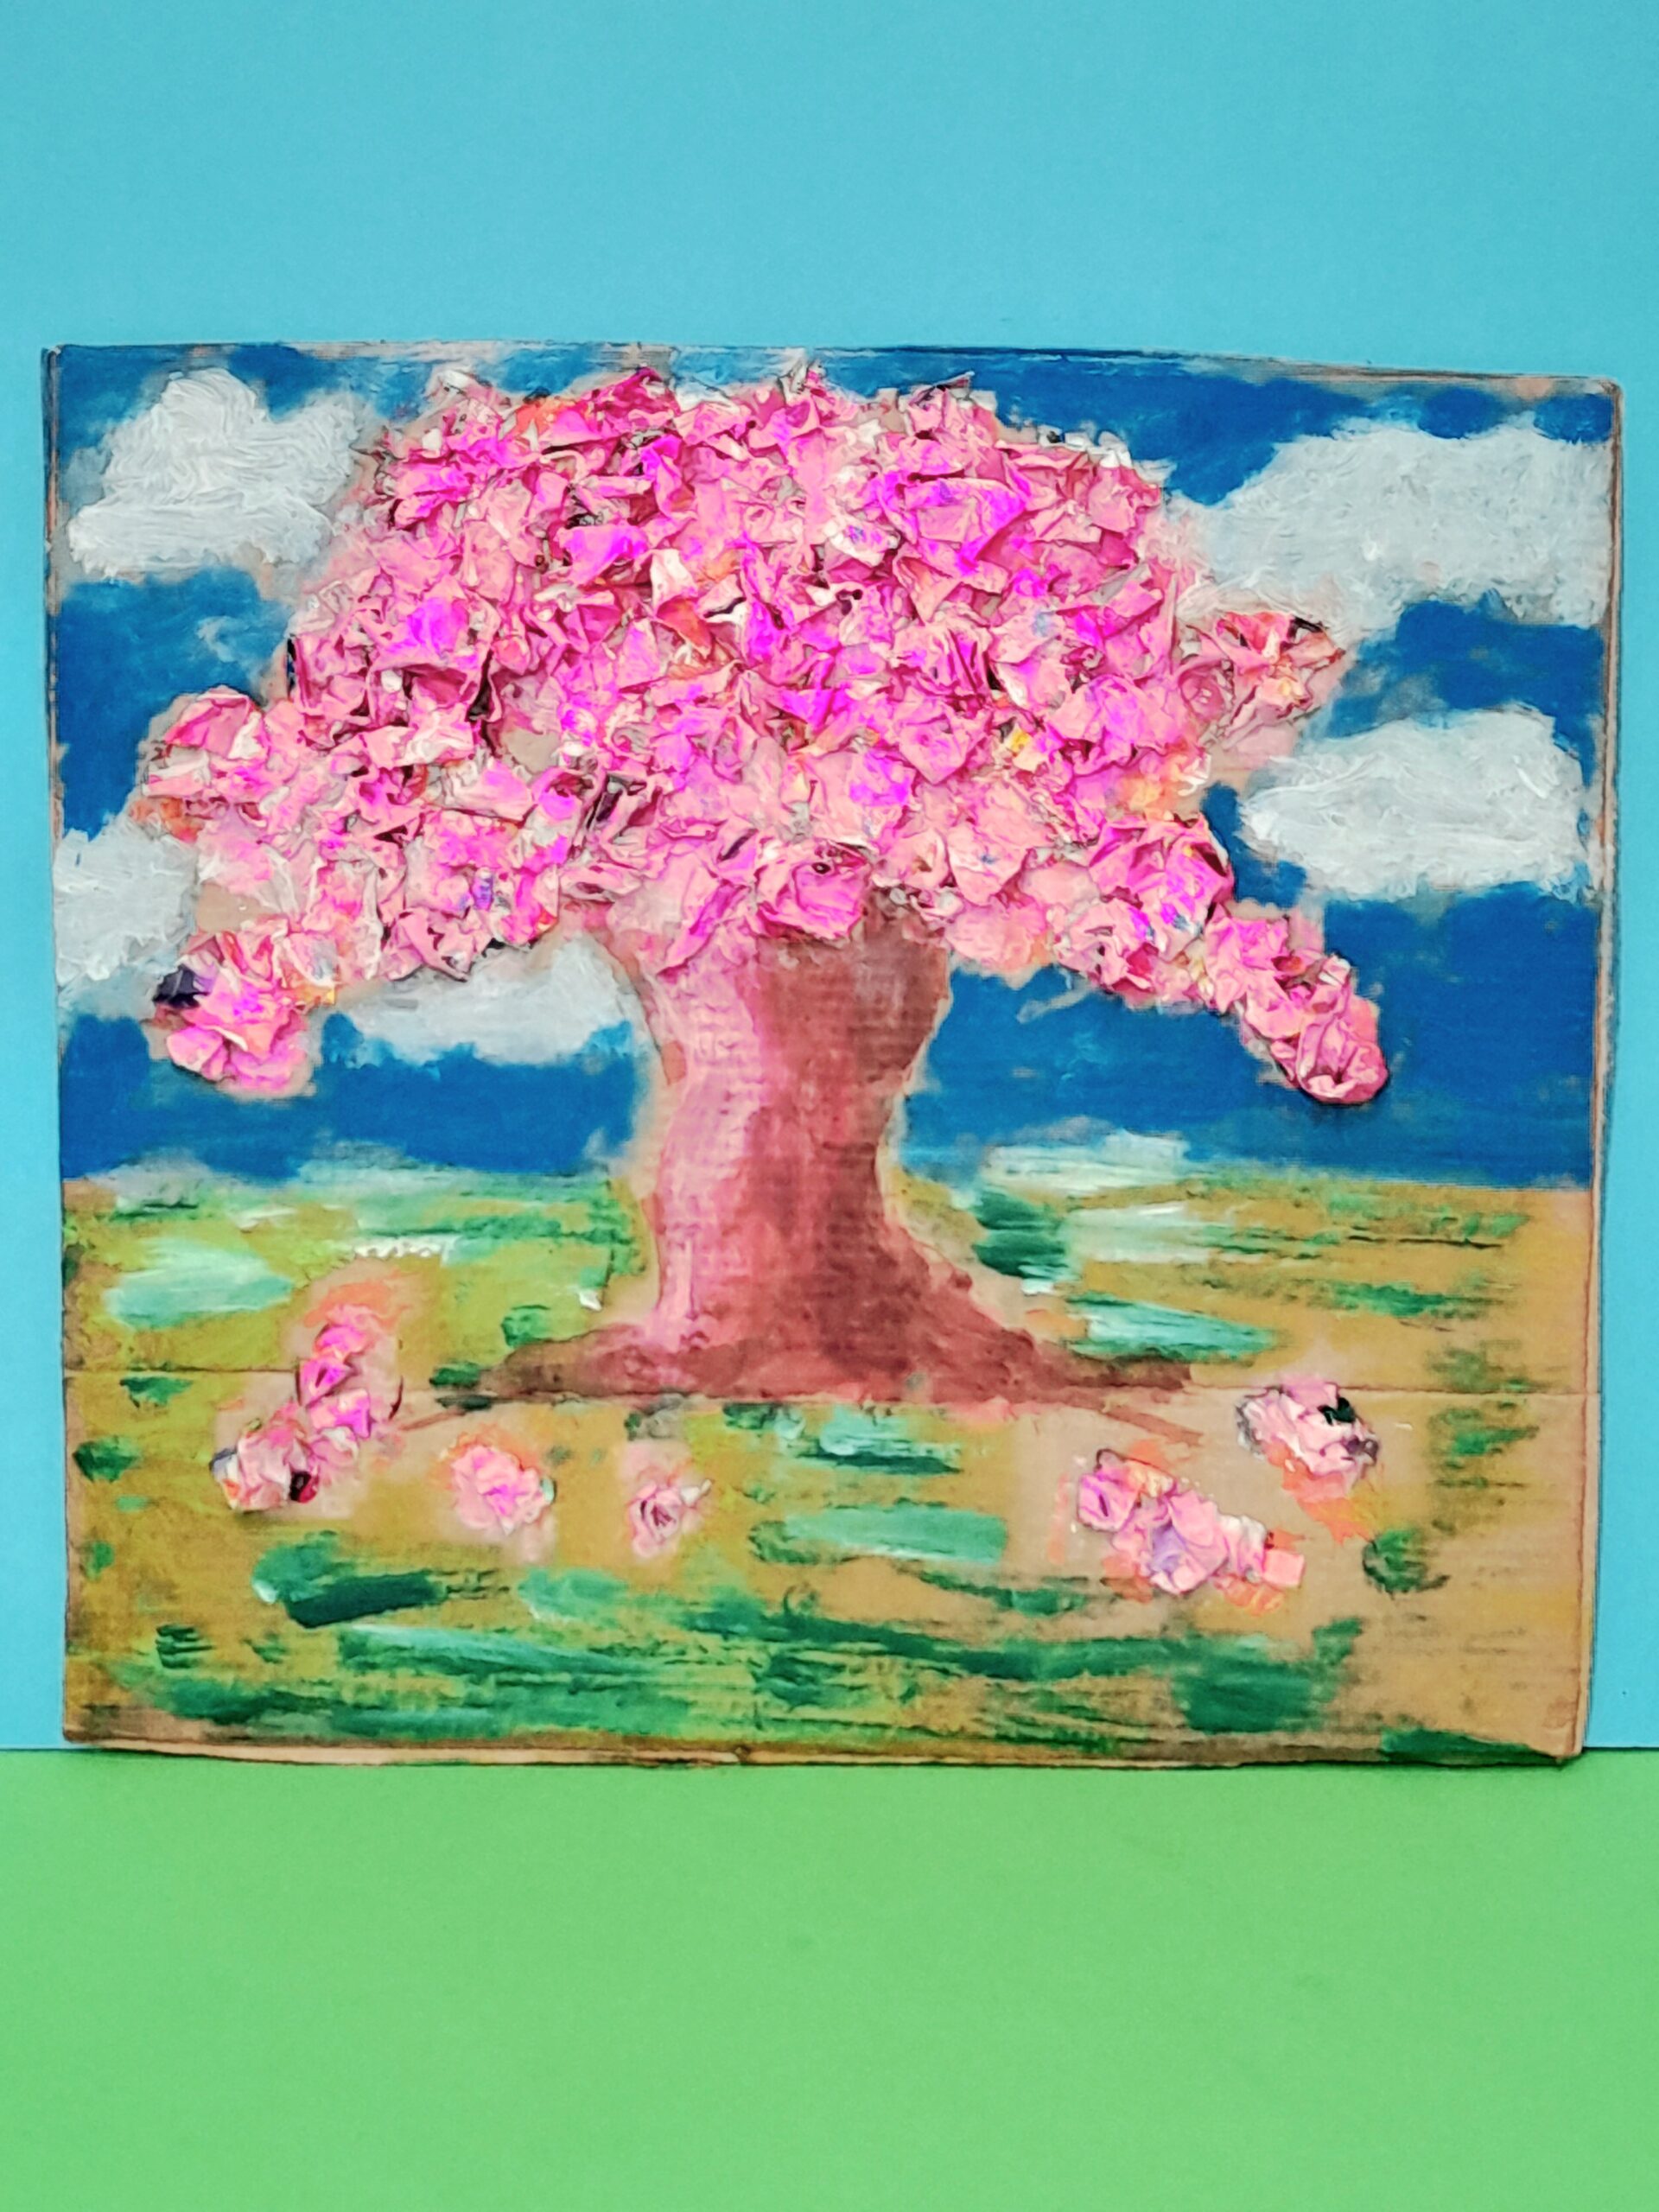
6) Now you have a 3 dimentional second cherry blossom craft ideas for kids to do!
THIRD IDEA!
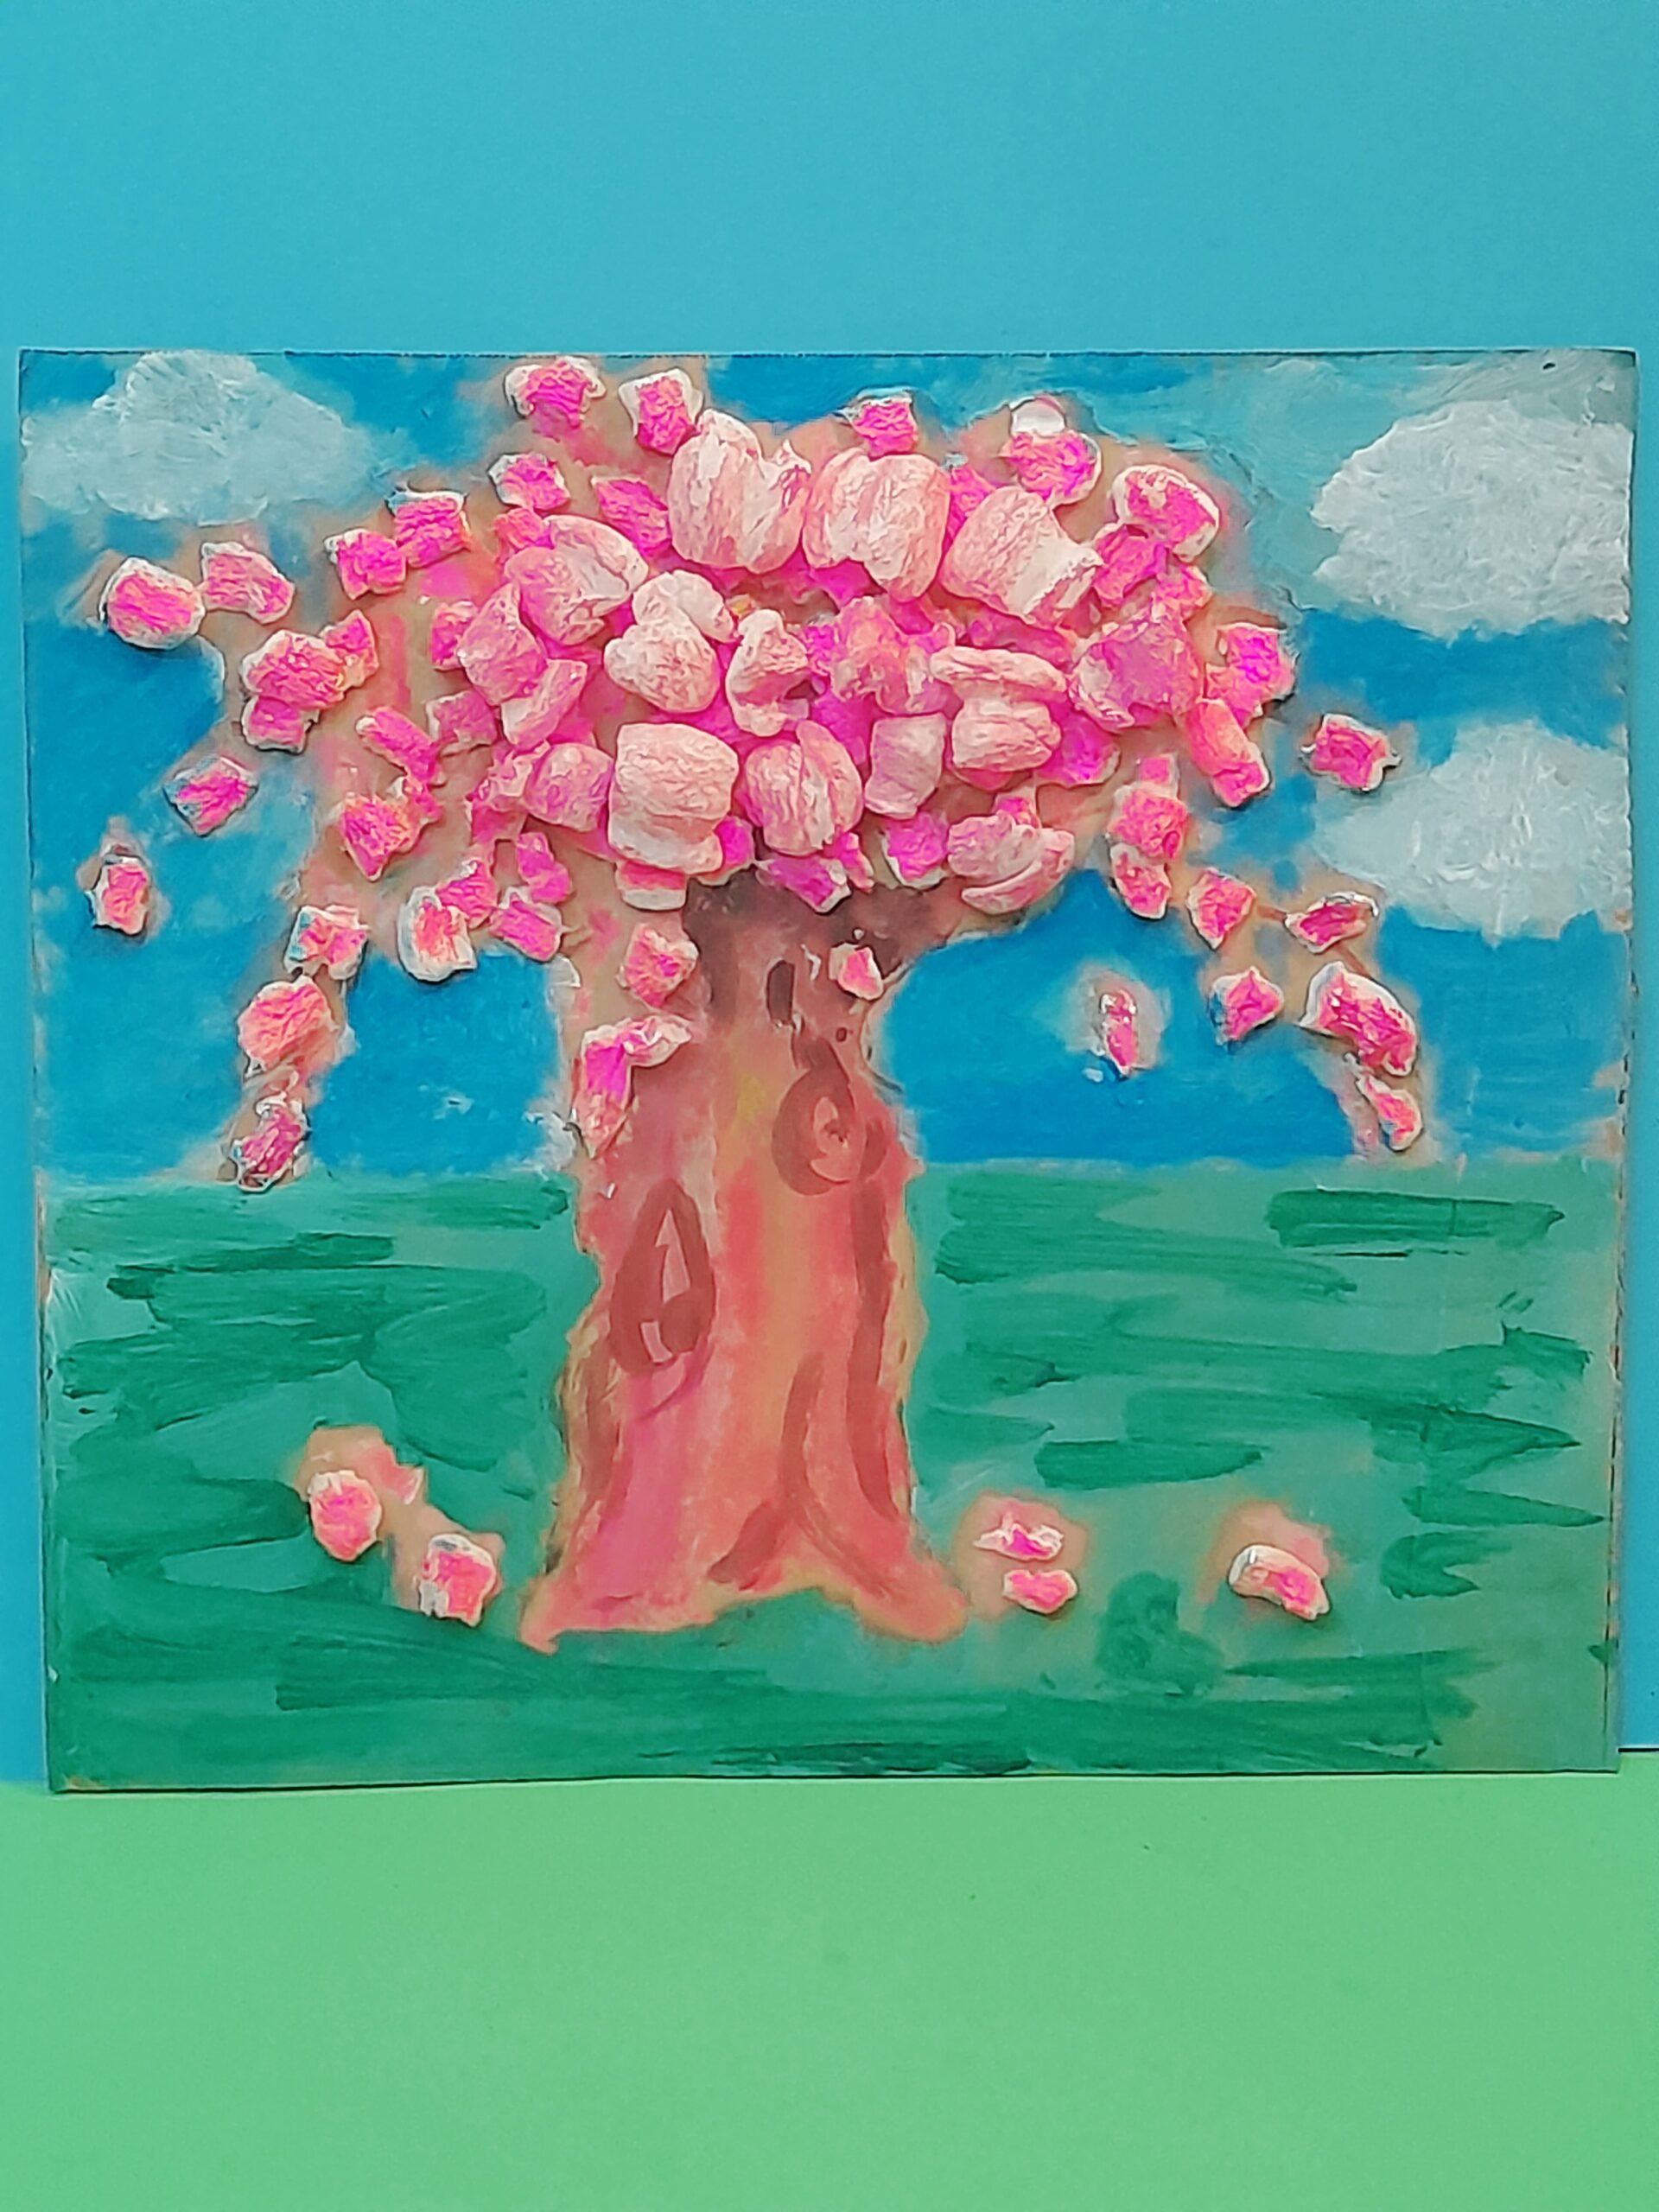
Finally here is the third cherry blossom craft ideas for kids, using the sponging technique.
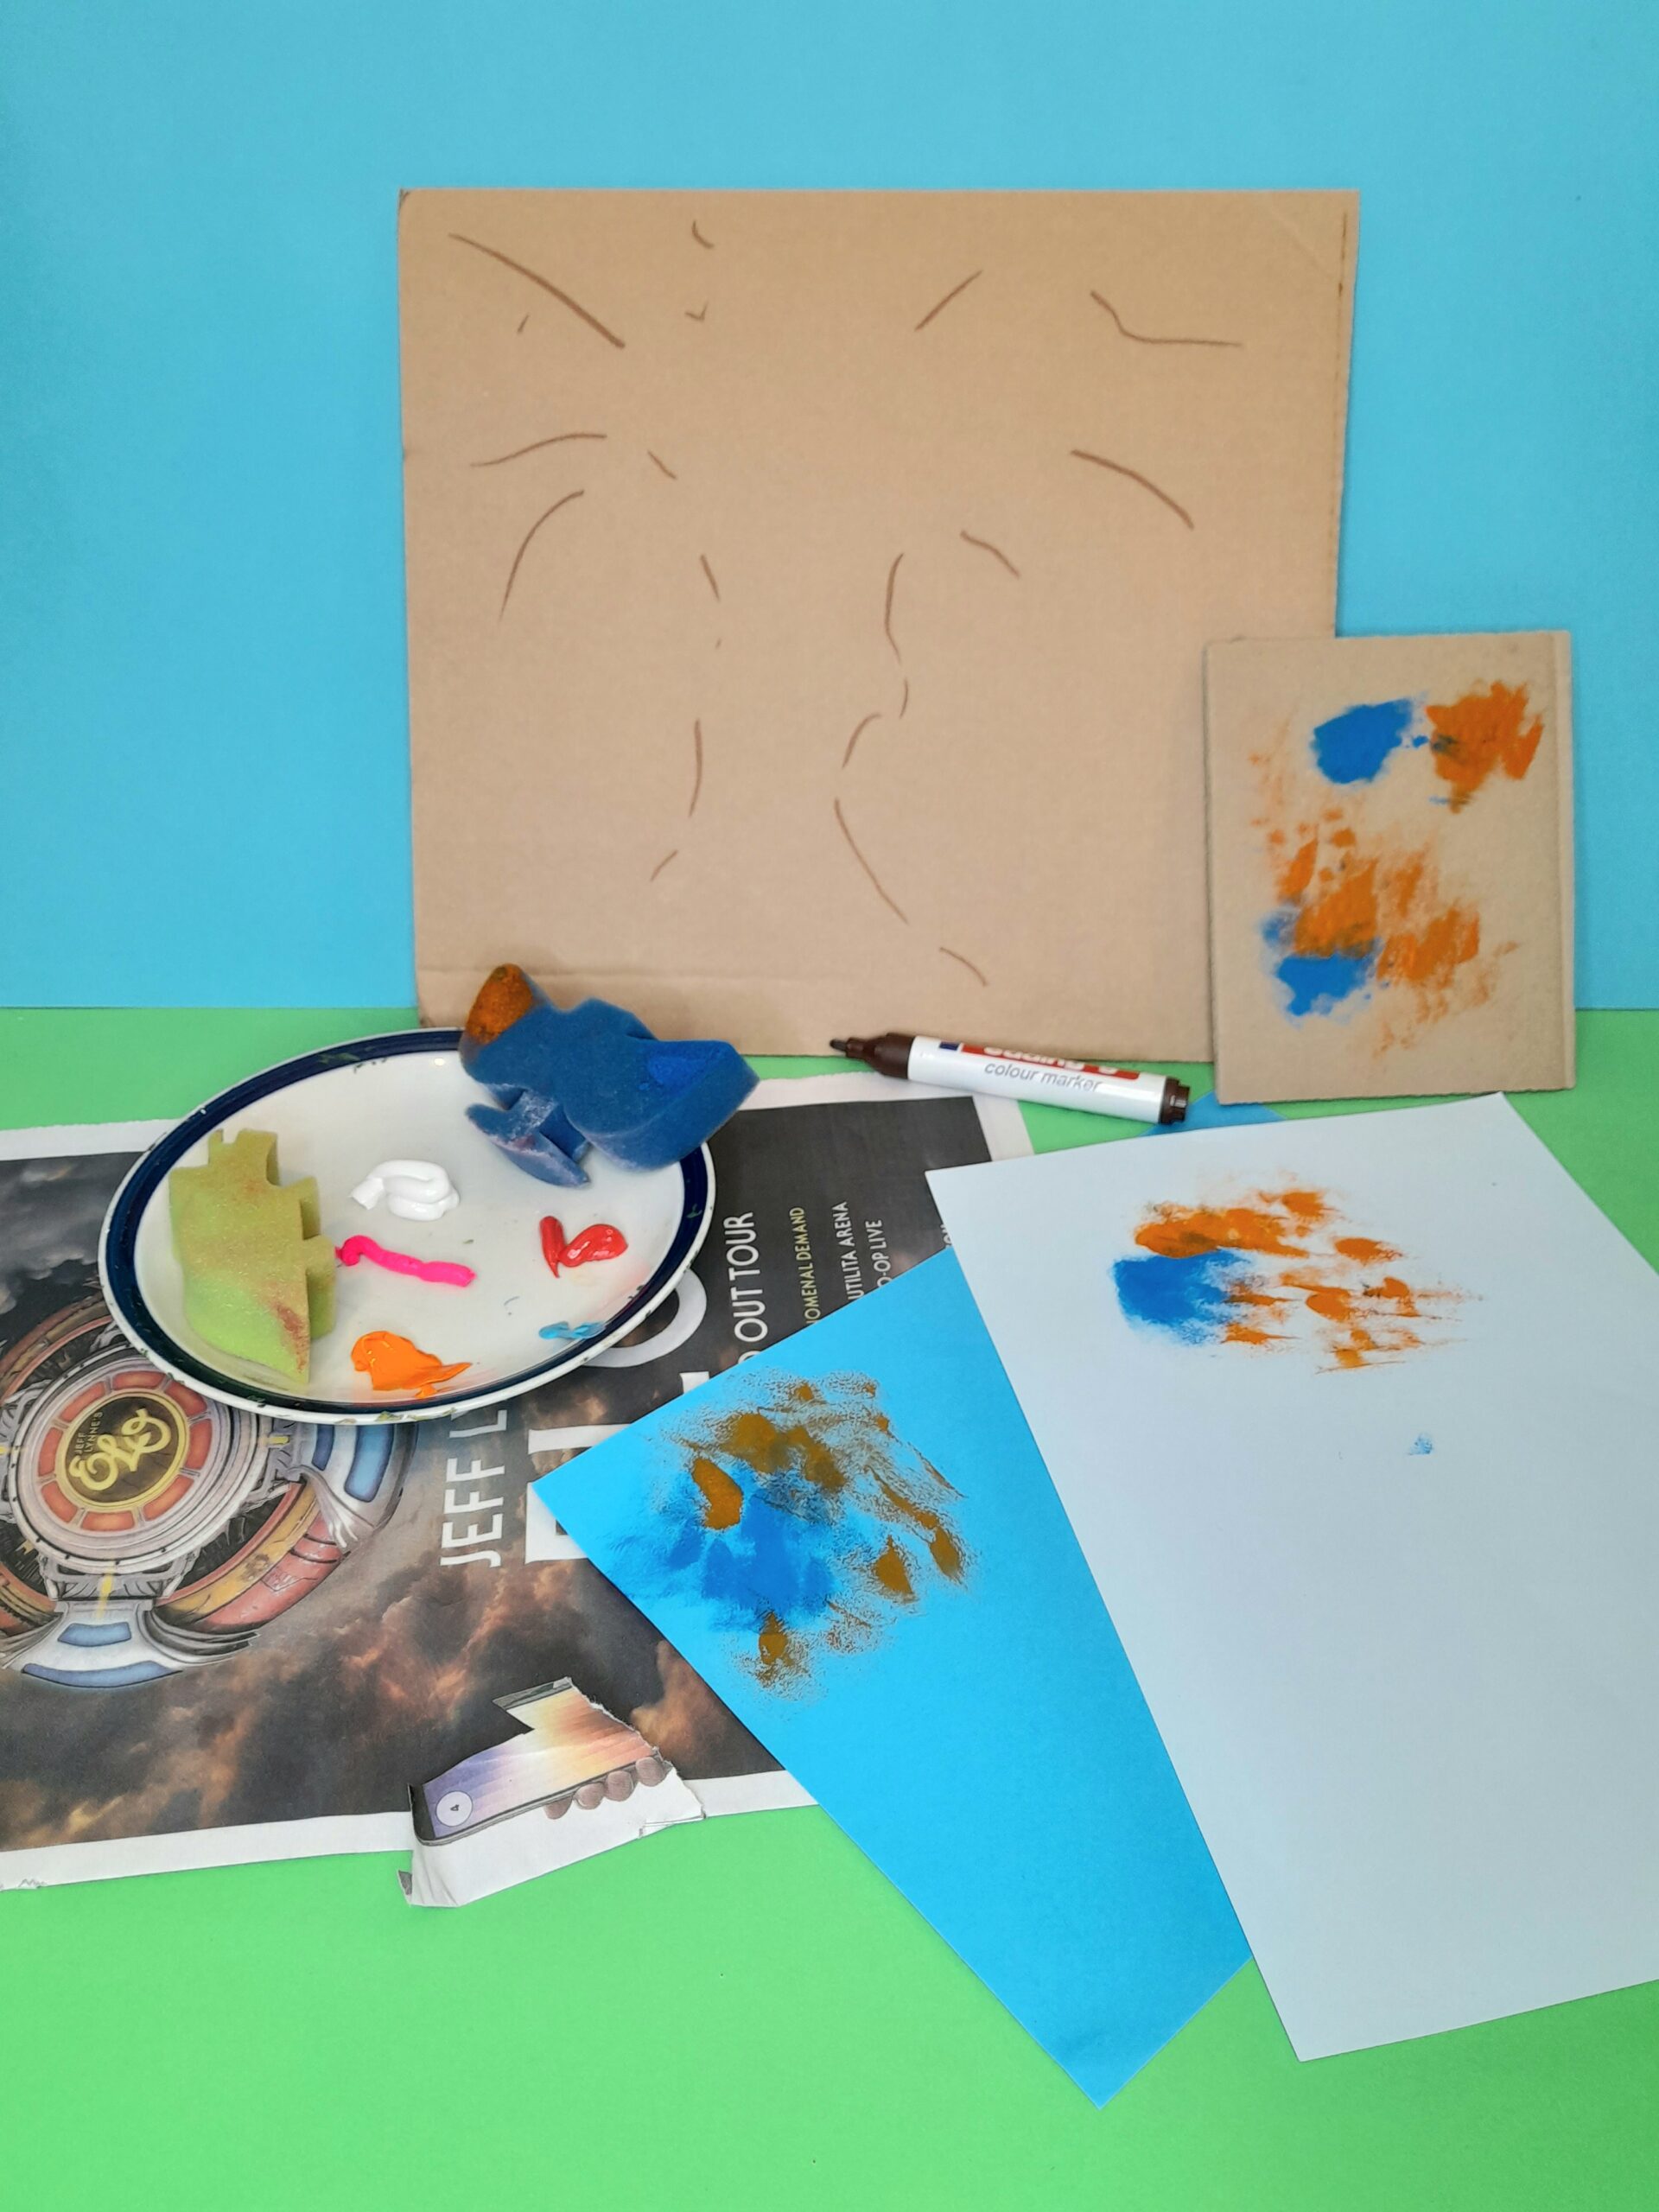
Using a sponge effect to make a cherry blossom craft ideas for kids!
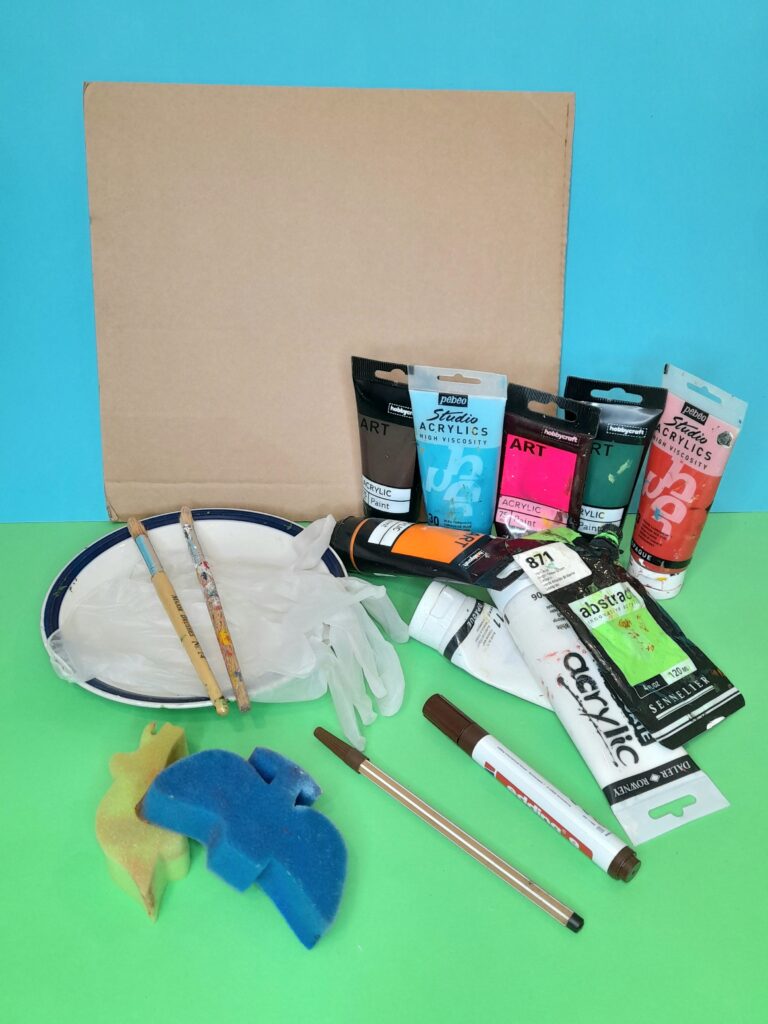
RESOURCES!
A square piece of packaging card, you decide the size.
1) Draw an outline of a tree with brown felt-tip pen. Trial sponging paint on coloured card as an alternative.
2) Using sponges transfer colours onto the tree and build it up to creat glorious blossom effect.
3) Finish off the scene, blue sky and green grass.
5) You have now completed the third cherry blossom craft ideas for kids with sponge painting.
SOME TIPS!
USING CARD.
Hold on to your packagingboxes and cut out the size of the card you would like to craft your blossom tree on.
Cut the card to form a nice square, so you can expand the blossoms to fill upthe area of the card.
ACRYLIC PAINTS.
Find paints with vibrant colours. Build by layering on top of each colour to give the tree more depth.
ANY SPONGE?
Sponging is fun, use odd pieces as you only need a section to sponge with.
Cut a piece from dry washing up sponges, that’s fine.
Try to use different sponges, for applying each colour, like pink on one sponge, white on another and so on.
HOW TO PAINT.
When colours dry keep layering the paint to bring the tree to life!
To add the sky and grass, for the background, go about halfway down behind the tree, imagine a line going right across, and then apply colours.
The top part is blue for the sky and white cloud, and green for the rest below for the grass, use your style to create this.
USING DISSOLVABLE POLYSTYRENE.
I used polystyrene that is dissolvable, so while painting each piece it decreased in size, if this is the case allow it to dry and keep applying polystyrene bits to build up again, and just tap gently when painting.
There you have it, I have presented 3 methods to craft cherry blossom craft ideas for kids.
Glueing newspaper, or polystyrene and finally stamping with sponges!
The easiest would be the sponging technique, for the younger children and the glueing ones for older kids, and of course what resources you have available too!
You choose, which one is most suited to your kids, and their capabilities.
WANT MORE!!!
If you are looking for more Cherry Tree creative crafts, that come ready in sets, so no need to look around for parts, then take a look at ETSY!
HERE ARE TWO SUPER CHERRY TREE
CRAFT KITS!
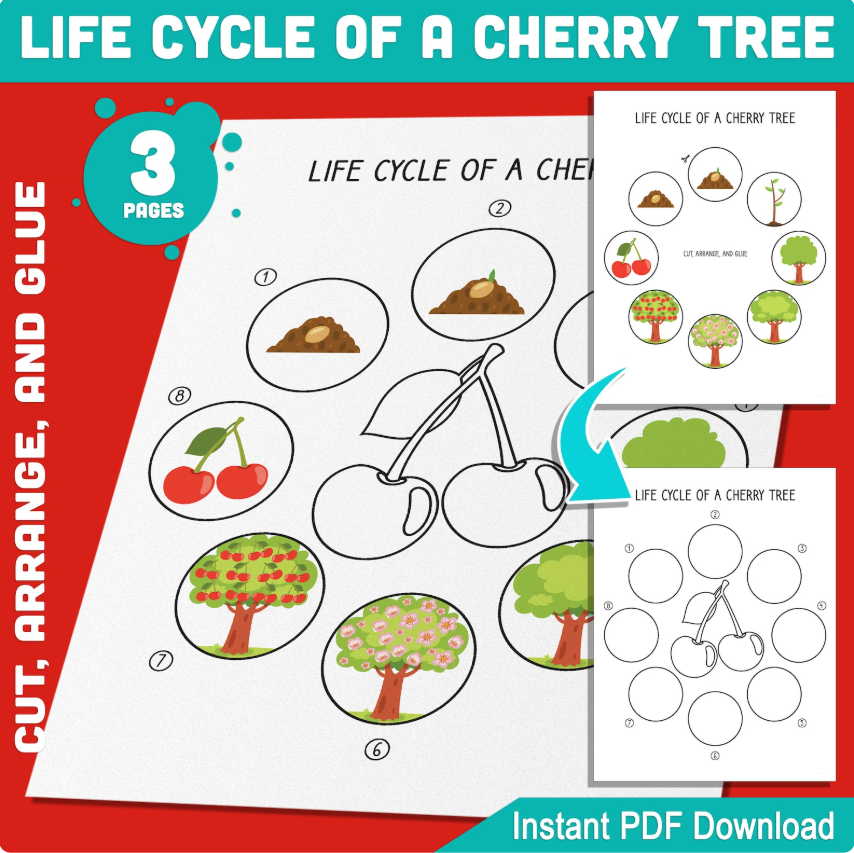
This craft kit is educational and kids can learn the life cycle of a Cherry tree!All you need to do is download an affordable 3-page PDF file and print it out! Then children can learn while cutting out the images following the 8 stages of plant growth for kids!
The life cycle of a Cherry Tree PDF file.
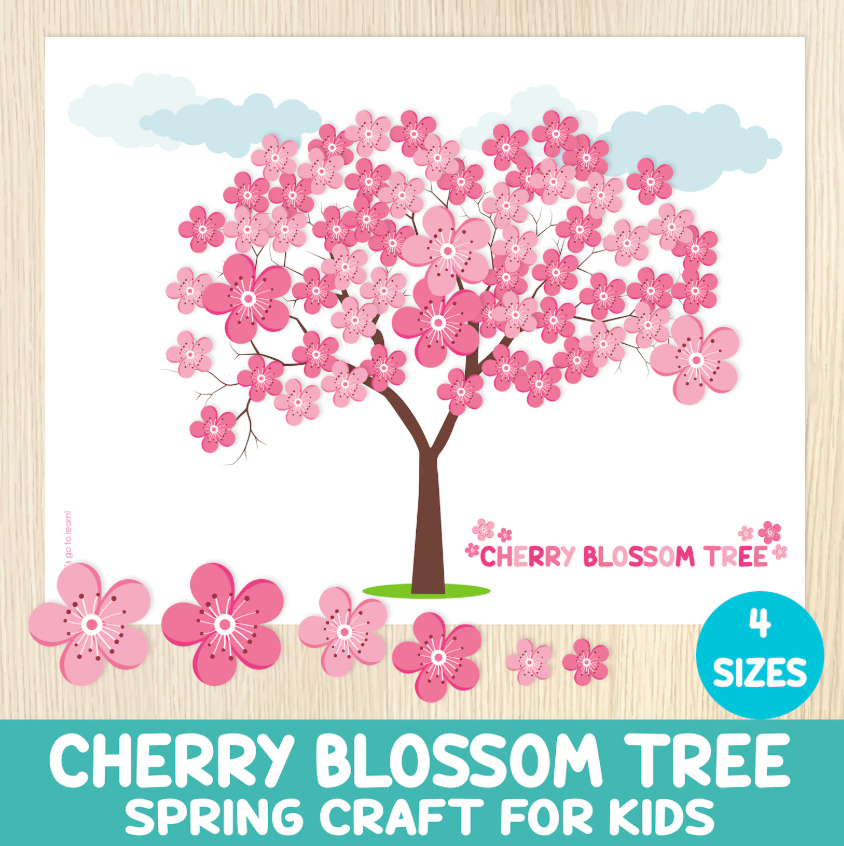
A Cherry Blossom Tree PDF file to print out!
On the other hand, this is a prettyCherry Blossom Tree Spring Craft for kids!You print off any one of the 4 sized trees, PDF file, and then there is a range of different-sized blossoms for your kids to cut and paste on the tree! Great activity for little hands addressing fine motor skills!
So check out Etsy, for more fun cherry blossom tree crafts and much much more!!!
Hey there, when you click on links in this post and you make a purchase, I may earn a small commission that l can use towards resources (other than throw-outs) for project making within my website😀
If you are looking for enjoyable trips with your kids at affordable prices, tempting you with their Easter perks, then take a look at these great family deals at KIDS PASS!
Jump in quick, there are still great family offers that you can whip up, and there is no need to wait, as you will receive your entry tickets online!
For just £1 you can try KIDS PASSfor 30 days, and if you enjoy all indoor and outdoor activities with tempting trips to safari parks and fun rides, cinema, family eat-out deals, and more, then after30 days you can join up for just a small fee of £3.99 per month!
Here are previous spring activities that your kids might like to craft!
Showing different art techniques and different recycled resources, to create fun flowers, butterflies and insects!
4 thoughts on “CHERRY BLOSSOM CRAFT IDEAS FOR KIDS!”
I love this time of the year with all the colorful trees coming to life after winter. And what a great idea for spring break activities with your kids!!
Thanks for your comment Jenny, I do agree spring is beautiful, time of the year. A start of a new season represented by gorious blossoming trees! I thought for an Easter activity, maybe instead of bunnies, chicks, or eggs, to express it with a cherry blossom tree activity. It’s what caught my eye and had to do something with it.
So glad you liked this activity and a great way to keep kids busy!
Happy crafting!
Julia.😊
It’s great that I came across this and some of your other articles today as I head up to Liverpool tomorrow for Easter to see my family, especially my niece and nephew.
I am going to share these articles with them and see if we can work on some of the crafts you describe together.
If this doesn’t make me the favourite uncle, I don’t know what will.
I’ll let you know how we get on and what they think of your website.
Thank you for sharing and keep up the amazing work.
Hey Tom, I am sure you are their fav. uncle, especially if you spend special time with them to do crafting! Depending on your niece and nephews age if they are older, then working with newpaper, sticking squashing and painting might be a good one to keep them busy lol! The younger ones might find sponging more easier to handle with their little hands, and fun too!
Thanks for your super comment, and appreciate you wanting to share my projects, and I would love feedback from your family how they got on, and what they think too!
Happy Crafting!
Julia.
😊


I love this time of the year with all the colorful trees coming to life after winter. And what a great idea for spring break activities with your kids!!
Thanks for your comment Jenny, I do agree spring is beautiful, time of the year. A start of a new season represented by gorious blossoming trees! I thought for an Easter activity, maybe instead of bunnies, chicks, or eggs, to express it with a cherry blossom tree activity. It’s what caught my eye and had to do something with it.
So glad you liked this activity and a great way to keep kids busy!
Happy crafting!
Julia.😊
Hi Julia,
It’s great that I came across this and some of your other articles today as I head up to Liverpool tomorrow for Easter to see my family, especially my niece and nephew.
I am going to share these articles with them and see if we can work on some of the crafts you describe together.
If this doesn’t make me the favourite uncle, I don’t know what will.
I’ll let you know how we get on and what they think of your website.
Thank you for sharing and keep up the amazing work.
All the best,
Tom
Hey Tom, I am sure you are their fav. uncle, especially if you spend special time with them to do crafting! Depending on your niece and nephews age if they are older, then working with newpaper, sticking squashing and painting might be a good one to keep them busy lol! The younger ones might find sponging more easier to handle with their little hands, and fun too!
Thanks for your super comment, and appreciate you wanting to share my projects, and I would love feedback from your family how they got on, and what they think too!
Happy Crafting!
Julia.
😊