Yet again, I fell into the trap of being convinced I should buy Christmas cards this year.
Even though I would put some in the trolly before I got to the check-out, I’d removed them, thinking it was really not me, as I would prefer to do my thing.
FRIENDS EXPECTATIONS!
This was also topped, by a colleague who pointed out that she always looks forward to my cards every year, takes out the previous cards she had collected, and puts them up, as she likes my ‘Fun Christmas Card Ideas’!
HAND-CRAFTED CARDS!
How could I refuse, there is something about making hand-made cards that gives it that difference and makes it more special.
It doesn’t have to be complicated or full of bells and whistles, just a simple piece of work that’s just as good as the real thing!
Christmas cards have become quite pricey and a bit of consideration is encountered.
So I will show you how you can make and inspire you with a few easy, Fun Christmas Card Ideas, with a few resources.
WHAT’S THE SUBJECT FOR THE CARDS………
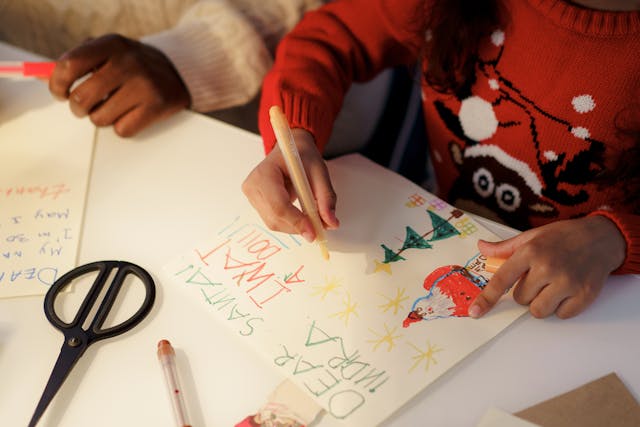
Picture from Pexels.com by Cottonbro Studio.
Kids’ drawings are the best! They are so endearing that you can use one of their sketches as the main character for the Christmas cards or even the shaker boxes!
LOOKING FOR AN IDEA.
At the moment, not being too gloomy, but isn’t it all about our health? colds and coughs, feeling down and not that great.
Especially now that the weather is much, colder and flu season has started, I thought I would incorporate that idea into a fun child-friendly image.
MY INTENTION!
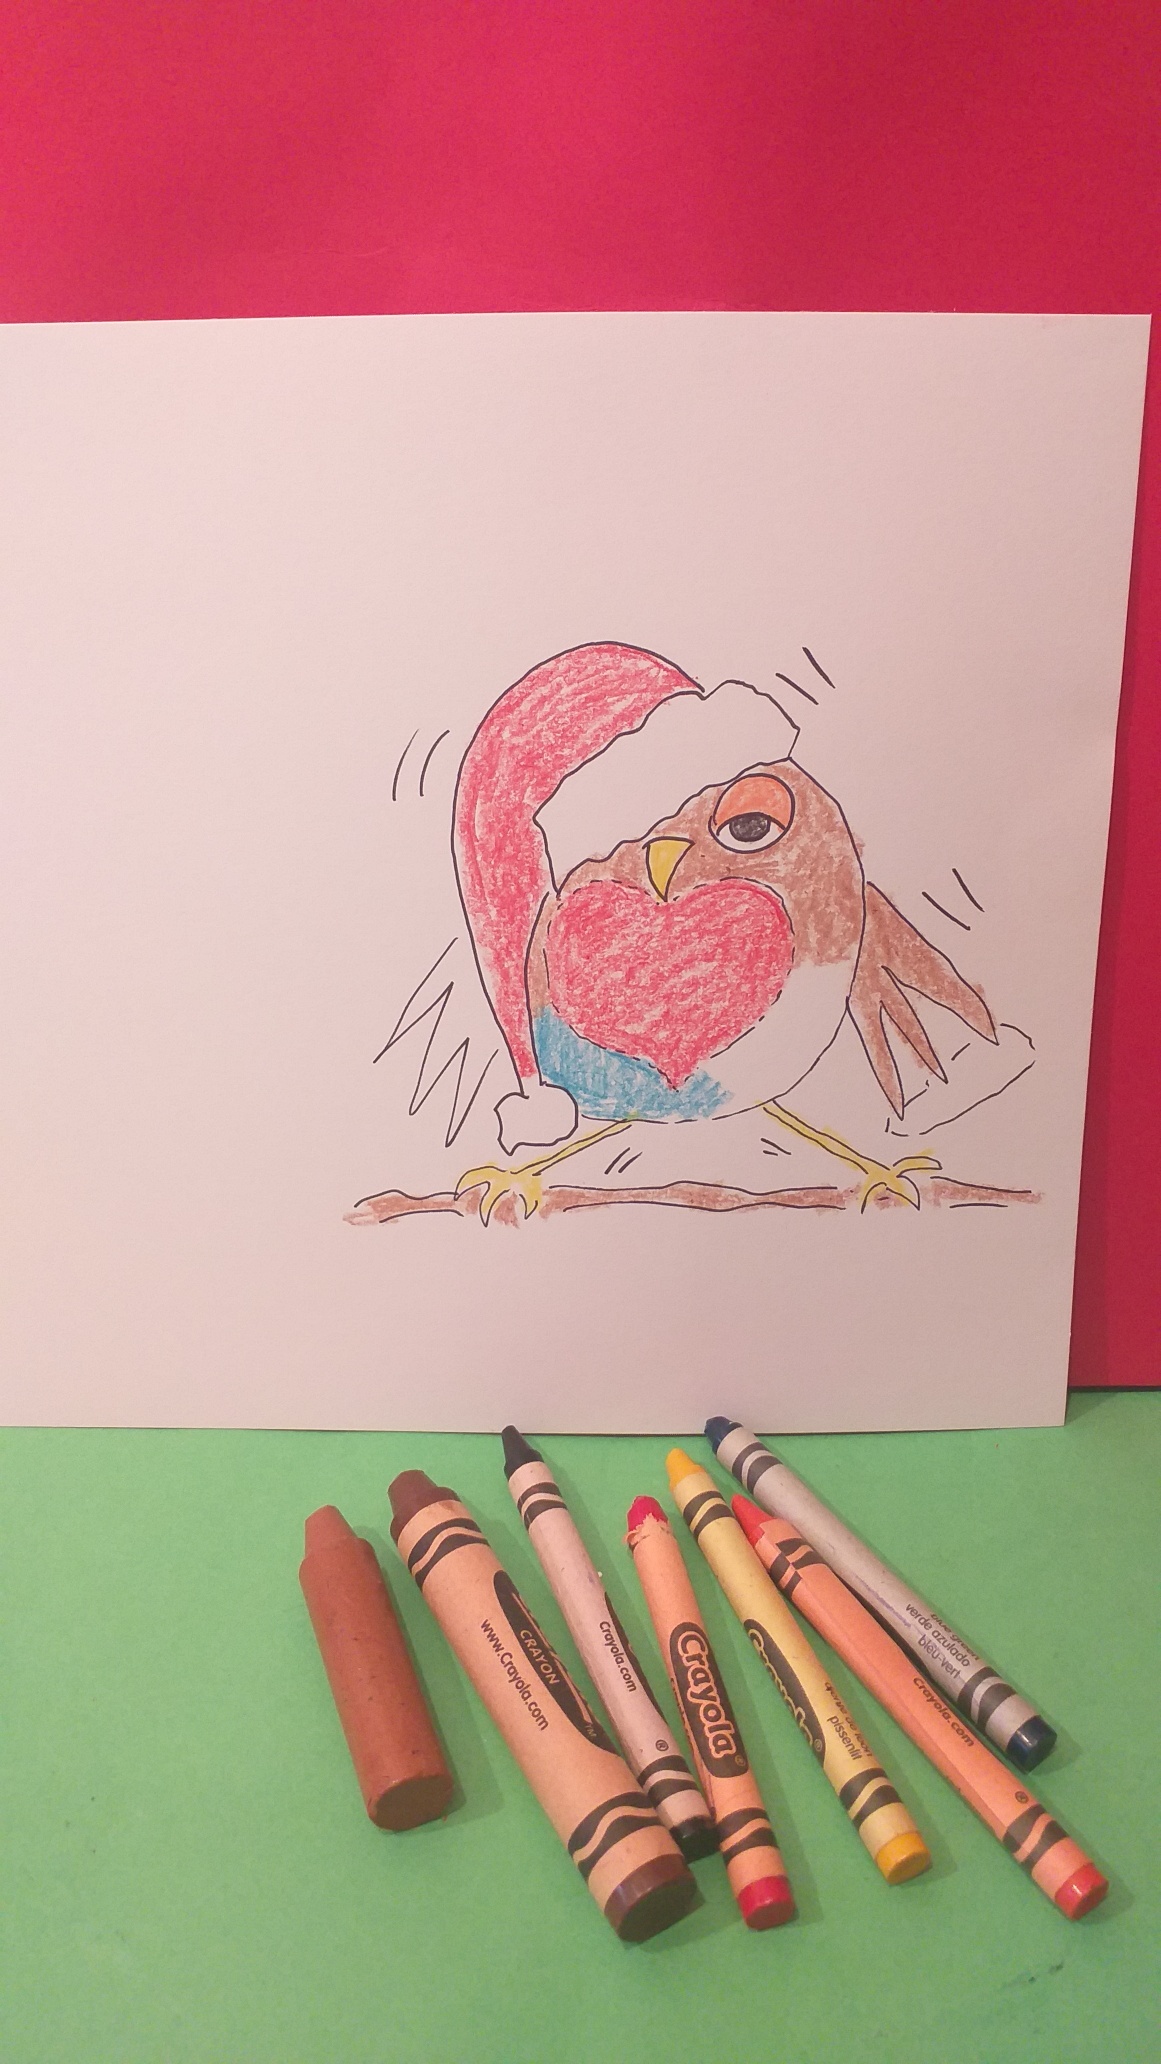
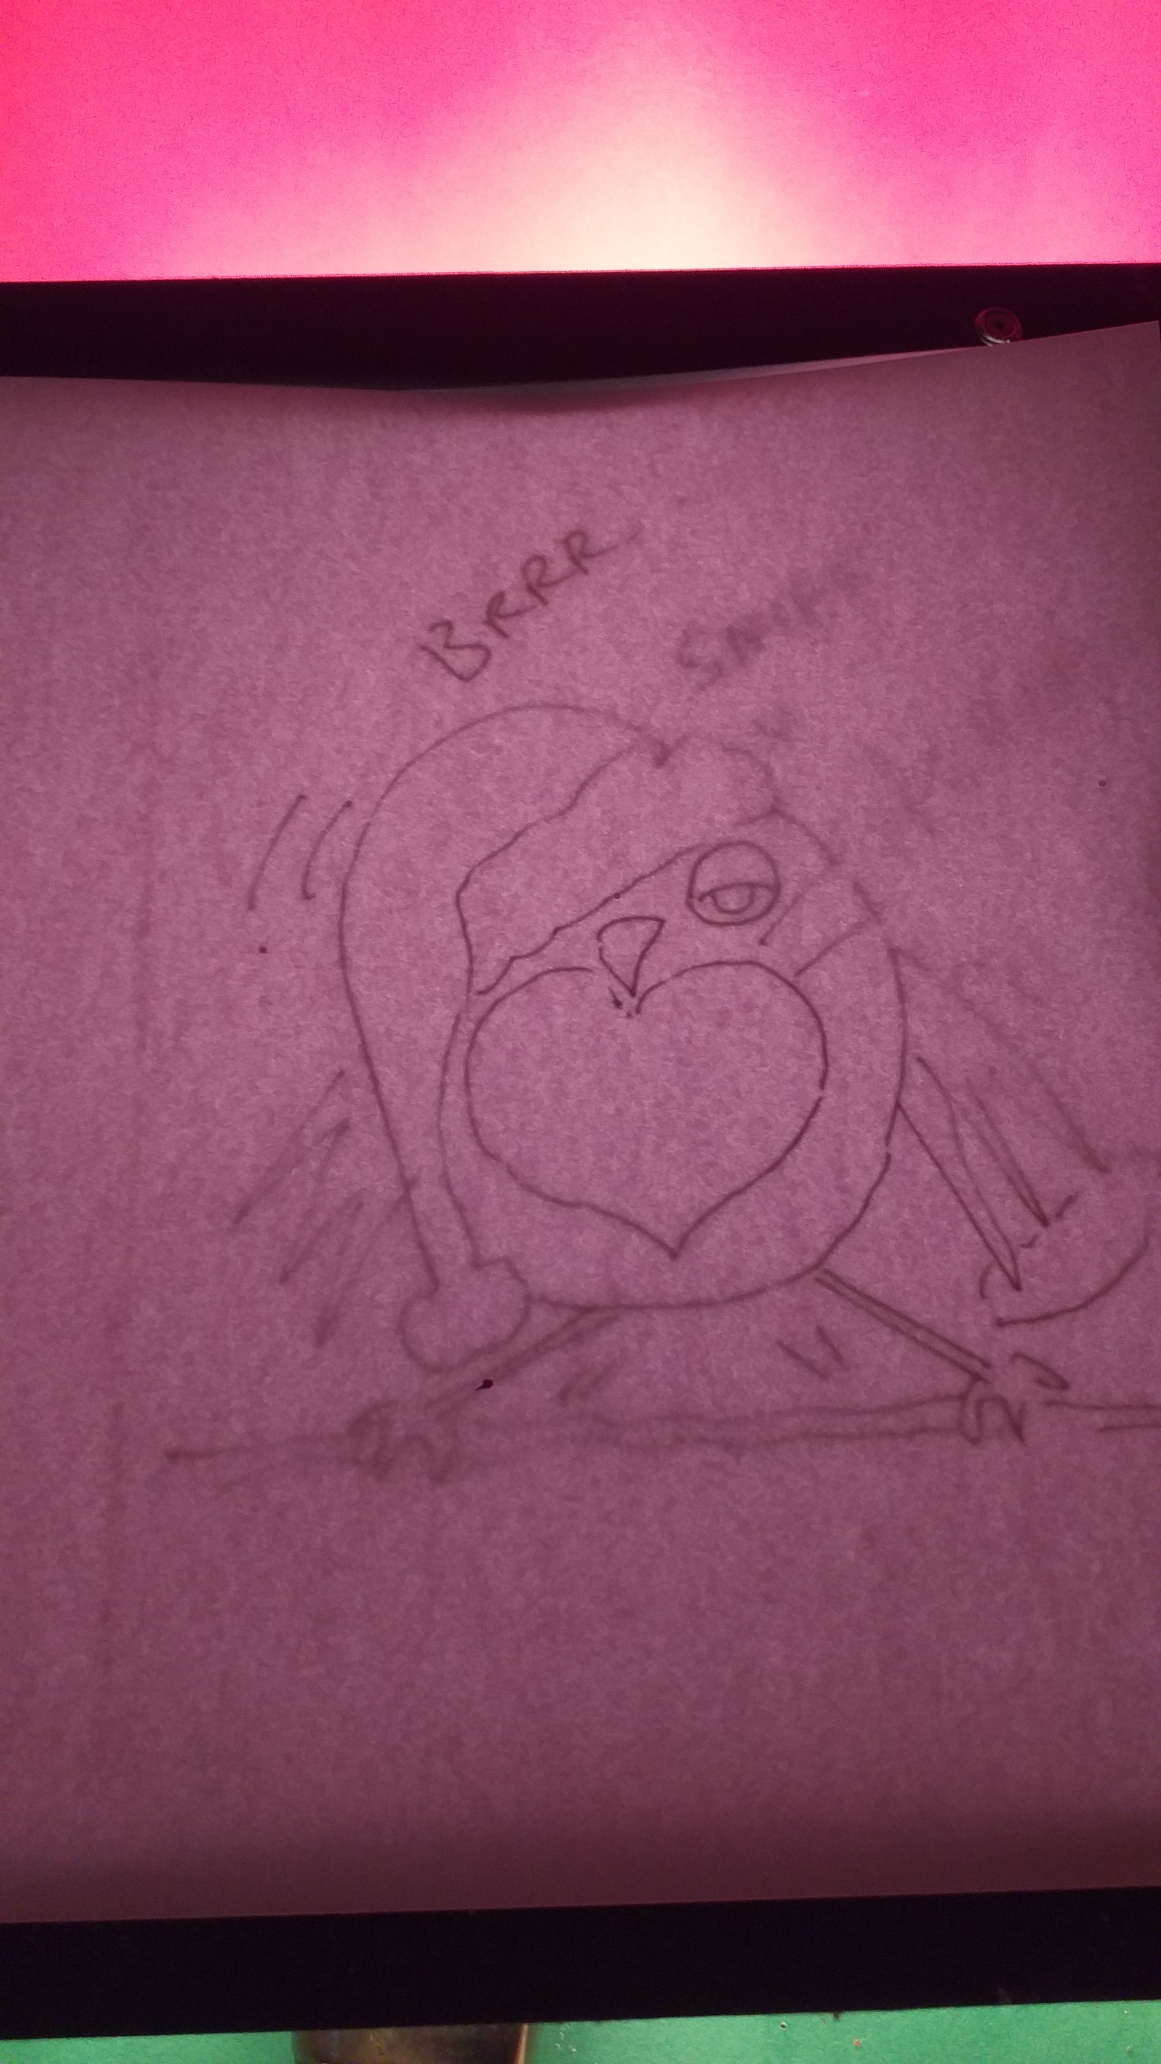
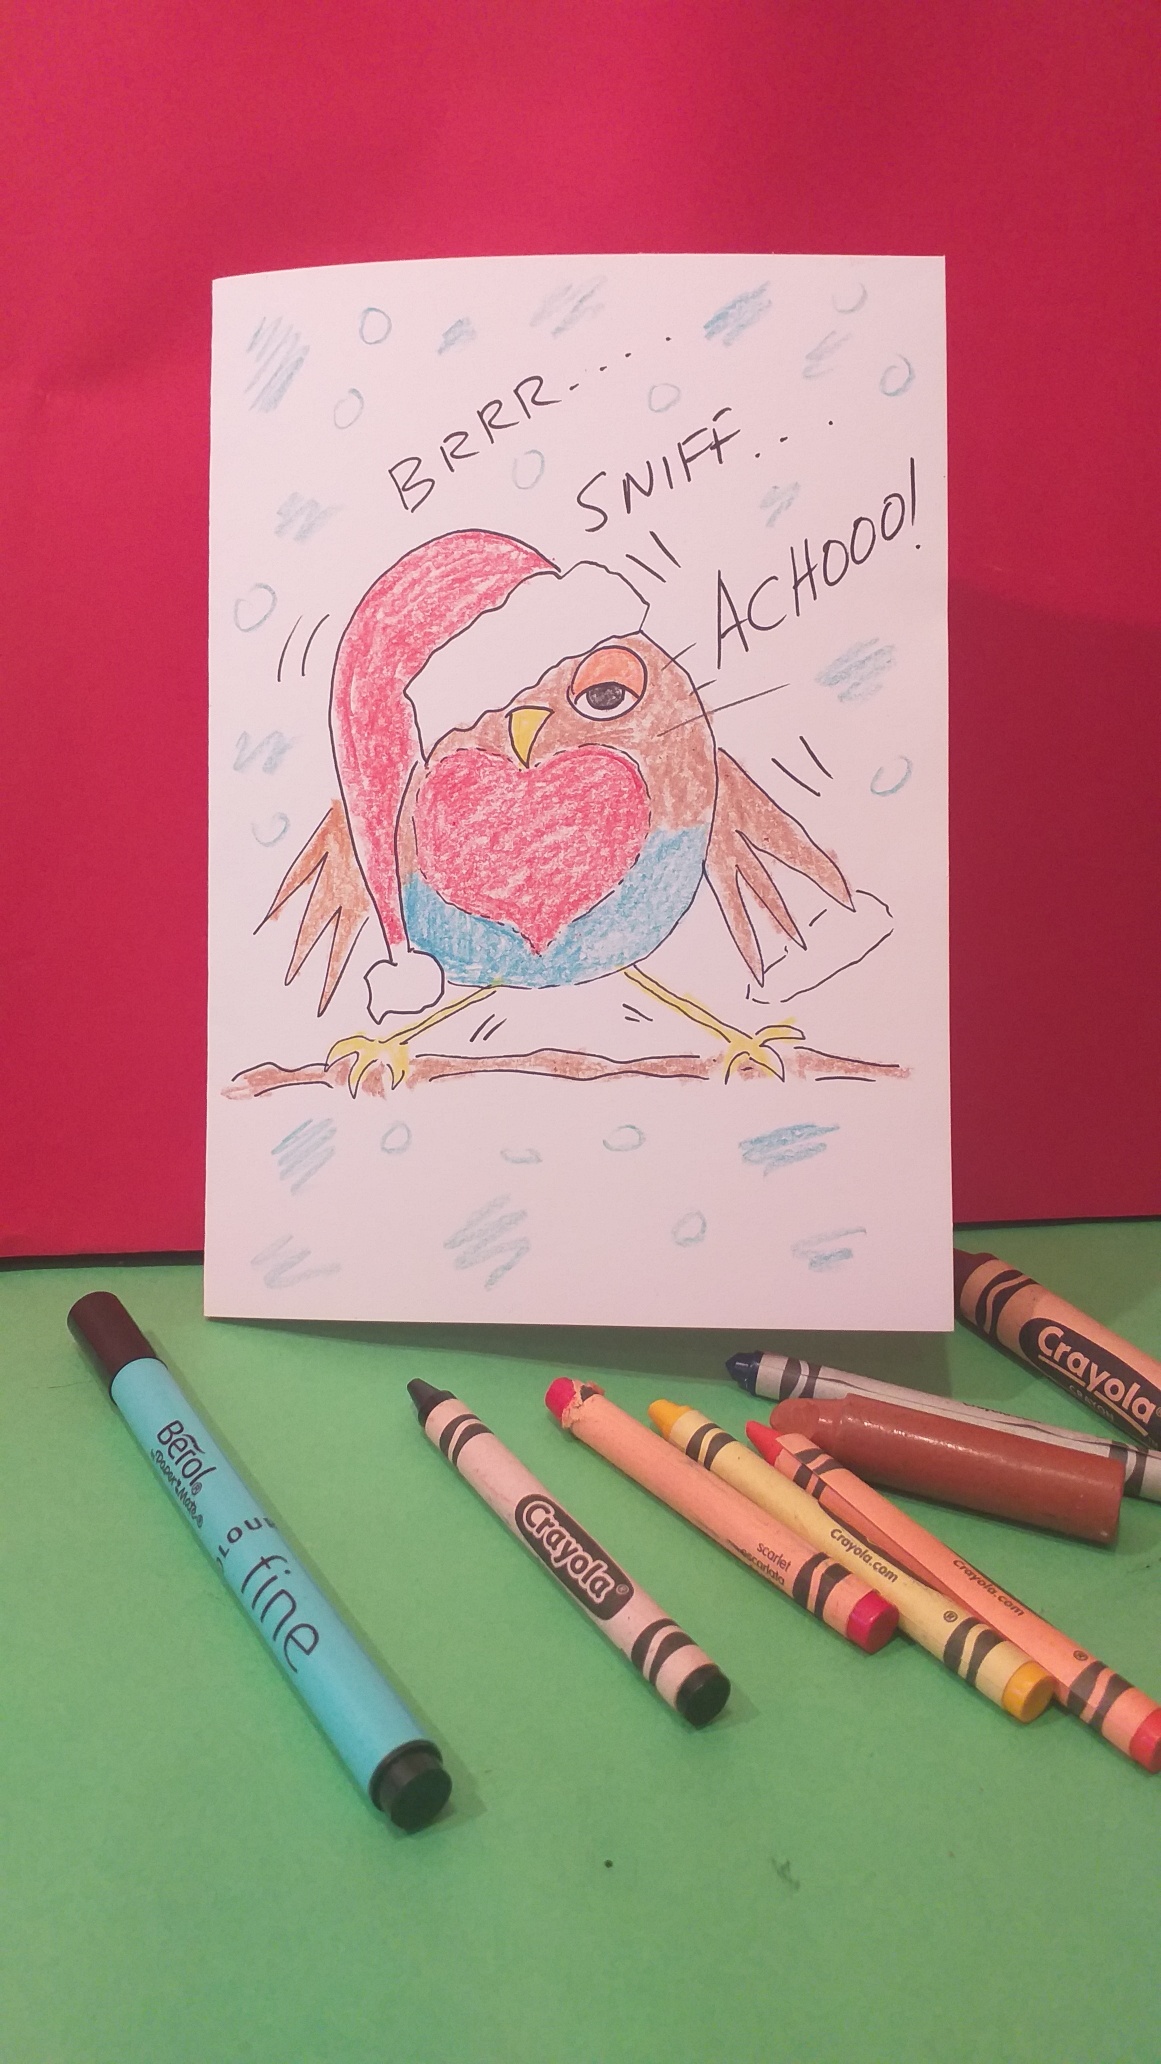
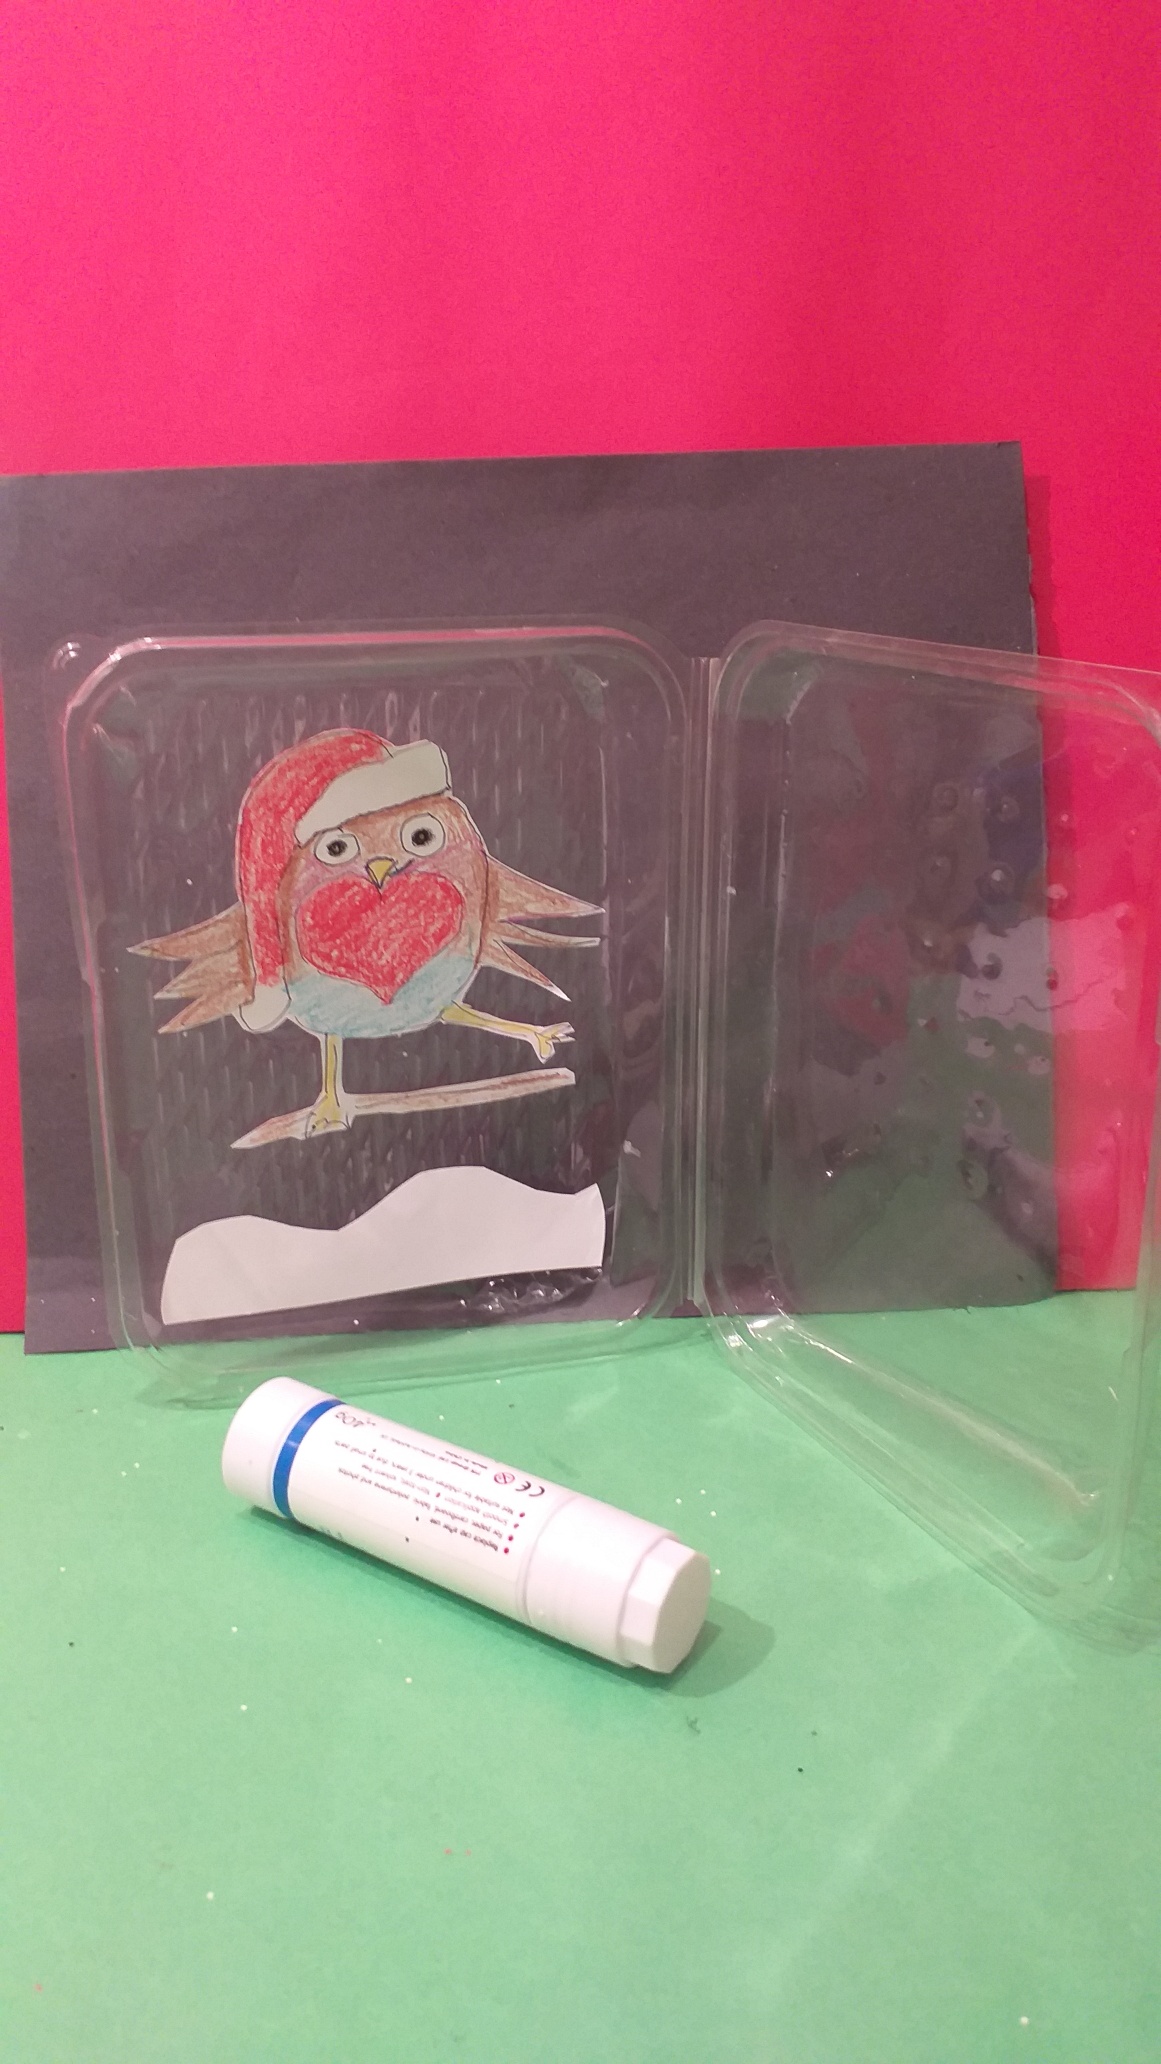
I thought I would do a fun cartoon of a Robin, with it’s bright red chest, wearing a red Santa hat and not looking too good, as he has come down with a cold!
So this would be the theme behind ‘our Fun Christmas Card Ideas’!
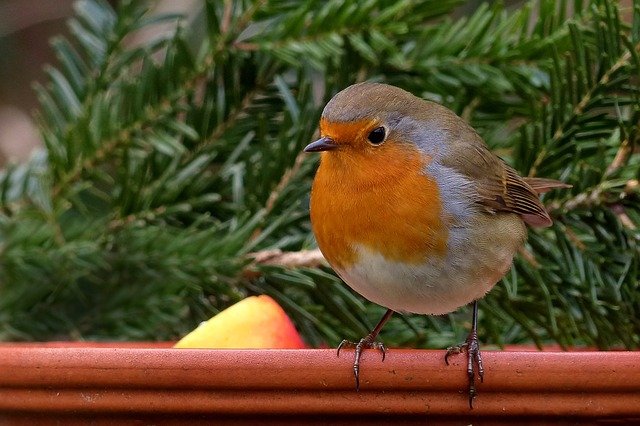
We have this cute Robin that flies in and out of our garden. This lovely bird came to my mind and I wondered why it is featured so much on Christmas cards.
SHAKER BOX IDEA!
Later, the robin will still be the main character, I will show you how easy it is to make a ‘Shaker box’ using recycled plastic cake containers.
You or your kids can use any embellishments to make the bits that float within the box when you shake it!
Before I continue, I thought you might like to see this lovely and clever short Christmas video featuring a Robin, a brave and valiant little species, showing the extent to which he would go, to get to his destination and share a delicious Christmas mince pie with a likewise friend. Enjoy.
WHAT DO WE KNOW ABOUT ROBINS?
Why are Robins used on Christmas cards?
Well did you know that back in the 1800s, postmen used to wear red-chested outfits and back then they were known as Robins because they resembled our little friend the Robin.
ROBIN AND LETTERS!
Later, an artist drew a picture where a robin delivers a letter in its beak hence the delivery of mail, the link is simply that.
ROBINS AND CHRISTMAS!
So after some time, the Robin was connected with Christmas and it became a little icon representing Christmas and the delivery of greeting cards.
MOST FESTIVE BIRD!
That’s why you may have seen the Robin portrayed in different snowy scenes is the most festive bird of the Christmas season and so cute too!
Let’s get started with our Fun Christmas card ideas!
I hope I can inspire you or your kids, one way or another and once you have established an idea, a character, and an appealing look, you can get cracking and it’s simply a repetition of your design.
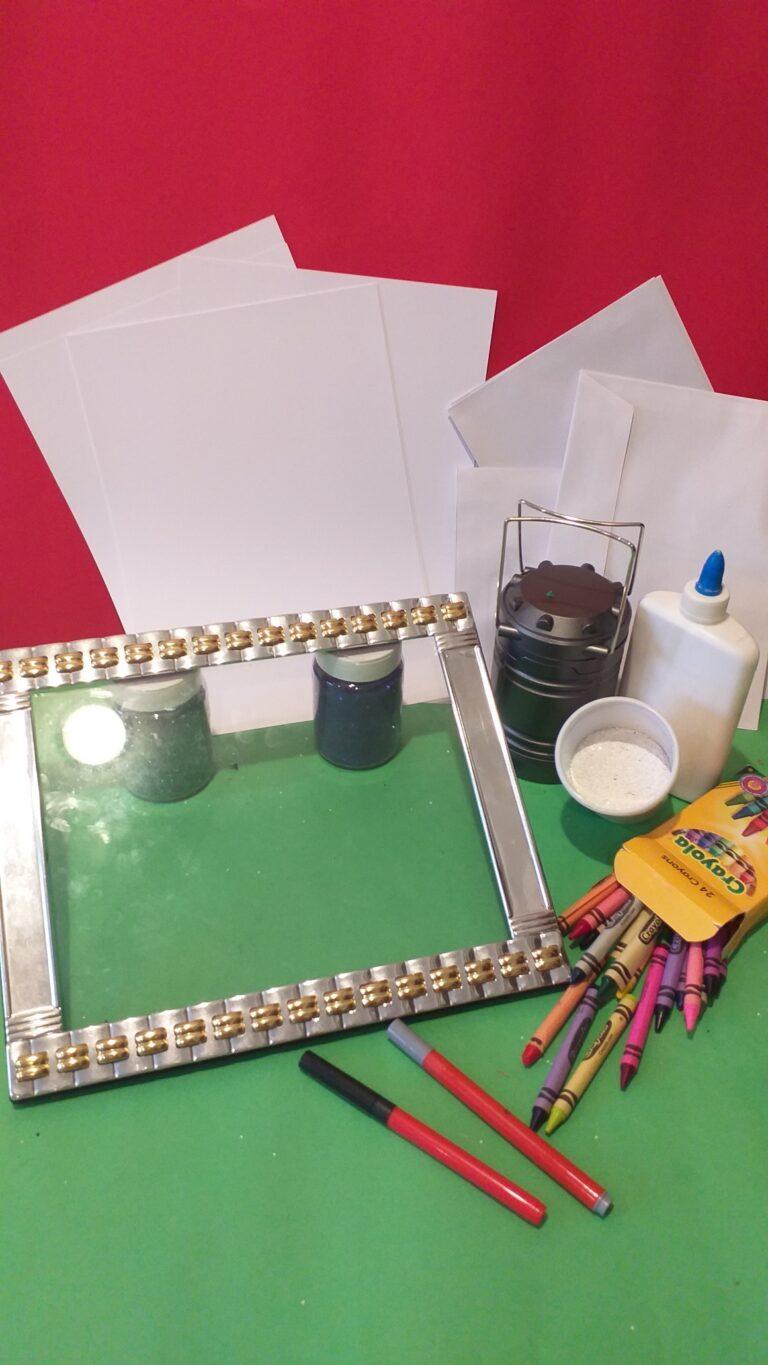
RESOURCES!
White A4 cards and A4 envelopes.
Large piece of glass, from a picture frame.
2 tall pots as stands for glass to sit on.
A torch or lamp.
PVA glue.
White/Silver glitter.
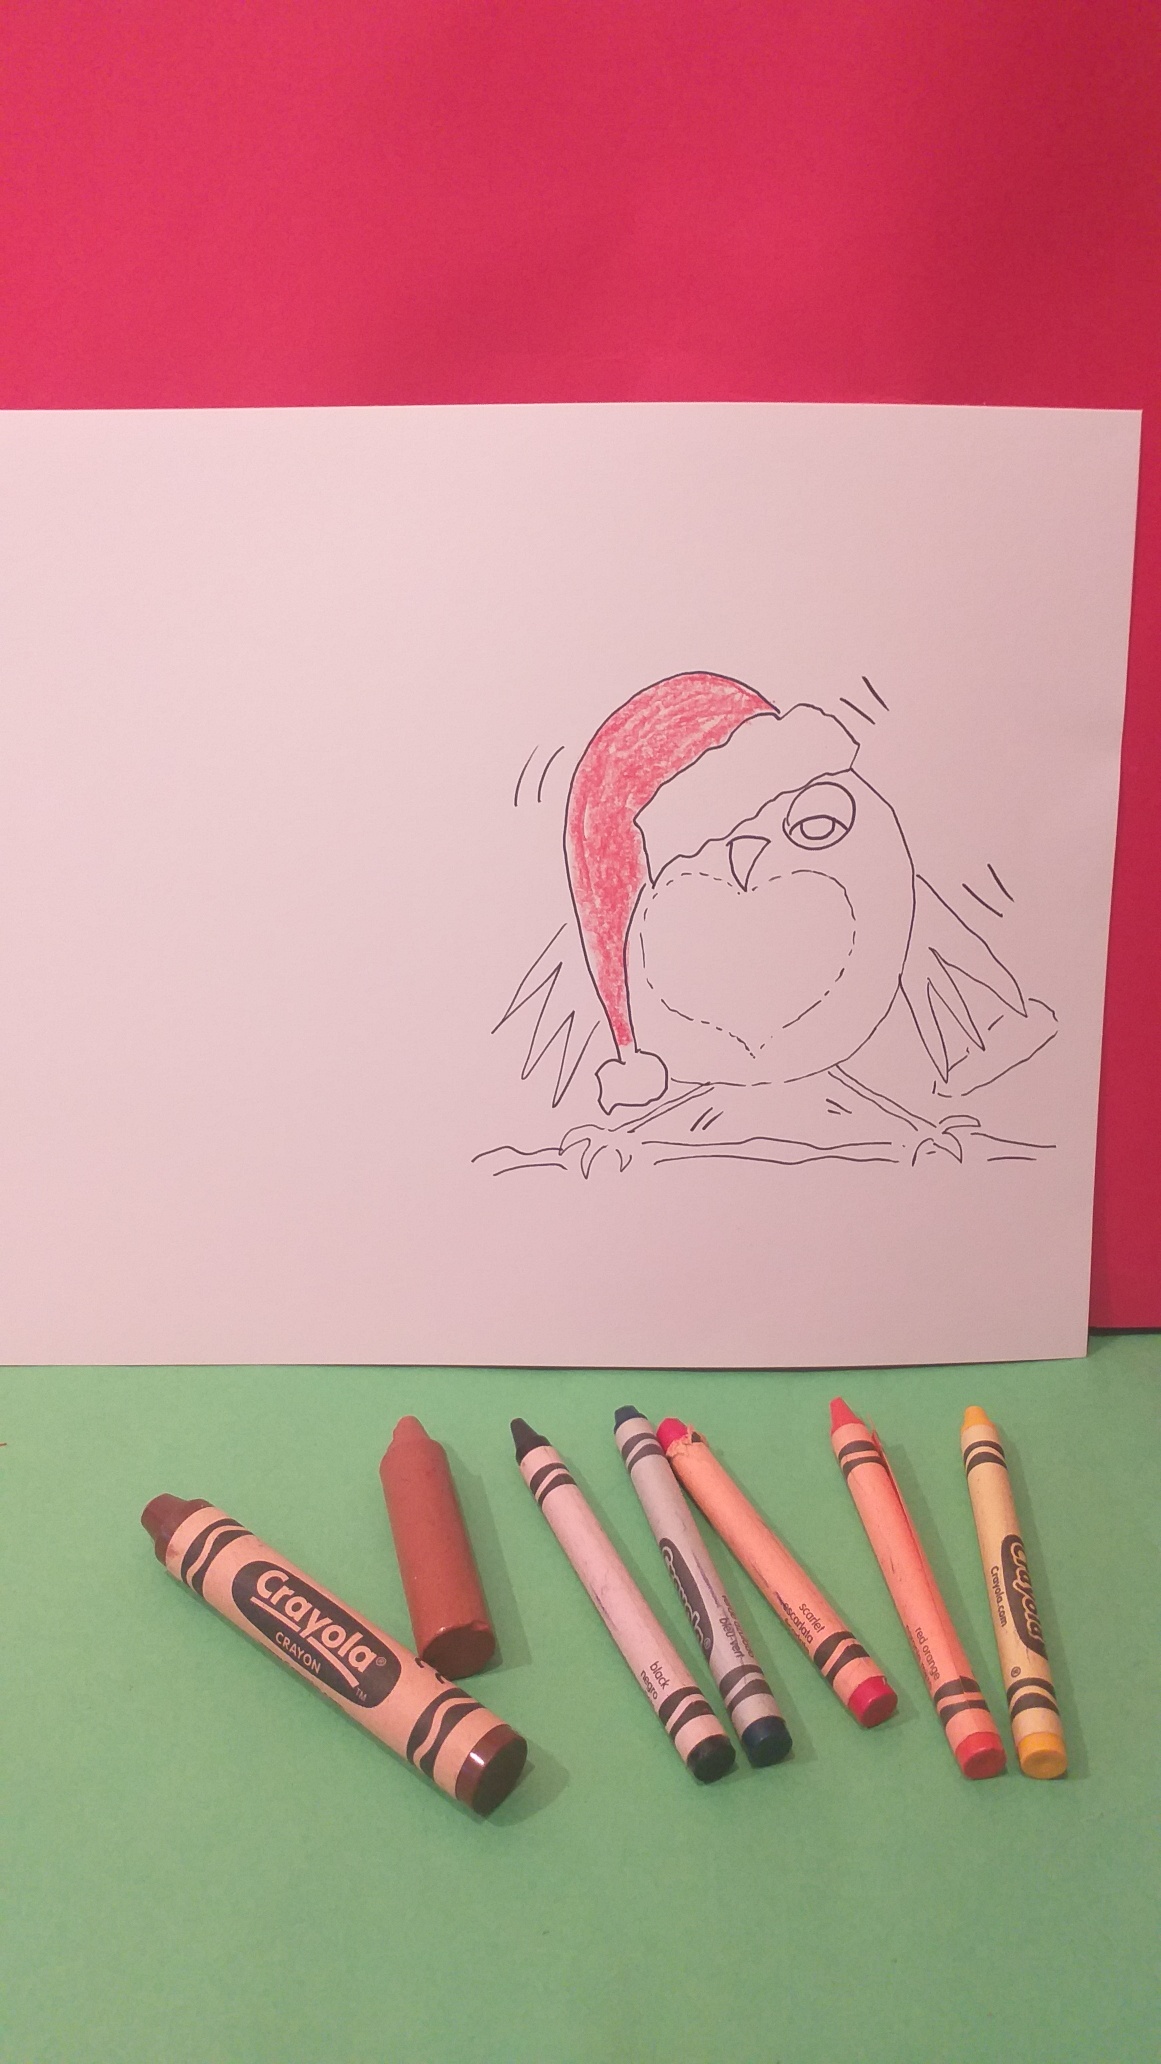
Coloured crayons.
Black fine felt tips.
Good daylight.
Let’s take the Robin image and keep some of the characteristics draw it in a kid-friendly way, then colour it in.
Our friend the Robin.
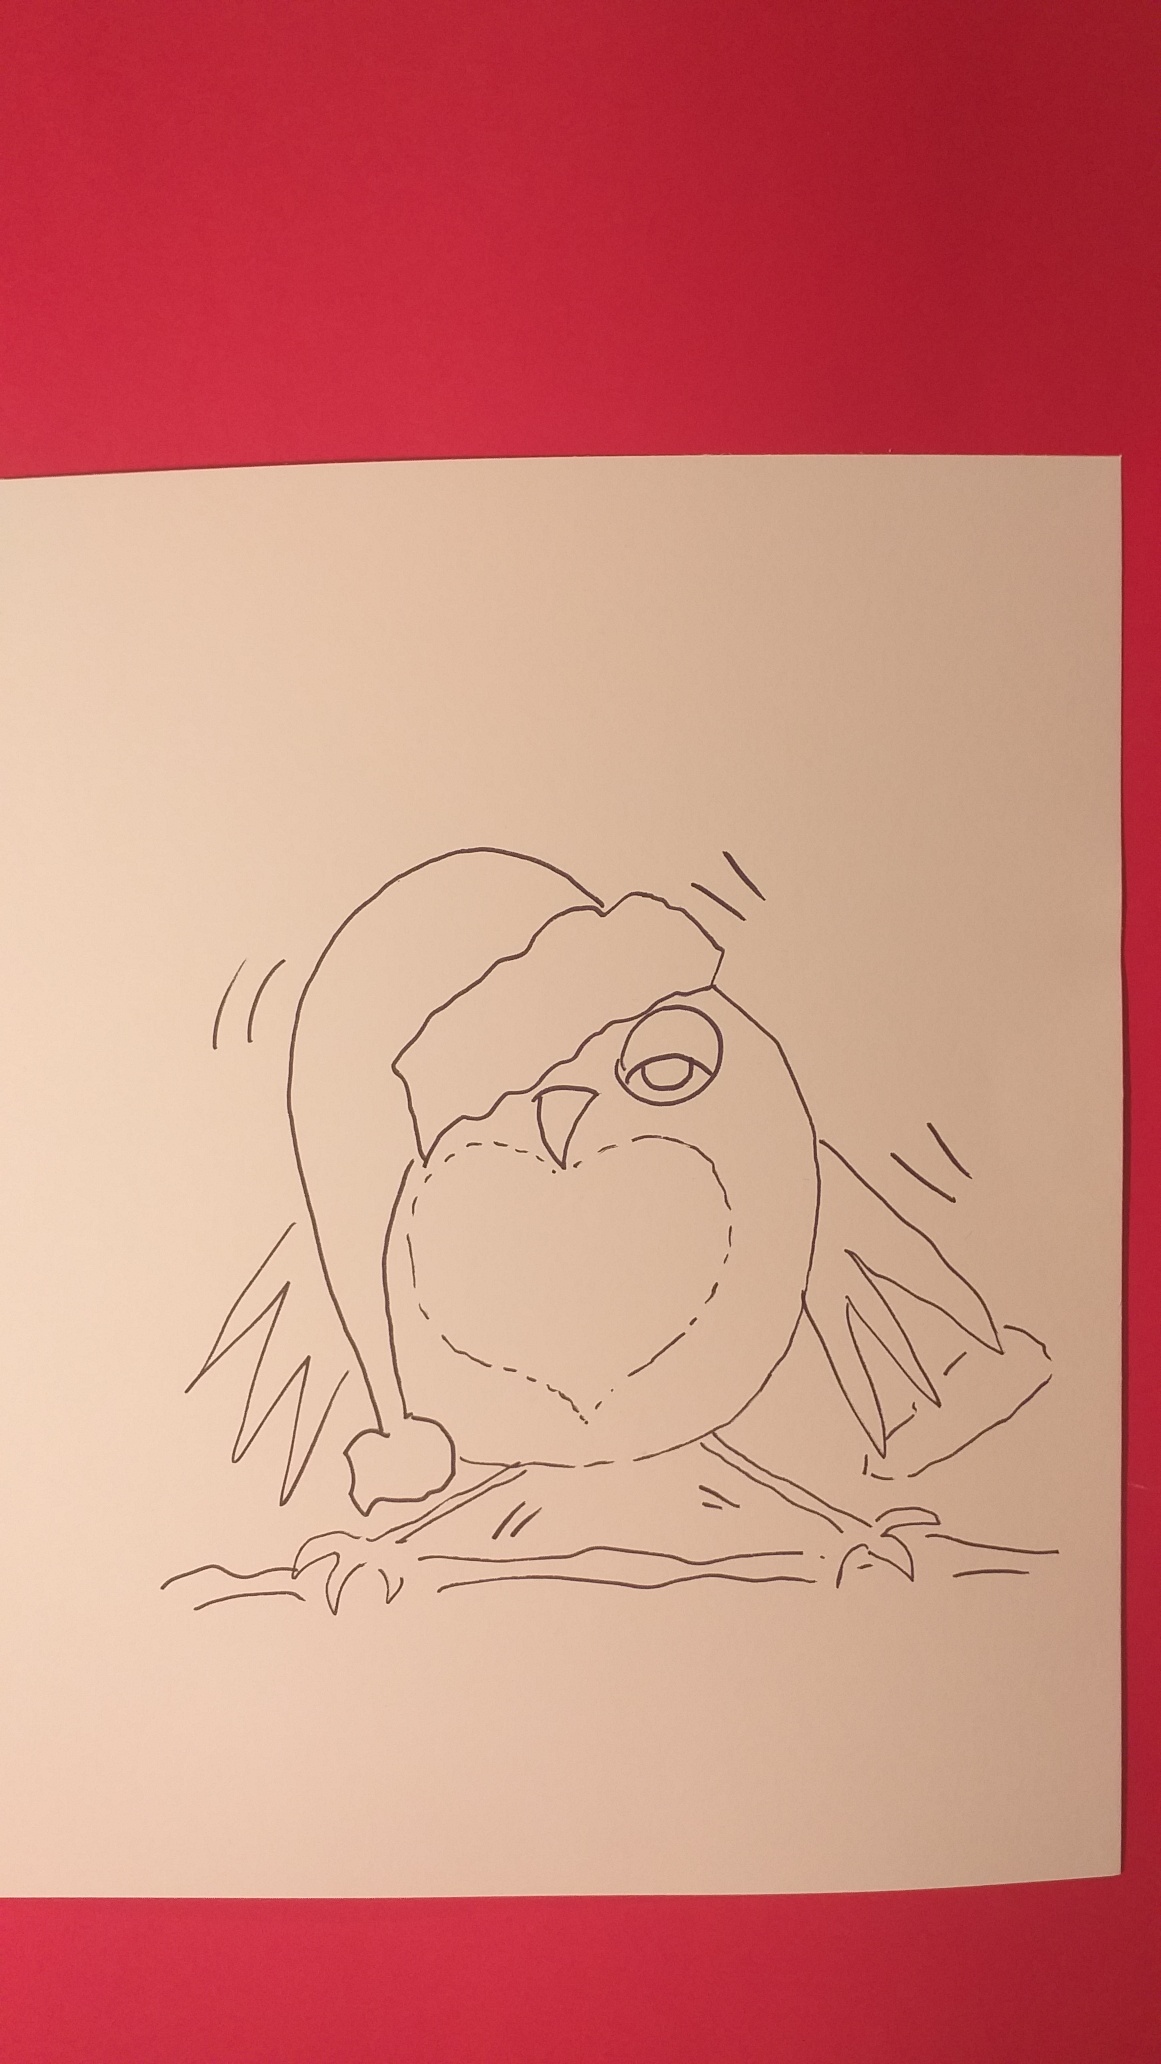
Once you have drawn the type of Robin you like, you can use it as a template trace it onto a white card and repeat this process until you have the desired amount.
Isn’t that straightforward? Most of the resources I already have, though if you are a whizz kid with a printer you can copy and print the template of your Robin onto to card if you prefer.
I have shown you a couple of ways this could be done, using a window and daylight and or light through glass to trace. It’s a bit old school as they say these days, but it works.
SOME TIPS!
DAYLIGHT IS BEST!
Tracing should be done early in the day when there is bright light so you can see through your paper and trace it off easily.
BASIC LIGHT-BOX!
Using a piece of glass propped up and a torch or lantern underneath it is basic but a super way to do tracing. Be aware that the heat from the lantern or torch does not touch the glass as it will burn
TIPS ON RESOURCES!
Use a small amount of blu tack to hold the card in place.
A fine black felt tip is sufficient to draw with.
Using coloured crayons gives a more textured finish and is easy and quick to use.
PVA GLUE!
If you use PVA glue to do your glittering, they will have to be left overnight to dry, or if your house is warm it may just take a few hours, as long as the glue is hard to touch.
INSIDE THE CARD!
Adding a smaller sketch of the Robin inside the card is an additional touch, in this case, the Robin feels much better, so you need to show this if that’s the story you want to portray.
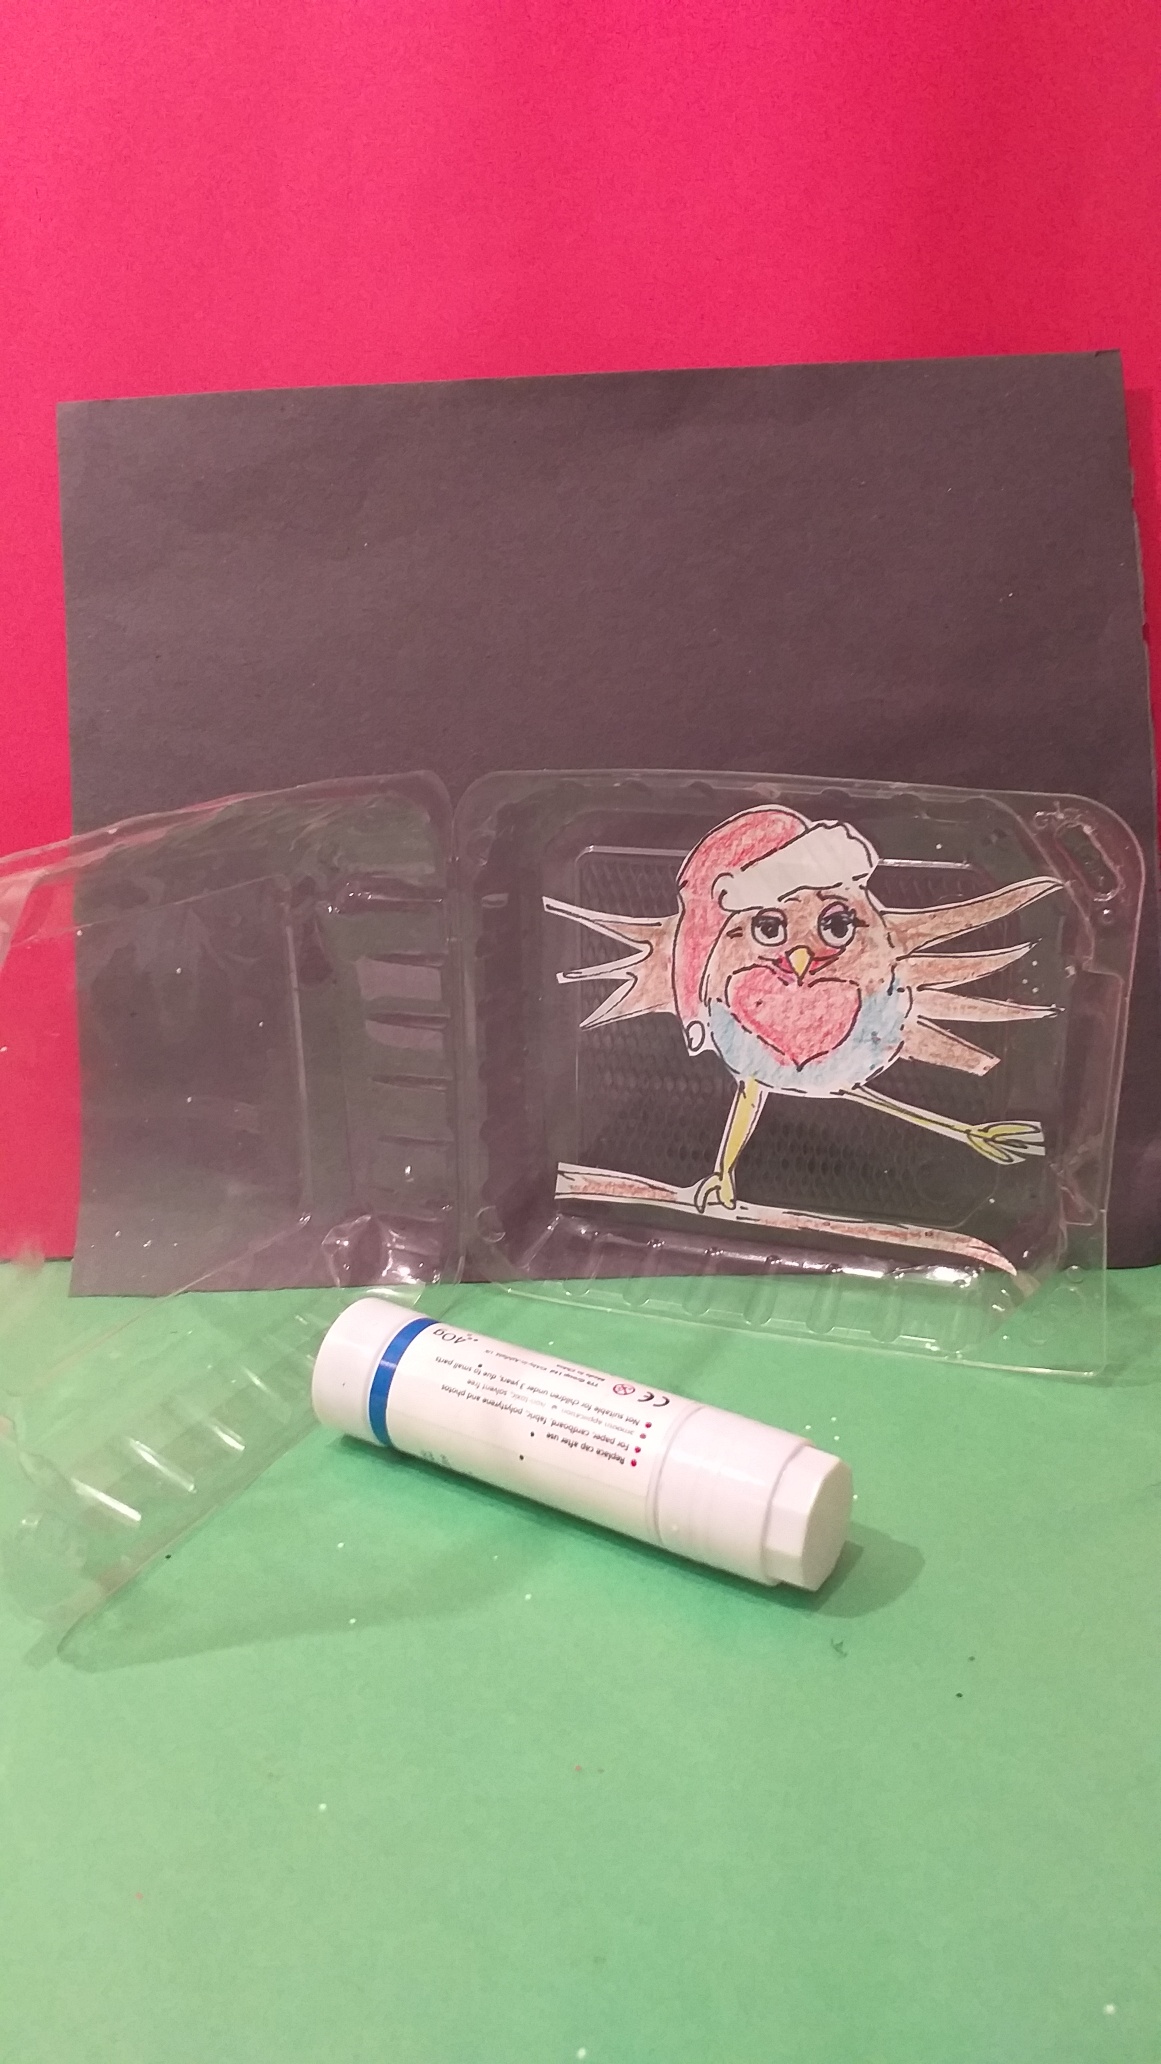
HOW ABOUT SOME SHAKER BOXES!
PREPARE SHAKER BOXES.
Your kids will love these, you will need plastic cake boxes, or tubs once all the labels are peeled off and cleaned up with some detergent, dry them up and they will be your main props to hold your embellishments and do the shaking with.
USE THE SAME ROBIN IMAGE.
This time I used the little drawing of the happy Robin and enlarged it using my printer, to the same size as the one on the front of the card.
This method is quite easy, cut out your Robin after it has been coloured in and stick it inside the tub with a glue stick.
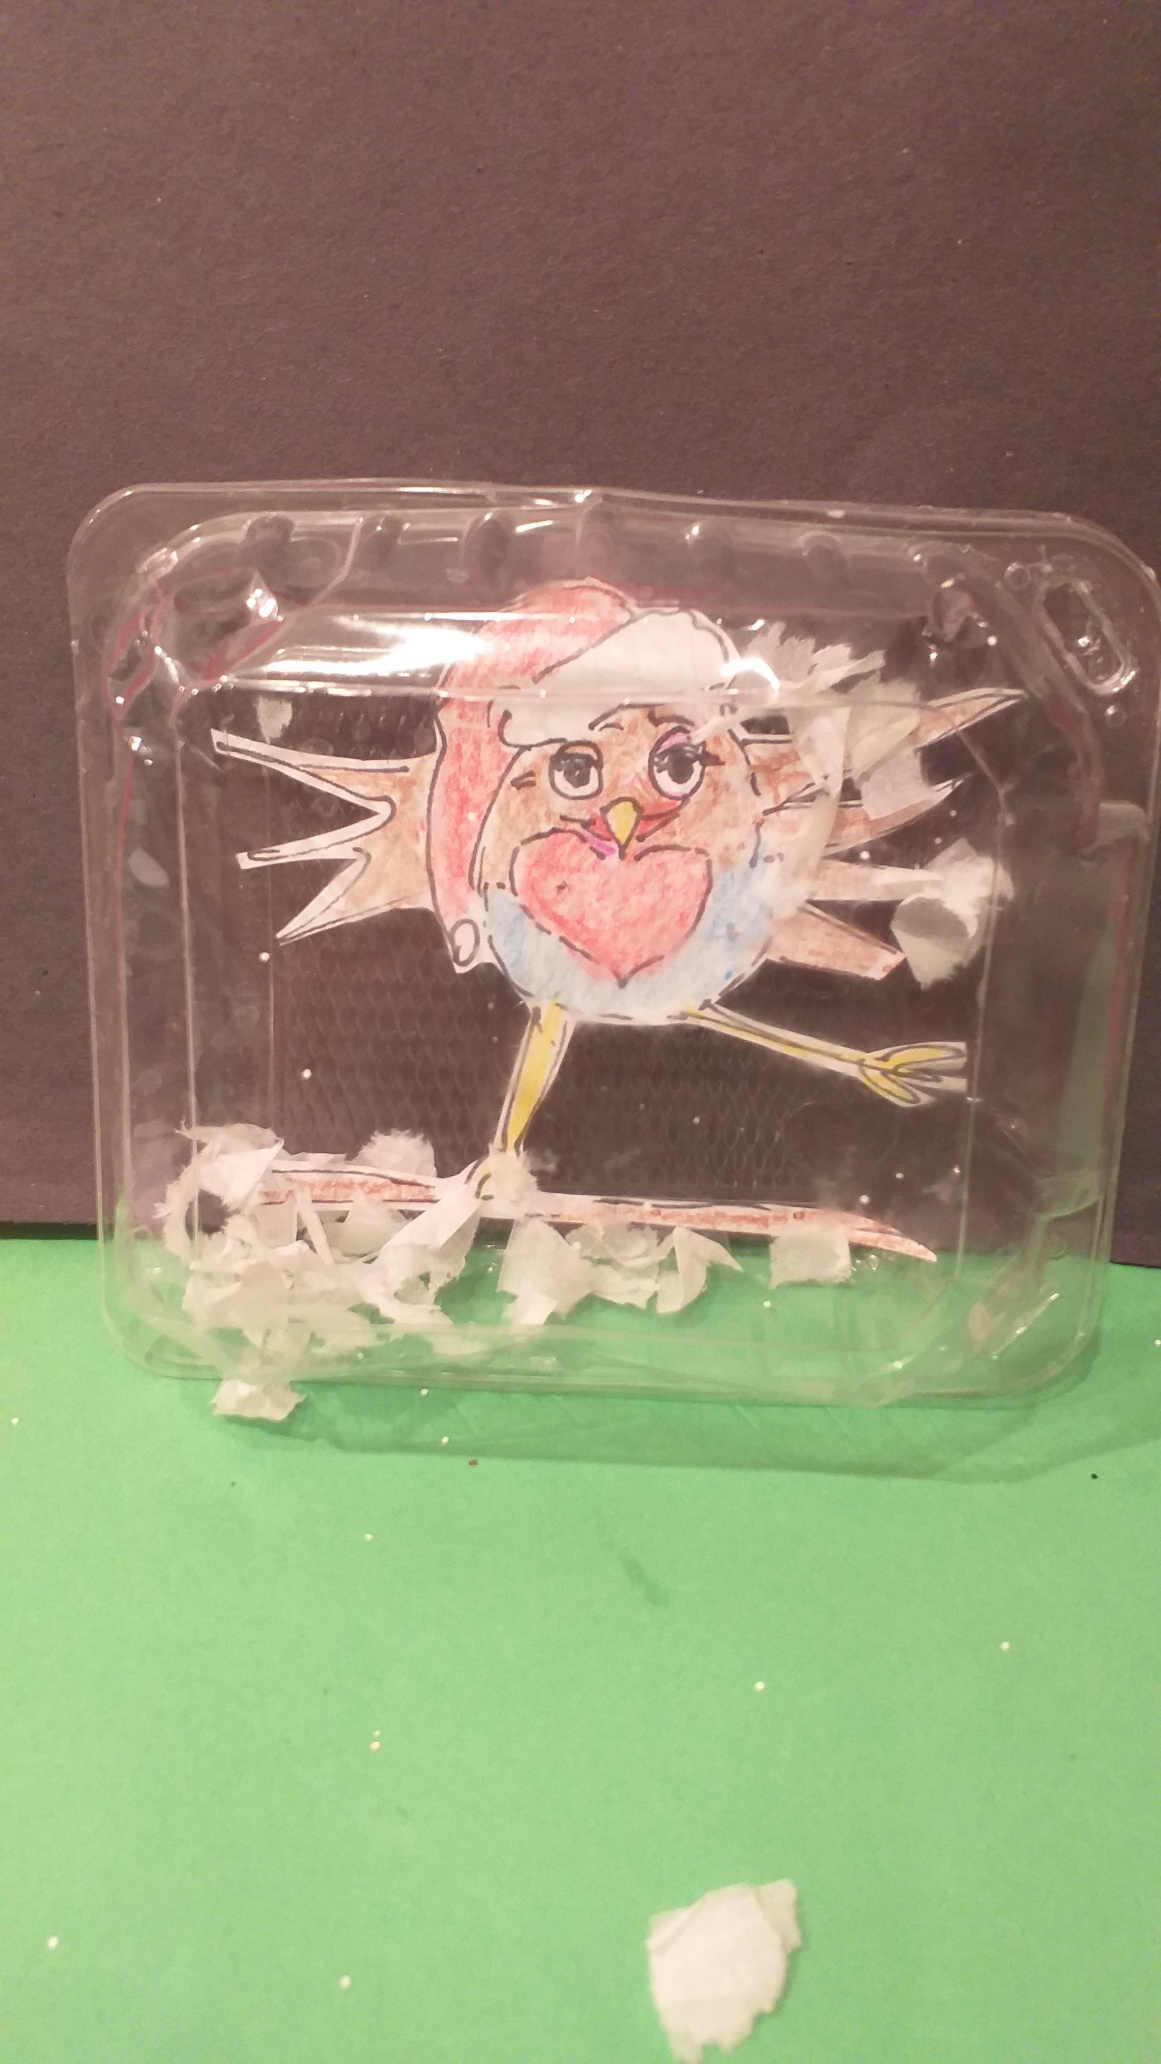
SPECIAL EFFECTS.
Use torn-up tissue into small pieces, just a few not too much and for an added touch you can add some silver or white sequins, these will make a good sound when you shake the tub or box.
LET’S GET GOING!
Gather your resources.
RESOURCES.
2 different plastic cake boxes. (choice)
A scaled-up version of your Robin, coloured and ready to stick in place.
A copy of the ‘robin as on the front of the card, but made to be happier, not sick