CARDBOARD BOX GINGERBREAD HOUSE!

Gingerbread house kit.
Cardboard Gingerbread house!

Hey remember that faithful Gingerbread house kit? The one where you can build and eat it all up after you have made it?

Each part of the house, the walls and roof are made out of yummy ginger buscuit and you have to stick it together with icing sugar finalized with sugar treats.

This year I got this Gingerbread house kit as a gift and straight away I thought o’h know I bet its in a hundred pieces and I am going to be up all night building it!!

Well I was wrong, it’s really simple to make, only six parts and rest is down to decorating it!

WHAT HAPPENED NEXT!

Then I thought I would love to make this, but instead I had a couple of enthusiastic candidates eager and ready with their sleeves pulled up, to give it a go!

I had the easy part of course, I would be recording it.

This is how the idea for this project came about, having stored up a number of cardboard boxes that had been flattened, it was simple they would be what I would use to create a cardboard box Gingerbread house with.

It’s a matter of cutting, joining up and finally painting.

BACK TO THE GINGERBREAD HOUSE KIT!

So I had my two candidates and you do need a couple of characters to make this, as one set of hands would squeeze the icing and the other set of hands to hold parts in place whilst they bond.

Before we get started, here’s a brief look into the history of the Gingerbread!

LET’S START!

Our volunteers had lots of fun doing this activity and the best part was once completed, they got to eat it, not all of it though, some was left for me, unfortunately we had to break it up!!! Aaah what ashame!

LET’S MAKE A CARDBOARD GINGERBREAD HOUSE!

Some resources.

RESOURCES!

  • 1 Square box., extra square piece for the base and a larger piece for the roof. (not shown)

  • Acrylic paints, (your choice)

  • Glue gun. wax sicks.

  • Large scissors.

  • Ruler/black pen.

  • Long strip of paper.

  • Fine brushes.

  • PVA glue (not shown)

  • Coloured tissue paper (not shown)

LET’S GET STARTED!

WHAT TO LOOK OUT FOR!

How easy was that!  You basically need to find three cardboard parts.. One cardboard box, to make the house body, one square piece of cardboard to glue the house on to stabalise it and a larger piece of cardboard to make the roof when folded in half.

The main part is to find a squarish box that will be the structure of your house, then work around that.

SOME USEFUL TIPS!

  • When I need to find the centre or half of an odd shape and measuring is difficult, I find cutting a strip of paper the length of the item to measure, make sure ths strip reaches each end, then fold in half mark it with a pen, then transfer this to your shape holding the length of the paper against your shape mark the centre from the paper onto your item.
  • If your box for the house has a base, then you will be fine, but if it’s hollow then you will need to glue it to a square cardboard base to stabilise it, hence making it firm, then you can go ahead and attach the roof onto it.
  • Before you paint on all parts you can draw in the windows, door and roof with a pencil, although it’s pretty straight forward, if you have a Gingerbread house to hand you can copy the markings or you can make up what you like.
  • When using the hot glue gun, be careful as wax can get very hot and can burn your hands.
  • I scrunched up different coloured tissue papers to make the treats for the roof of the house, but if you have little pom pom balls, they can be used instead.

Moving on I have something that might be of interest to you, I was quite lucky this came my way and at the right time to add to this post! So here we go!

I have a couple of treats for you. They are quite different, unusual and zany, something to put outside a house and something to show inside a house.

Coincidentally these two items tie in quite well with our theme, cardboard box Gingerbread house! Let’s take a look….

THE FIRST OF THESE TREATS!

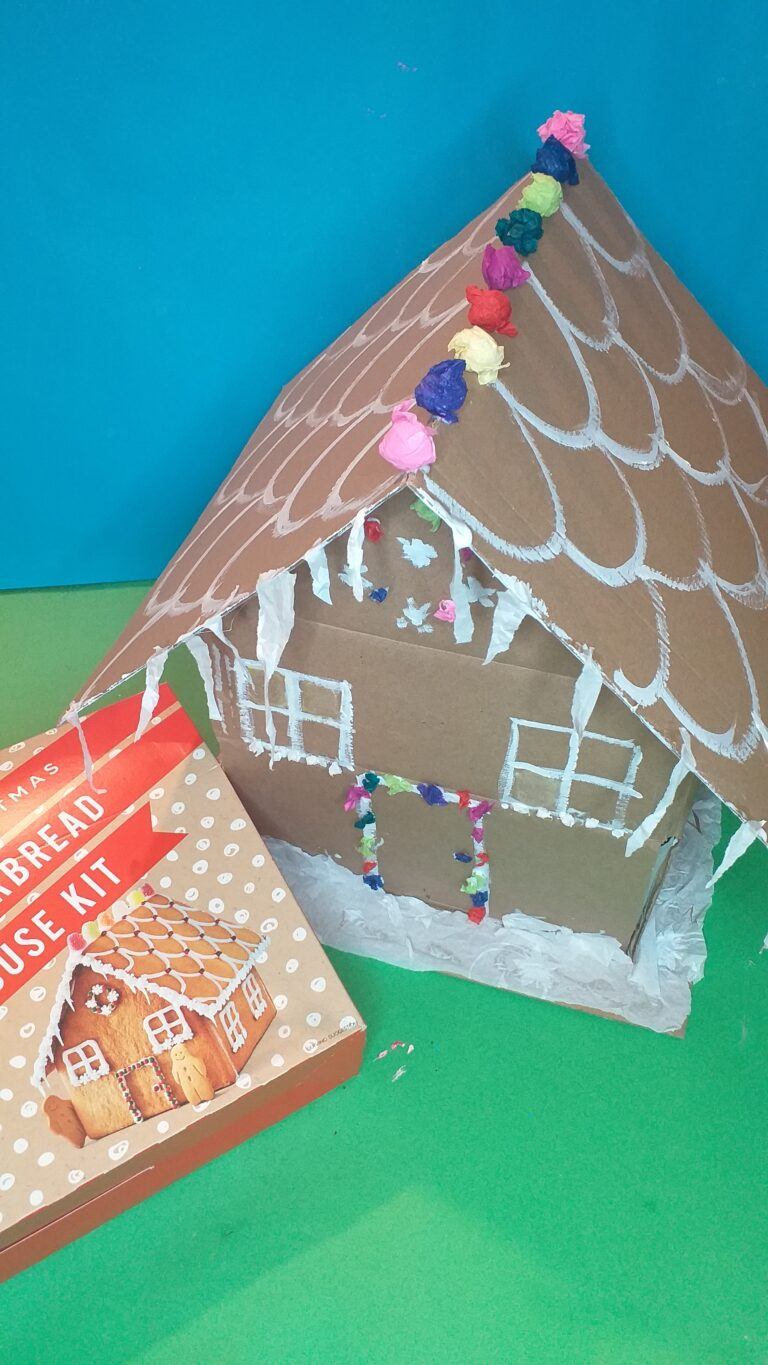
Let’s have a little of make belief, Imagine you are outside this Gingebread house and you are approaching the front door, looking down there is this very querky looking doormats.

(Heads up, when you use the links on this page to make a purchase, I may get a small commission and may eventually earn enough to buy tea for two and and some chocolate muffins!) full disclosure

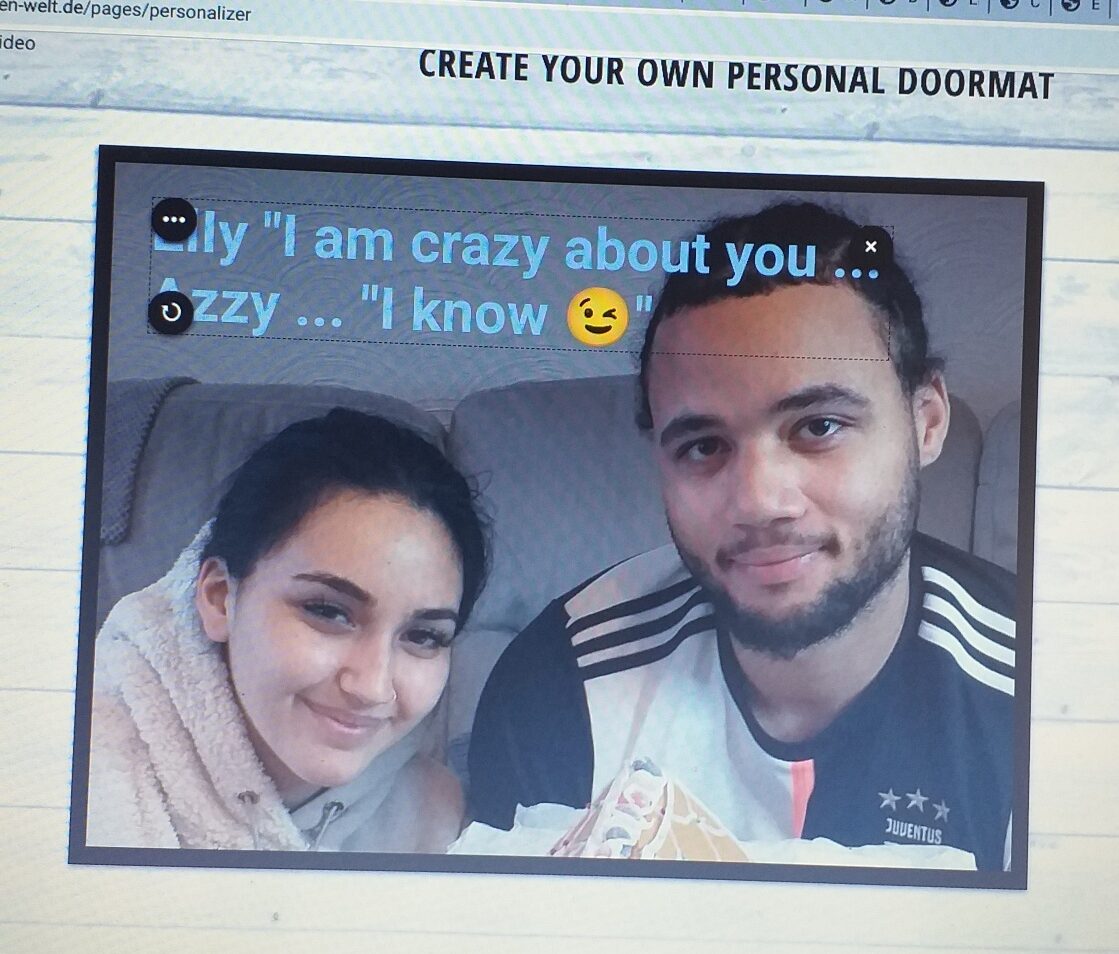
This doormat can have any wording or image of your choice. Let’s say it reads ‘Eat me, at your pleasure!!! or ‘Tasty treats and much more inside!!’

So in this instance, your design would welcome your visitors before they stepped into this unusual mouth-watering cottage style house!

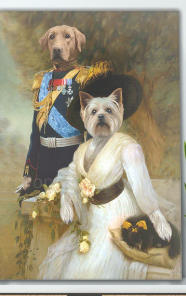
Now back to real life, your design, your choice, your idea, you can use images of your favourite pet, or members of your family, a couple, scenery, or a simple logo!

Nothing to hand, you can choose from an array of images available from their library and you write your own message.

Easy graphics to use and you start with an blank canvas, you just do the picking and choosing!

Personalise for any occassion, great isn’t it!

Well let me introduce you to this German carpet doormat company. Fussmatten-Welt

English translate is available, so why not check them out!

Just to show you, remember our two keen Gingerbread house students above? well I thought to use a picture of them as an example on how it would look on a doormat. Adding a fun sentence you have a super photographic doormat.

Some interesting facts, the colour holds well coming from digital printing and made from tough durable material and guaranteed up to 5 years. It also has great water absortion up to 3-4 litres per M².

Cute isn’t it? The text is in style of their language, making it more personal.

Don’t worry, once it gets mucky with dirt, it can be washed up to 150 times!

HERE IS THE SECOND TREAT!

Now you are stepping inside this bewitching Gingerbread house with all it’s glory it has to offer, pushing the crisby, sweet loaded door with the glistening jellly tots and shimmering white icing, behold what do you discover?

These royal ornate portraits! Who are they? these incredible characters, very distinquished and majestic!

A cat, a dog dressed in very important outfits. Could these be the characters that live in this house?

Then I glance ahead and see a couple of happy characters also dressed, but this time in victorian ensemble with pretty garden scenery.

These protraits look very grand and special, quite spectacular!

Now let’s step out of the Gingerbread house and come back to real life.

Perhaps these characters could be people you know? 

Have you guessed it yet……yes, just think you can choose any members of your family, be it grandparents, parents, children, friends, colleagues or pets and have them transformed into a beautiful portrait in a historical setting of your choice.

How original and what a grand way to show them as if they lived during that period, fun and funny at the same time.

These portraits would be unique to you and who you would gift them to!

CURIOUS, THEN CHECK THIS OUT!

This brilliant website called:-

POP ART YOU!

This is the reaction you will get once the wrapping has come off:-

First of all fits of laughter then…,

OMG, So Dope!… Amazing , Unreal, …WOW! …Gosh, What the heck!!! …Where did you get this… Is that me?…This is crazy!… I can’t believe this!…How did you do this?…. and more!

What about your pets!…… you provide your best picture of your pet and and historical theme you would like and with genius craftman and artists they do the rest!

A very respectable company, where customer service is nothing to none and you get to see the portrait before it’s finalized! 

Incredible 5 stars ratings and if that’s not enough see the feedback videos and everyones reactions!

A gift with a difference that can be for any occassion, all you need to do is find those special pictures and who you are going to give that surprise to!

LET’S CONCLUDE!

I hope you have enjoyed the activity within this post, I like to think that you can do more with your cardboard boxes.

With a little bit of imagination you can transform something simple and ordinary into a brown cardboard box Gingerbread house!

The idea was taken from the original buscuit version and as my volunteers were getting creative, that’s when I thought hey!, how about recycling some cardboard throw-outs that I saved and recreate our buscuit treat!

Finally I include two very unusual and very different products that really fit in well with the theme of this post and I would welcome anything that’s not ‘the converntional’.

As my niche is called crazee kids art, I like to include crazee and fun ideas with a twist!

So enjoy doing this project and if you cannot find any Gingerbread house kits, then I hope you can get what you can from my example.

O’h I would love to hear from you or your kids, on how you got on and any examples you may have and I could post them, as an update!

Happy crafting!

6 thoughts on “CARDBOARD BOX GINGERBREAD HOUSE!”

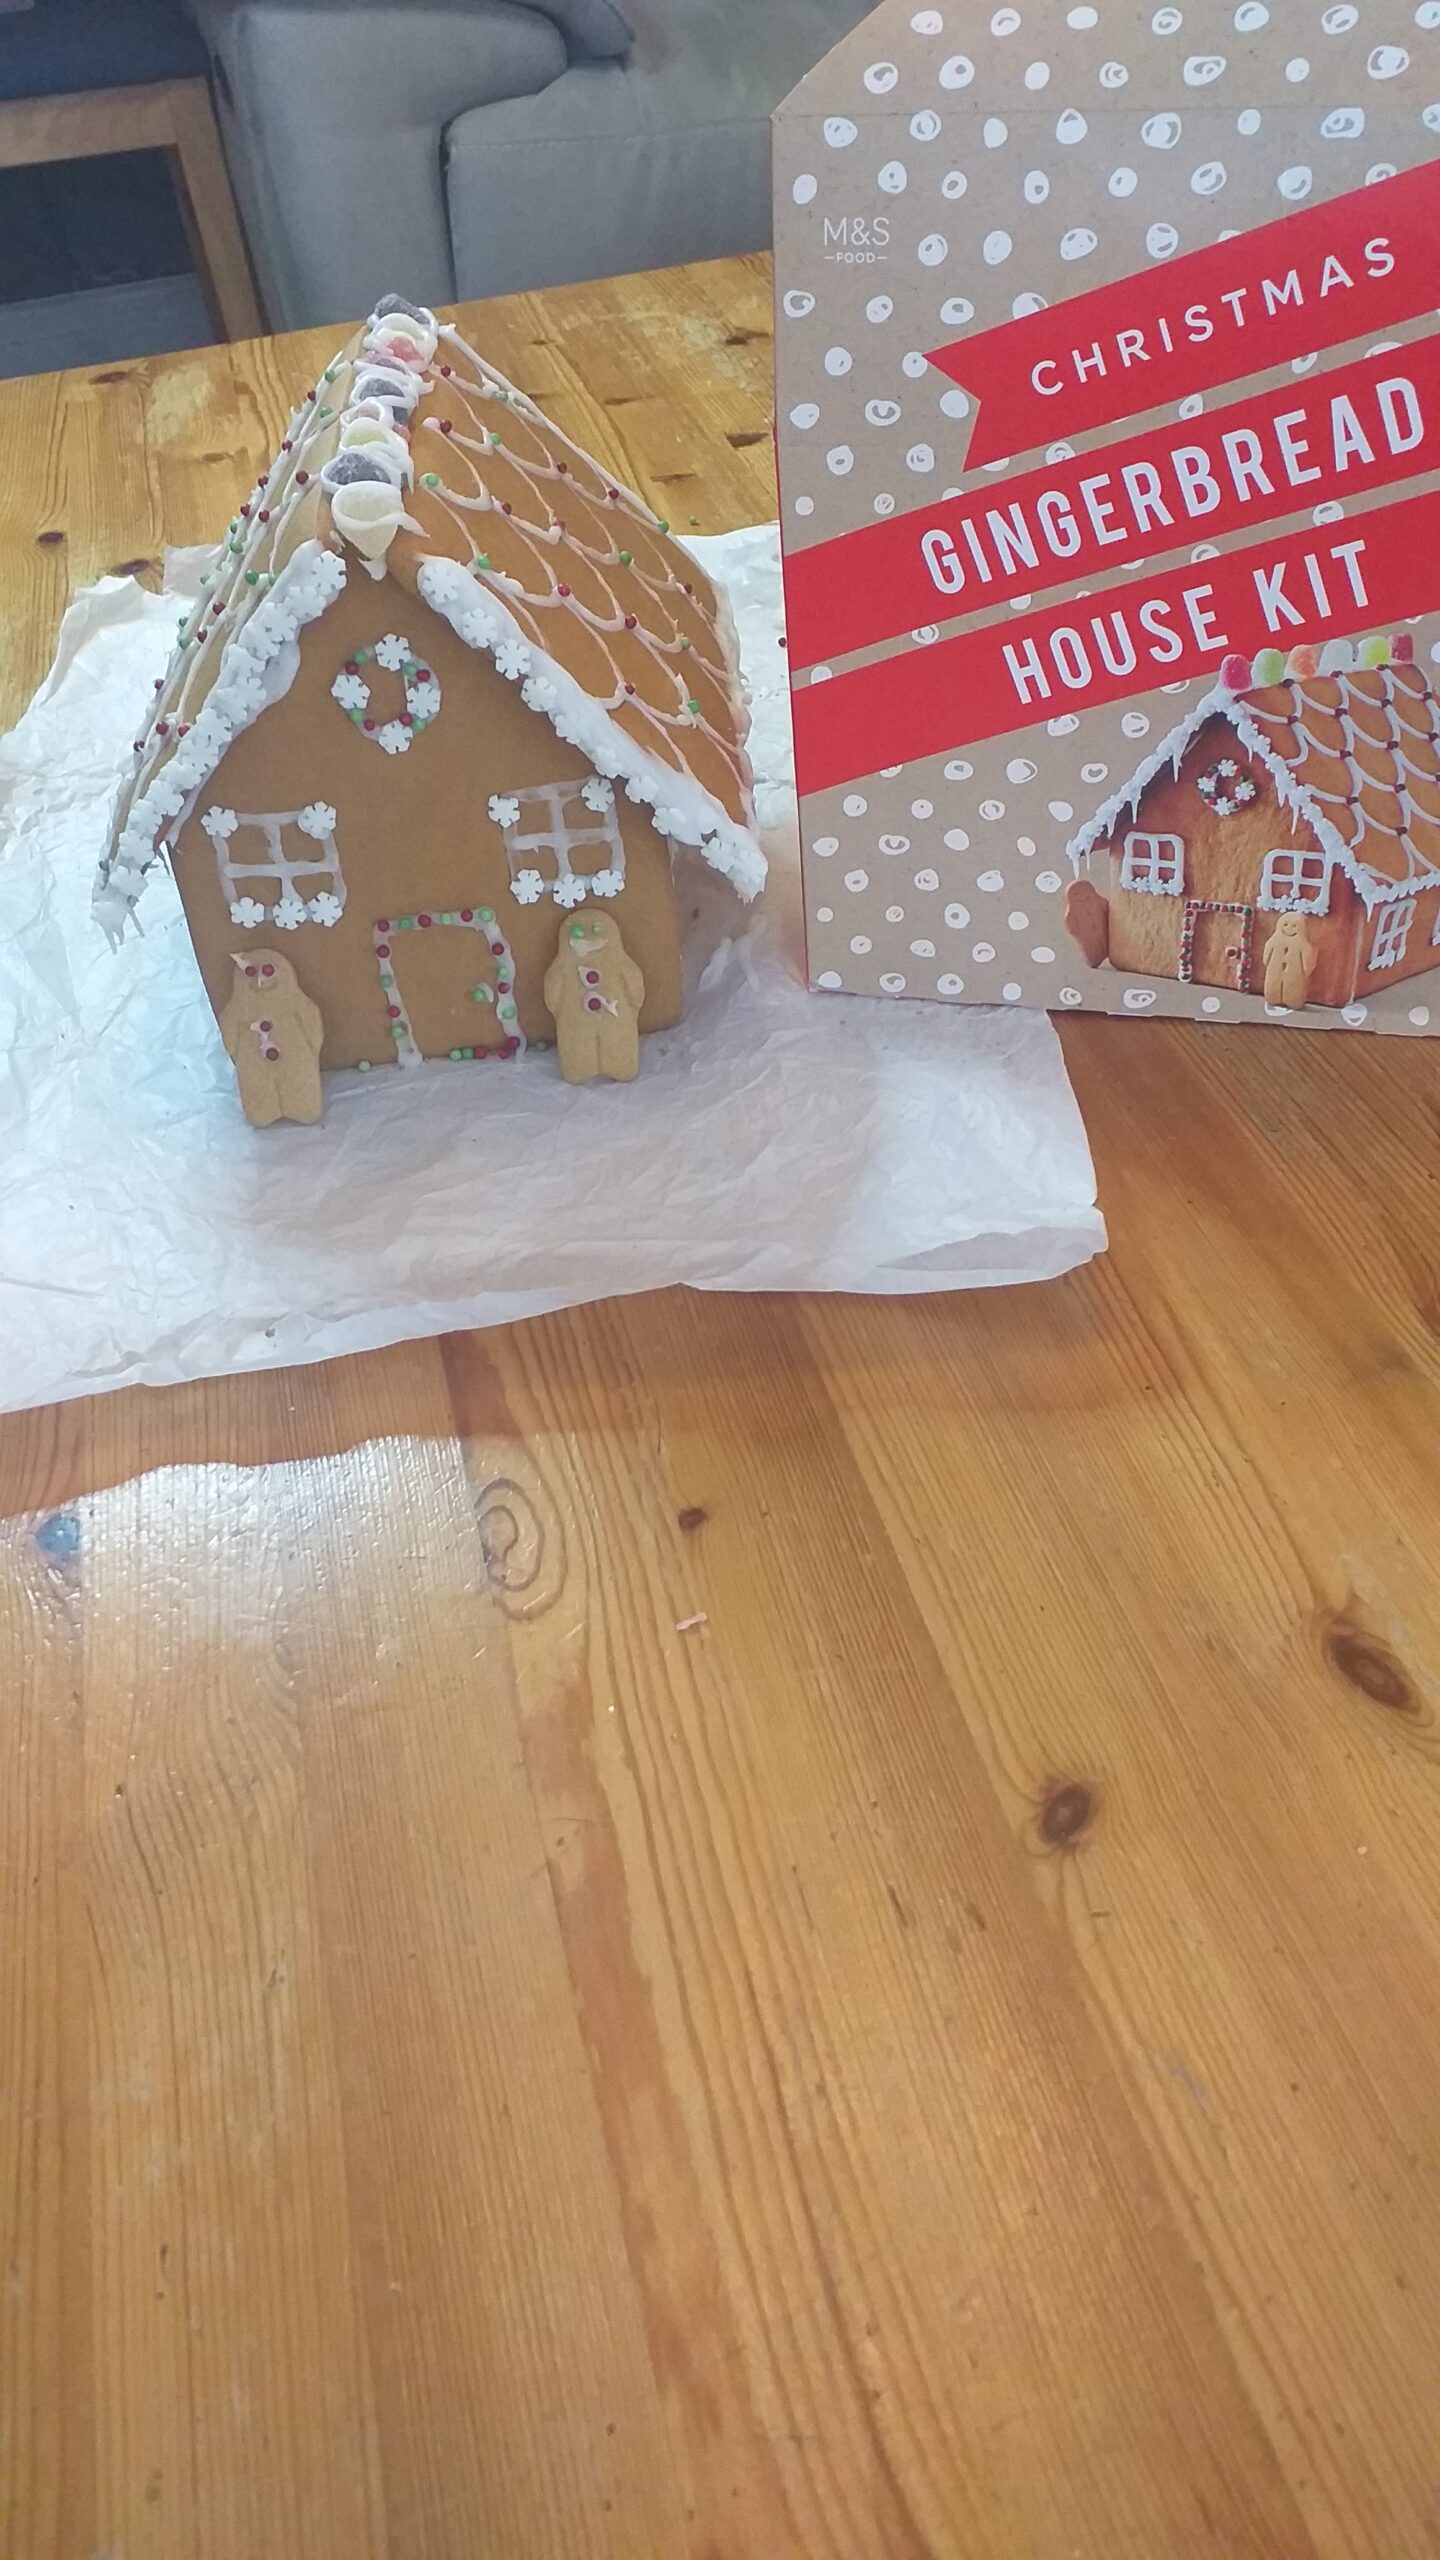
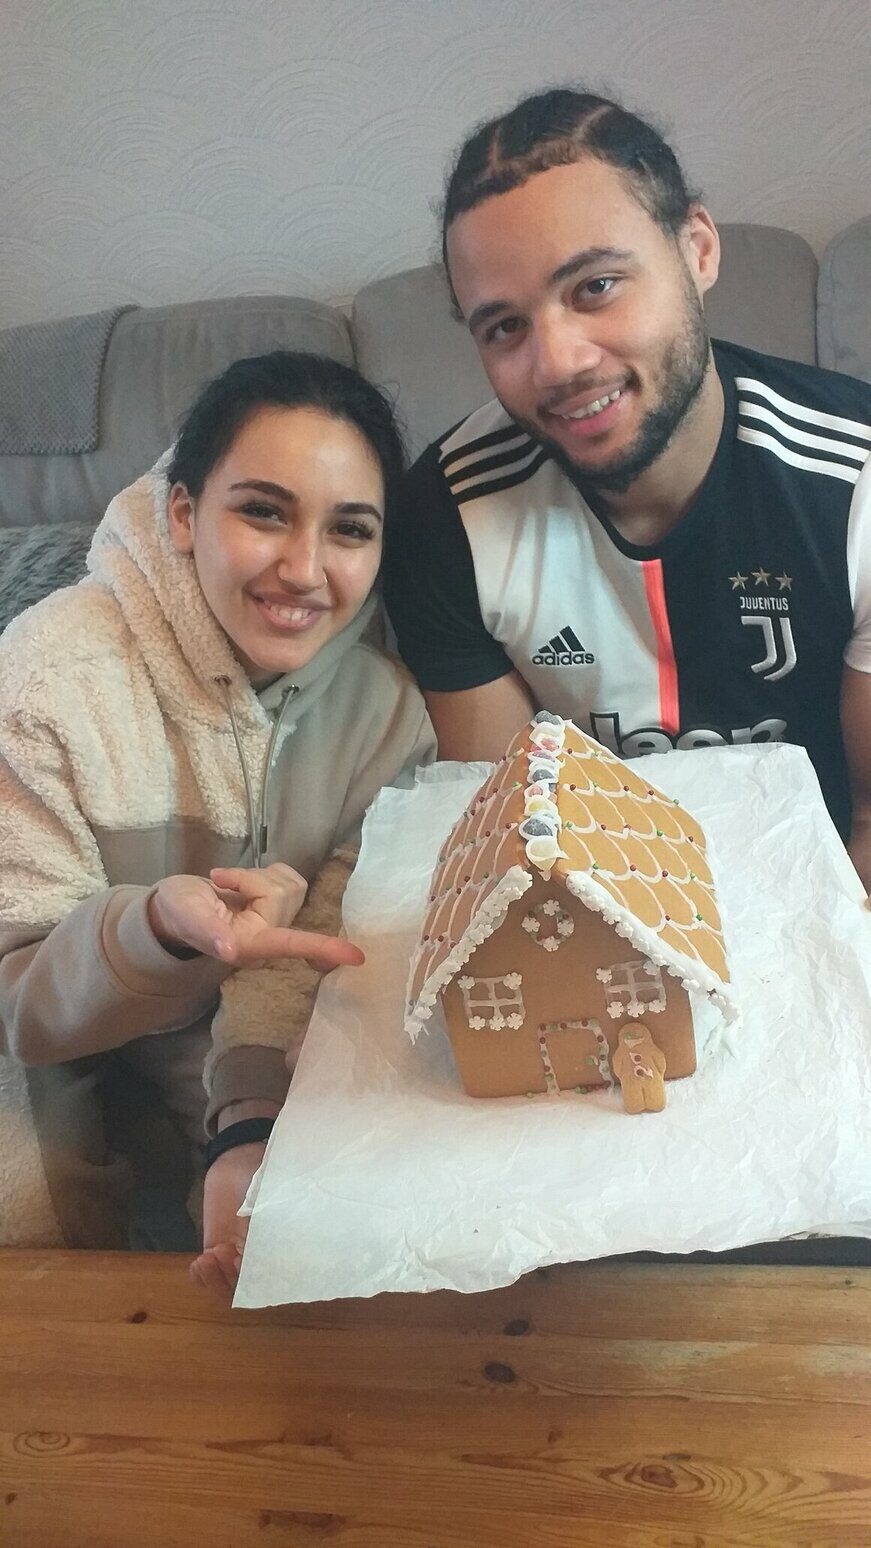
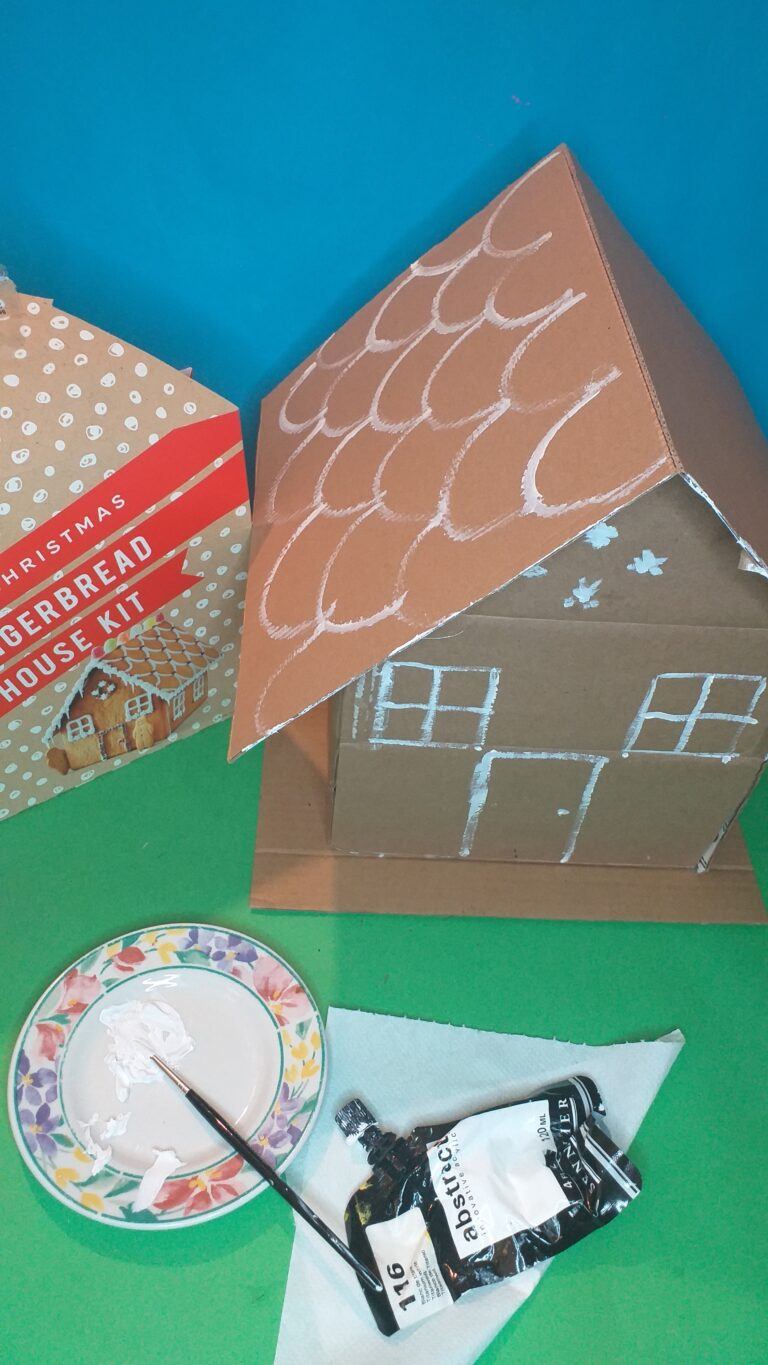
  1. I’ve always been a fan of gingerbread houses and absolutely love the kit you shared in this post. What a shame it had to be eaten though! Your cardboard version is so creative. I’m sure both kids and adults would have great fun making it. I also love the extra treats, especially the doormat!

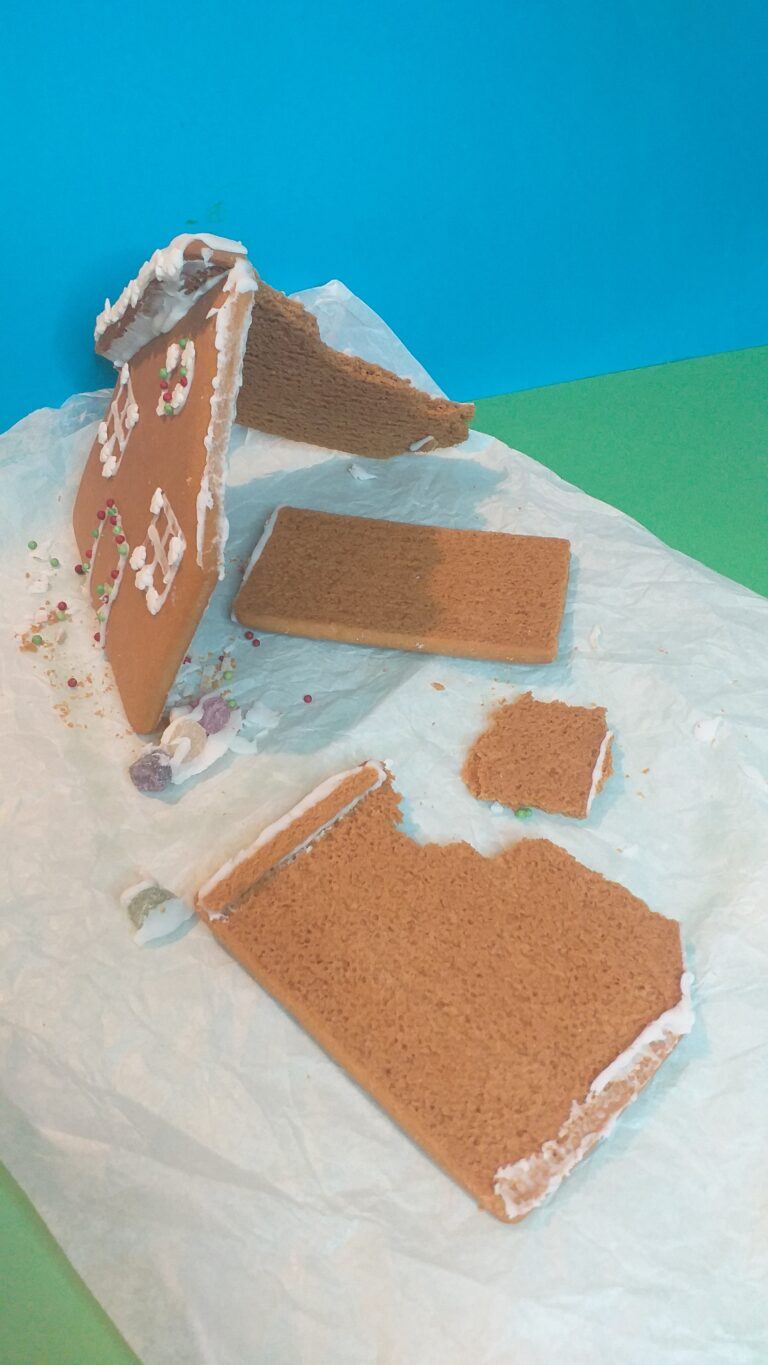
    1. Hi Kathy, I know the best part of the Gingerbread house kit is in the making, unfortunately
      my two volunteers could not resist tasting it! If it were me I would have had it sat on top
      of my fireplace in its full glory! lol
      I am glad you liked the treats, coincidentally the doormats are made in Germany where the
      Gingerbread houses were mostly recognised! can you imagine designing a doormat with a
      Gingerbread house on it!
      Thanks for your comment and agree with how fun it would be for kids and adults to have a go
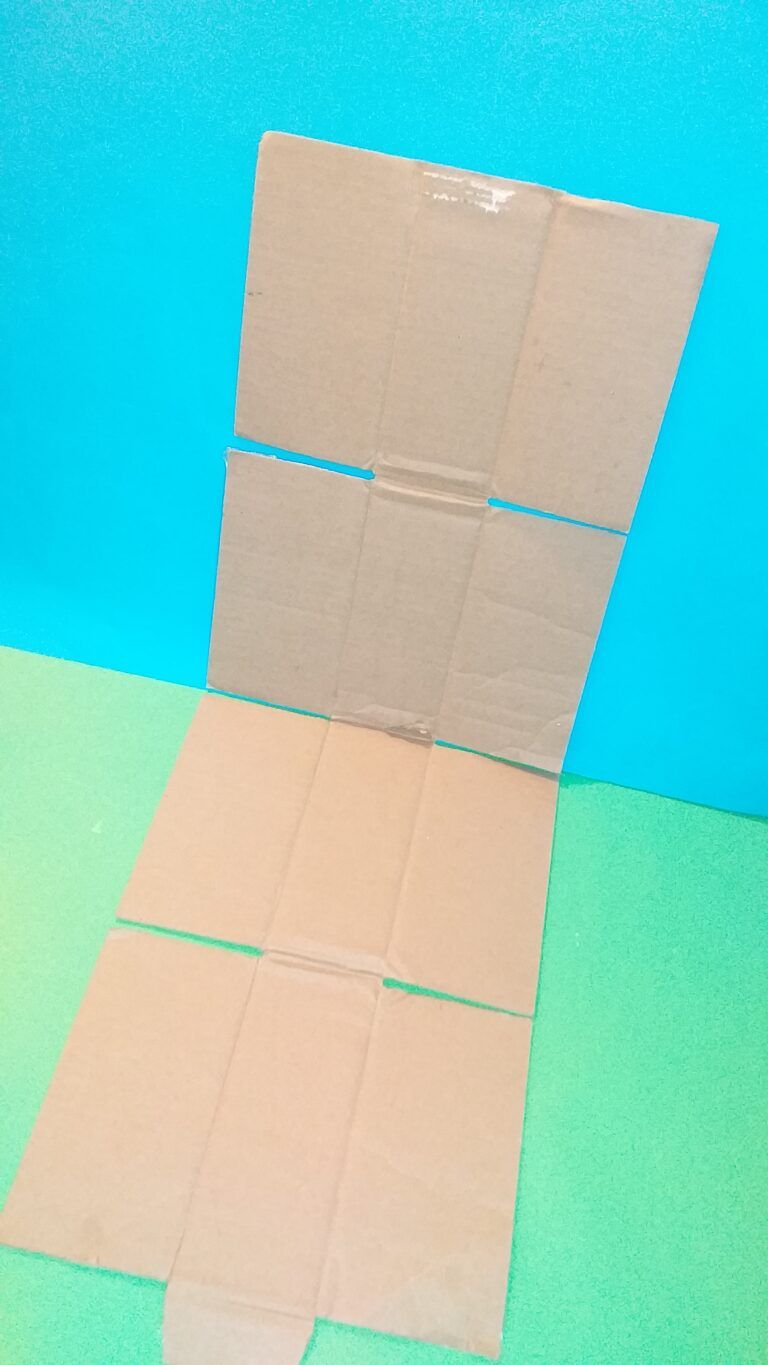
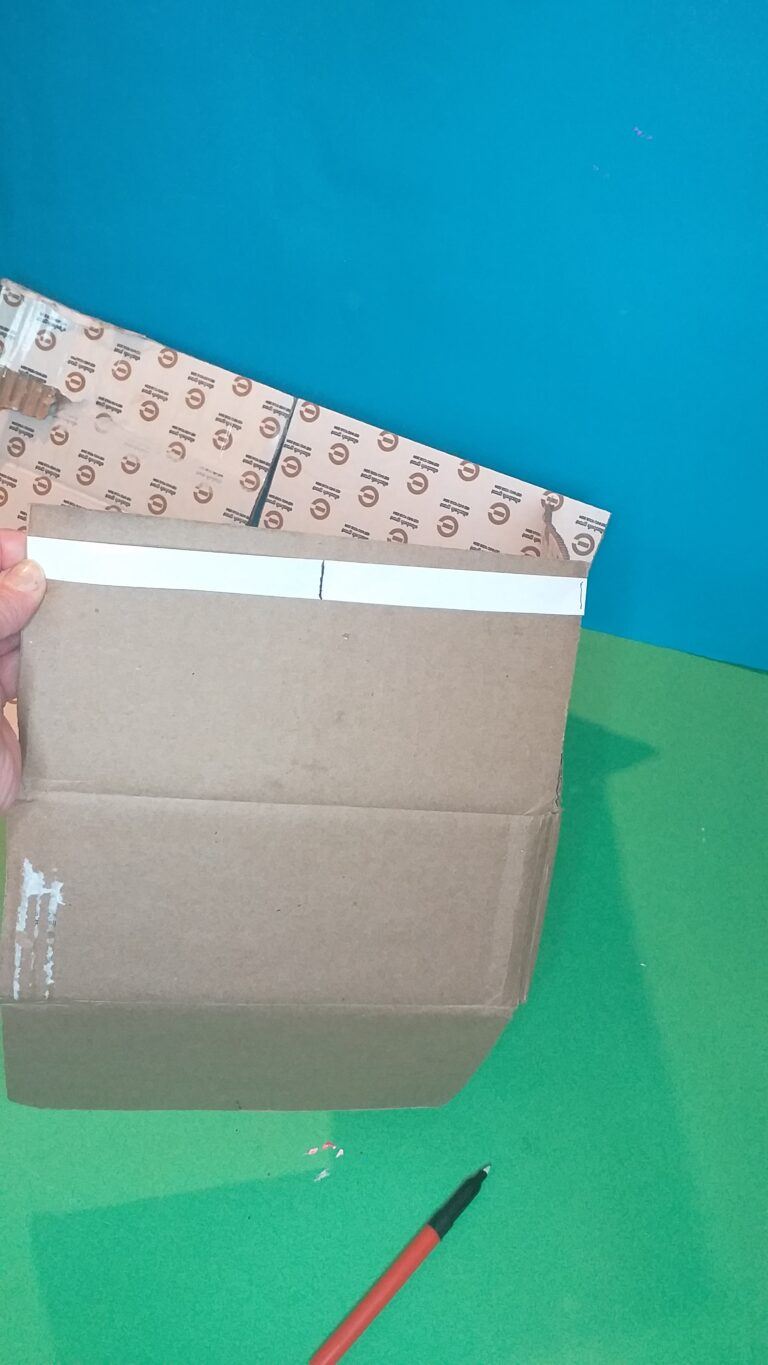
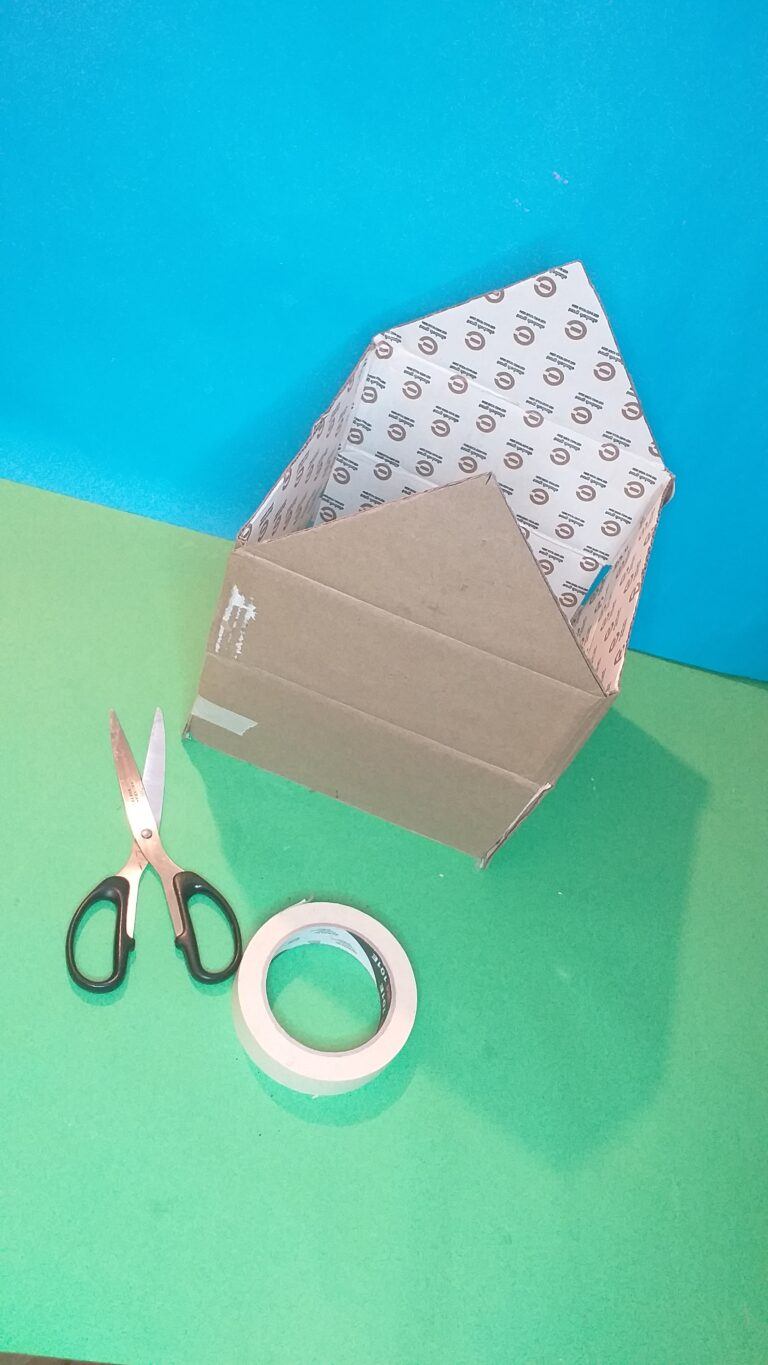
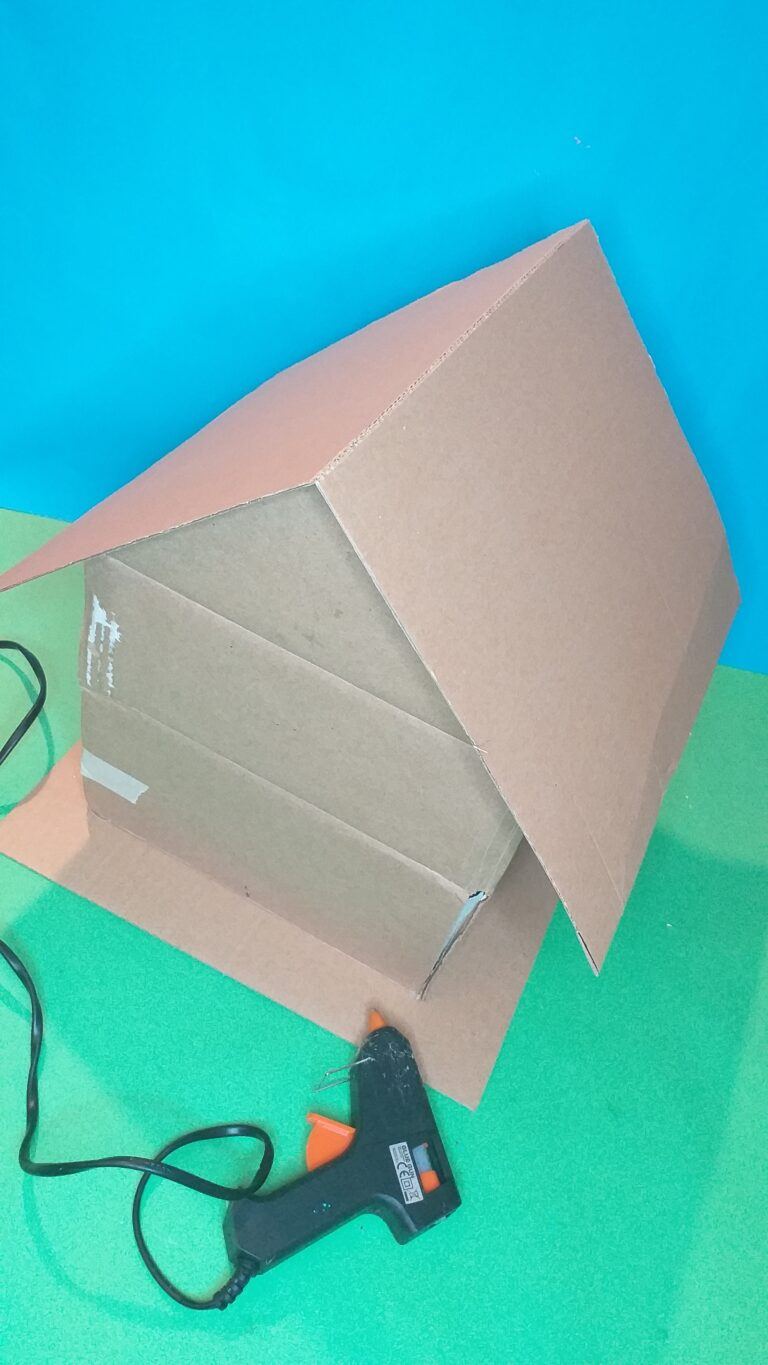
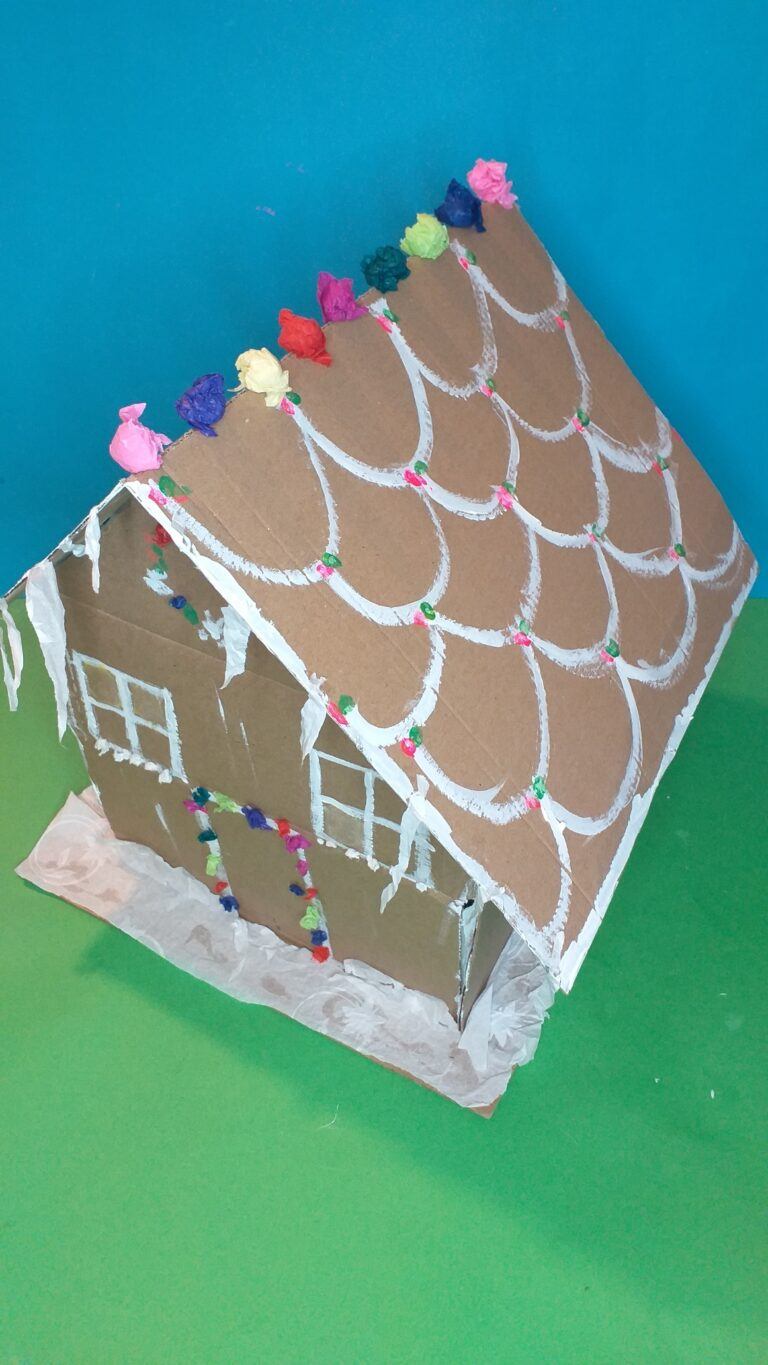
      at making a cardboard version and don’t forget to save your brown cardboard packaging and you can
      have a go too!

  2. The gingerbread house is always a good project to introduce to couples and families. Cardboard ones we have not heard of and so we had to keep reading to understand how to make one. We will end up trying this we just made a real gingerbread house for Christmas me and my wife had a blast. We bet this one will be one to along with the special gifts at the end of the article.

    Cheers,
    MnD

    1. Hi there, glad you had fun making a real Gingerbread house! My two volunteers did too!

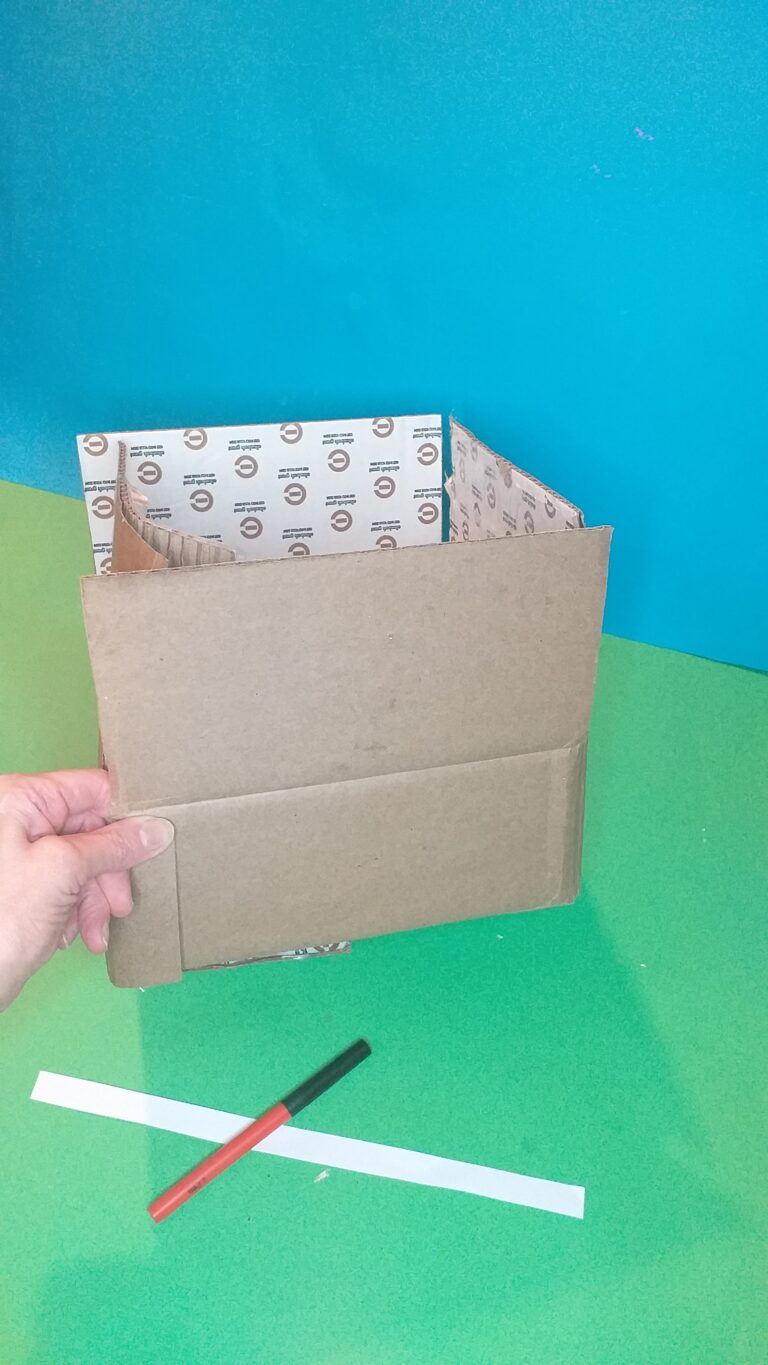
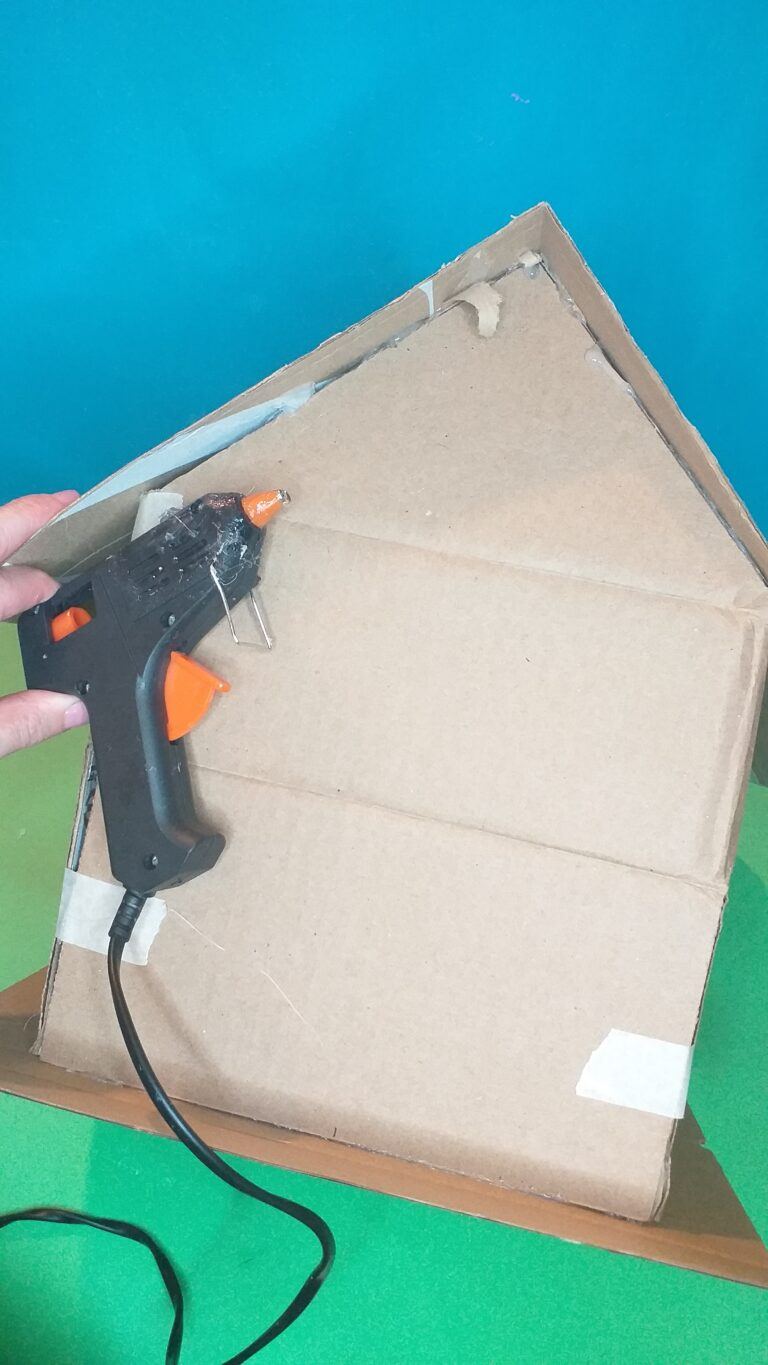
      The reason why I introduced a cardboard version of the same thing, is because I look to
      recycle throw-outs into fun crafts for kids and as I collected a bit of brown packaging
      it came in handy, perfect for this kind of project to try out!

      As for the two treats at the end of the article, I thought as crazy and zany as there are
      kind of tied in with this make belief Gingerbread house and fun to jump in and check out!

      Thanks for your comment and do have a go at making a cardboard version, it can be just as
      fun and creative too even if it’s out of season 🙂

  3. Awesome article! Loved the gingerbread house, will definitely try to make one with my kids, I think they’ll love it, amazing cardboard house – real creativity. Also love the idea of having personalised mat no sure I would feel comfortable wiping my foot on my loved ones faces though.

    Thank you

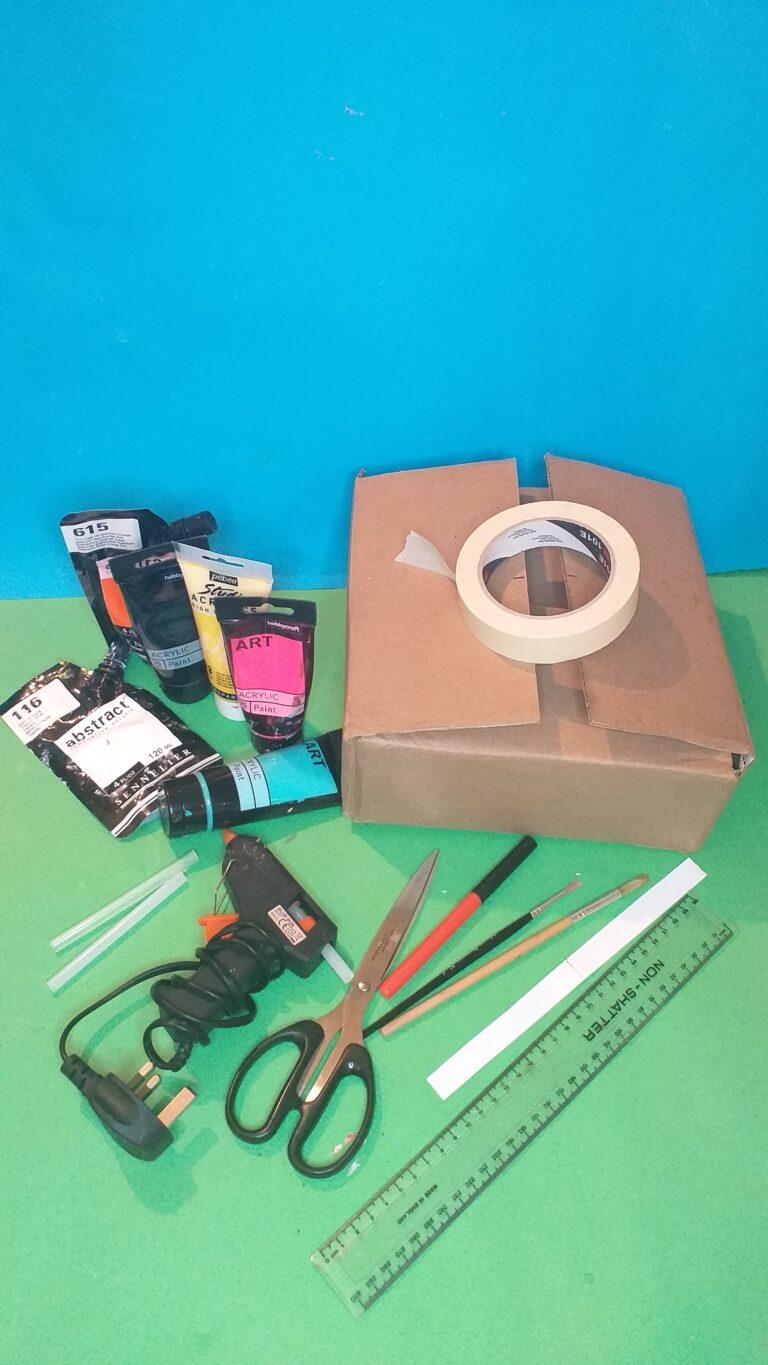
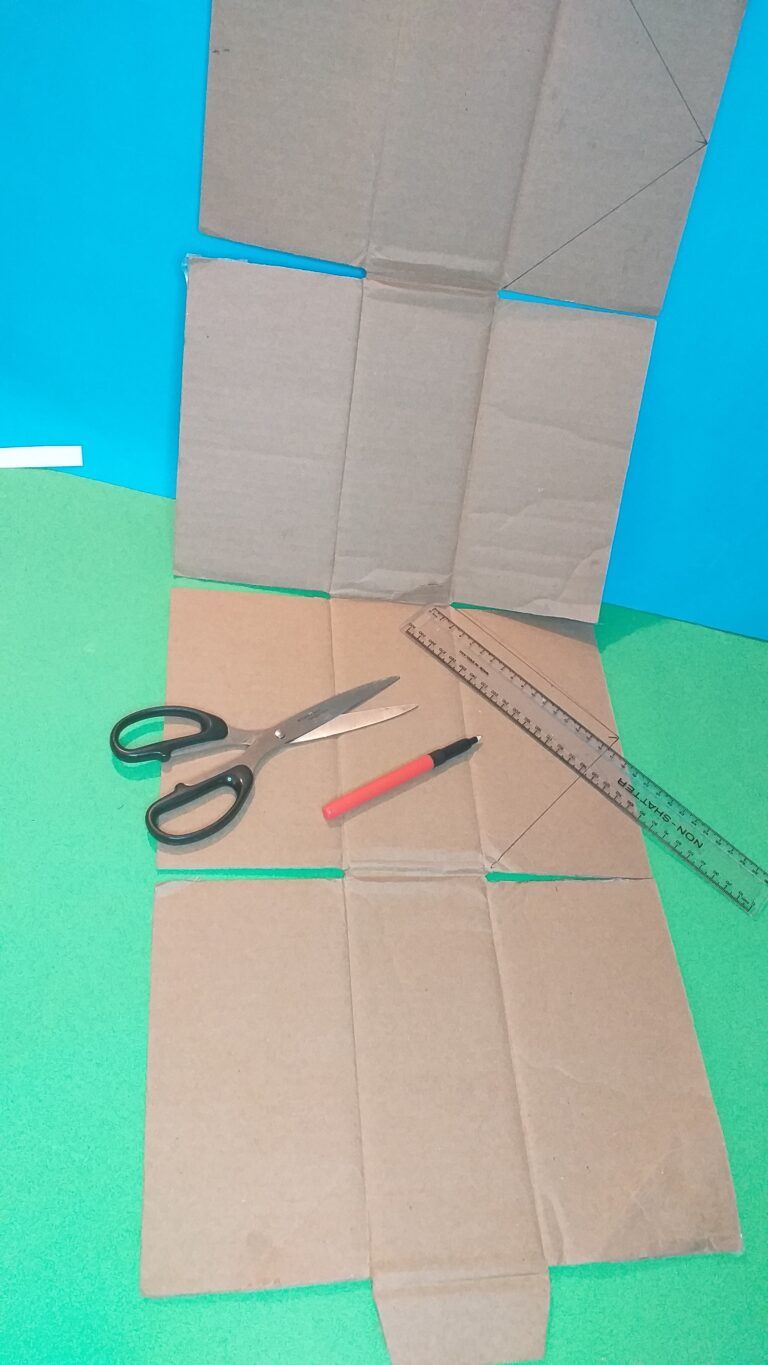
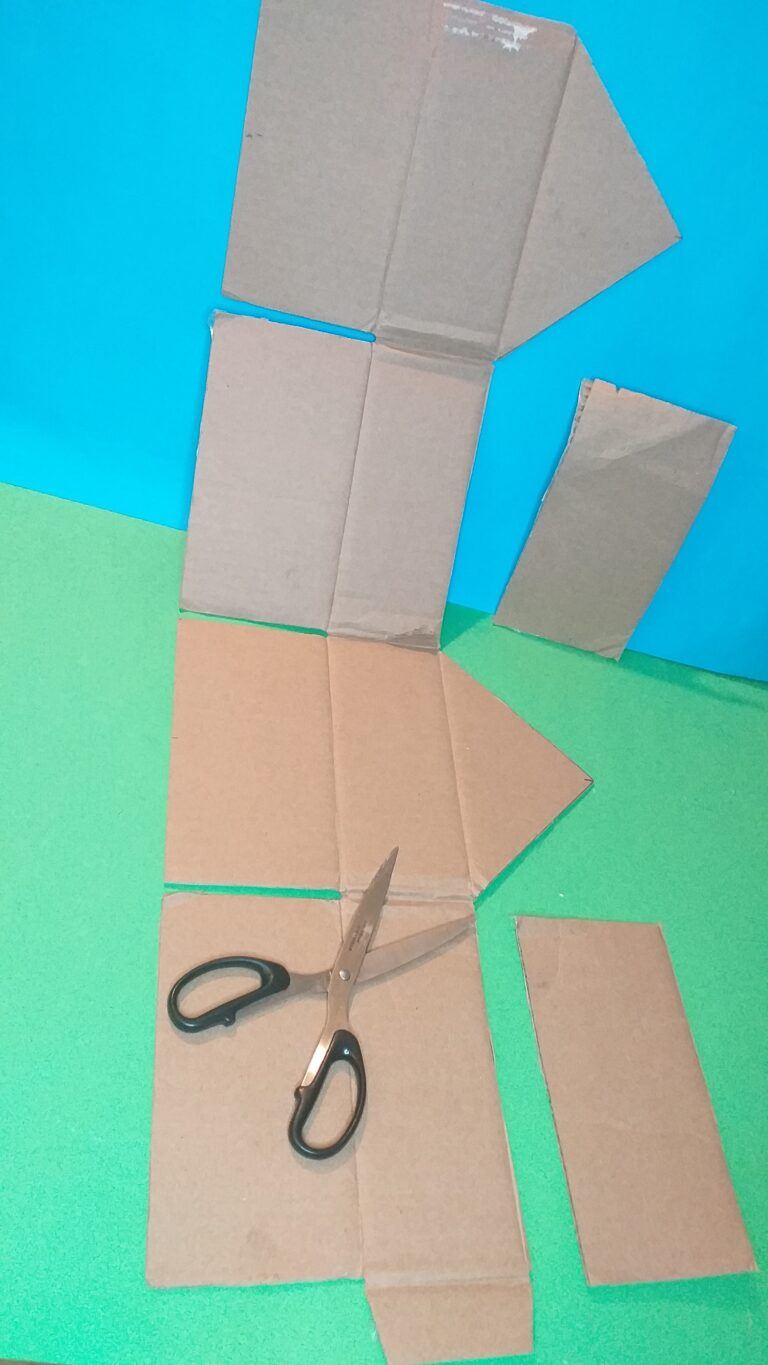
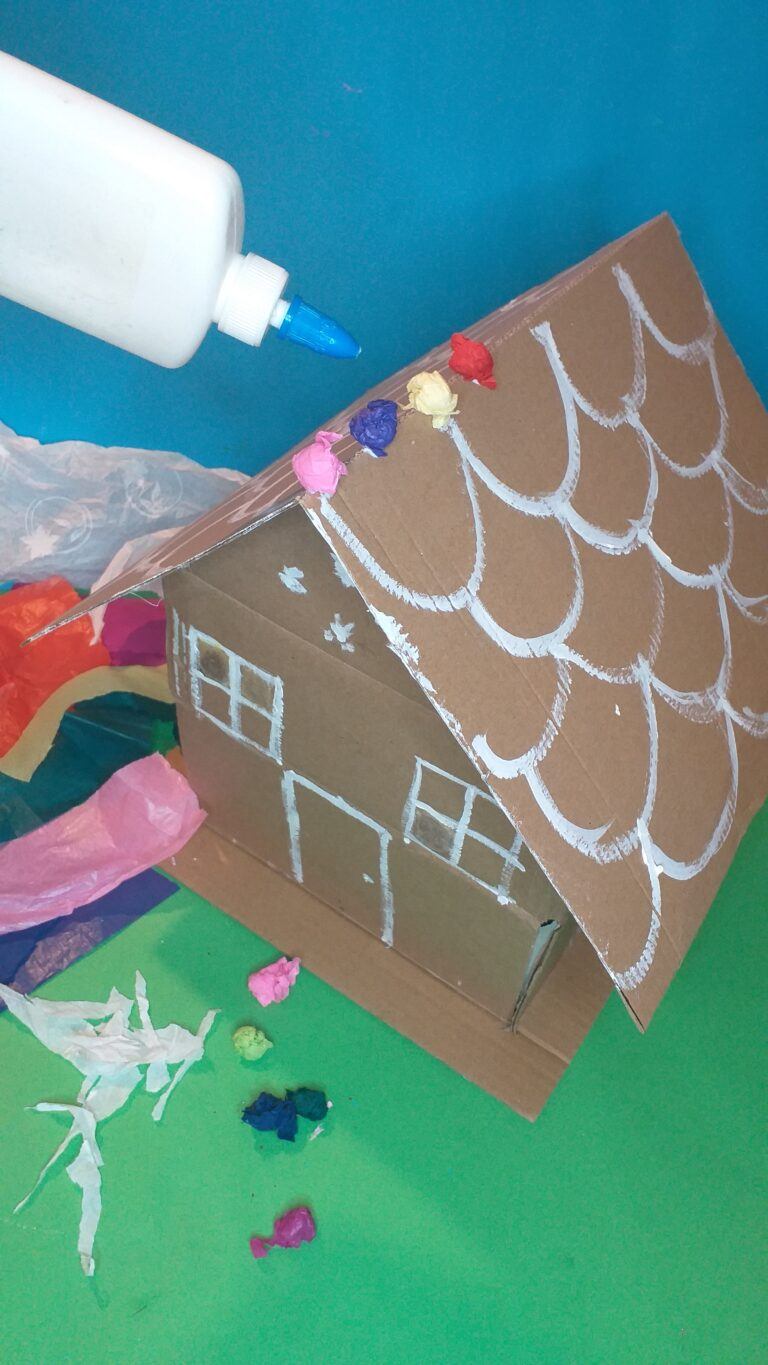
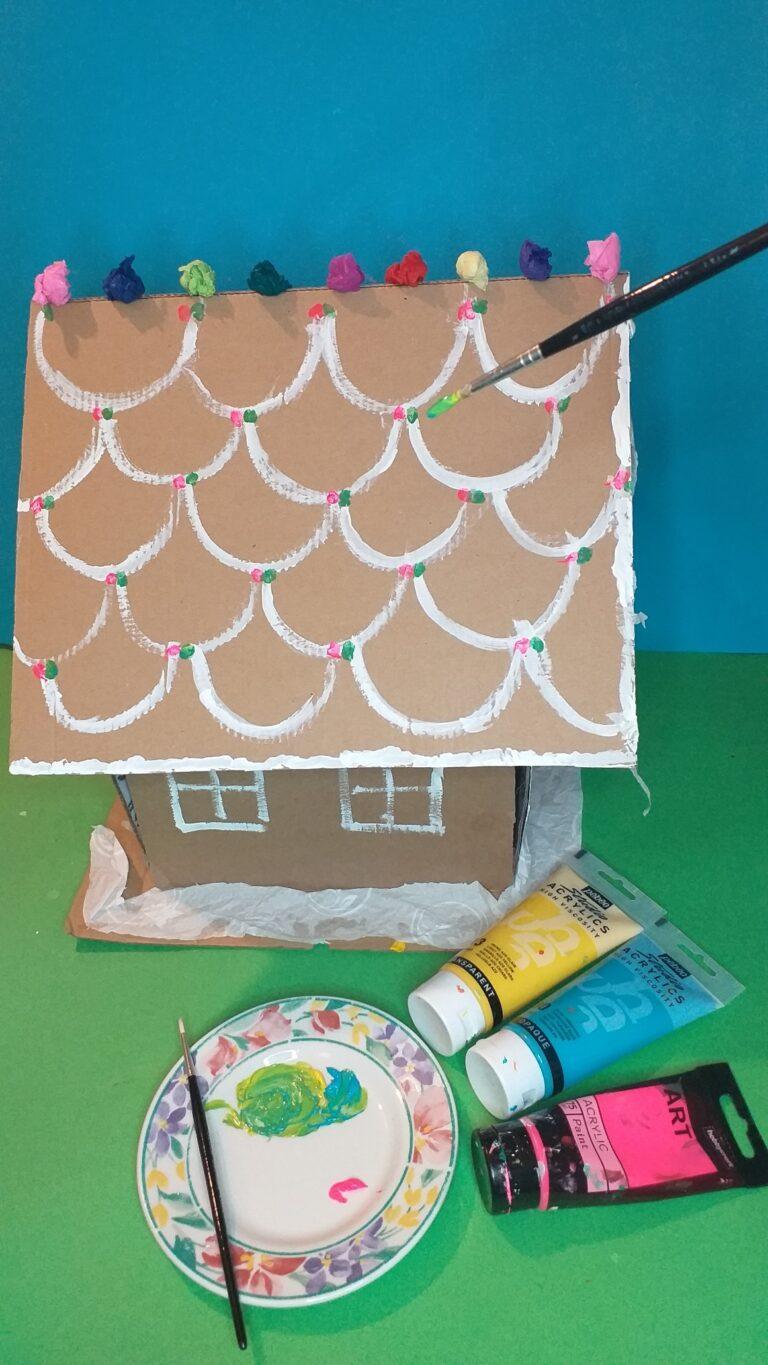
    1. Hi there, so glad you liked the Gingerbread house project! you can have a go anytime, keep hold of all your cardboard, grab yourself some paints and anything colourful, tissue paper, pompoms and you are good to go!.
      I agree with you, it did cross my mind about wiping my feet on someones face lol, but you can always wash these mats and get them back to scratch!
      Thanks for dropping by and if you get to make a cardboard Gingerbread house with your kids, drop us a line and I can add it as an update!
      Happy crafting!
      Julia.

Leave a Reply

Your email address will not be published.