How to make a parachute for kids, with carrier bags!
Here’s a quick and easy activity to whip up a couple of kids’ parachutes made using plastic carrier bags. Here’s how to make a parachute for kids!
So what shape will it be?
How to make a Parachute for Kids
This simple parachute craft is a fun way for kids to explore gravity, air resistance and creative play using materials you may already have at home.
THE IDEA FOR THIS POST
So one day, a child in the class I was supporting came up to me and asked how he could make his make-shift parachute float and land.
He showed me he was trying to add some string, but needed something to bring it down.
In regard to these questions and by helping him resolve this, that’s when the light-bulb went off.
So in this post, we shall be looking at how to make a Parachute for kids!
WHAT’S WITHIN THIS POST!
How I decided to craft a parachute.
Talk about how different materials float.
Find recycled materials.
Video on parachutes
Experiment with different shapes and weights.
Resources.
Demo, how to make.
Try out in the garden.
Conclude on the results.
links to ‘kid green crafts’ and ‘Nursery stickers’
Final thoughts
Conclusion
Internal links.
Social media.
This is actually a great STEM-style activity because children can experiment with different recycled materials to discover:
which ones fall quickly,
which ones glide,
And which ones trap air best like a real parachute?
For homemade parachutes, the key thing is usually:
lightweight materials that can catch air without being too heavy.
Here are some good recycled or household materials children can experiment with:
LIGHTWEIGHT ‘CANOPY’ MATERIALS
These form the top parachute part that catches the air.
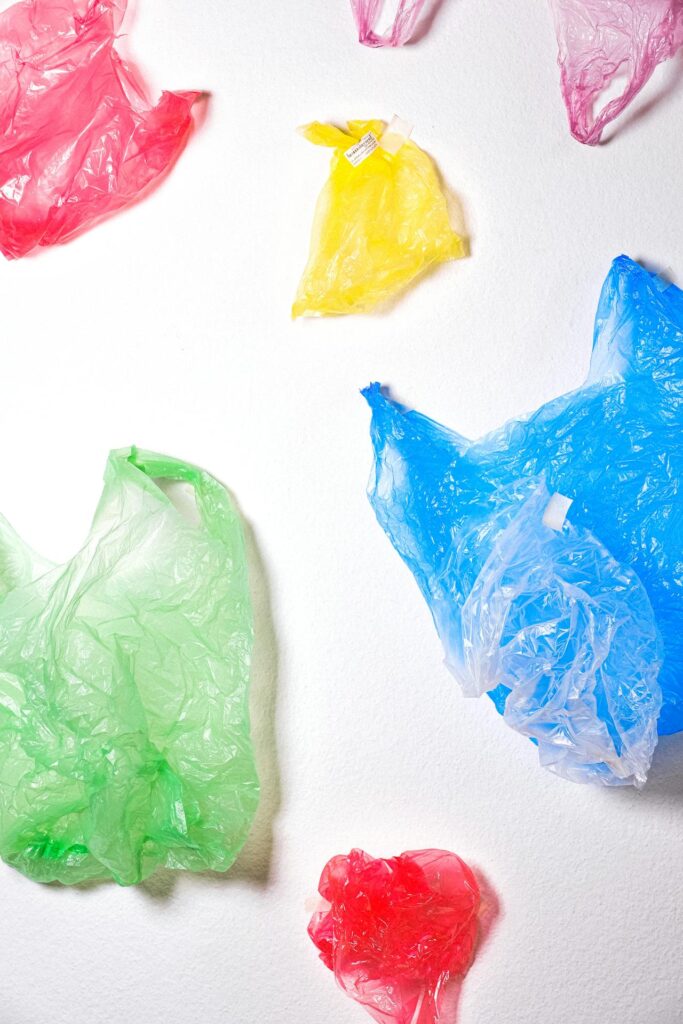
PLASTIC BAGS
carrier bags,
sandwich bags,
fruit bags,
bread bags.
These often work very well because they are:
light,
flexible,
and trap air easily.
Coloured plastic bags. A Pexels picture, by Anna Shets.
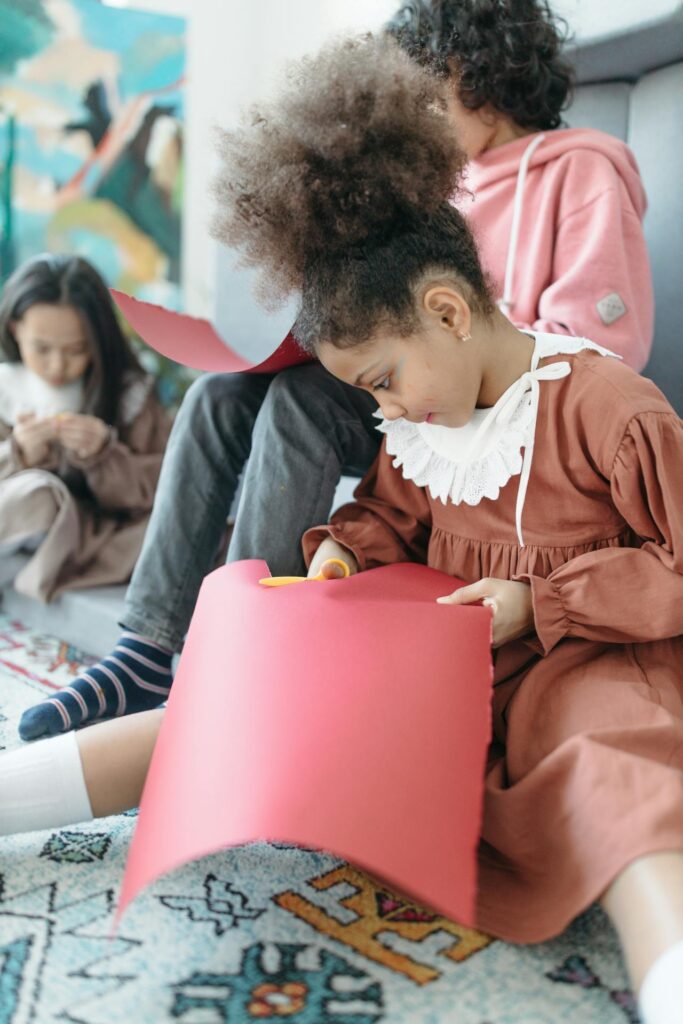
THIN PAPERS
A child checking pink card. A Pexels picture, by Anastasia Shuraeva.
Children can compare:
thin tissue,
thicker paper,
newspaper,
magazine paper.
This helps them notice how:
heavier paper drops faster,
Lighter paper floats more.
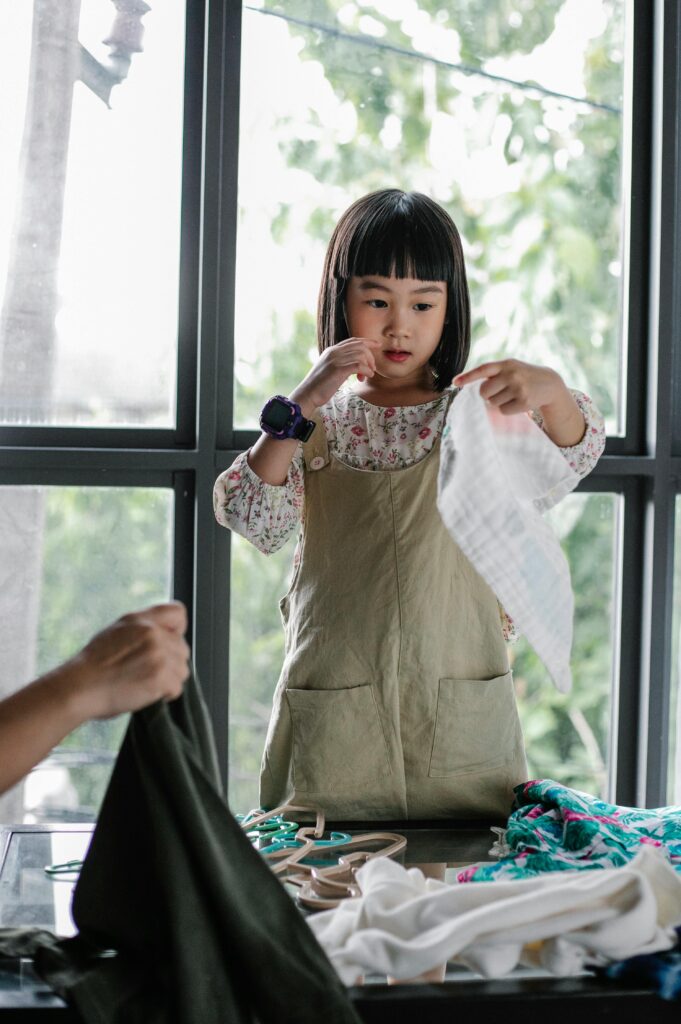
FABRIC SCRAPS
Try:
old pillowcases,
thin fabric,
felt,
handkerchiefs,
mesh fabric.
Children can test:
which fabrics catch air best,
and which are too heavy.
A child choosing fabric. A Pexels picture, by Alex Green.
STRINGS AND ATTACHMENTS.
These connect the parachute to the toy/passenger.
Good recycled options:
wool,
old shoelaces,
string,
embroidery thread,
ribbon,
dental floss.
Kids can test:
long strings vs short strings,
equal lengths vs uneven lengths.
A girl holding woollen balls. A Pexels picture, by Svetlana Zavalko.
PASSENGER IDEAS!
A collection of plastic bottle caps.
The weight underneath changes how the parachute falls.
Fun recycled choices:
bottle caps,
toy figures,
corks,
paper clips,
small cardboard shapes,
pom-poms,
mini recycled boxes.
Great STEM Questions for Kids
You could encourage children to investigate:
Which material falls the slowest?
Which parachute catches the most air?
Does a bigger parachute work better?
What happens if the passenger is heavier?
Which shape works best: square, circle, triangle?
SIMPLE MATERIALS TO GATHER
A really good ‘experiment tray’ might include:
plastic bags,
tissue paper,
newspaper,
cupcake liners,
coffee filters,
fabric scraps,
string,
tape,
recycled bottle tops.
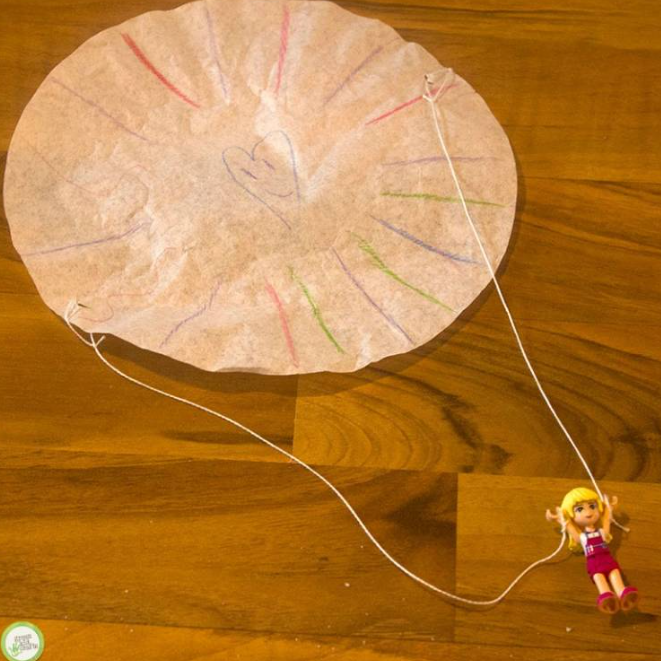
Coffee filters, especially, are surprisingly brilliant for mini parachutes because they already form a dome shape.
Check out in this video how a parachute floats.
WHAT I SHALL USE TO MAKE A PARACHUTE FOR KIDS!
It will be a guessing game, but I shall pick a mixture of resources and have a go at transforming them into a make-shift parachute and see which ones give me the best results.
I’m going to go with white carrier bags as there are plenty of these about, transforming them into our parachute!
I will then record the results and feed back to you.
RESOURCES
MATERIALS
Carrier bag.
String/wool/cotton
strands of different lengths.
Wool
Length: Short & long
PASSENGERS/WEIGHT
Plastic carton caps.
LET’S MAKE PARACHUTES FOR KIDS!
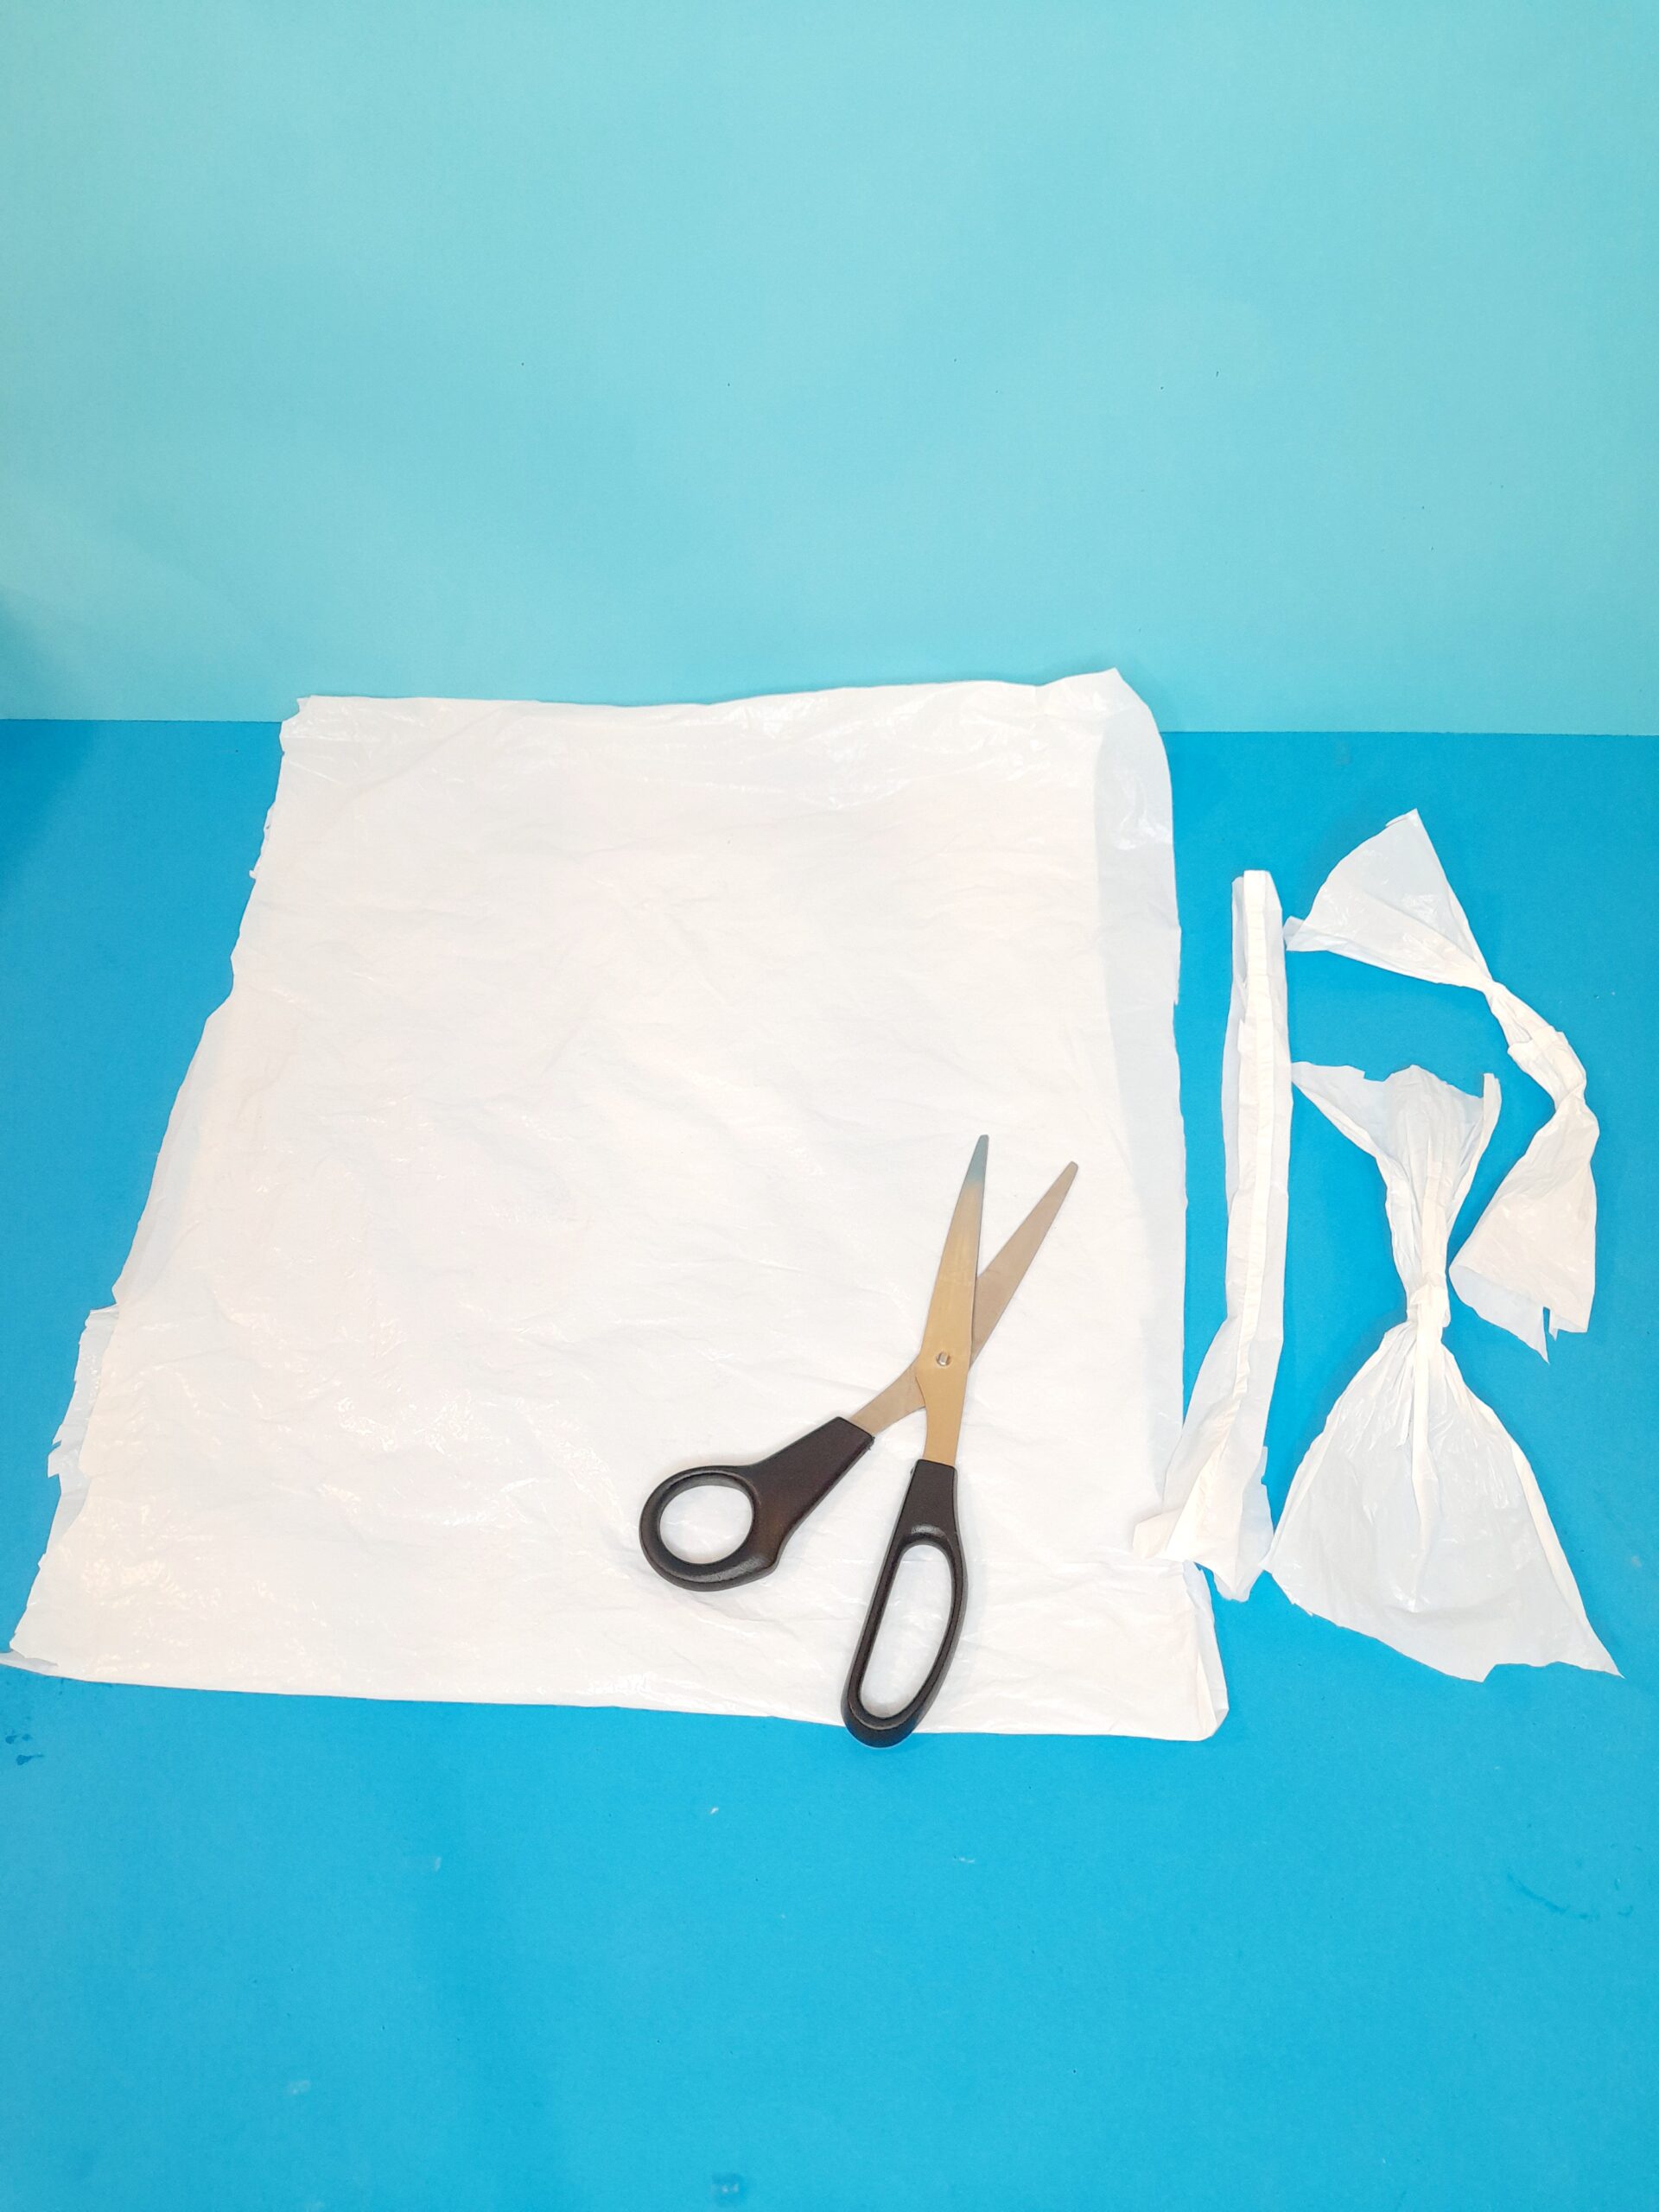
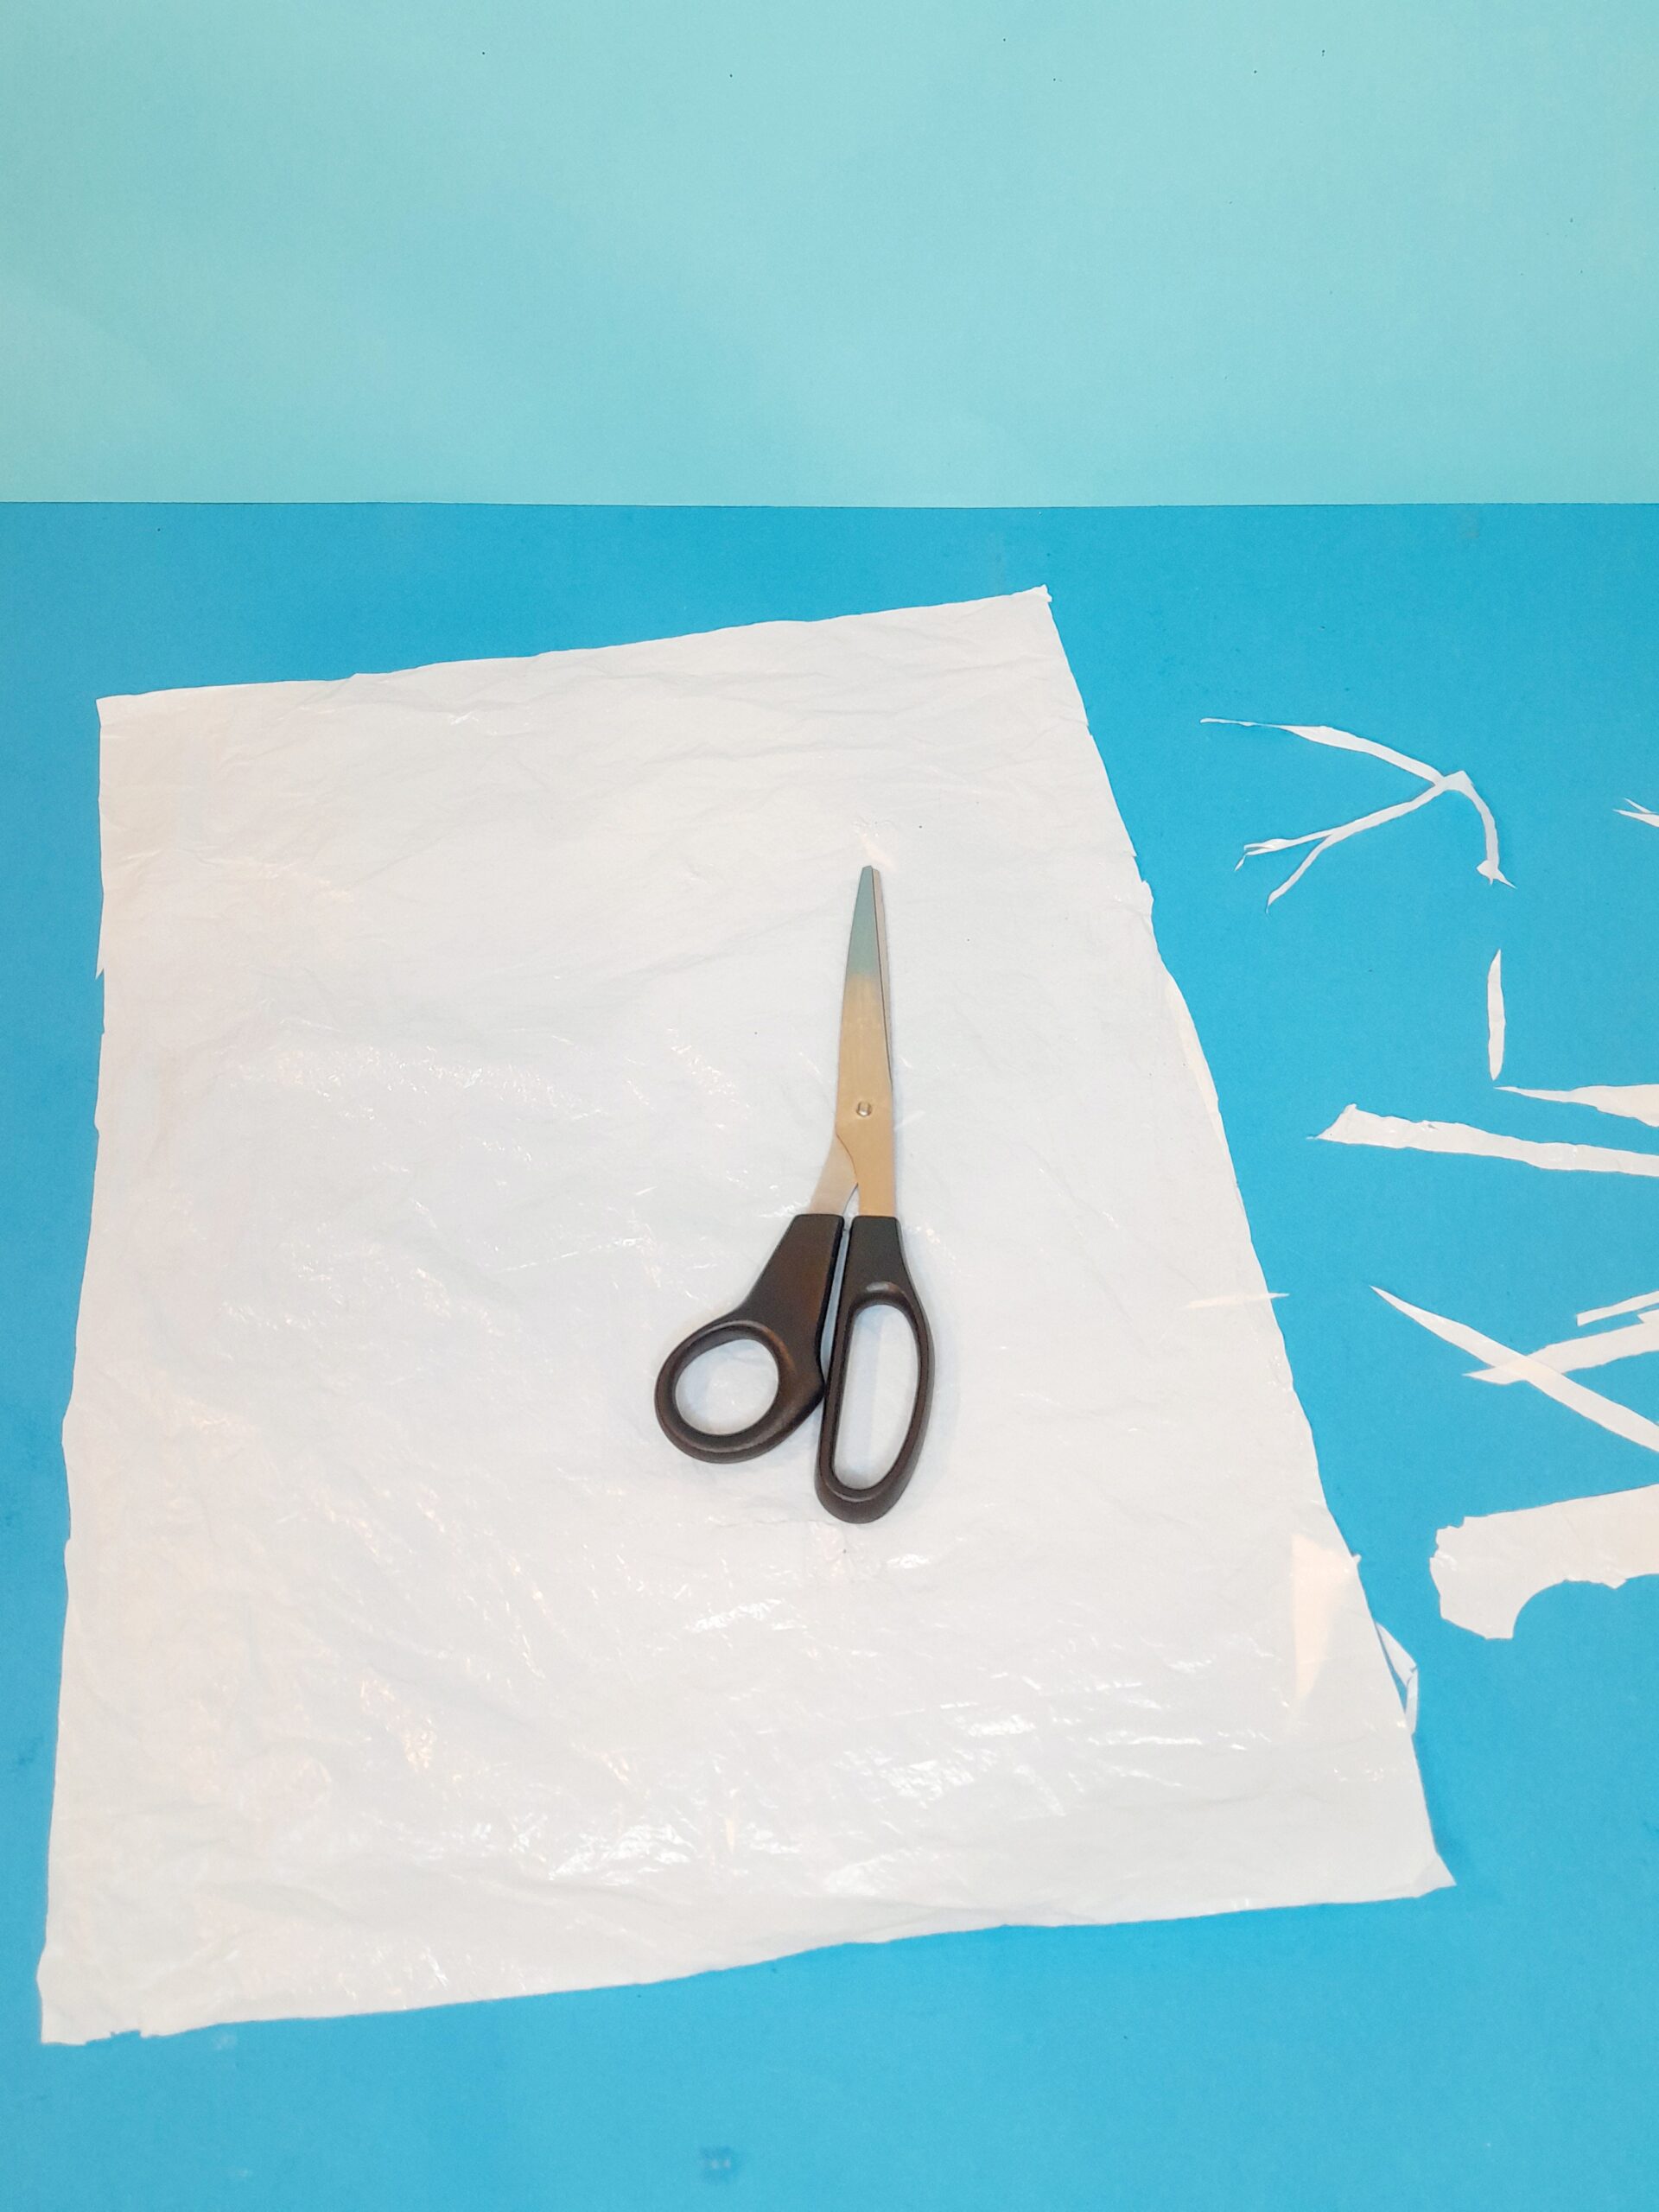
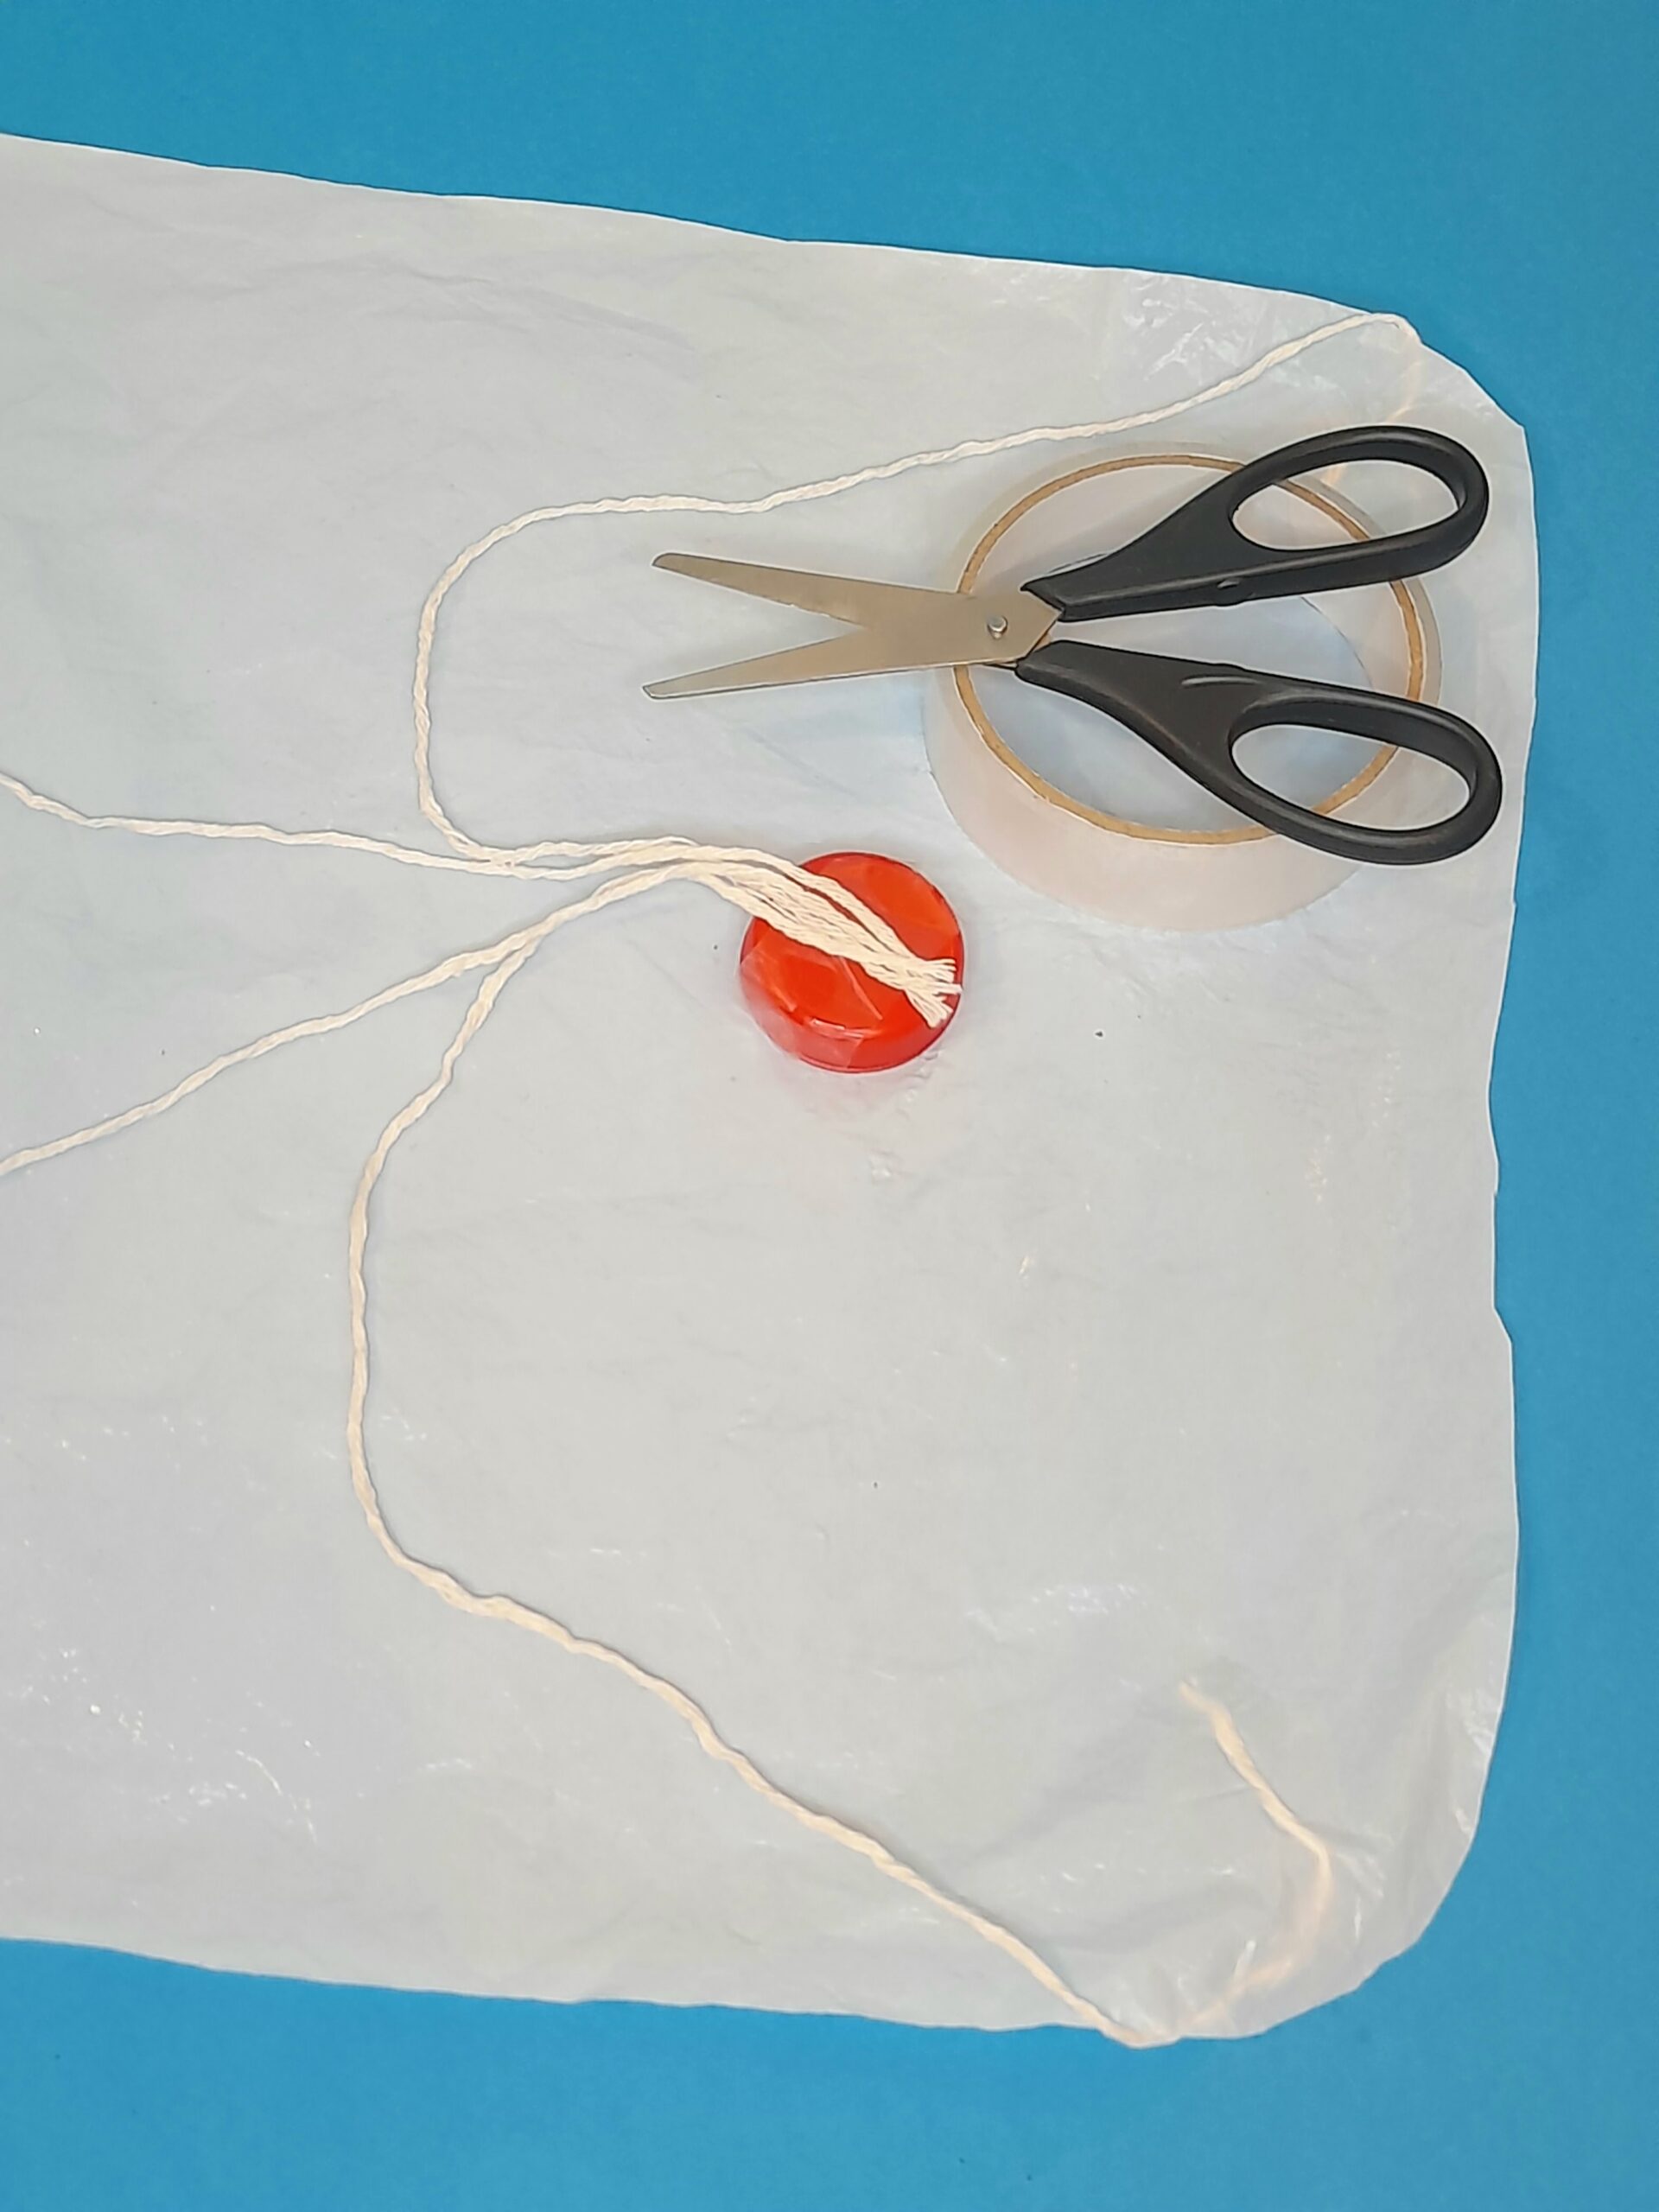
1) Smooth out the white carrier bag and cut off the handles and the other end of the bag.
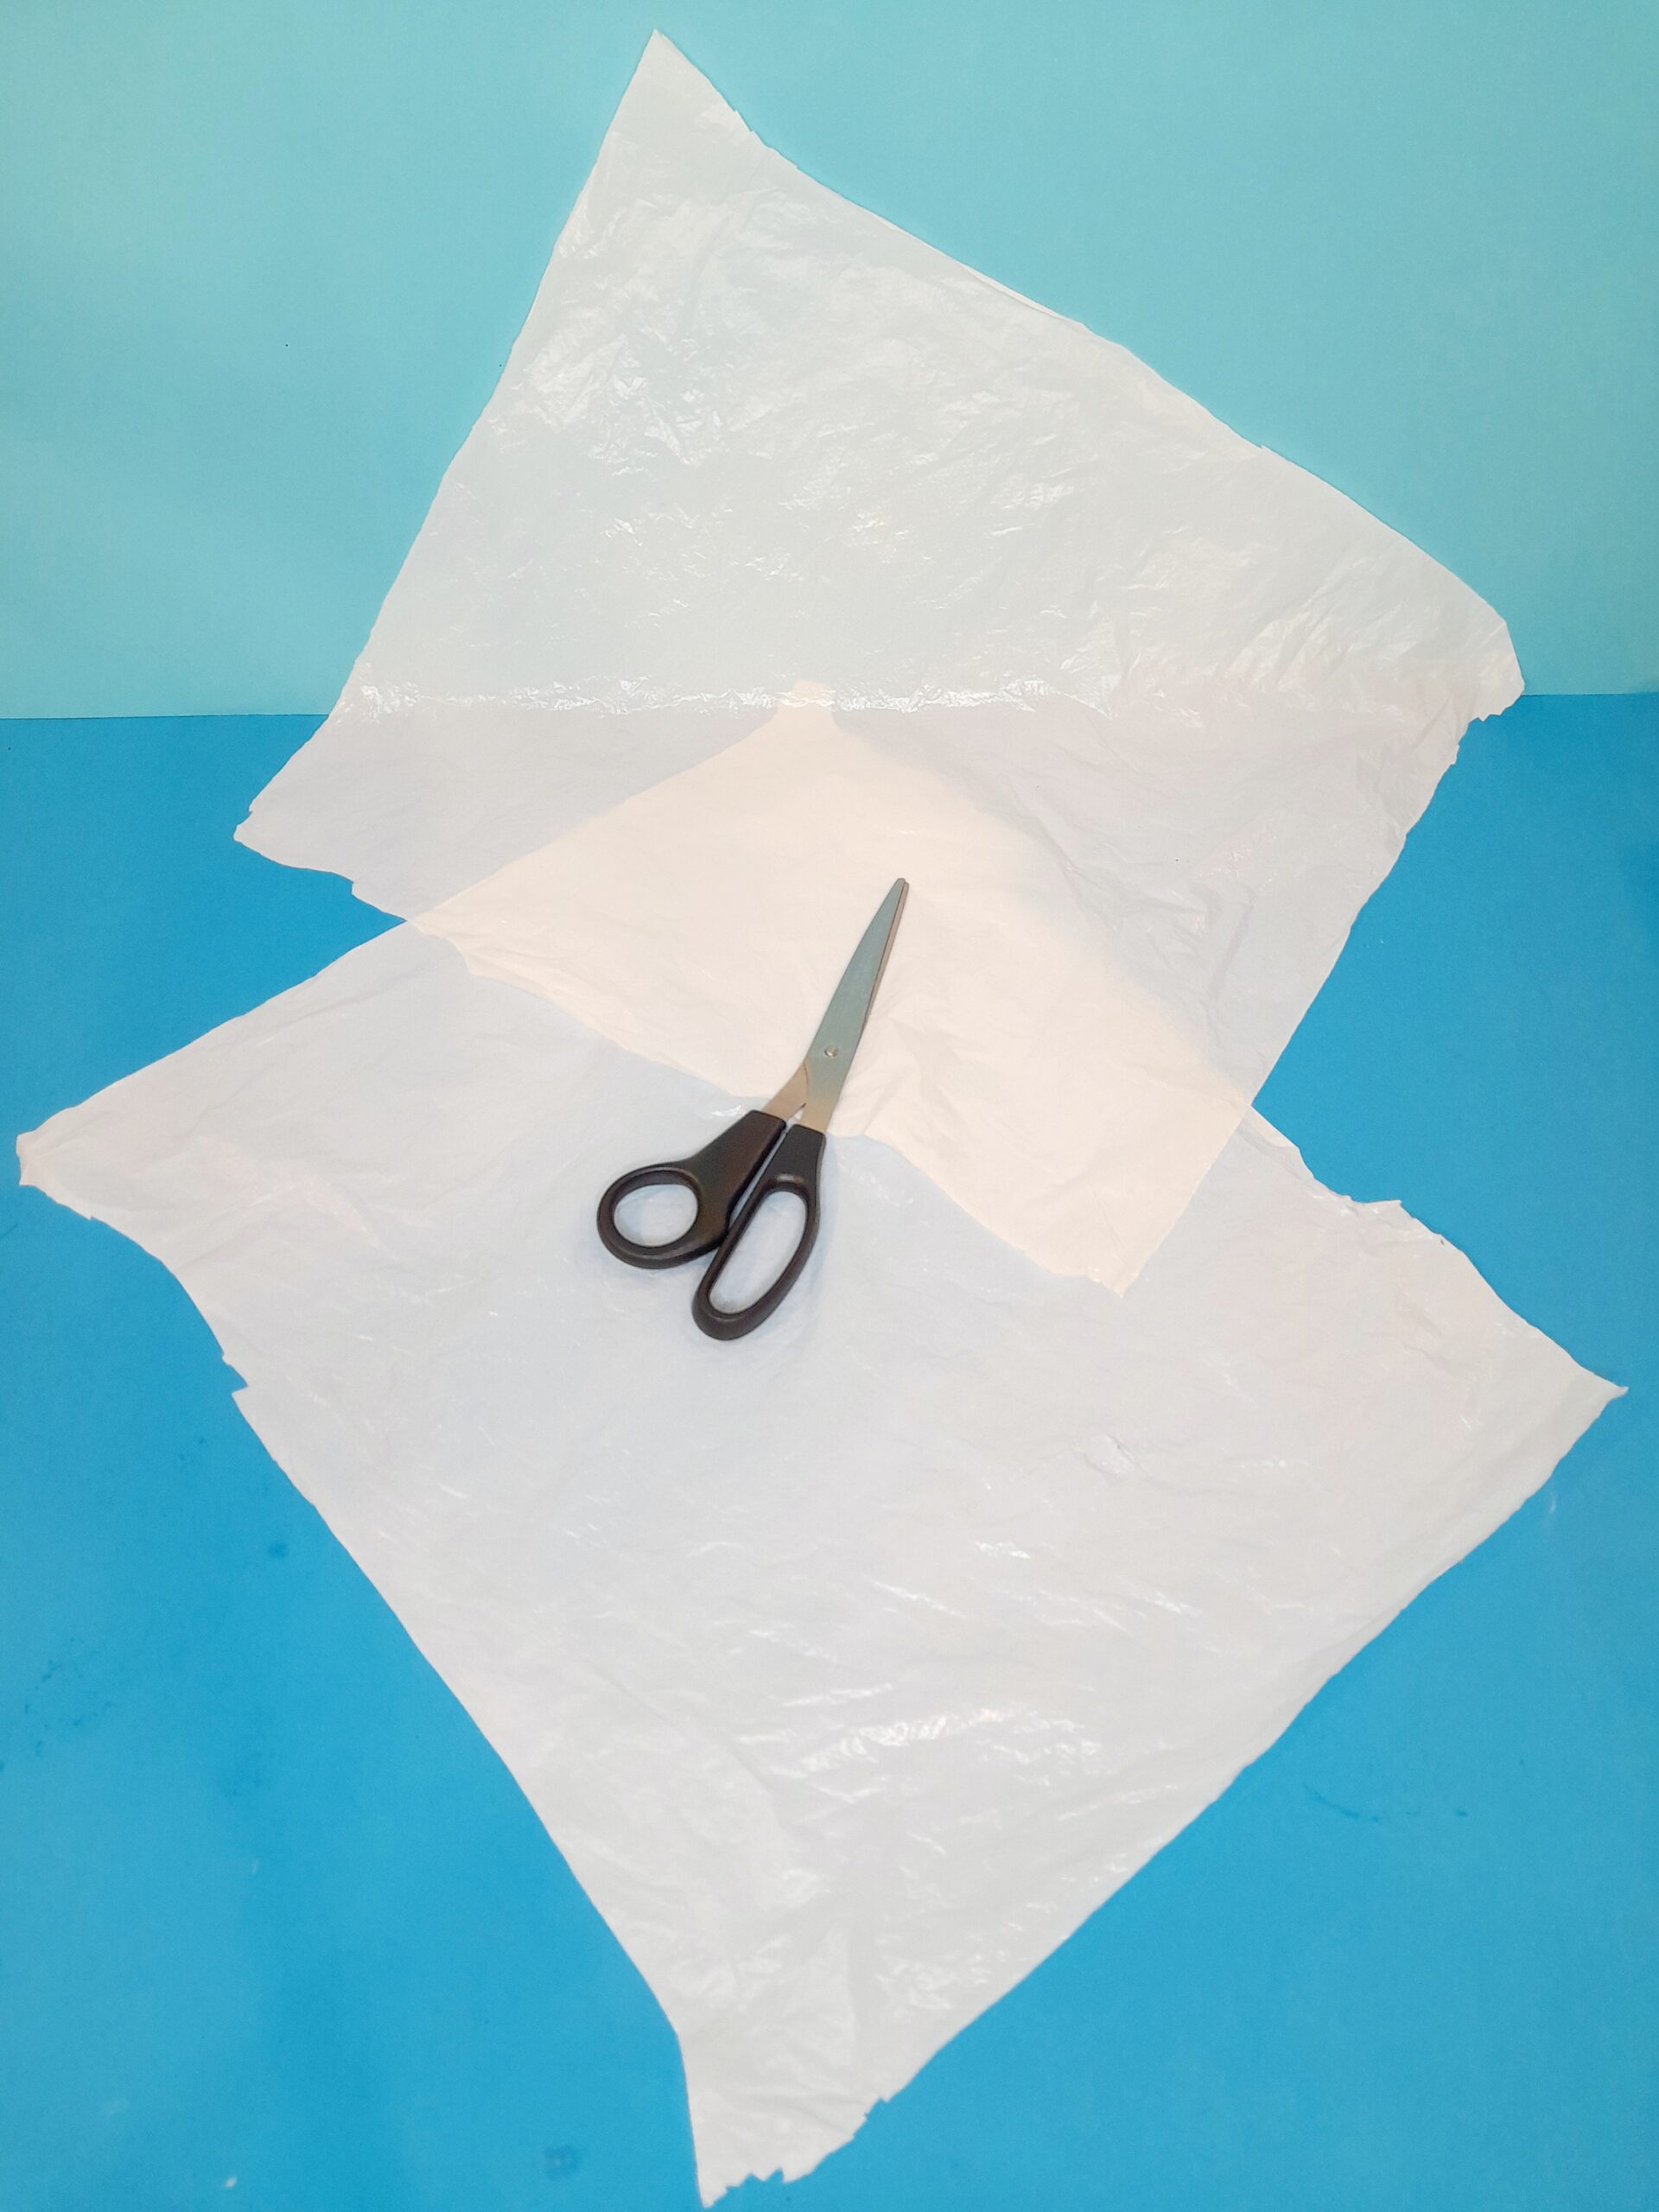
2) You have now 2 square pieces.
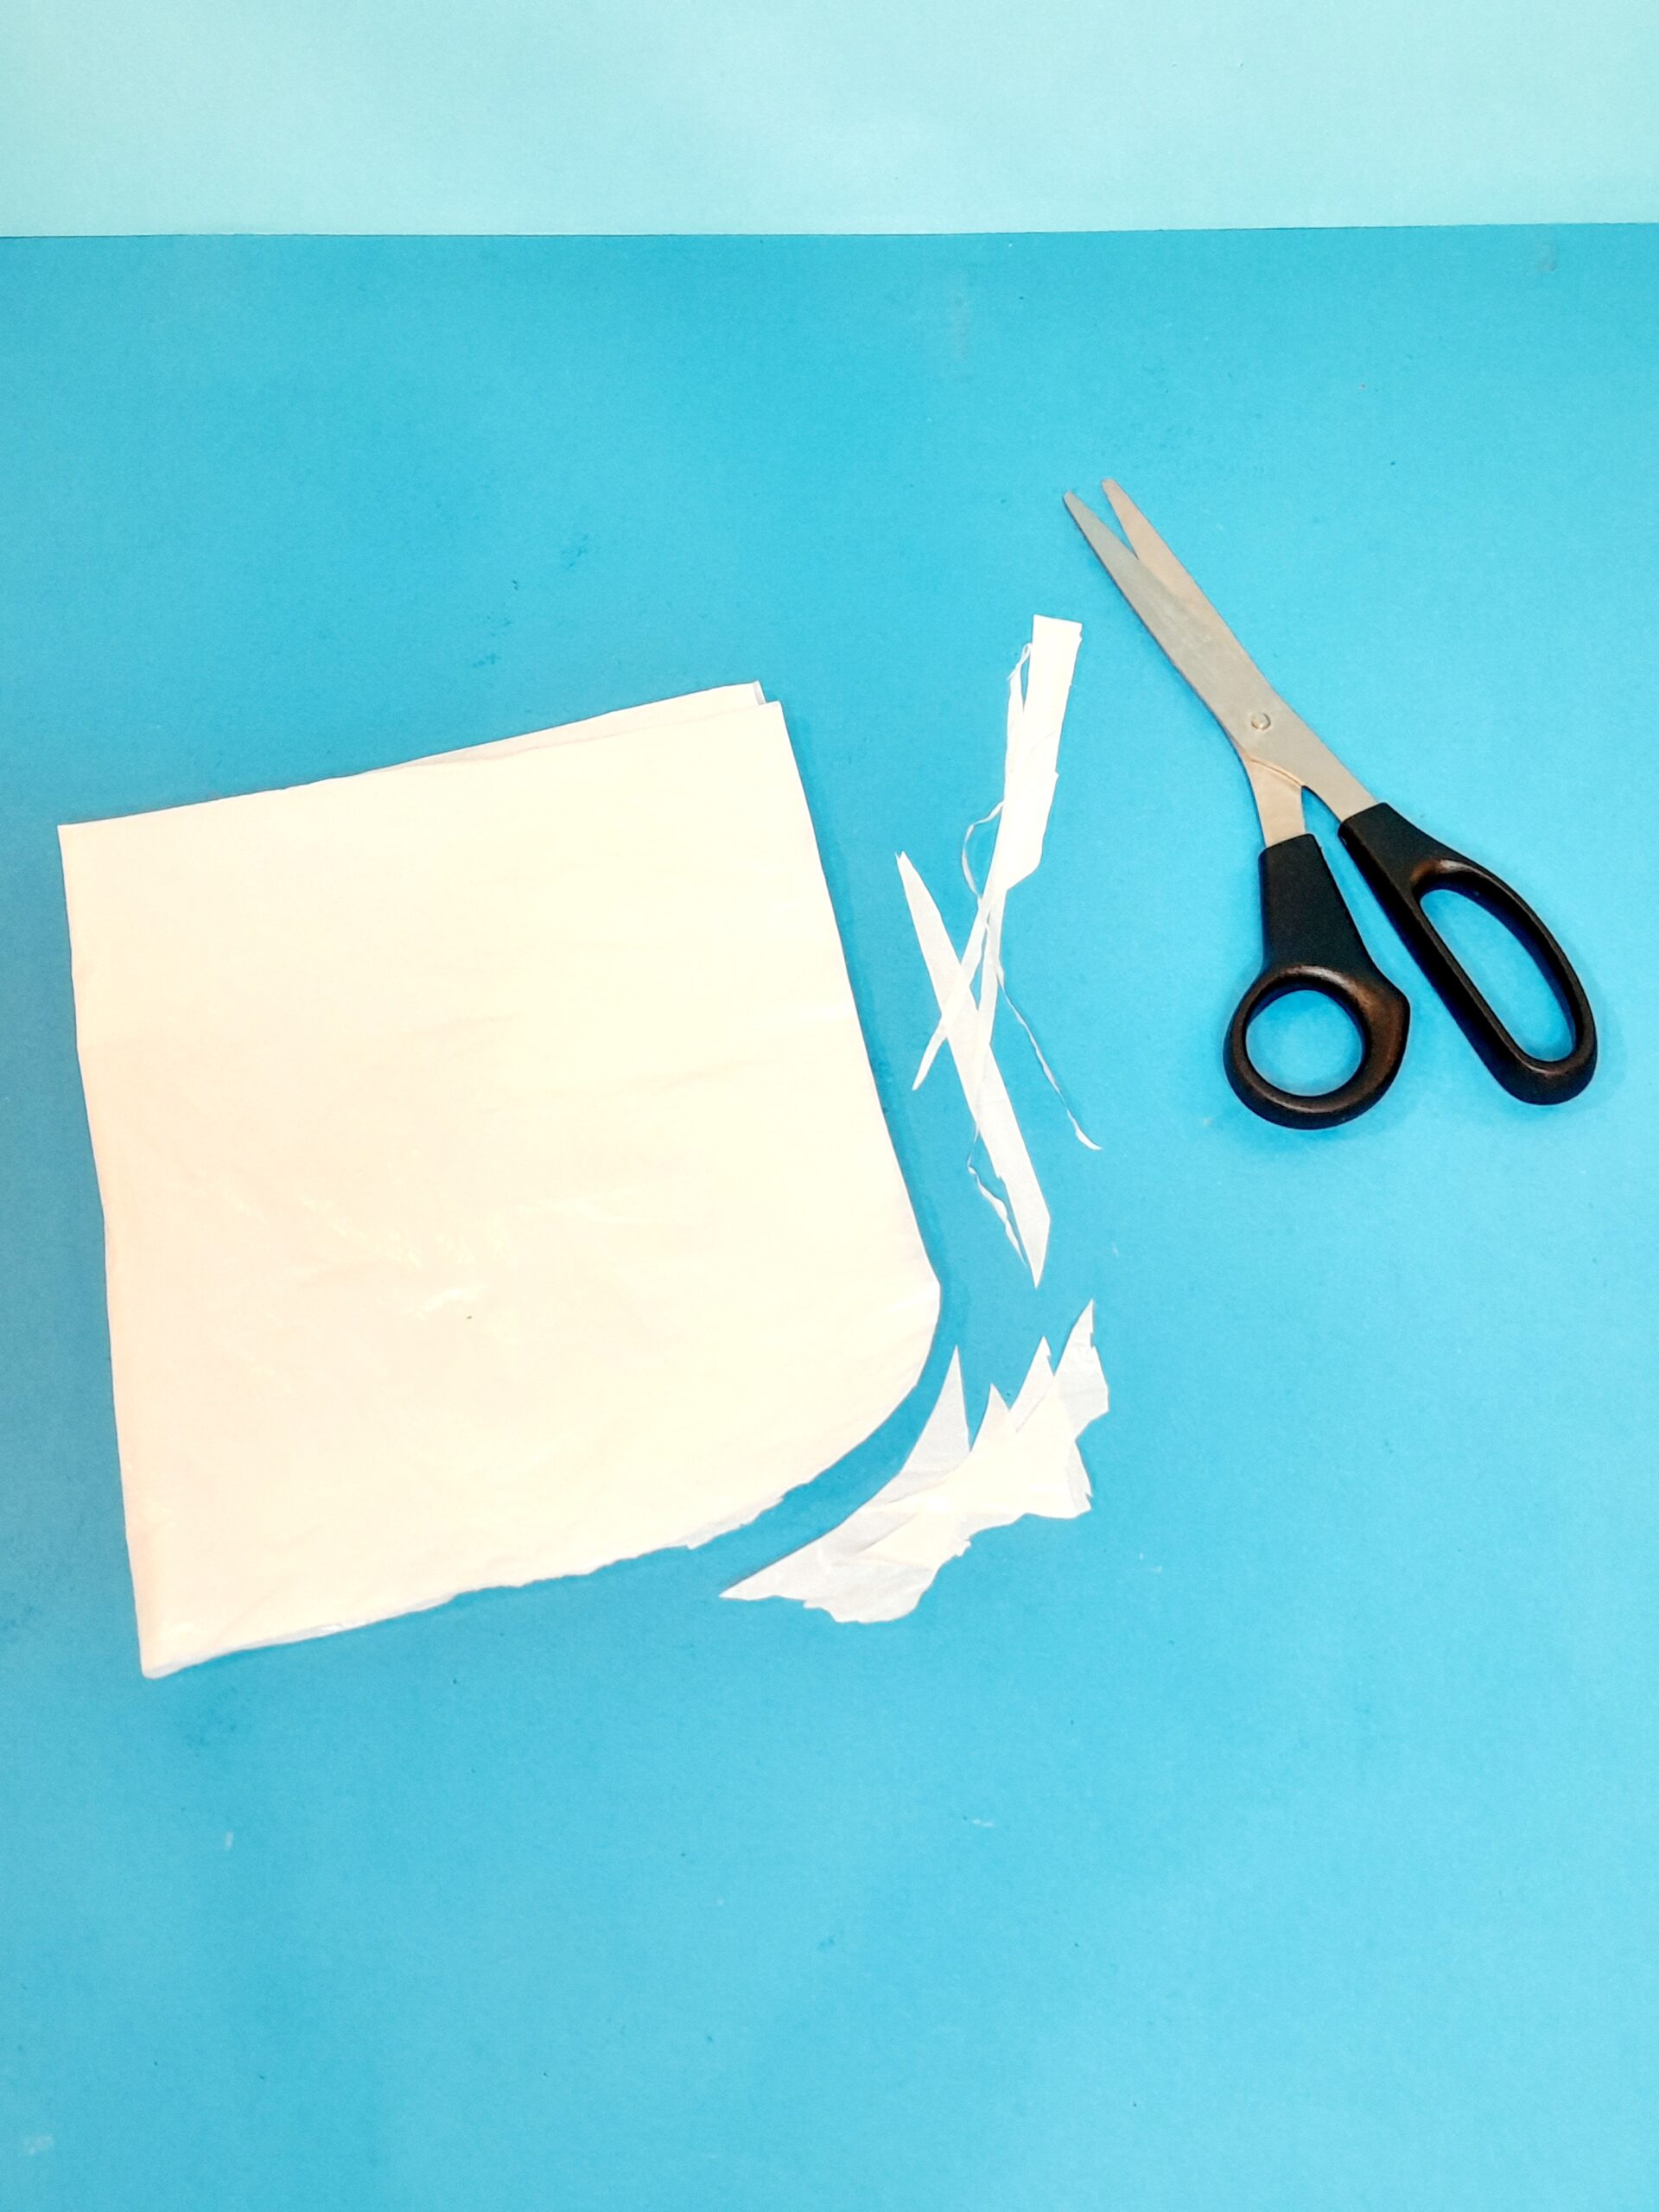
3) Fold one piece and round off the corners.
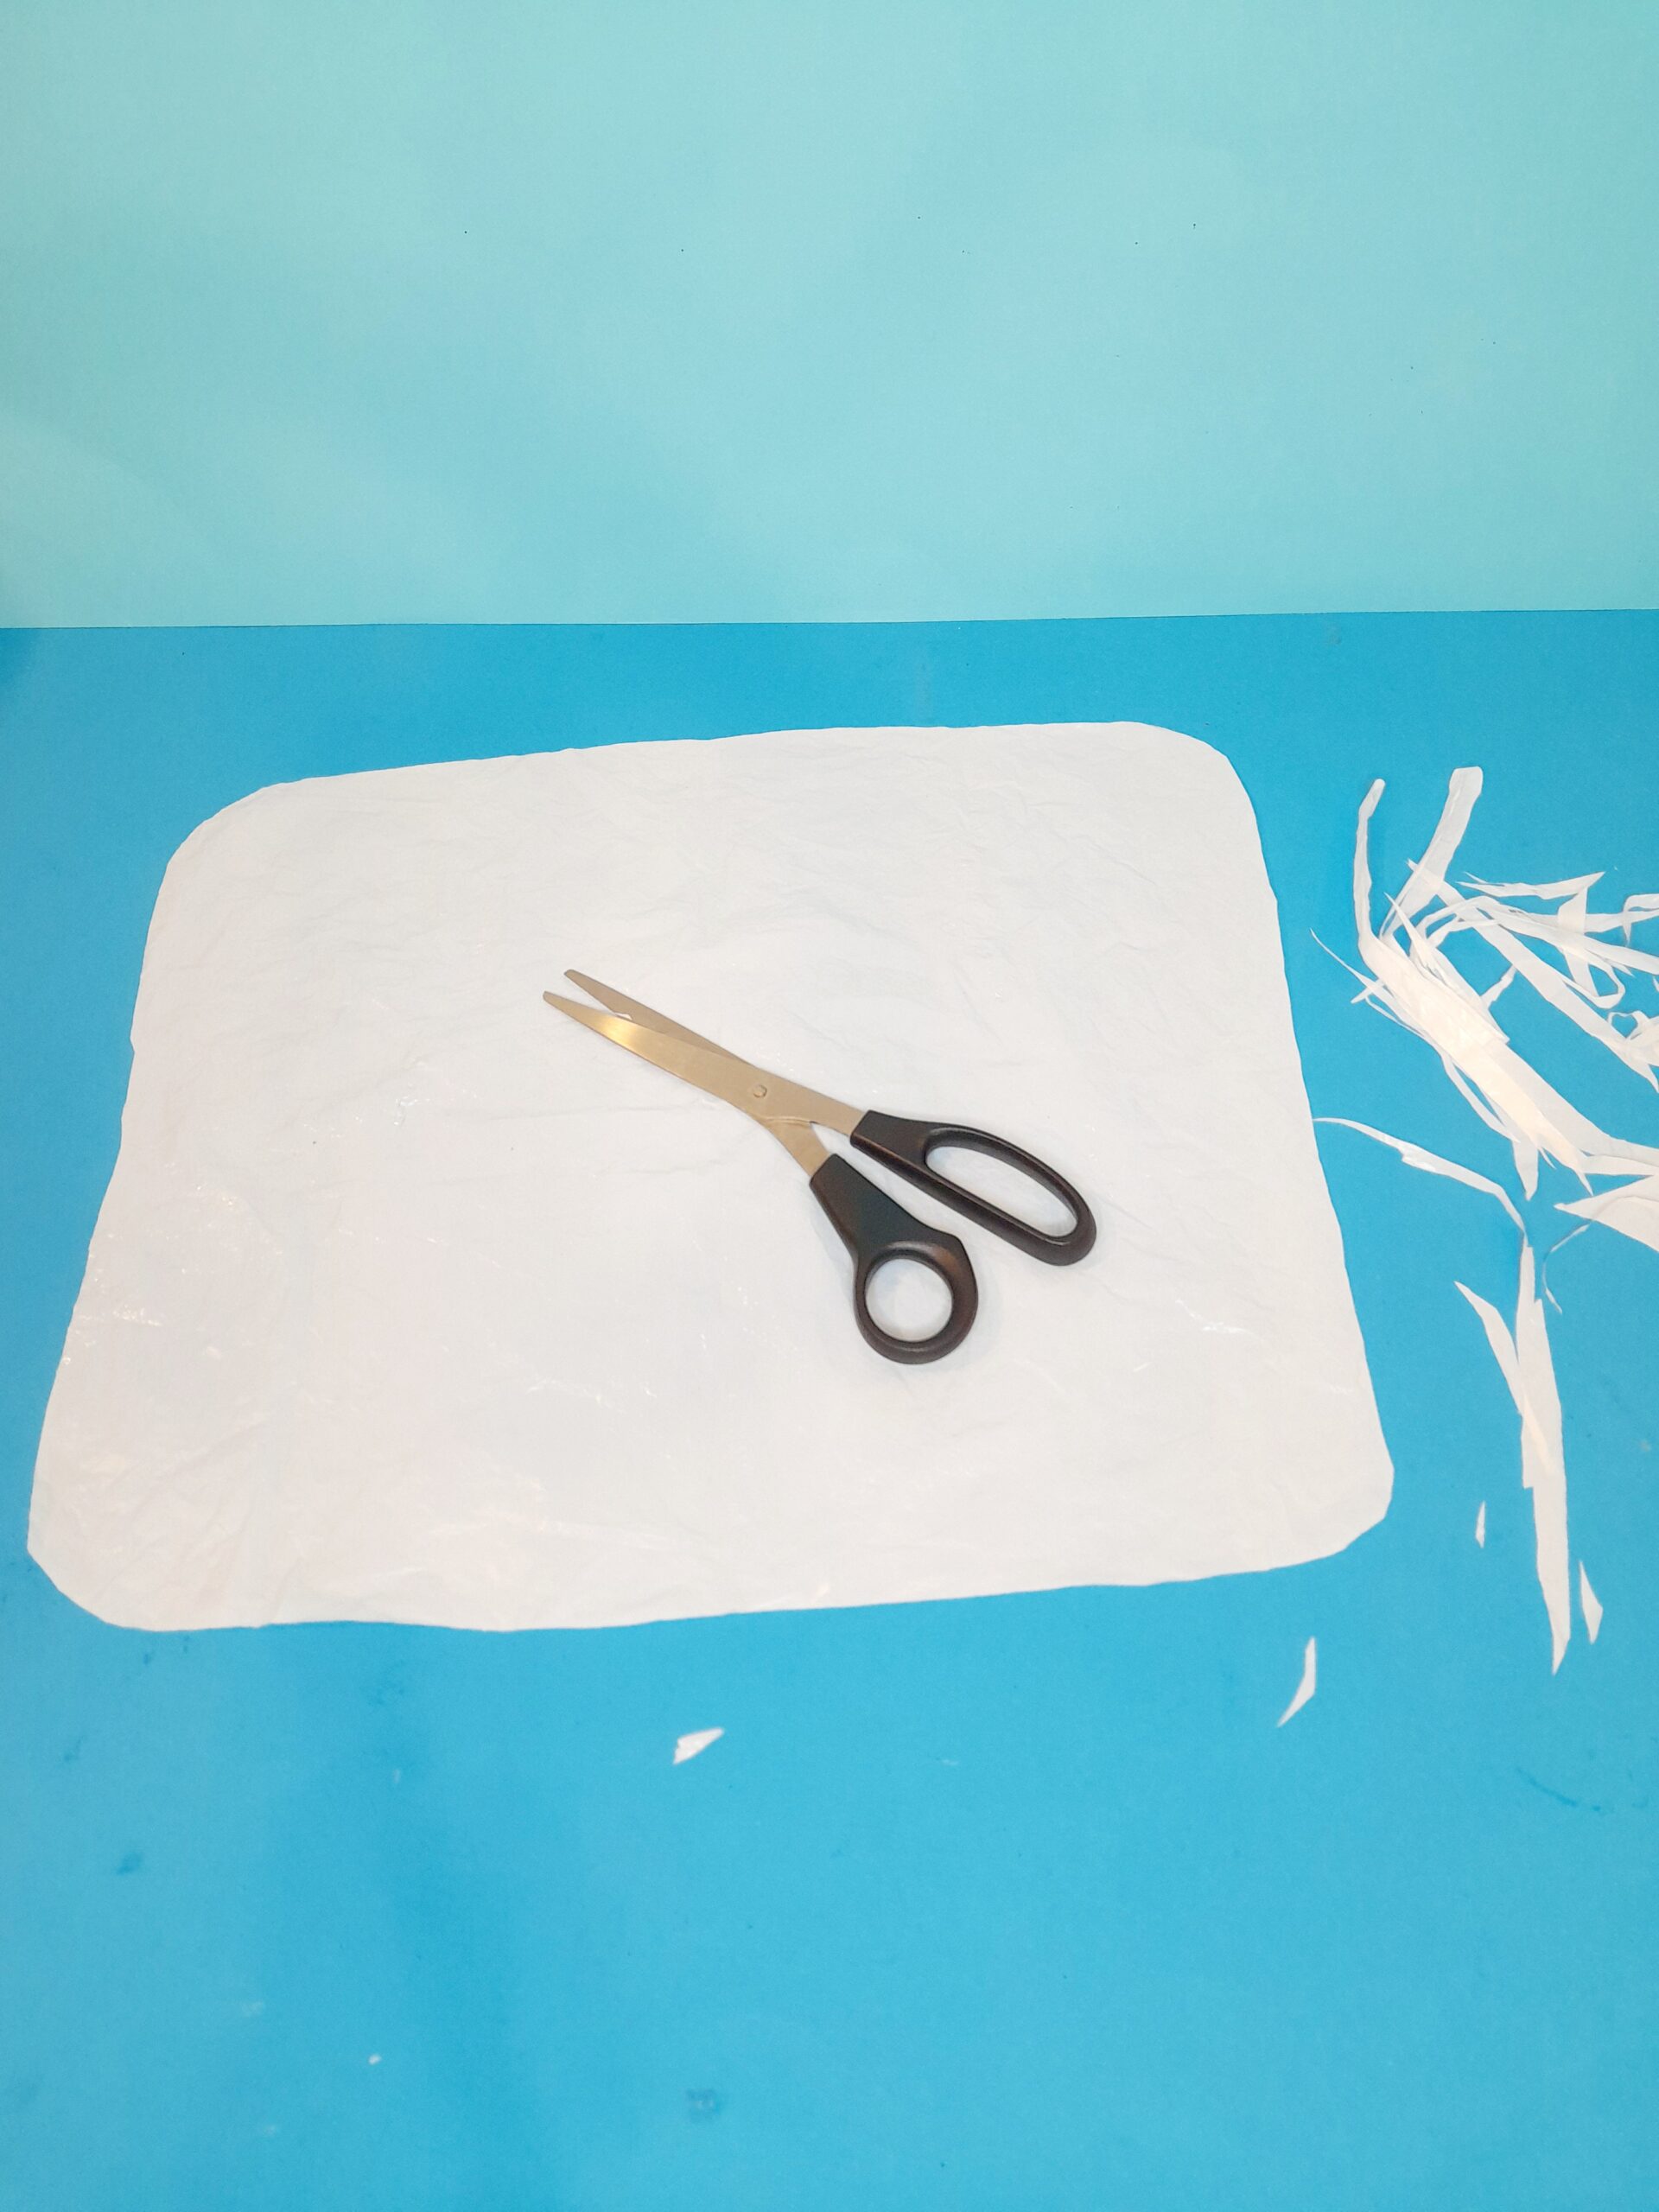
4) Or open up and cut and round the corners a bit more neatly.
5) Now cut and neaten up the square or rectangular piece.
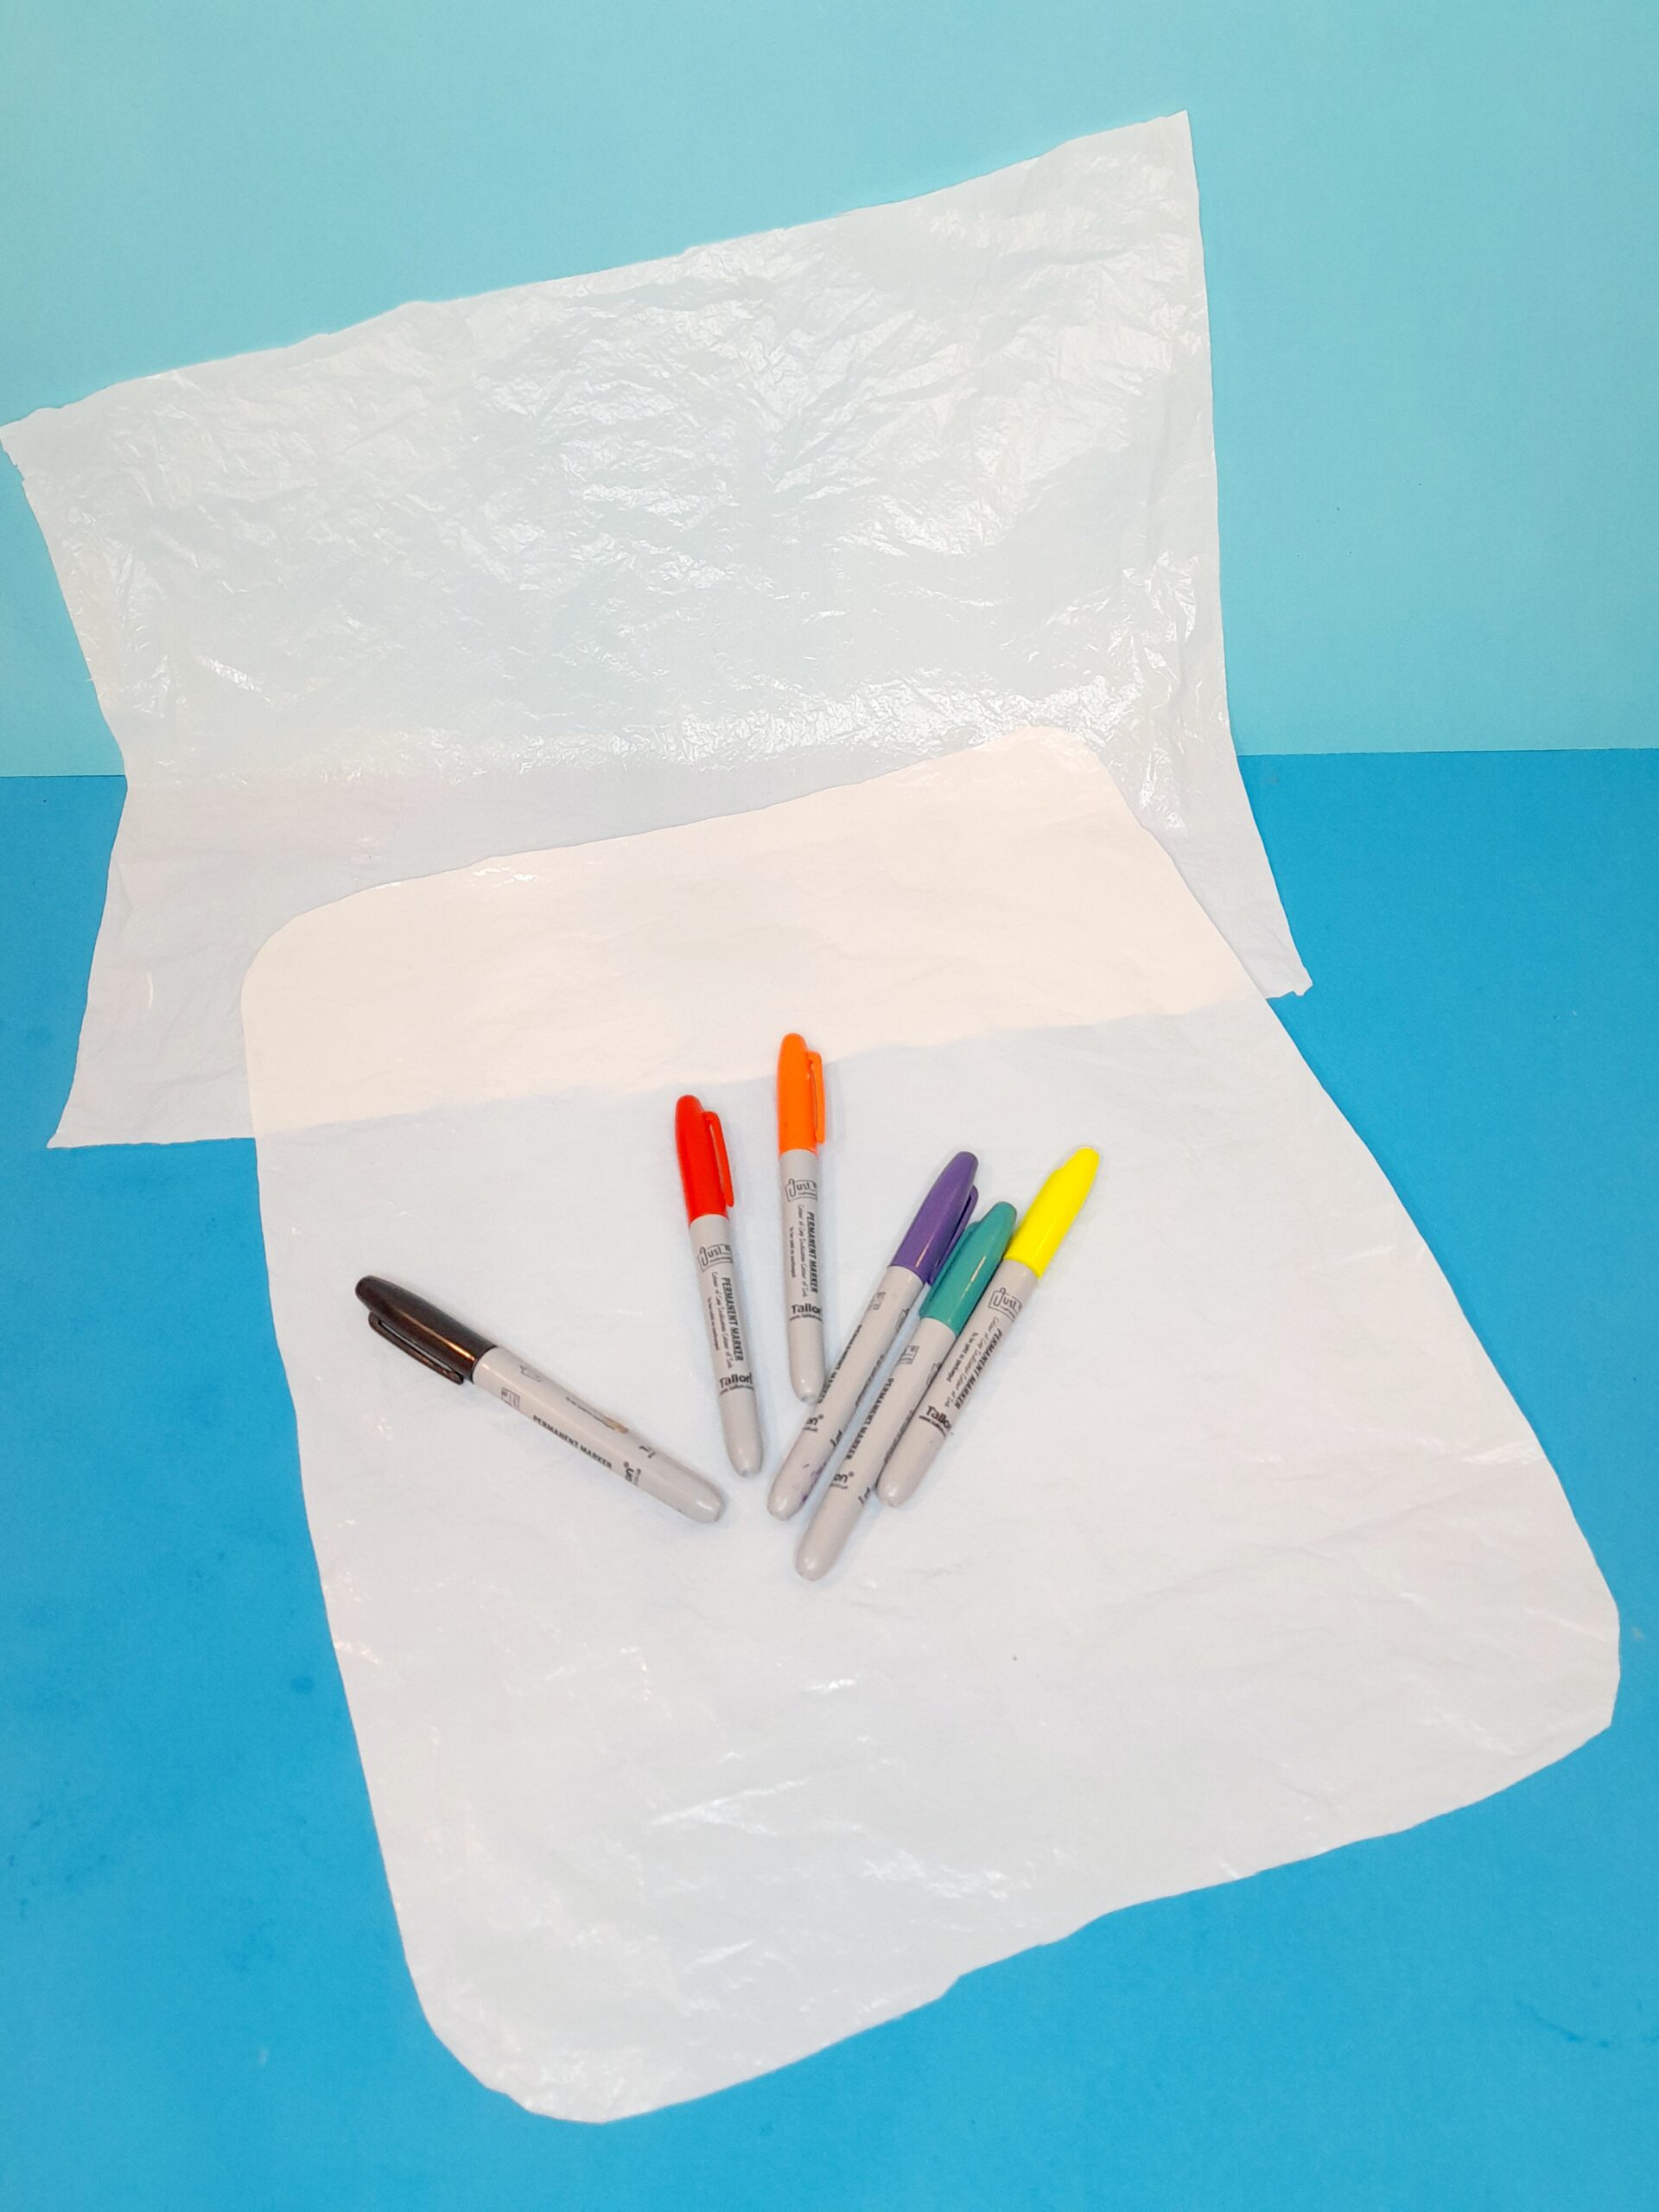
6) Now each piece is ready to colour in with different patterns.
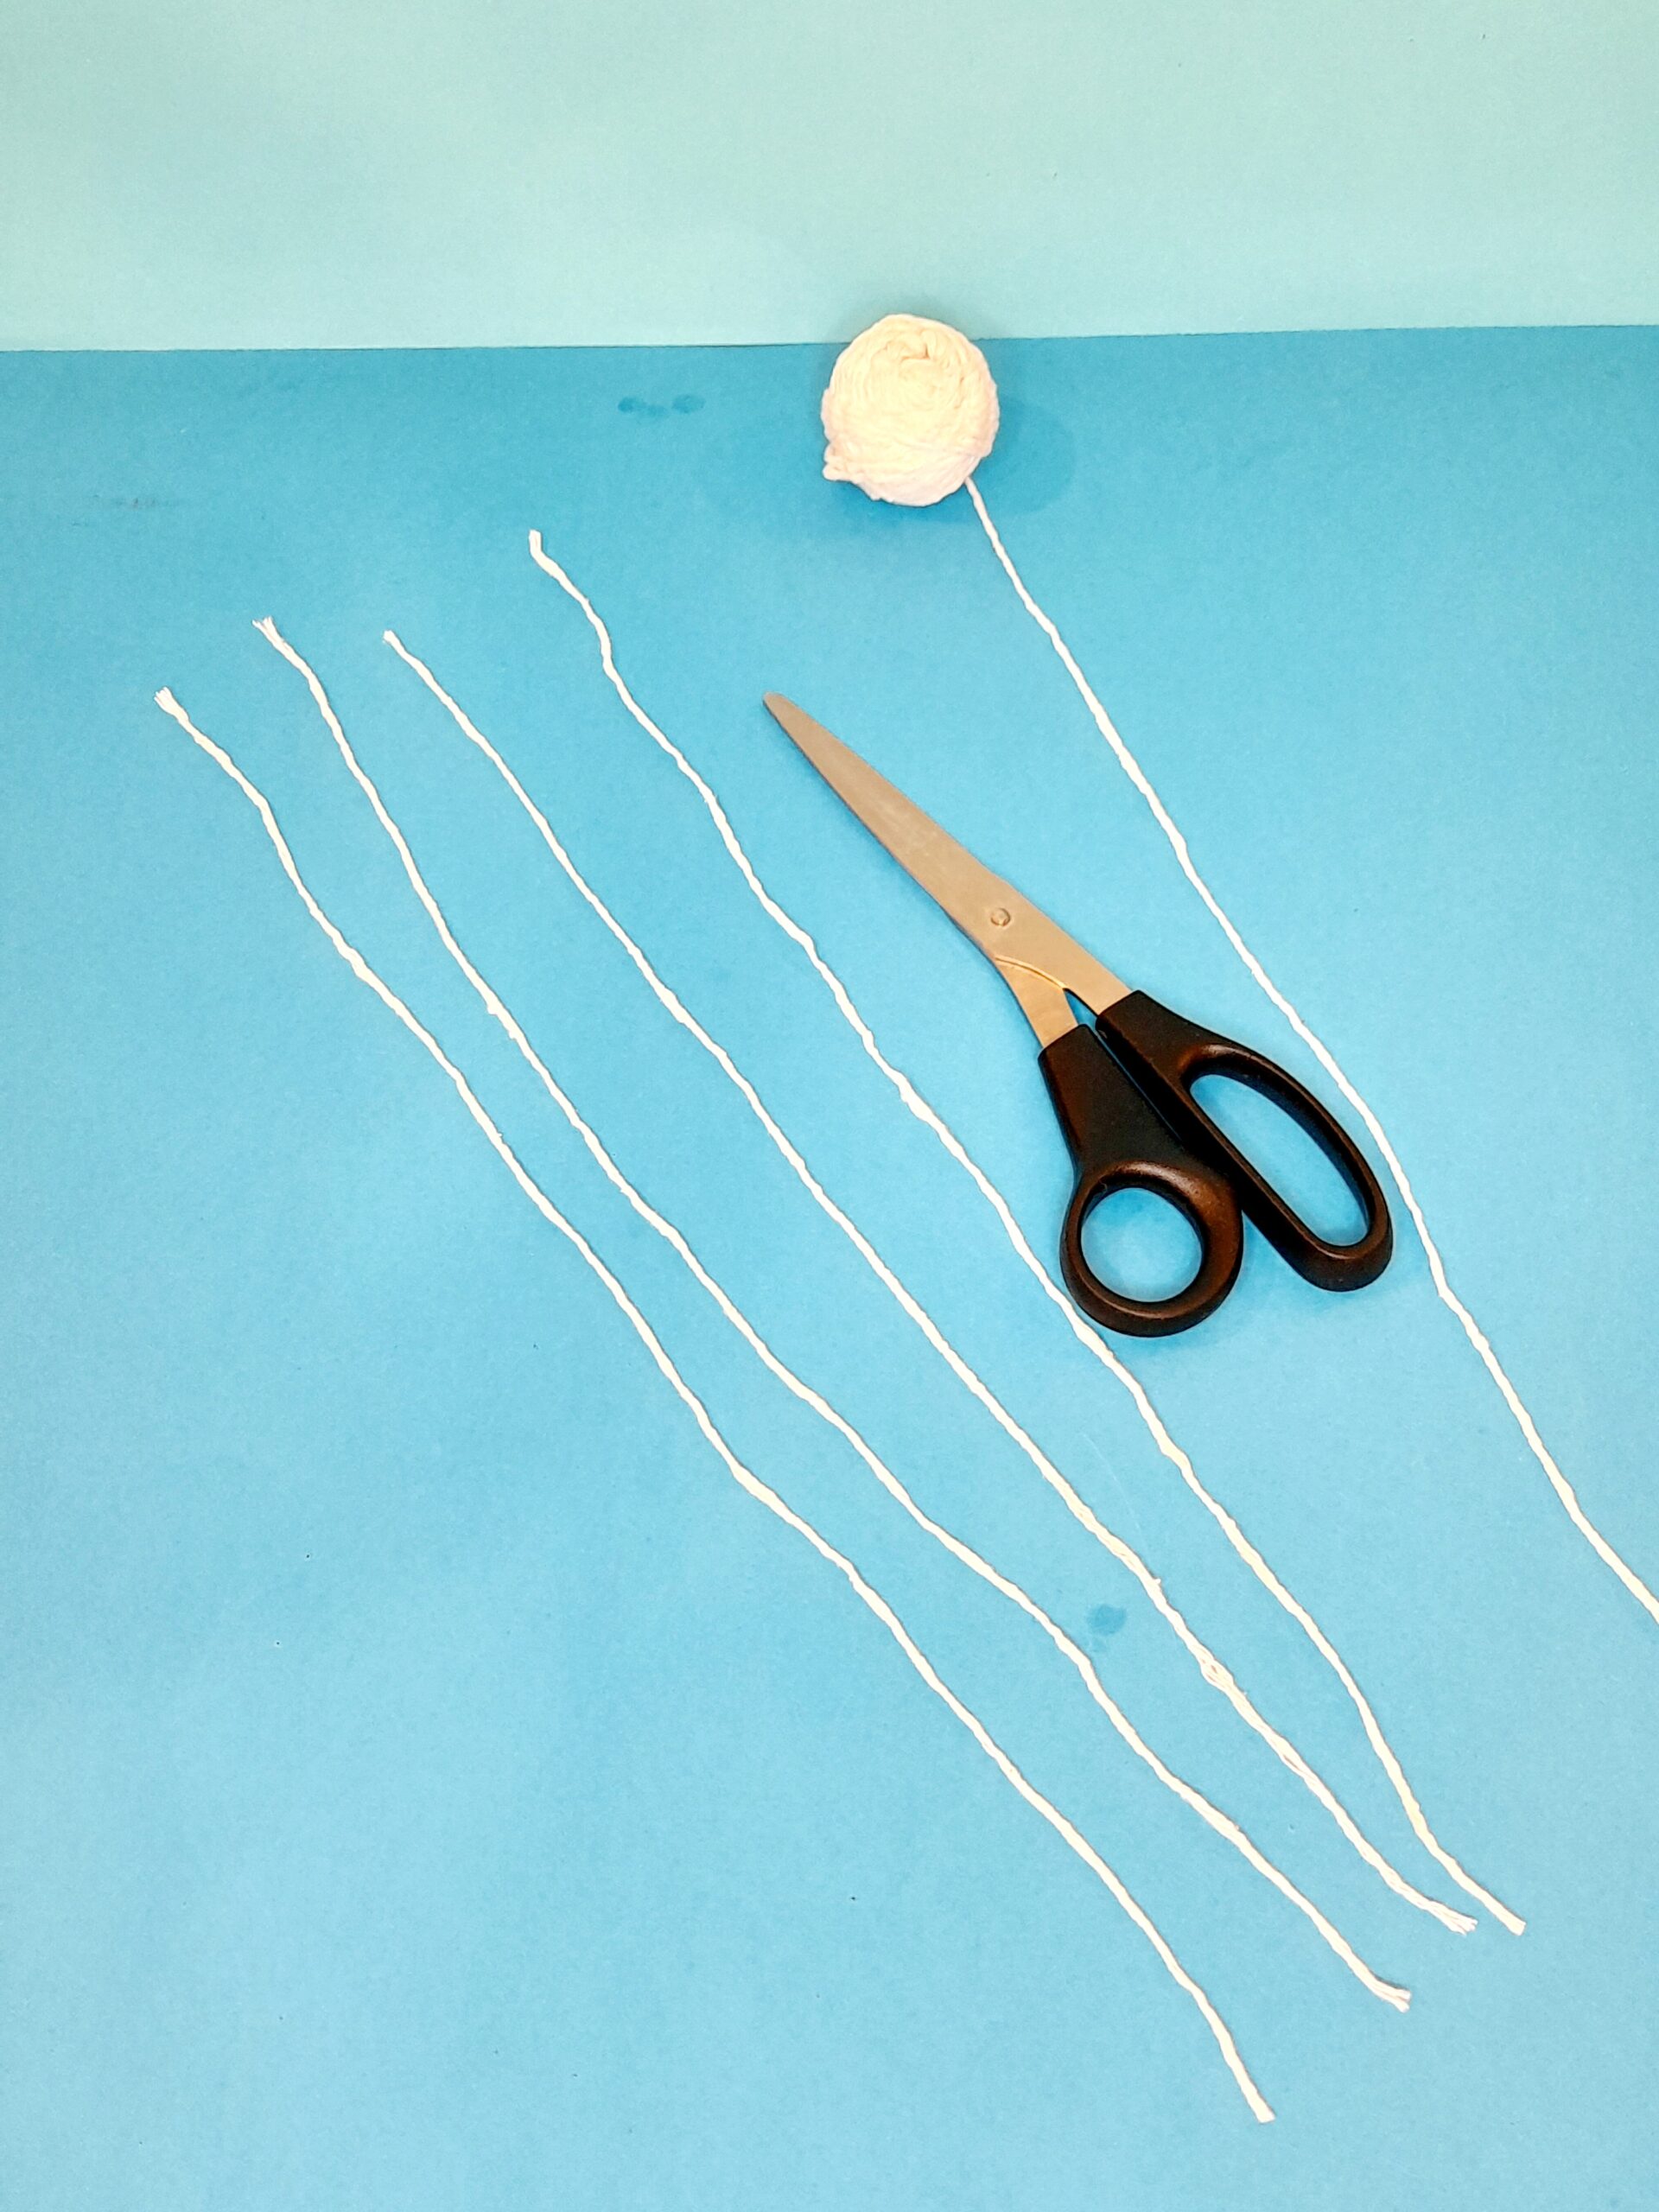
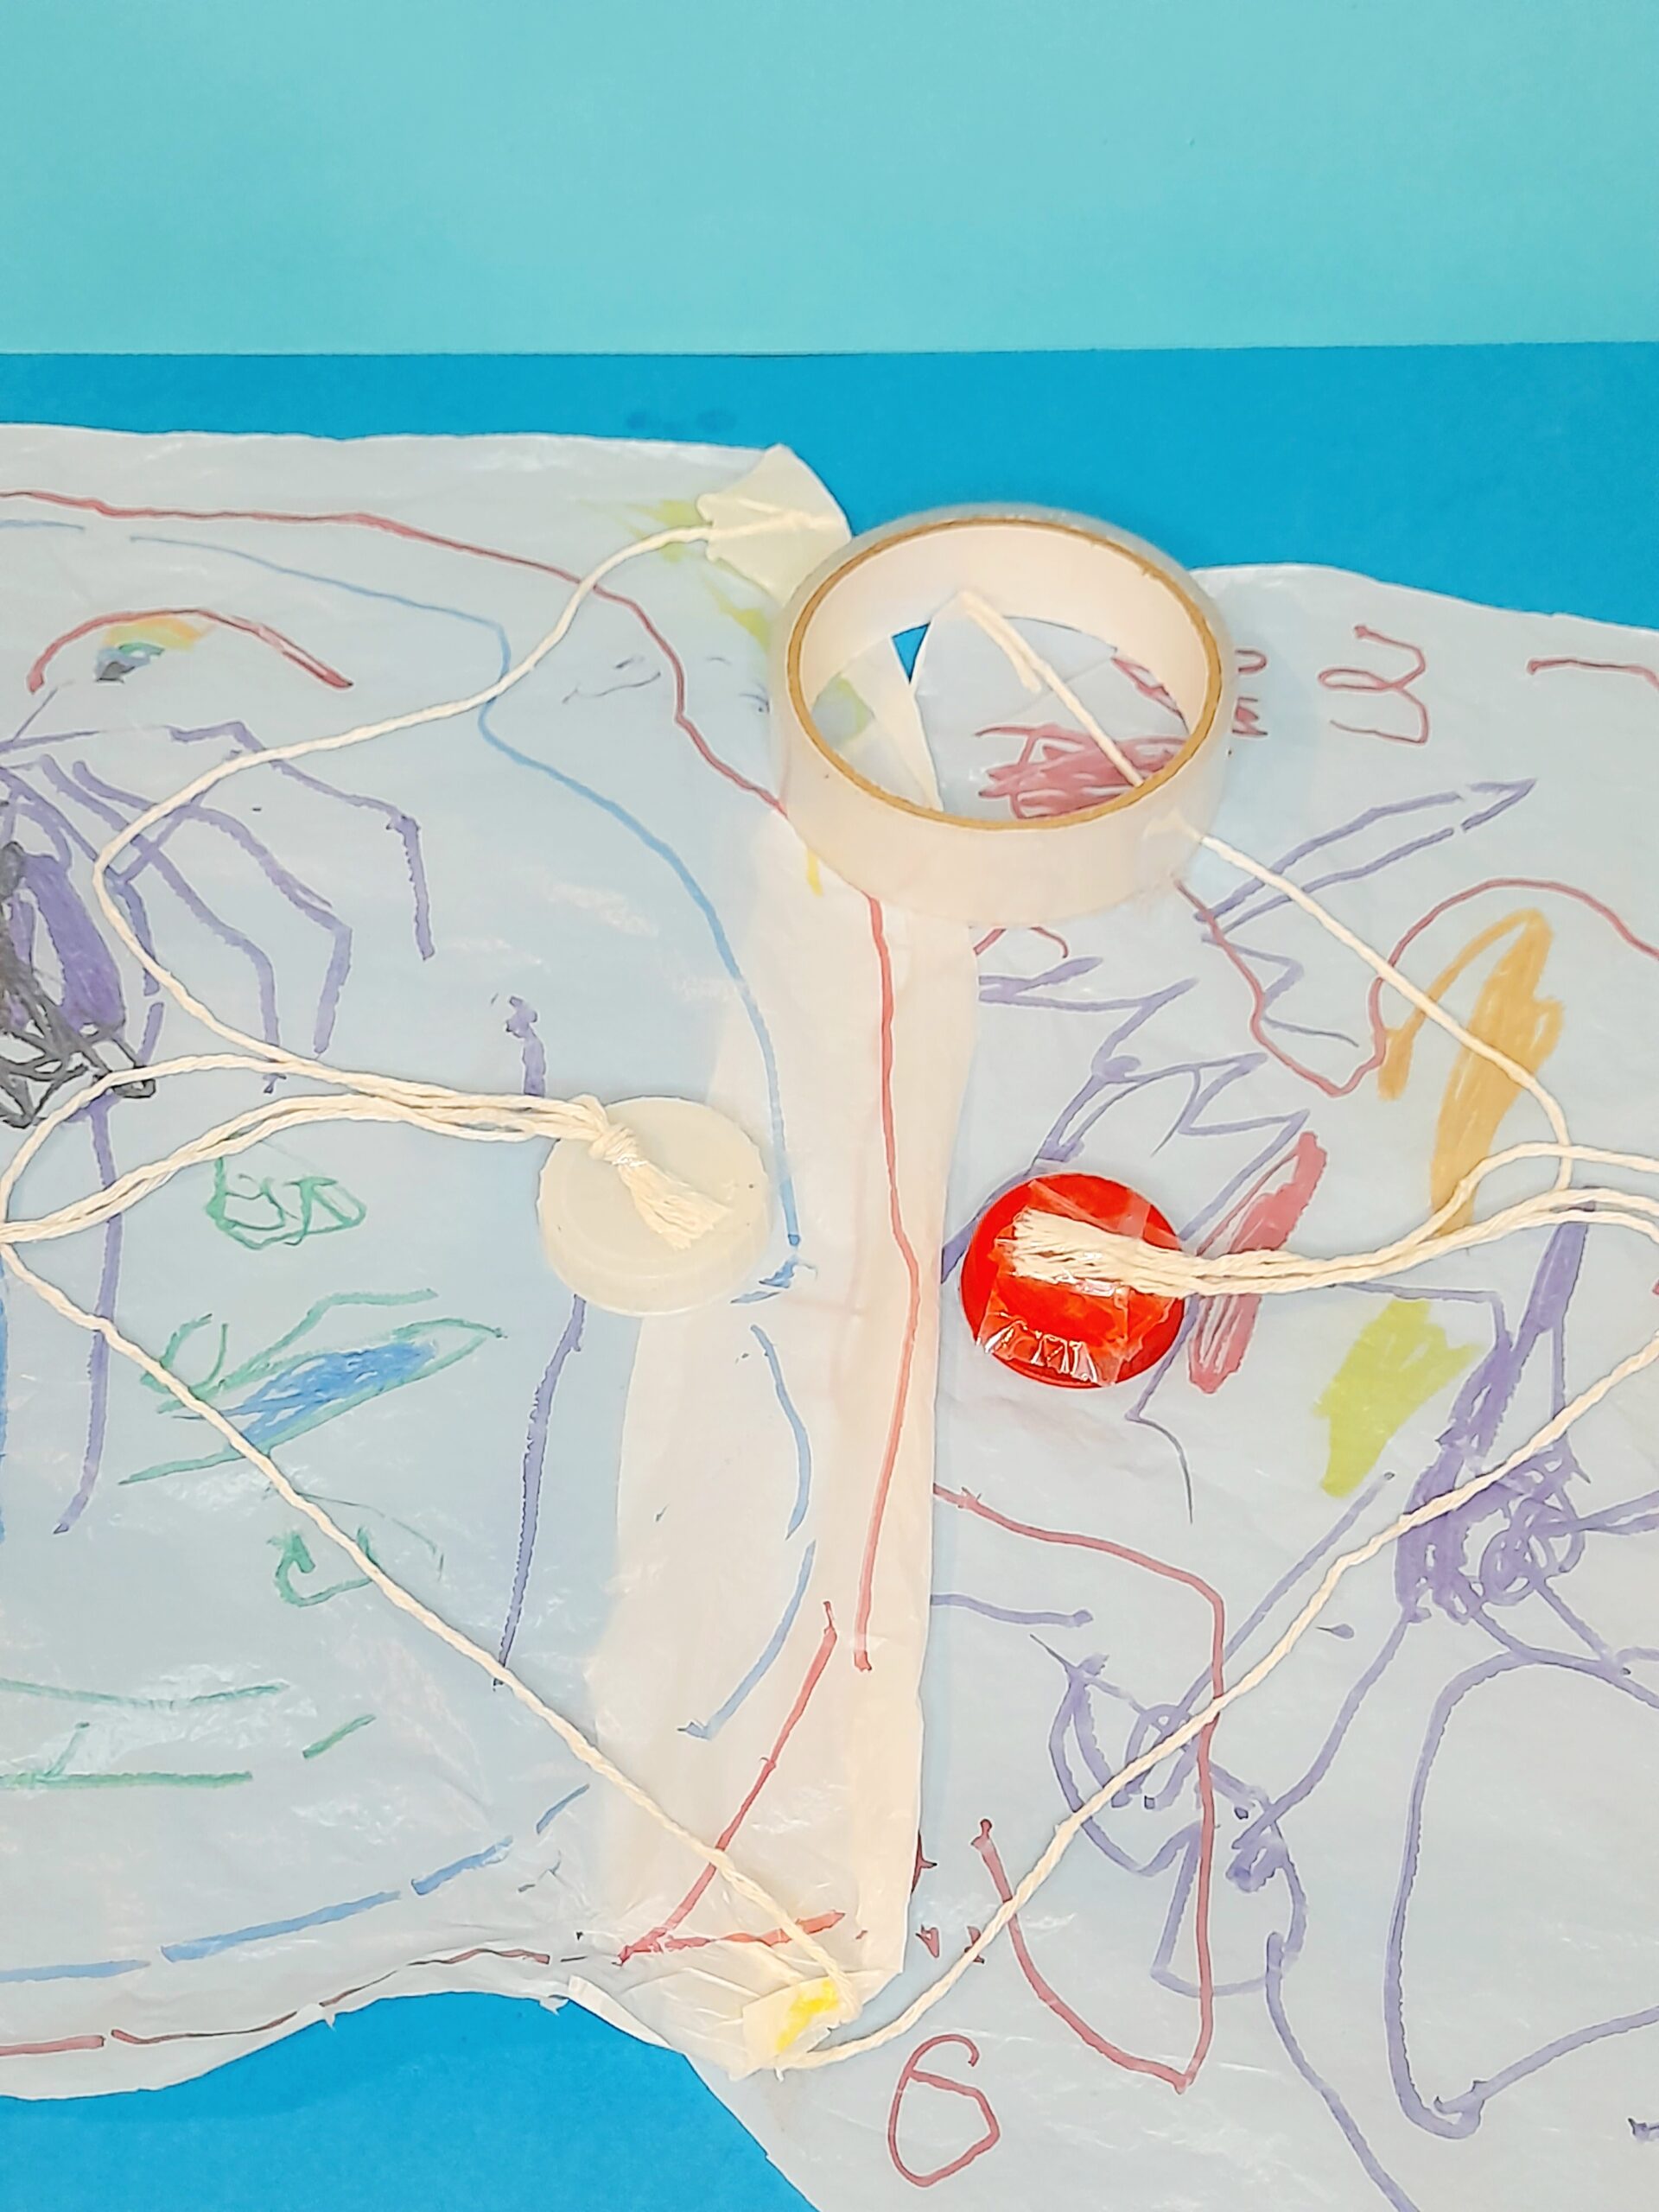
7) Decide how long the strands should be. Cut 4.
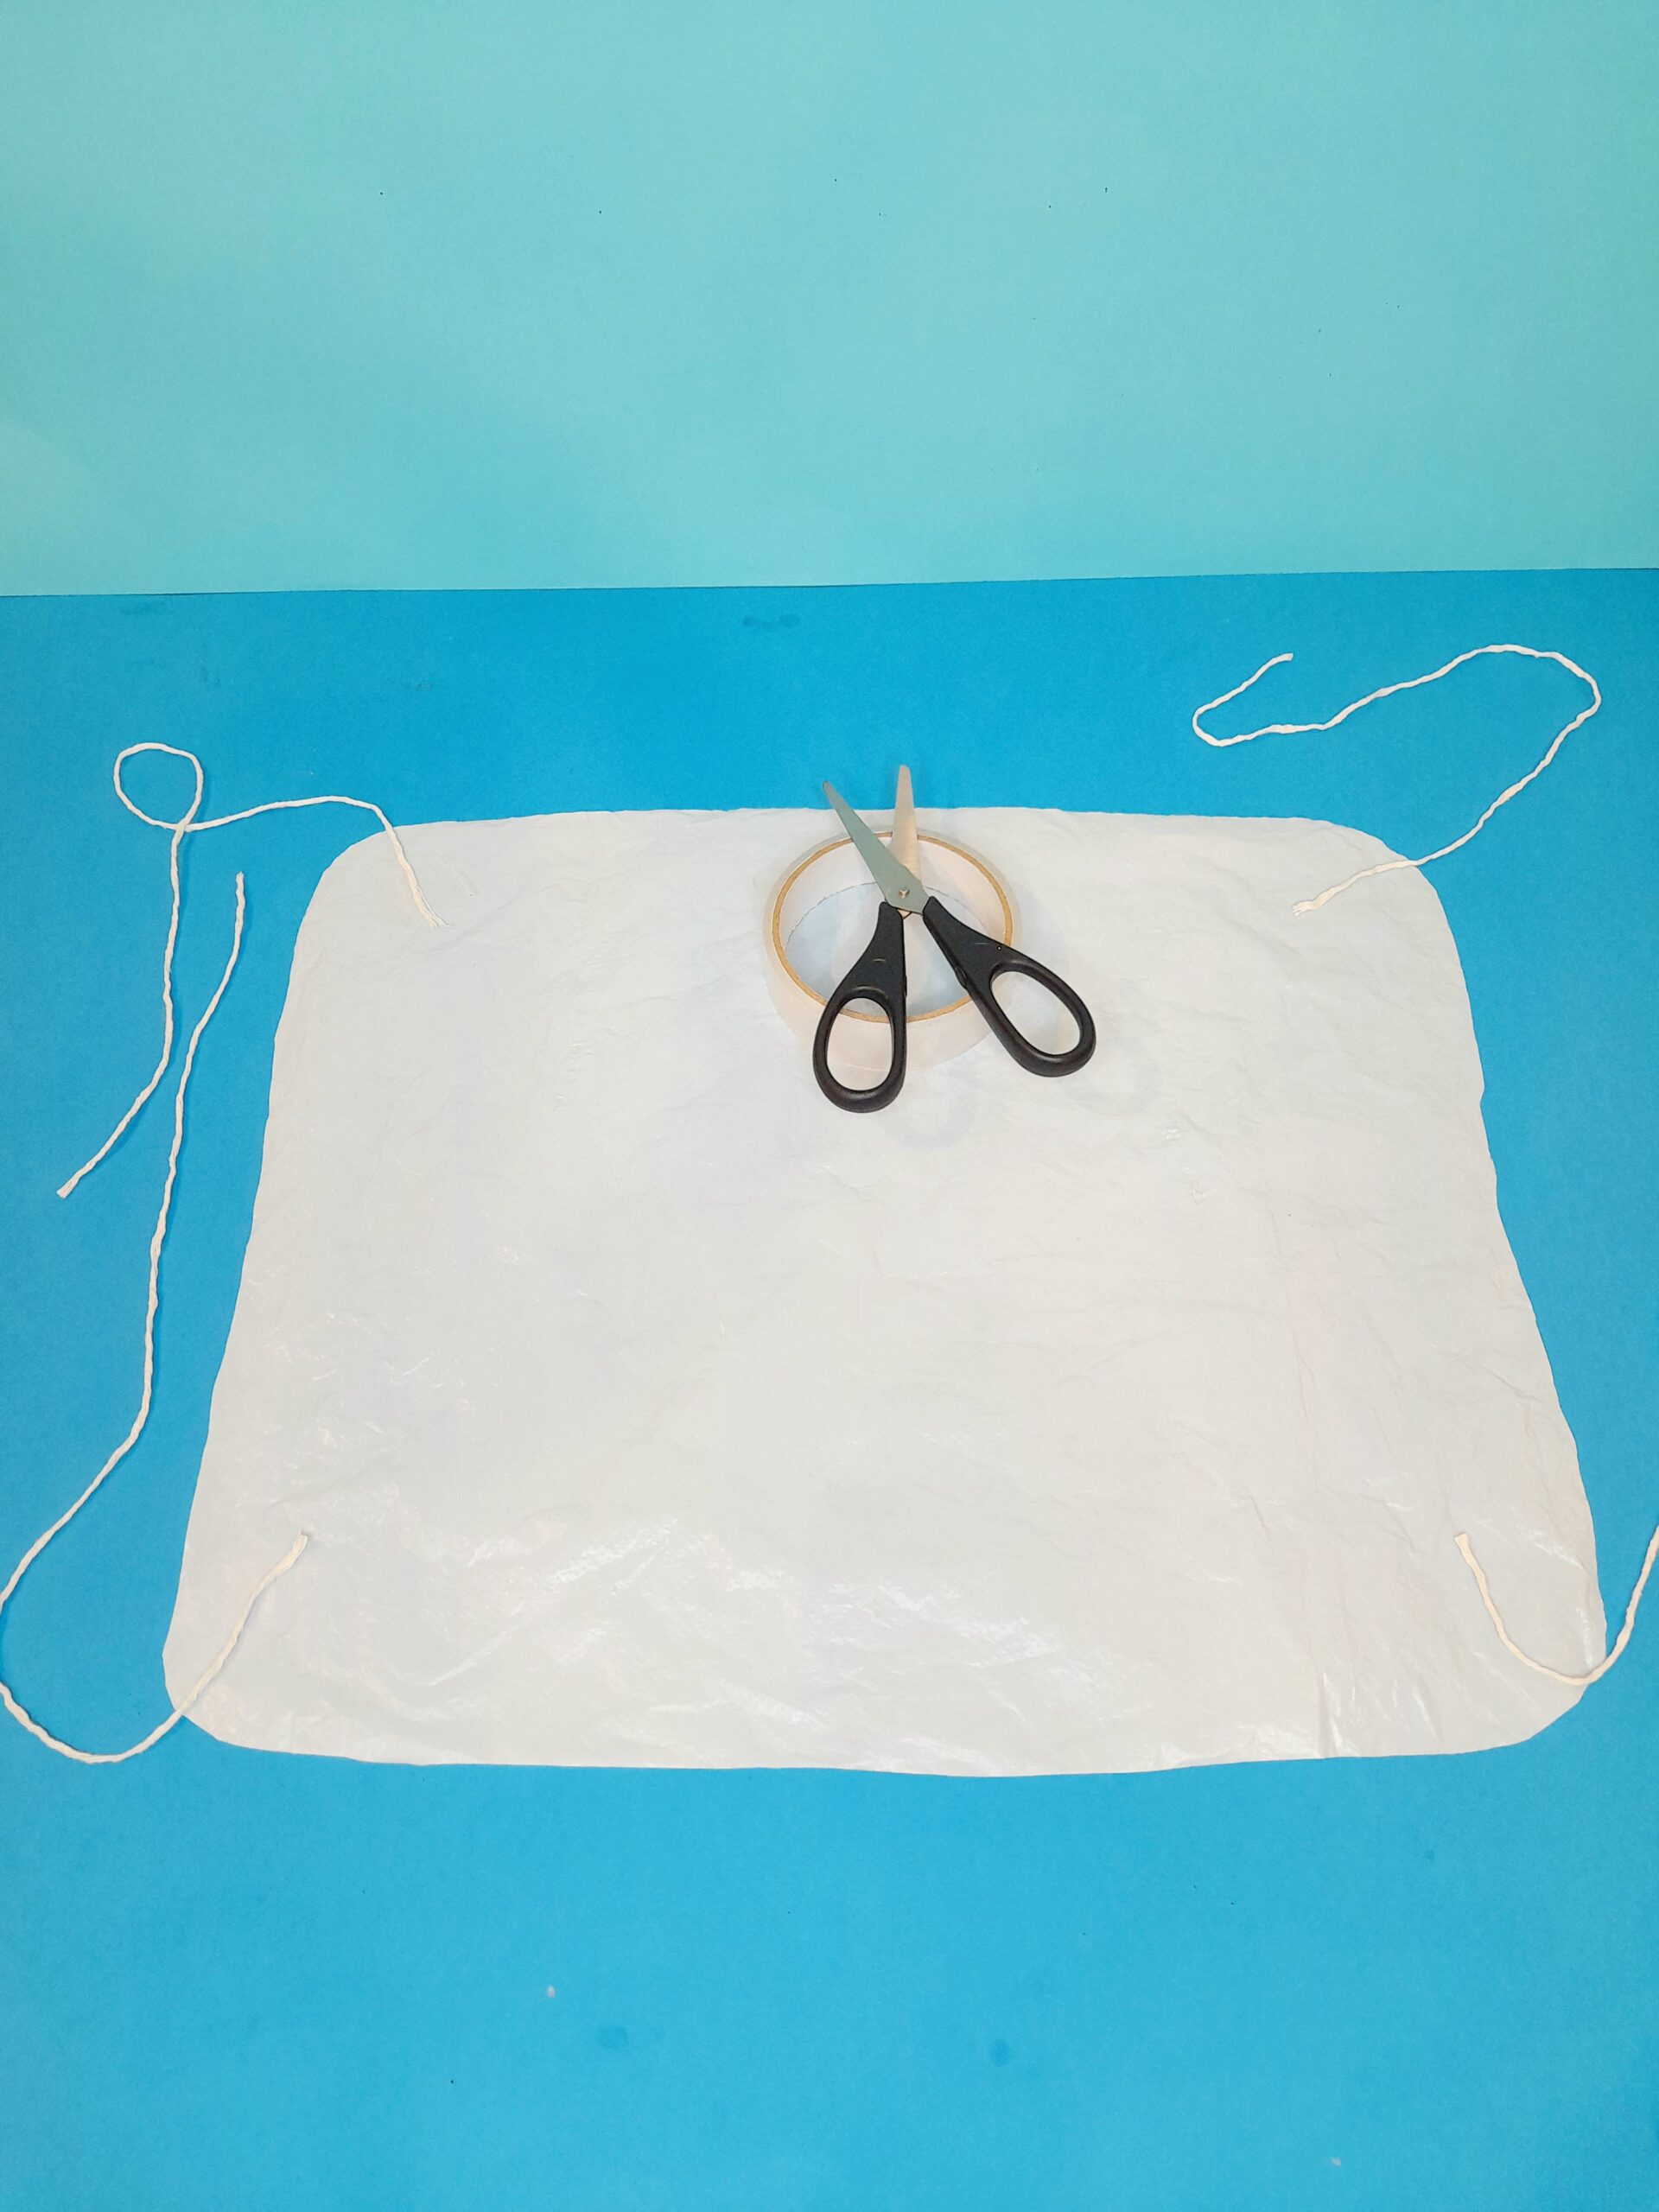
8) Stick each strand with sellotape to each corner.
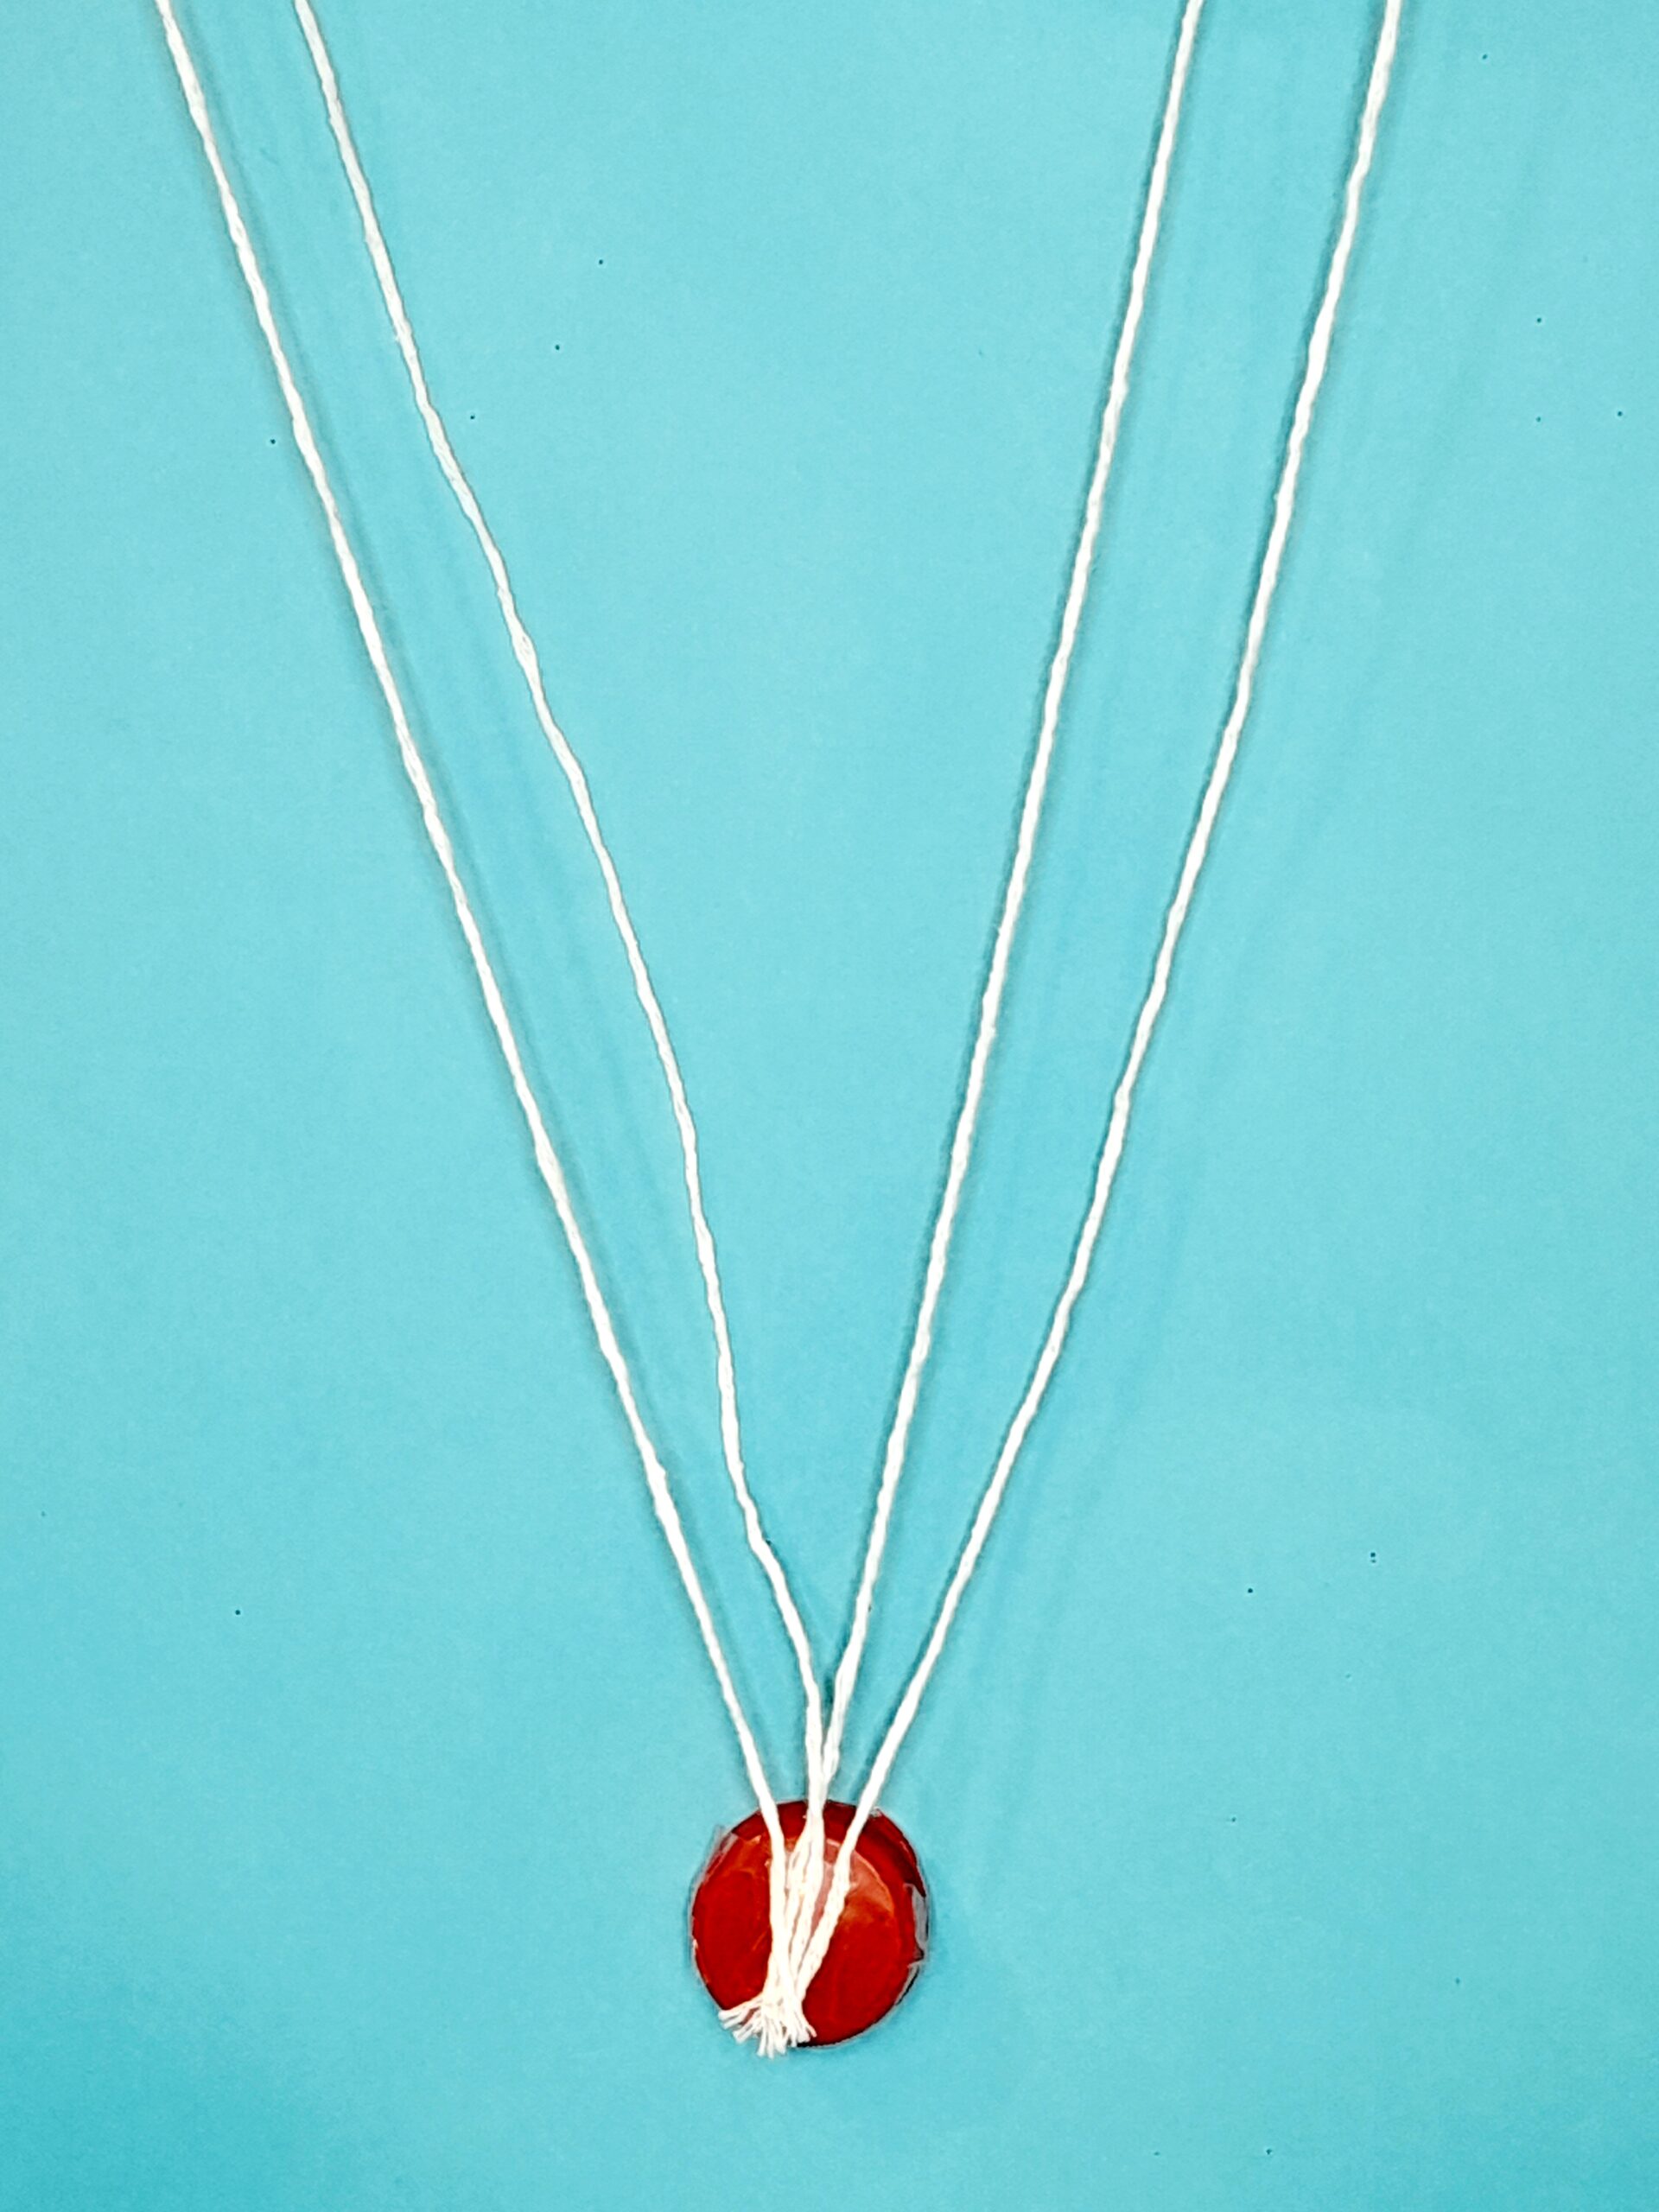
9) Pull strands together and tape to a bottle top, or cap.
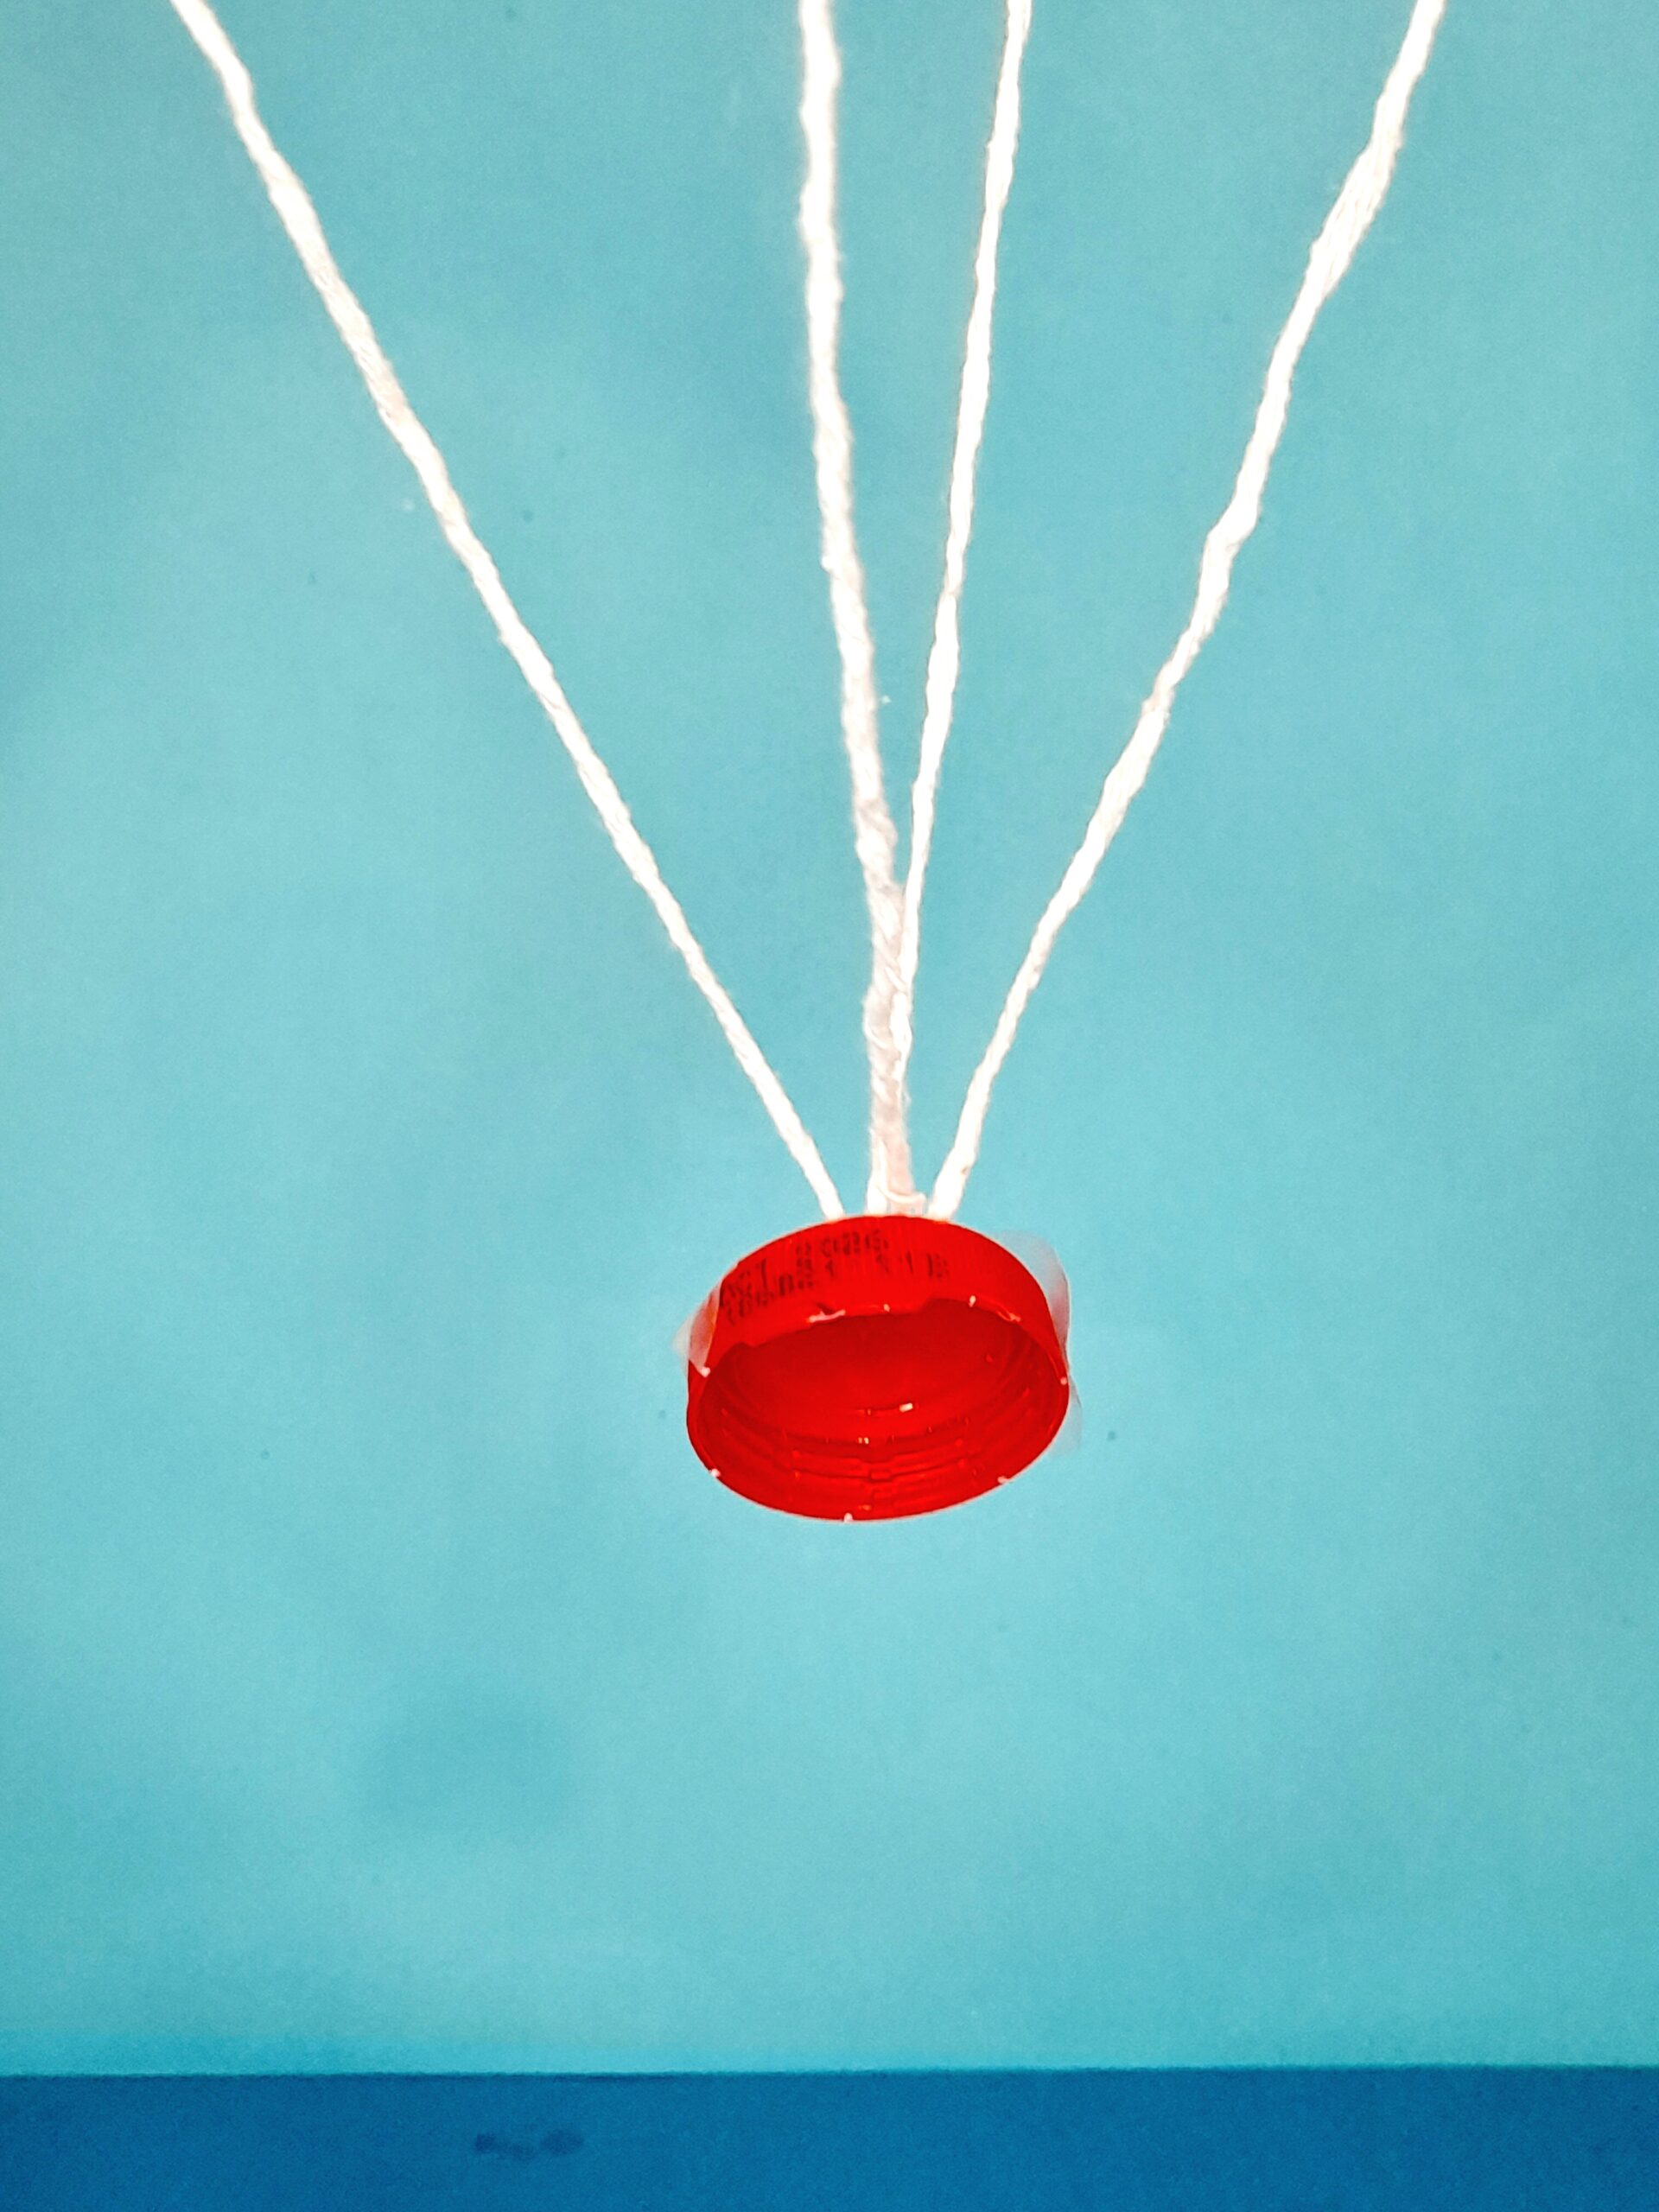
10) When you drape the strands the cap will hang.
11) So this will be the weight, or passenger.
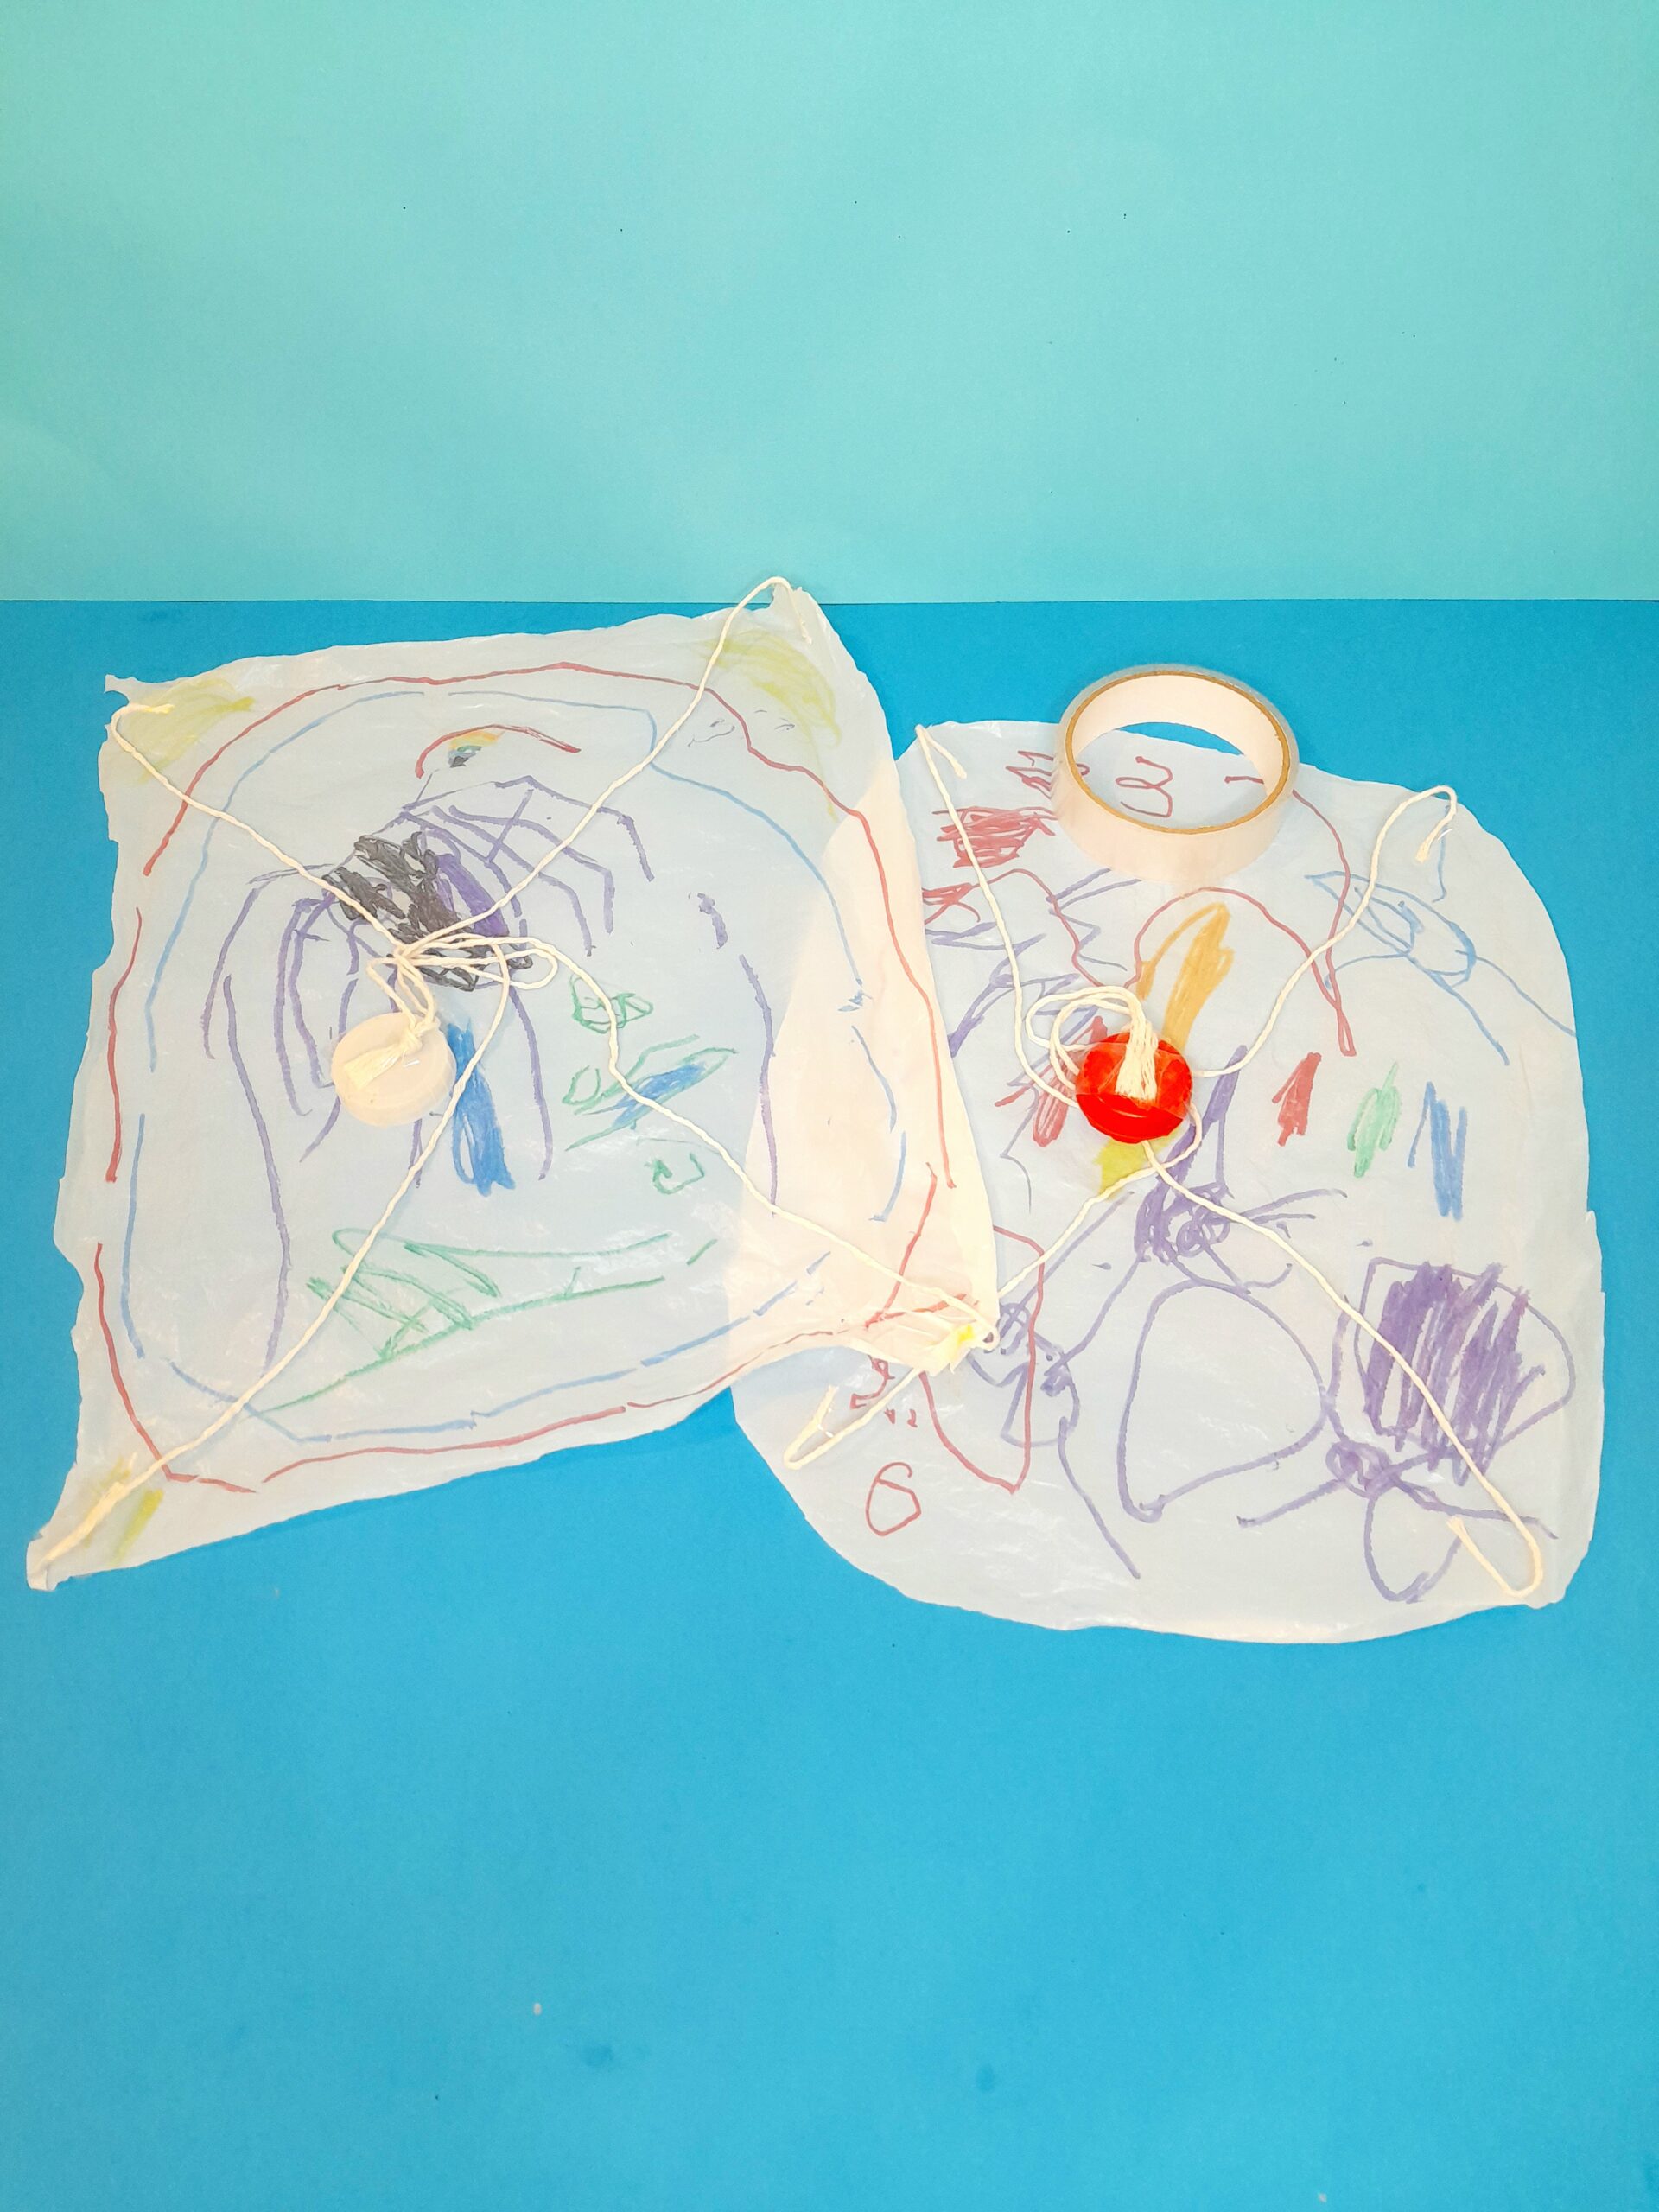
12) The child should colour in the circular and rectangular pieces with permanent coloured markers.
13) At close up you have taped each corner with strands and attached the bottle caps. like so.
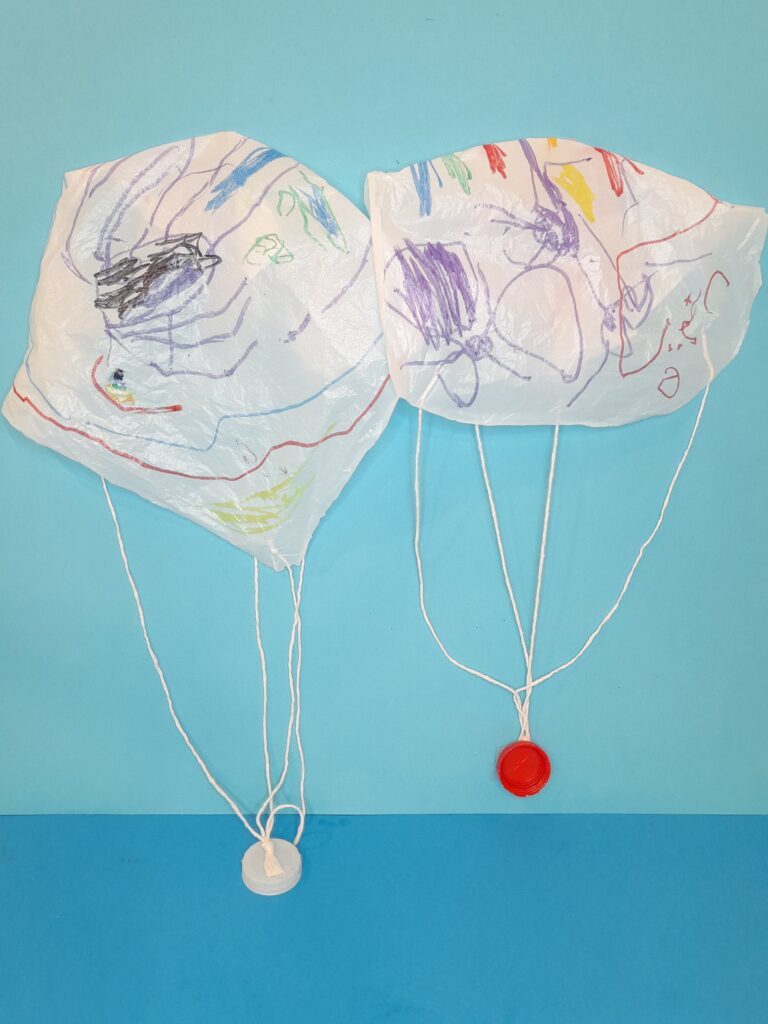
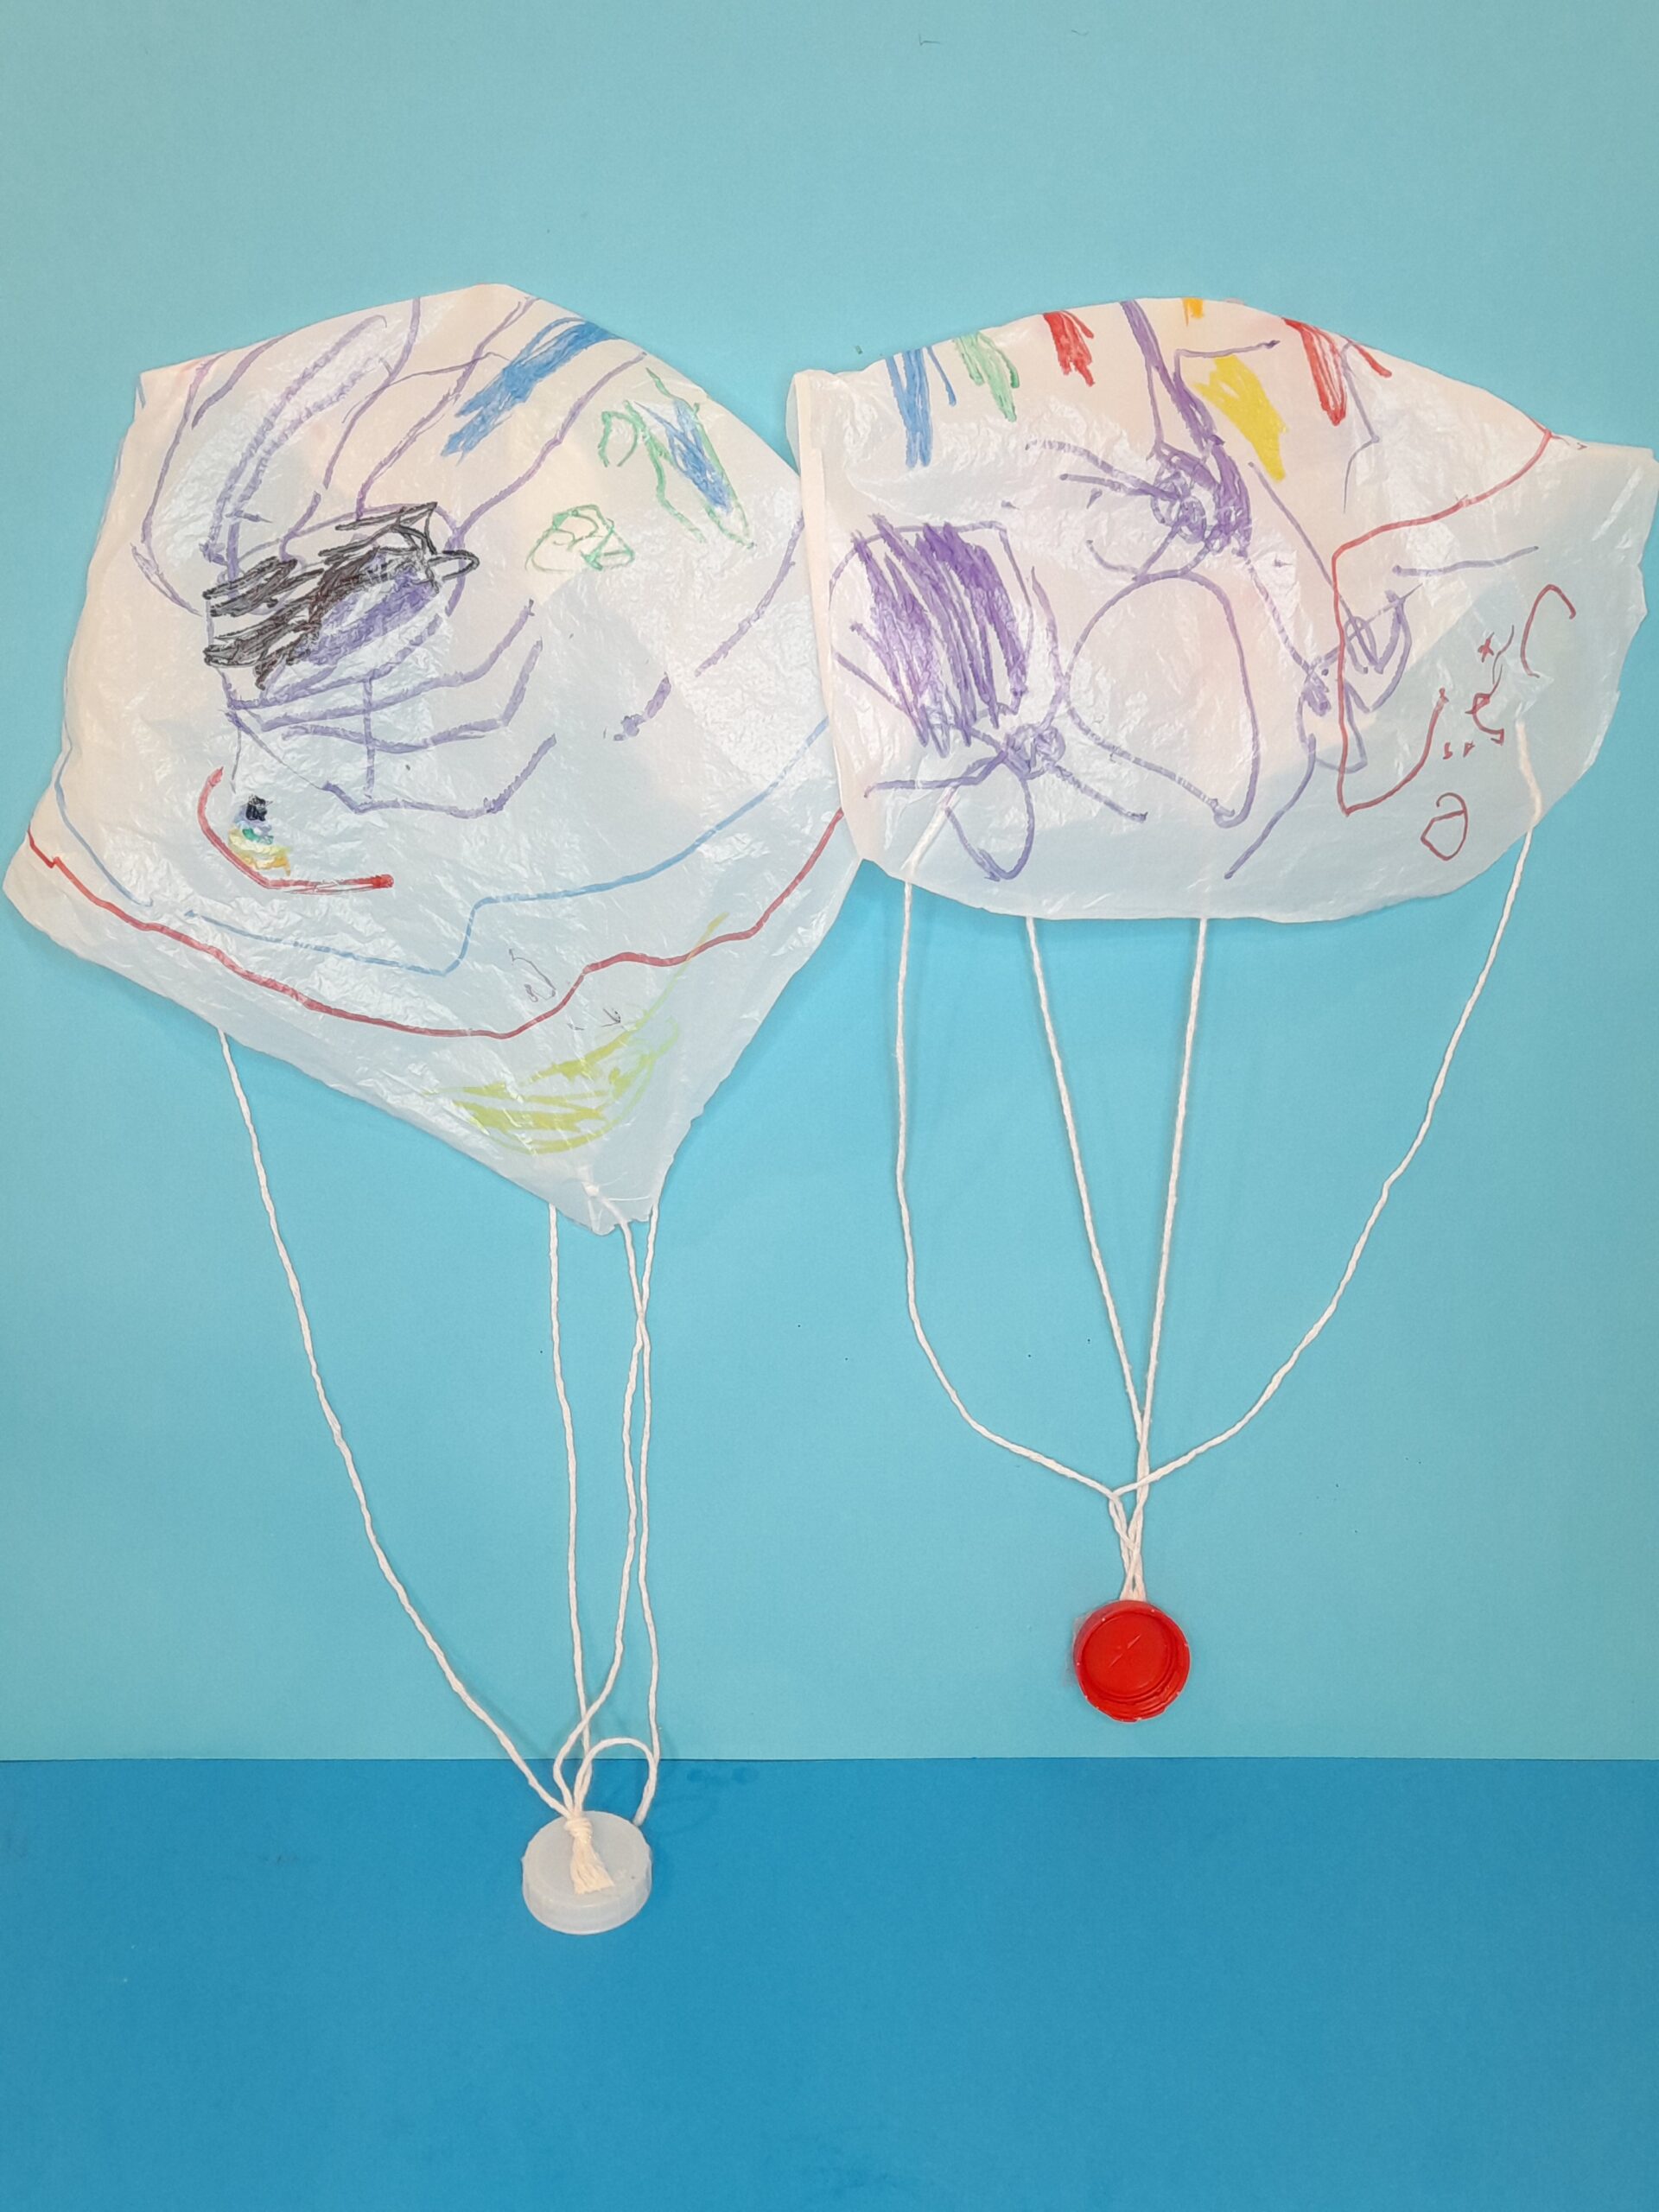
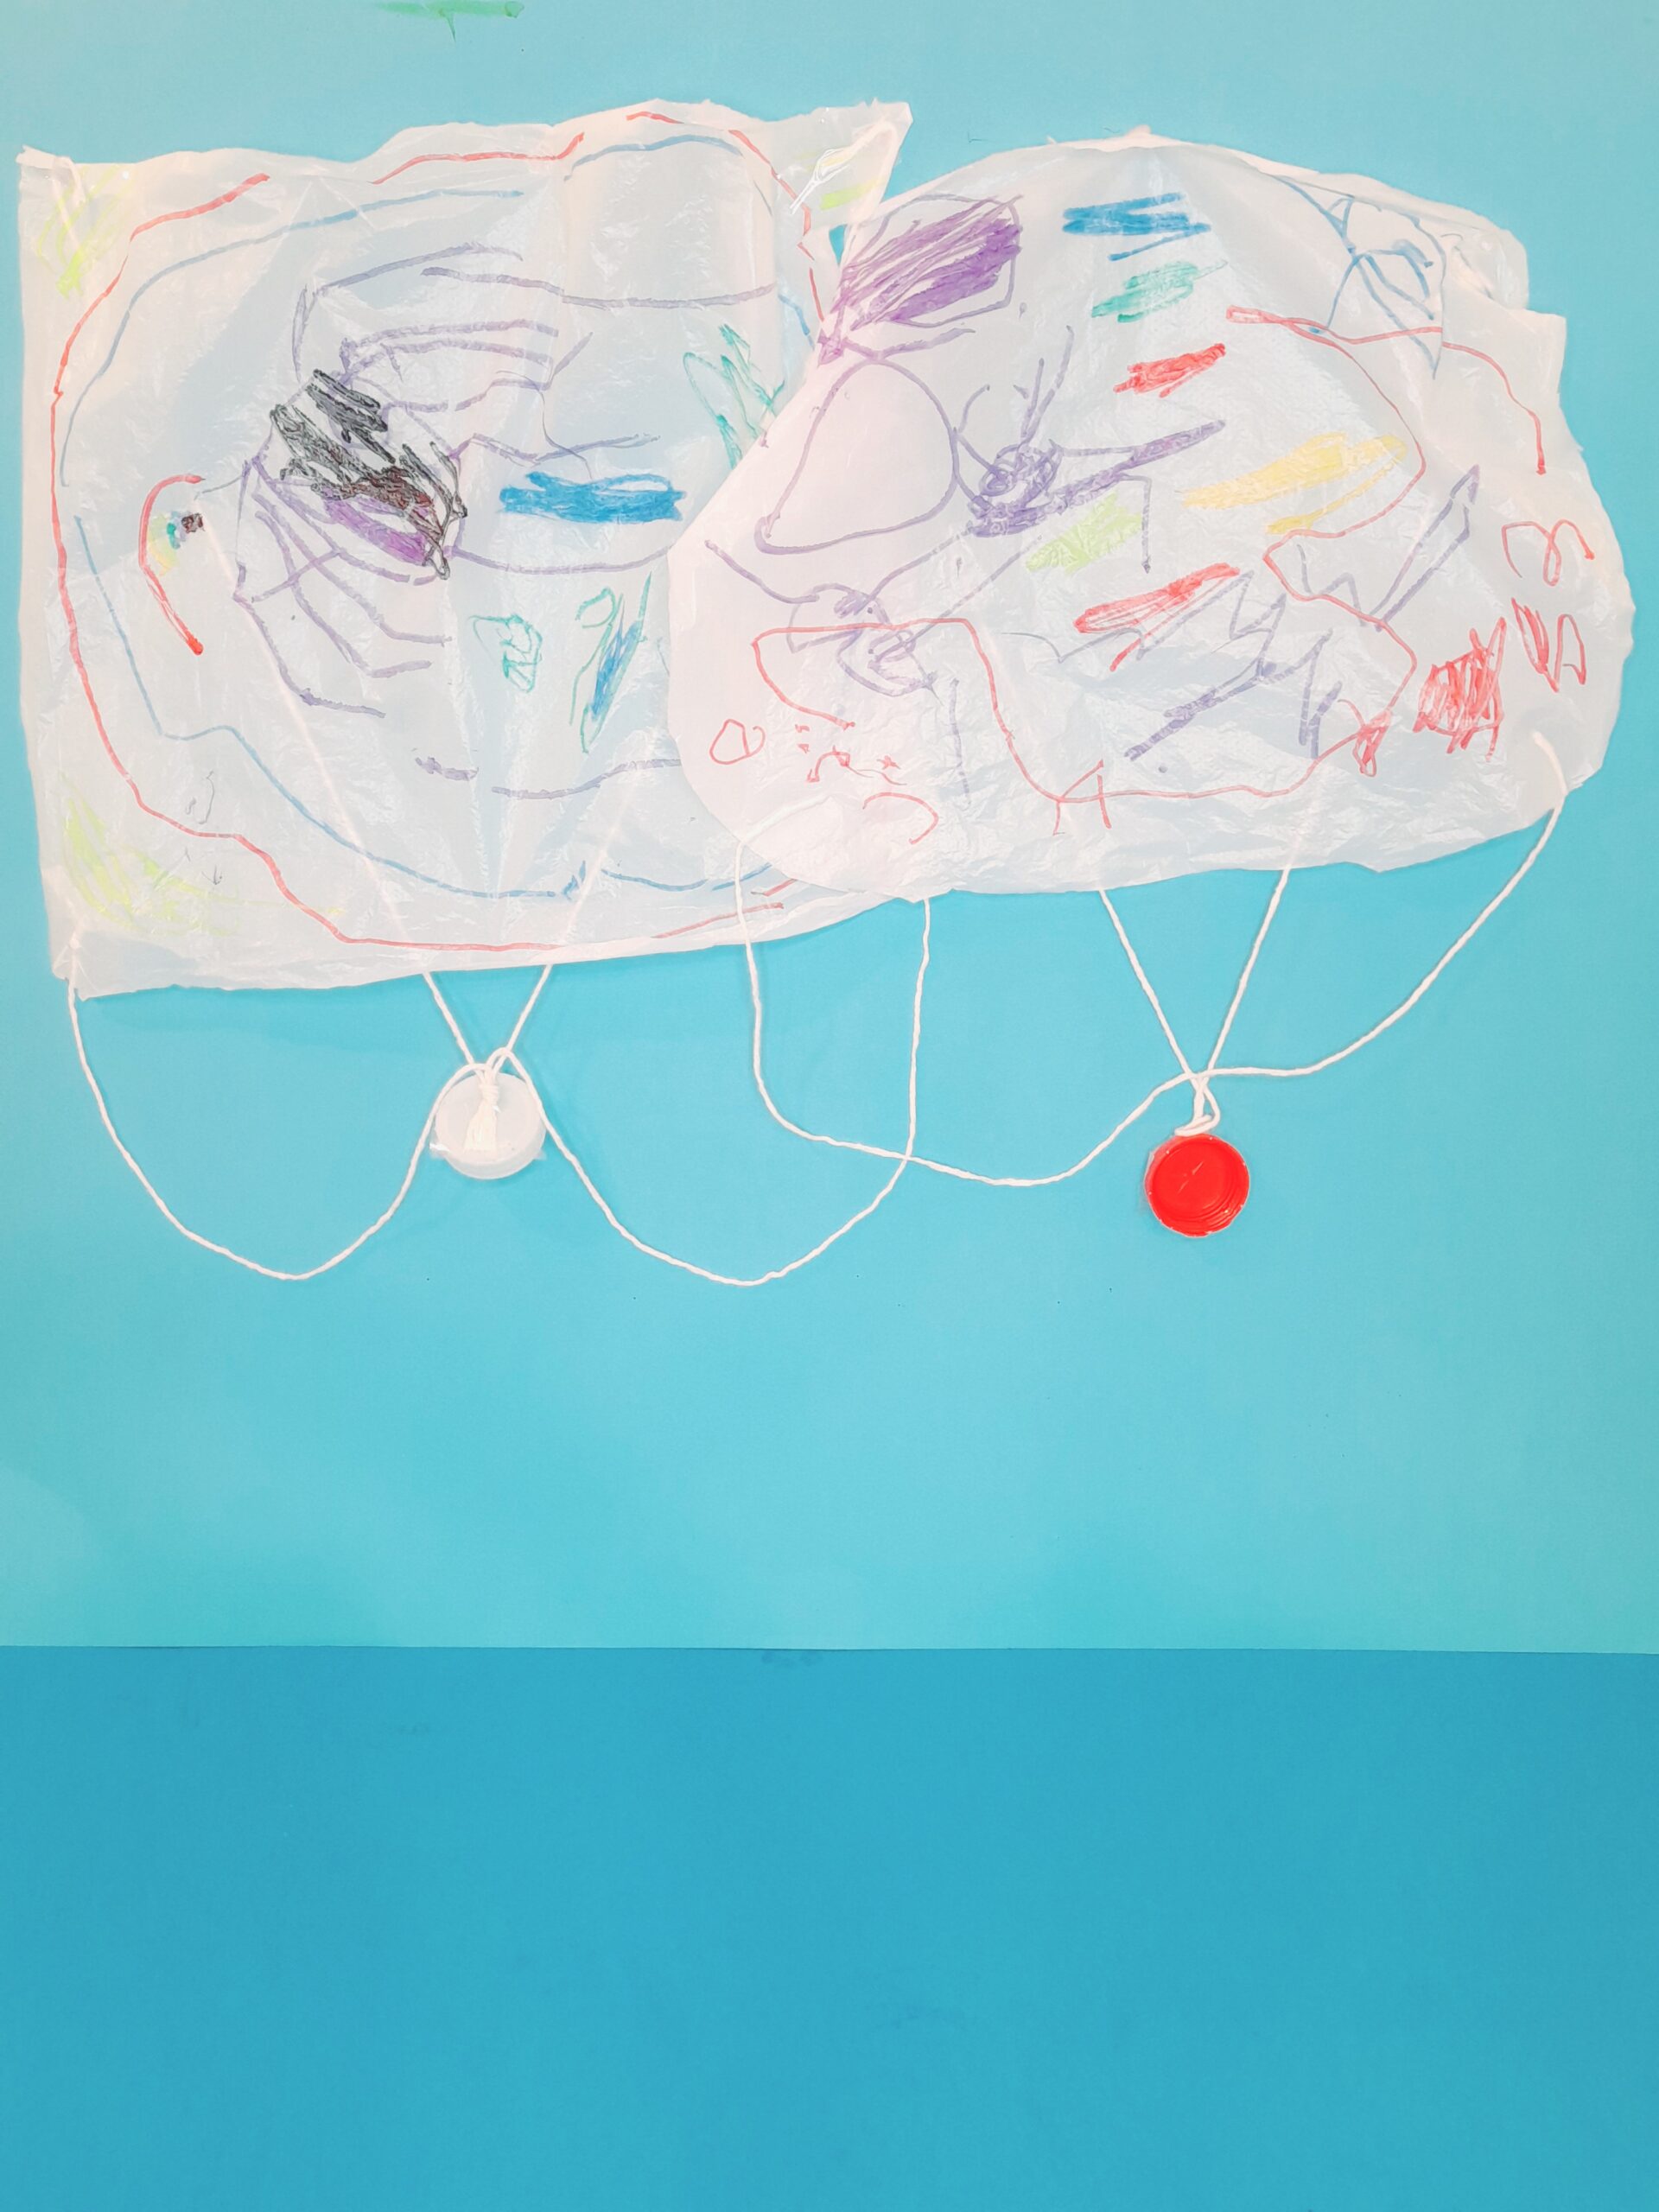
14) Here are the finished parachutes.
15) Hovering ready to drop.
Here are the finished parachutes, ‘How to make a parachute for kids’ in motion. Demonstrated by my Grandson. 😄
The larger rectangular parachute, took longer to land.
The second smaller circular parachute went down a slightly faster.
MY CONCLUSION ON BOTH PARACHUTES.
We found that the rectangular parachute, which has a larger area, caught more air, like an umbrella catching the wind, so it floated down more slowly.
The smaller parachute caught less air, so it reached the ground faster.
Although it depends on how you hold the parachute, opening it wide enough to catch the air, we tried again with the smaller, rounder parachute to give it the benefit of the doubt.
This is a great little STEM activity because you could actually see how air resistance works just by dropping the two parachutes and comparing them!
This time, the smaller rounder parachute, did catch the air, but still dropped faster on landing!
SOME TIPS!
WHAT MATERIAL?
Decide on what material you want to use. I chose small carrier bags as I recycle all my plastic bags, and an excellent resource to try out. (With one bag, you can make two parachutes.)
WHAT STRANDS?
Again, for this experiment, I cut 4 longish strands of wool and 4 shorter strands for comparison, and to see if it made a difference in the speed.
WHAT SHAPE?
To compare, for this activity, I decided to cut a roundish and rectangular shape for variation.
COLOUR FIRST
Once you have your flat sheet of material, our example is the white plastic sheet, lay flat, hold fast, ready to apply colour or markings.
Use permanent coloured markers to colour in on plastic as they won’t run out or smudge.
ADDING STRANDS
I stuck the strands with tape, which I found to be the quickest and easiest way.
You can tie them up in each corner.
Or make little holes with a puncher, thread strands through that way.
Lastly, make holes with something sharp and thread the strands through each hole and tie them up.
WHAT WEIGHT?
To weigh down the parachute, I tried various pieces, even a tiny man, a dinosaur, or a whale, but they were too heavy.
The perfect light-weight piece was a bottle or carton topor cap that held all strands together and represented the passenger for our parachute.
TRY THEM OUT
Once your parachutes are completed, go outside on a dry day, a bit of wind might help, or find a large space and height to drop the parachute and see it float!
WHAT MIGHT BE OF INTEREST TO YOU!
Here is Green Kid Crafts crafted parachute.
On my search for a similar parachute project, and what resources they used, compared to mine, I came across the Green Kid Crafts, that also show how to make and demo their findings. Fly in and check them out too!
If you like more fun STEM experimental kits, that not only addresses the field of science, technology, engineering and mathematics, so your kids are learning while they are playing, and when their projects are completed they can show off their amazing achievements!
So think ahead for the Summer holidays, how to entertain your kids with these ready made kits full of all the goodies to craft the hours away!
Find out how to keep going and receive regular kits, that offer great challenges and the best thing is you don’t need to rush out or gather resources, as Green Kid Crafts, come equipt with everything you will need for every project you take on!
When you click links in this post and make a purchase, I may earn a small commission at no extra cost to you. This helps support the craft projects shared on this website.😀
What do you do when your kids’ bedroom walls need something more to liven them up?
Even though the walls may look ok, a little bit bland, but the wallpaper is fine, in a nice pastel shade, yet they still need something more?
I have the answer…….
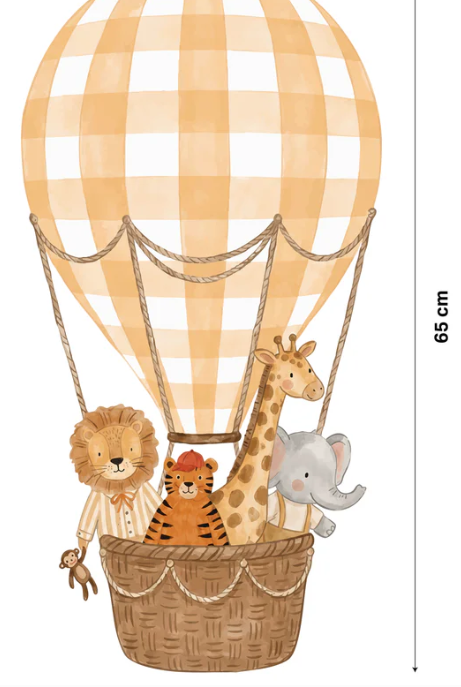
Do you fancy something similar that floats in the air, maybe air balloon stickers, perhaps to decorate your child’s room?
Check out this great website, Nursery Stickers, that provides every child’s fantasy, come alive, with cute stickers arranged in a line or dotted here and there!
Check out this great website Nursery Stickers, that provides every child’s magical theme, to come alive.
Image having these cute stickers arranged in a line or dotted here and there, around their bed, or window, or near their play area, would just be that extra bit of icing on the cake! Such a cute idea and yet easy to apply, peel and stick!
FINAL THOUGHTS
There are two parts to this activity, which I found kids would definitely enjoy, and that’s the colouring in and pattern part, where kids can express themselves on the parachute surface, and throwing the parachute in the air and watching it float and then land!
Putting this together is a super-easy, quick activity, and kids can keep going, trying different materials.
CHALLENGE EACH OTHER!
They can challenge each other, go big or go small, try tissue, paper, mesh or coffee filters!
Your kids choose, and also what you can get your hands on.
LEARN THROUGH PLAY!
There are lots of elements to this activity you can try, and record your findings, making it definitely a STEM project. Your kids will have fun while learning, too!
CONCLUSION!
In this post I show how to make easy and quick parachutes, by using my recycled carrier bags.
I give ideas on how else you can challenge your kids, depending on what resources you can find or get your hands on, using STEM as the grounds for their learning.
I demo how to make, and video the parachutes in action.
My 4 year old grandson helped me with this activity, and enjoyed throwing our make-shift parachutes in the air.
So give this activity a go, I’m sure your kids will have lots of hands-on fun!
Happy Crafting!
Here is another aviation project that might be of interest to your kids. This time it’s crafting a Boeing 777.
This project might be more suitable for older kids.