Summer is here and schools are breaking up for the summer holidays!
Fear not I have an easy and fun activity to get your kids busy, and enjoy a bit of escapism!
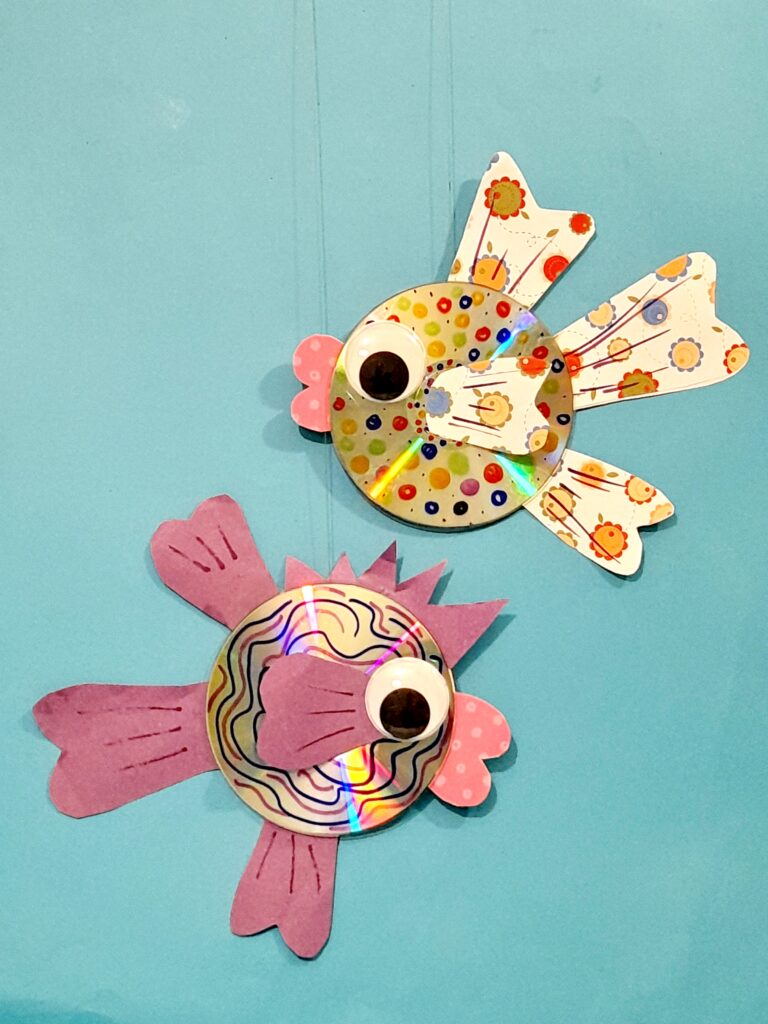
I will show you how you can recycle some of your old CDs, into a CD fish craft for kids!
TYPICAL BRITISH WEATHER!
Generally in the UK, the weather hasn’t been that great and comes in waves.
One minute, it rains, rain and more of it, wearing our raincoats, and having our umbrellas in hand, and we complain about it, then we get a blazing heat wave that’s unbearable and we still complain about it, although the kids will have fun spraying each other with water!
Nevertheless, we wouldn’t be complaining about the heat wave if we were near a beach, would we?
Picture from Pexels.com by Vika Gitter.
Picture from Pexels.com by Kampus production.
STUCK AT HOME!
So let’s consider this, maybe not everyone has the opportunity to travel to an exotic location and see the yellow sands and blue oceans, so considering this I am choosing a fun subject to craft.
WHAT COMES TO MIND?
When we think of summer, what do you visualize?
Some typical images would be;
Sun, Sea, Seaside, Beaches, Sunglasses, Sun hats, lollies, Icecream, Sea, Ocean, Sea creatures and FISH!
A FISHY CRAFT!
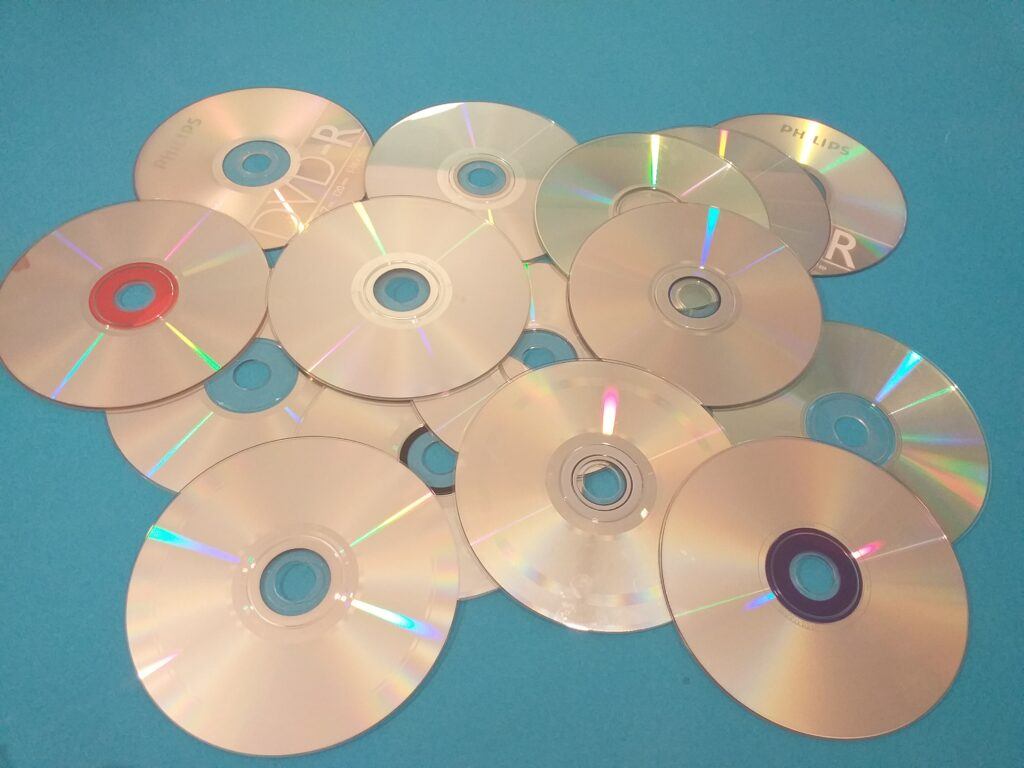
I have come across quite a few old CDs, that have been lying dormant around the house for ages, and some have just become redundant gathering dust, but there is a solution!
They can be put to good use in another way!
There are some fun activities that they can be up-cycled to, which we will address in another post, but for now, we shall be looking at FISH!
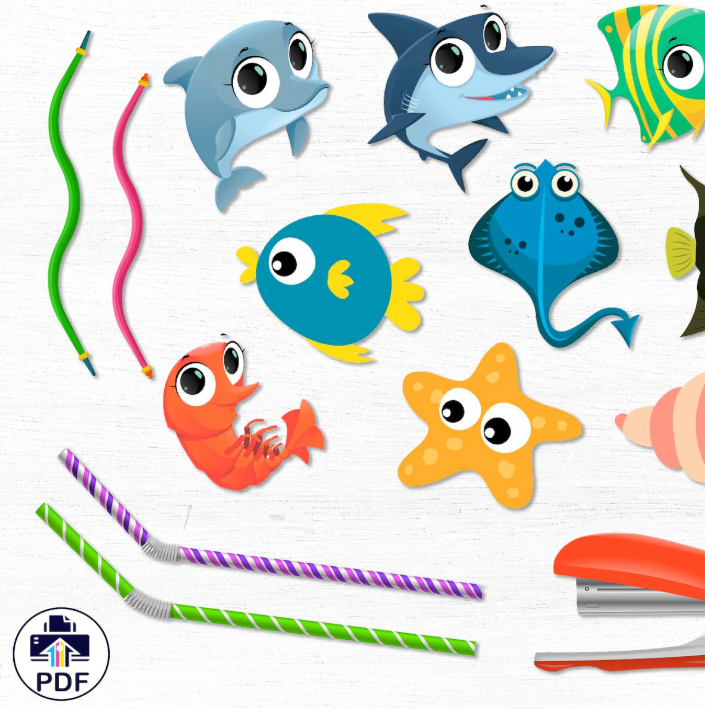
So if we think of fish, what can you visualise? There are many species of fish, different shapes and sizes and some have amazing colourful patterns across their bodies!
Let’s take a look at some of these fish. Here is a short video showing just that!
DIVE INTO THE WORLD OF FISH!
Here is a sample of the type of patterns your fish can have. You can create whatever fishy pattern you like!
MY INTENTIONS!
Within this post, I will demo an easyCD Fish Craft for Kids!
This would also be a chance to address, recycling and up-cycling old CDs and discover more about fish and their anatomy.
USING OLD CD’S
Here is a pile of old CD's
REDUCE POLLUTION!
Picture from Pexels.com by Tom Gonzalez
You can talk about pollution in our oceans, and how this has impacted marine life.
The type of waste accumulating over time would be the dumping of plastic containers, whether bottles, cartons packaging or bags.
Furthermore, by reducing this kind of waste we can help protect their environment!
So why would you use old CD’s?
This is a great question to ask your kids. It would bring to the forefront lot’s of opportunities for a big discussion, and have them give their reasons.
Then this would be a chance to talk about recycling old items, and up-cycling them to be used again. In this way you would be helping to reduce waste!
ALL ABOUT FISH!
While crafting your CD fish with your kids, discuss the facts. about fish, like their fins, gills, scales their purpose and their habitat.
DEVEOP KIDS LANGUAGE.
In the same way, by talking about the parts of a fish, you will be developing your kids’ language and how they move in their environment, using their fins and tail.
You would be expanding their knowledge about the ins and outs of fish.
HOW TO BE CREATIVE.
When your kids start to decorate their CD, this will allow them to explore their creativity, by using different materials, colours, embellishments and ways to attach these to the CD.
ROLE PLAY.
Once your children have completed their fish CDs they can act out scenes role-playing, different scenarios.
1) Design patterns and colour CD’s using permanent pens.
2) Draw and cut out fins and tail. Double up if patterned papers. Cut pouting lips, and a zigzig hair piece.
3) Use sellotape and stick fins, tail, lips and hair onto chosen areas, on the backside of CD and stick a long strand of cotton to the top of CD with tape.
4) When you flip it over it should look like this. Hold cotton strand up to see if fish is horizontal, alter accordingly.
5) Use double-sided tape and stick another CD onto the back, covering the underside of CD. Now glue googly eyes and final fins into place, covering the middle holes, on both sides.
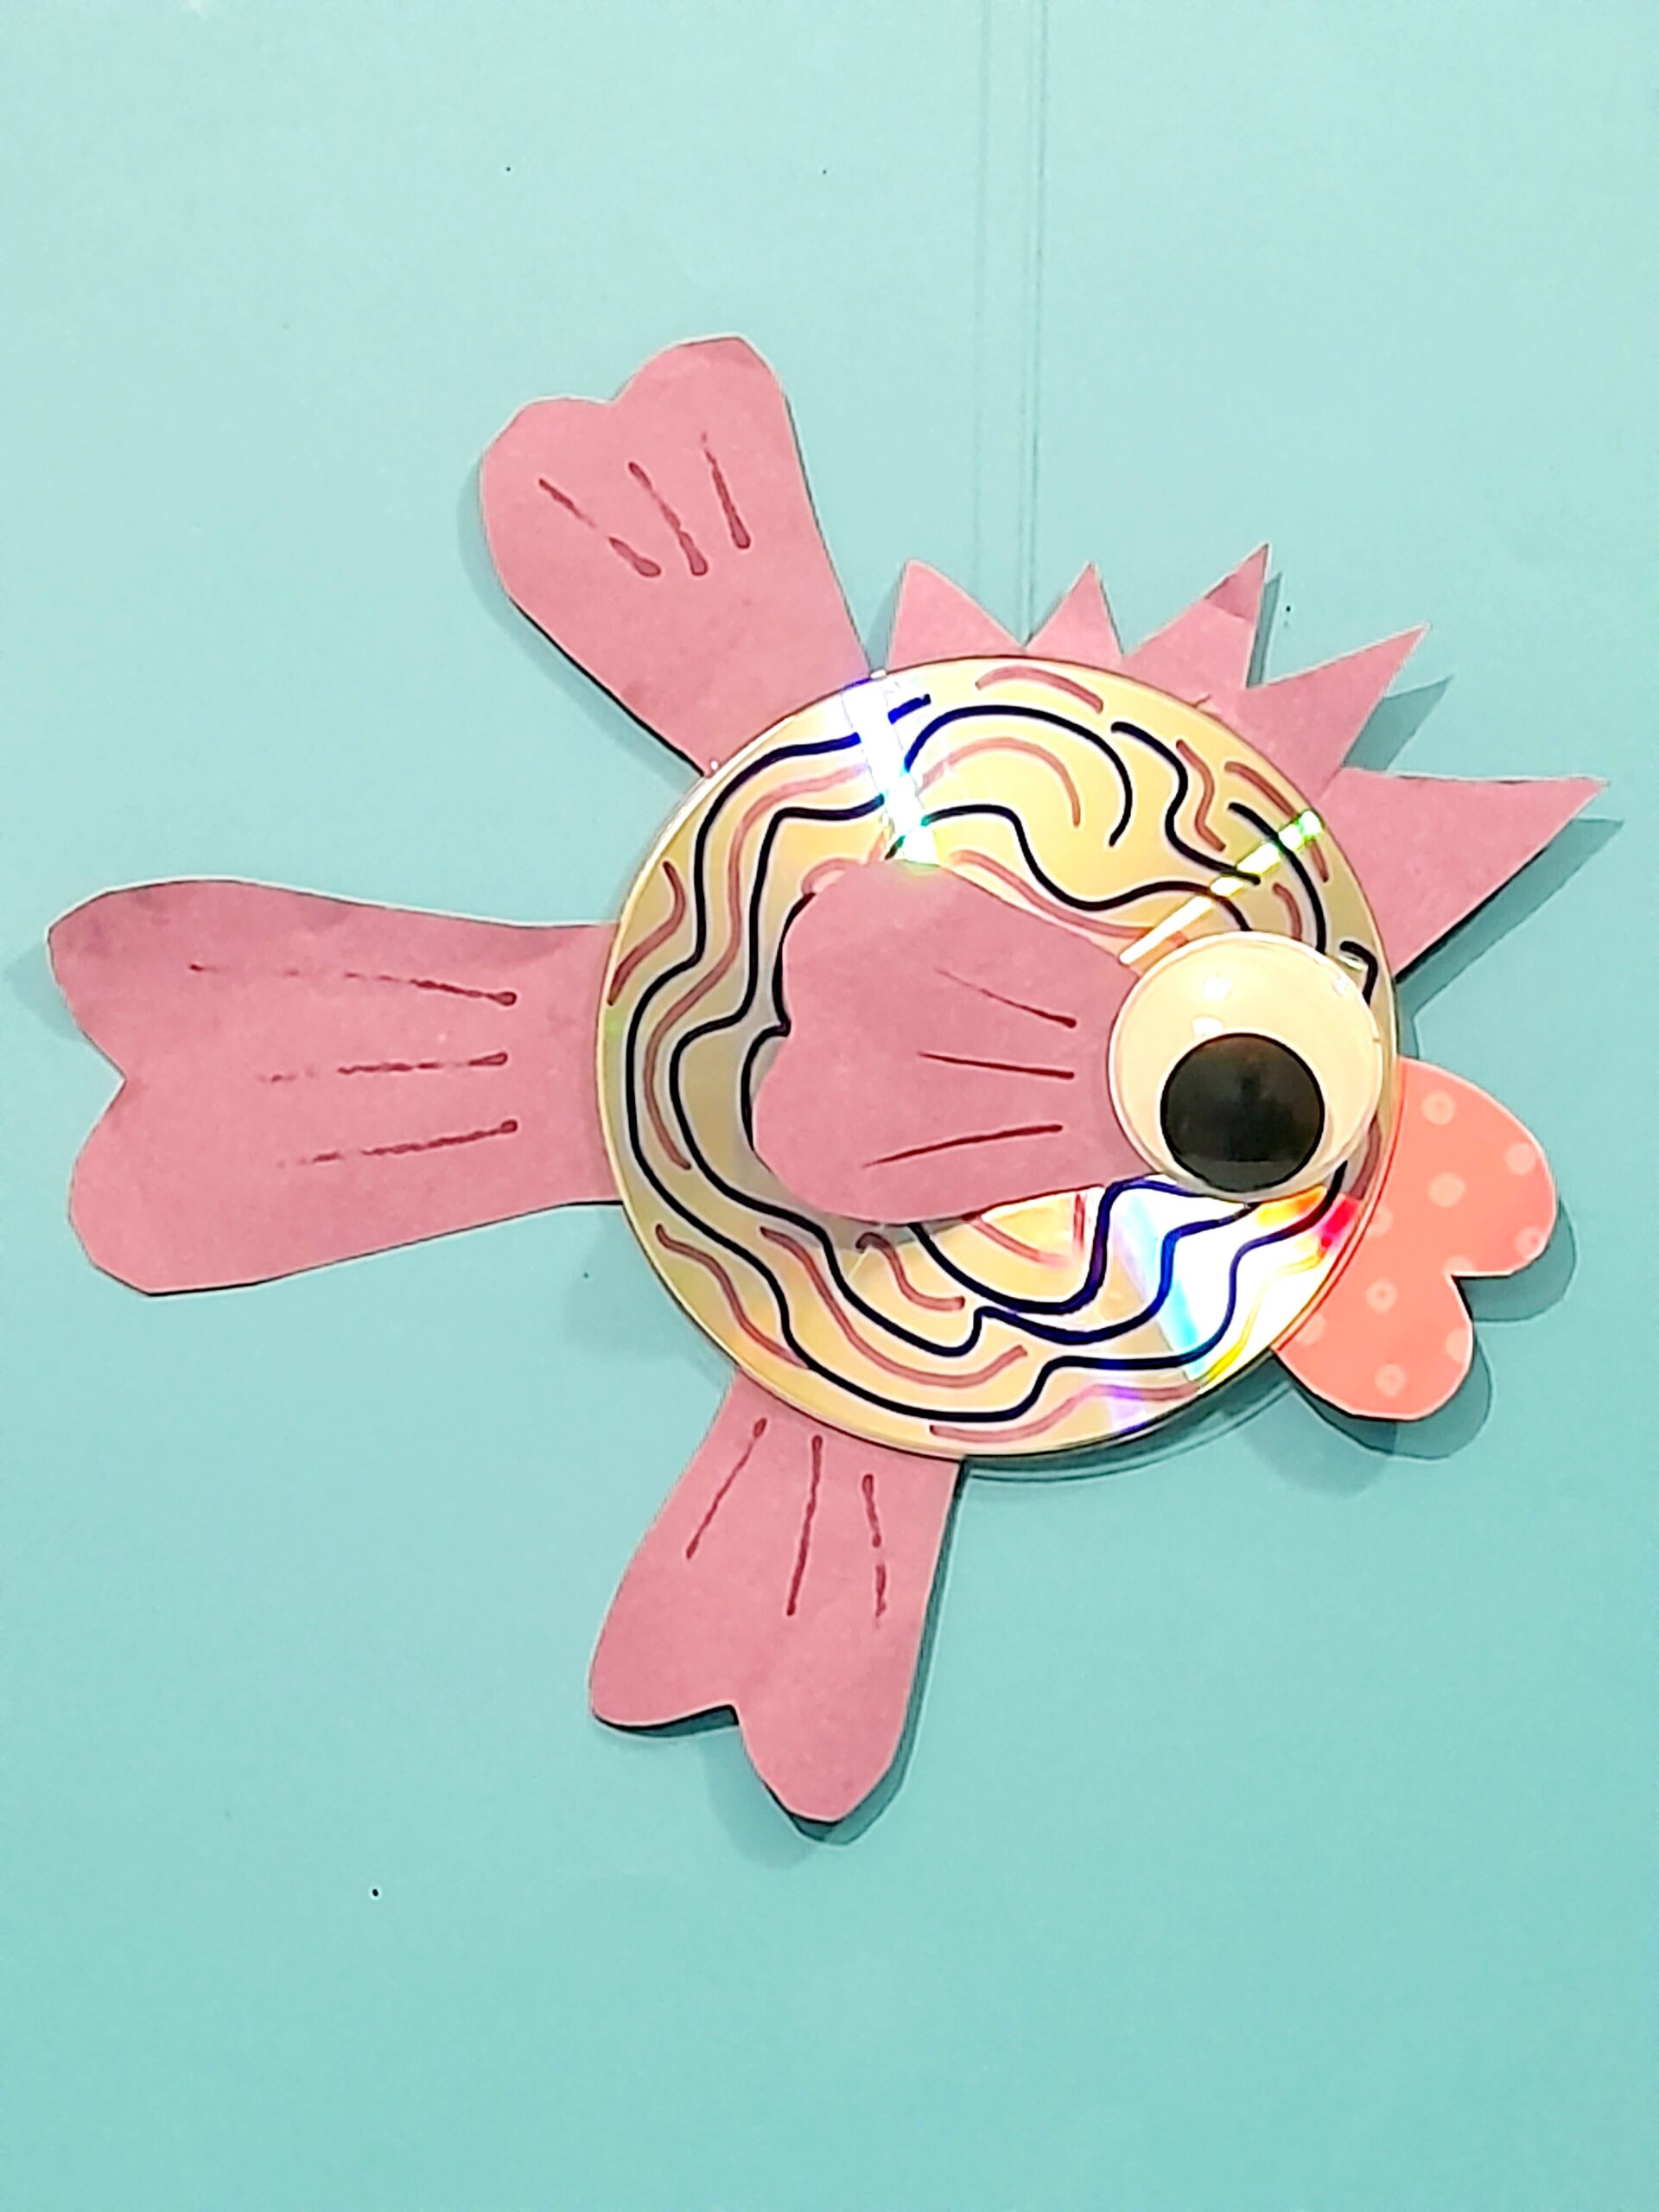
6) Here is the finished CD fish.
7) When flipped over there is another design. So you have two different styles for one fish!
8) Here is another disign. The patterned tail and 2 fins are stuck together so when flipped over the same pattern is on the otherside.
SOME TIPS!
APPLY PERMANENT PENS!
Practice your patterns on an extra CD, as permanent markers do not rub out, so once you have a style in mind go for it!
I found, doing different dots or circular patterns, the easiest, but kids may want to do their quirky own!
FINS AND TAILS.
Decide how big or small you want the fins and tail to be and cut them out from your coloured paper.
Patterned papers will need double the fins and tails, as they will show back and front when the CD fish turns around.
ATTACHING COTTON STRAND.
You can use a thicker strand like wool. After it’s been glued onto the CD check to see if the fish hangs horizontally, if it’s not level then unstick and move the strand along or crease over and stick down.
TAPING PARTS.
Arrange fins and tail, lips, and hair then tape onto CD, once all are attached, stick on the second coloured CD into place, using double-sided tape.
ADDING EYES AND FIN.
The googly eyes and final fin will be the last to stick on. Position and press in place. The fin should cover the CD hole.
STRAND TO MOVE LIKE FISH.
Hold the strand and move the fish to and throw. Flip it to show the other side. This makes a fun activity for kids to play, using their imagination!
Hey there, when you click on links in this post and you make a purchase, I may earn a small commission that l can use towards resources (other than throw-outs) for project making within my website😀