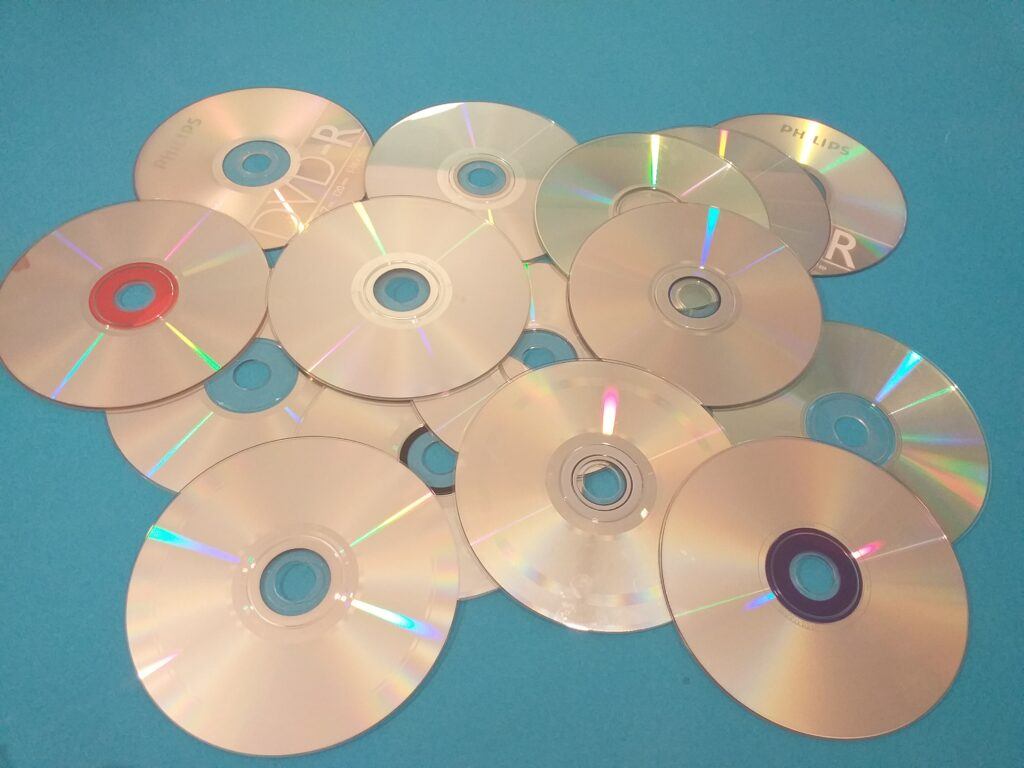
What do you do with an abundance of old Cd’s and feeling just a bit guilty to chuck them away? Well there is no need to do that. These shiny, silvery circles with holes in the middle can be changed.
So how can we revitalise them into something fun for kids? What do we already have that’s round and entertaining and fun that changes with every expression you can think, well what comes to mind are…….Emojis!
Yes we can recycle Cd’s into fun Emojis! The canvas is your Cd and all you need to do is dress it up and add bit of colour and some facial expressions.
I have divided it up into 3 different projects.
Typical Emoji smiley faces for younger and older kids.
Monster Emoji faces for the Older kids.
Emoji game for the younger kids.
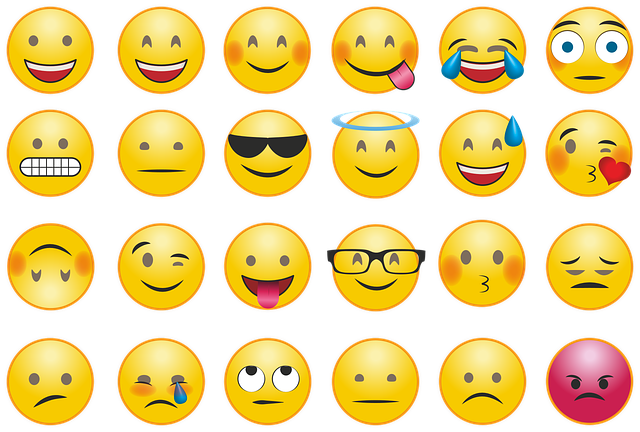
I came across these typical type of Emoji faces to give you an idea where to start and to help you decide on the expressions you want to go for.
They are the recognisable round yellow faces with changing features. Happy, sad, angry shocked cheeky and so on.
As you can see, these are just a few that I found, there are tons of different emojis faces and it’s hard to pick one that you would like.
I went simple and used a couple of examples and slightly adapted them. I chose just a smile and a sad tearful face. ( 3rd top row from left and 2nd bottom row from left.)
In this project I am going to use both sides of the disc. a different facial expression on each side.
An idea would be to go for opposites. For example:–
(Smiley, Sad). (Angry, happy). (kiss more kisses). (laughing, laughing hysterically).
So let’s get started we shall recycle Cd’s into fun Emojis!
Draw around a Cd twice on yellow paper/card. Cut out.
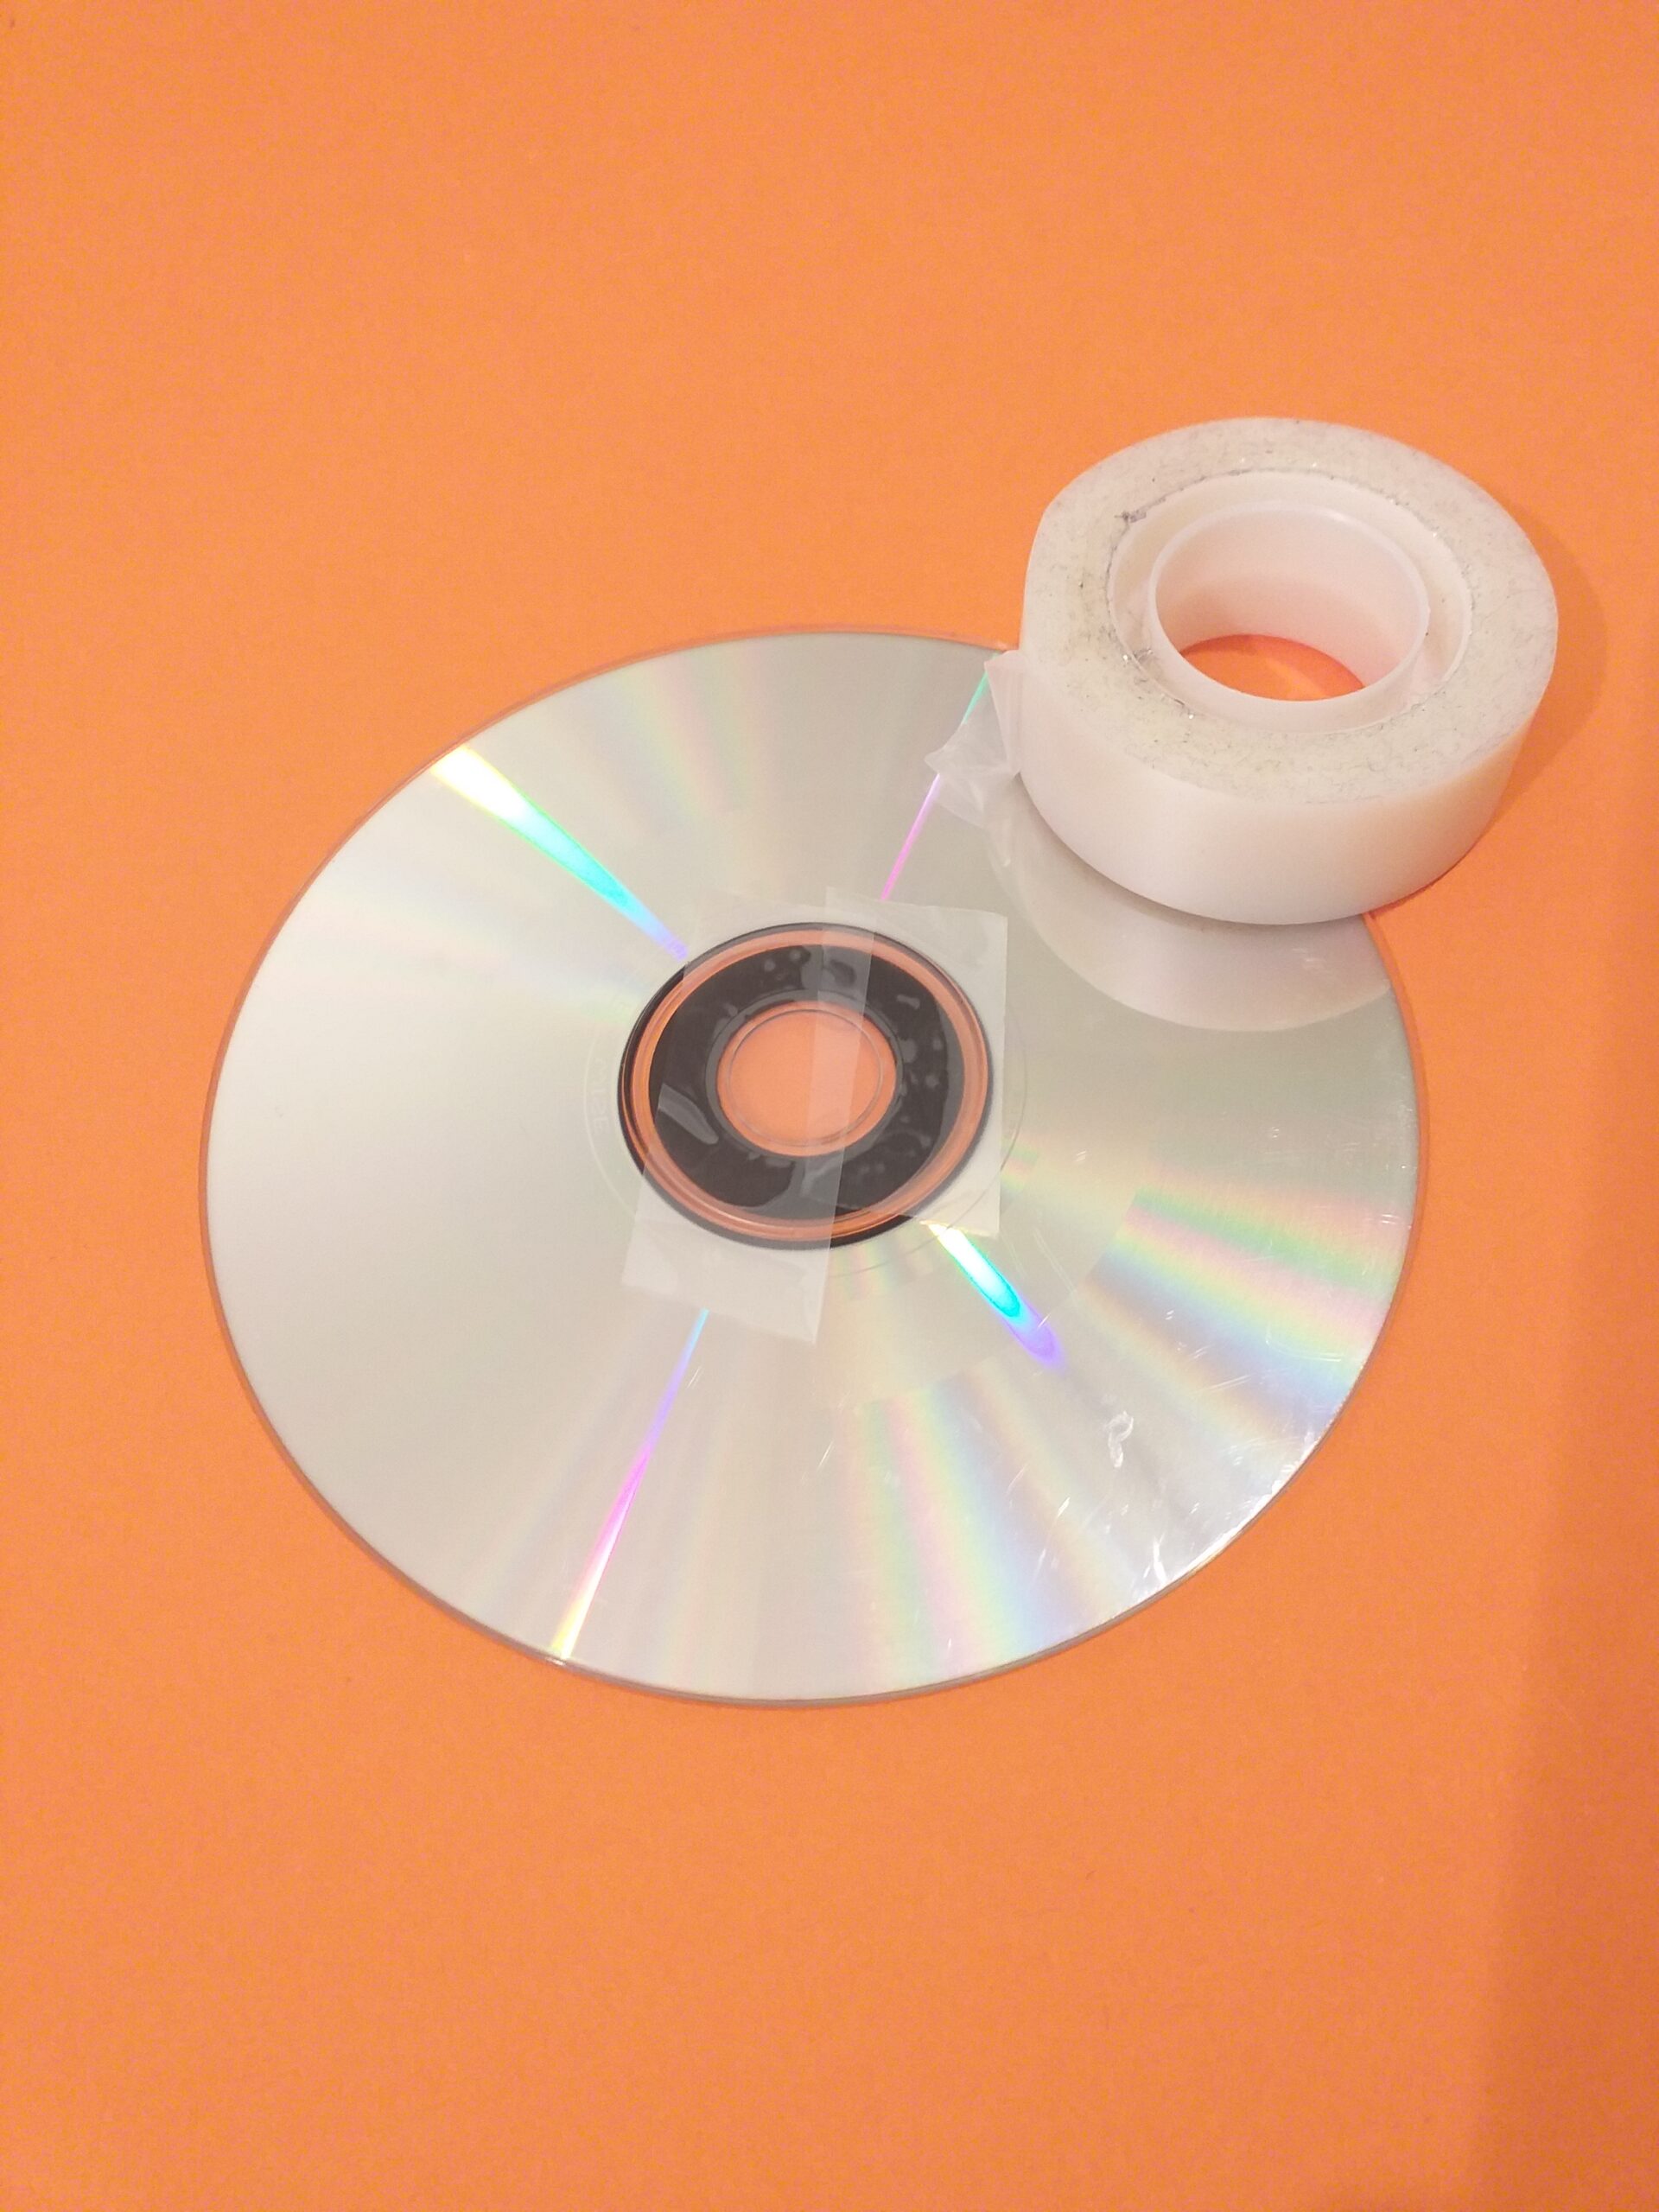
Cover the hole with masking tape.
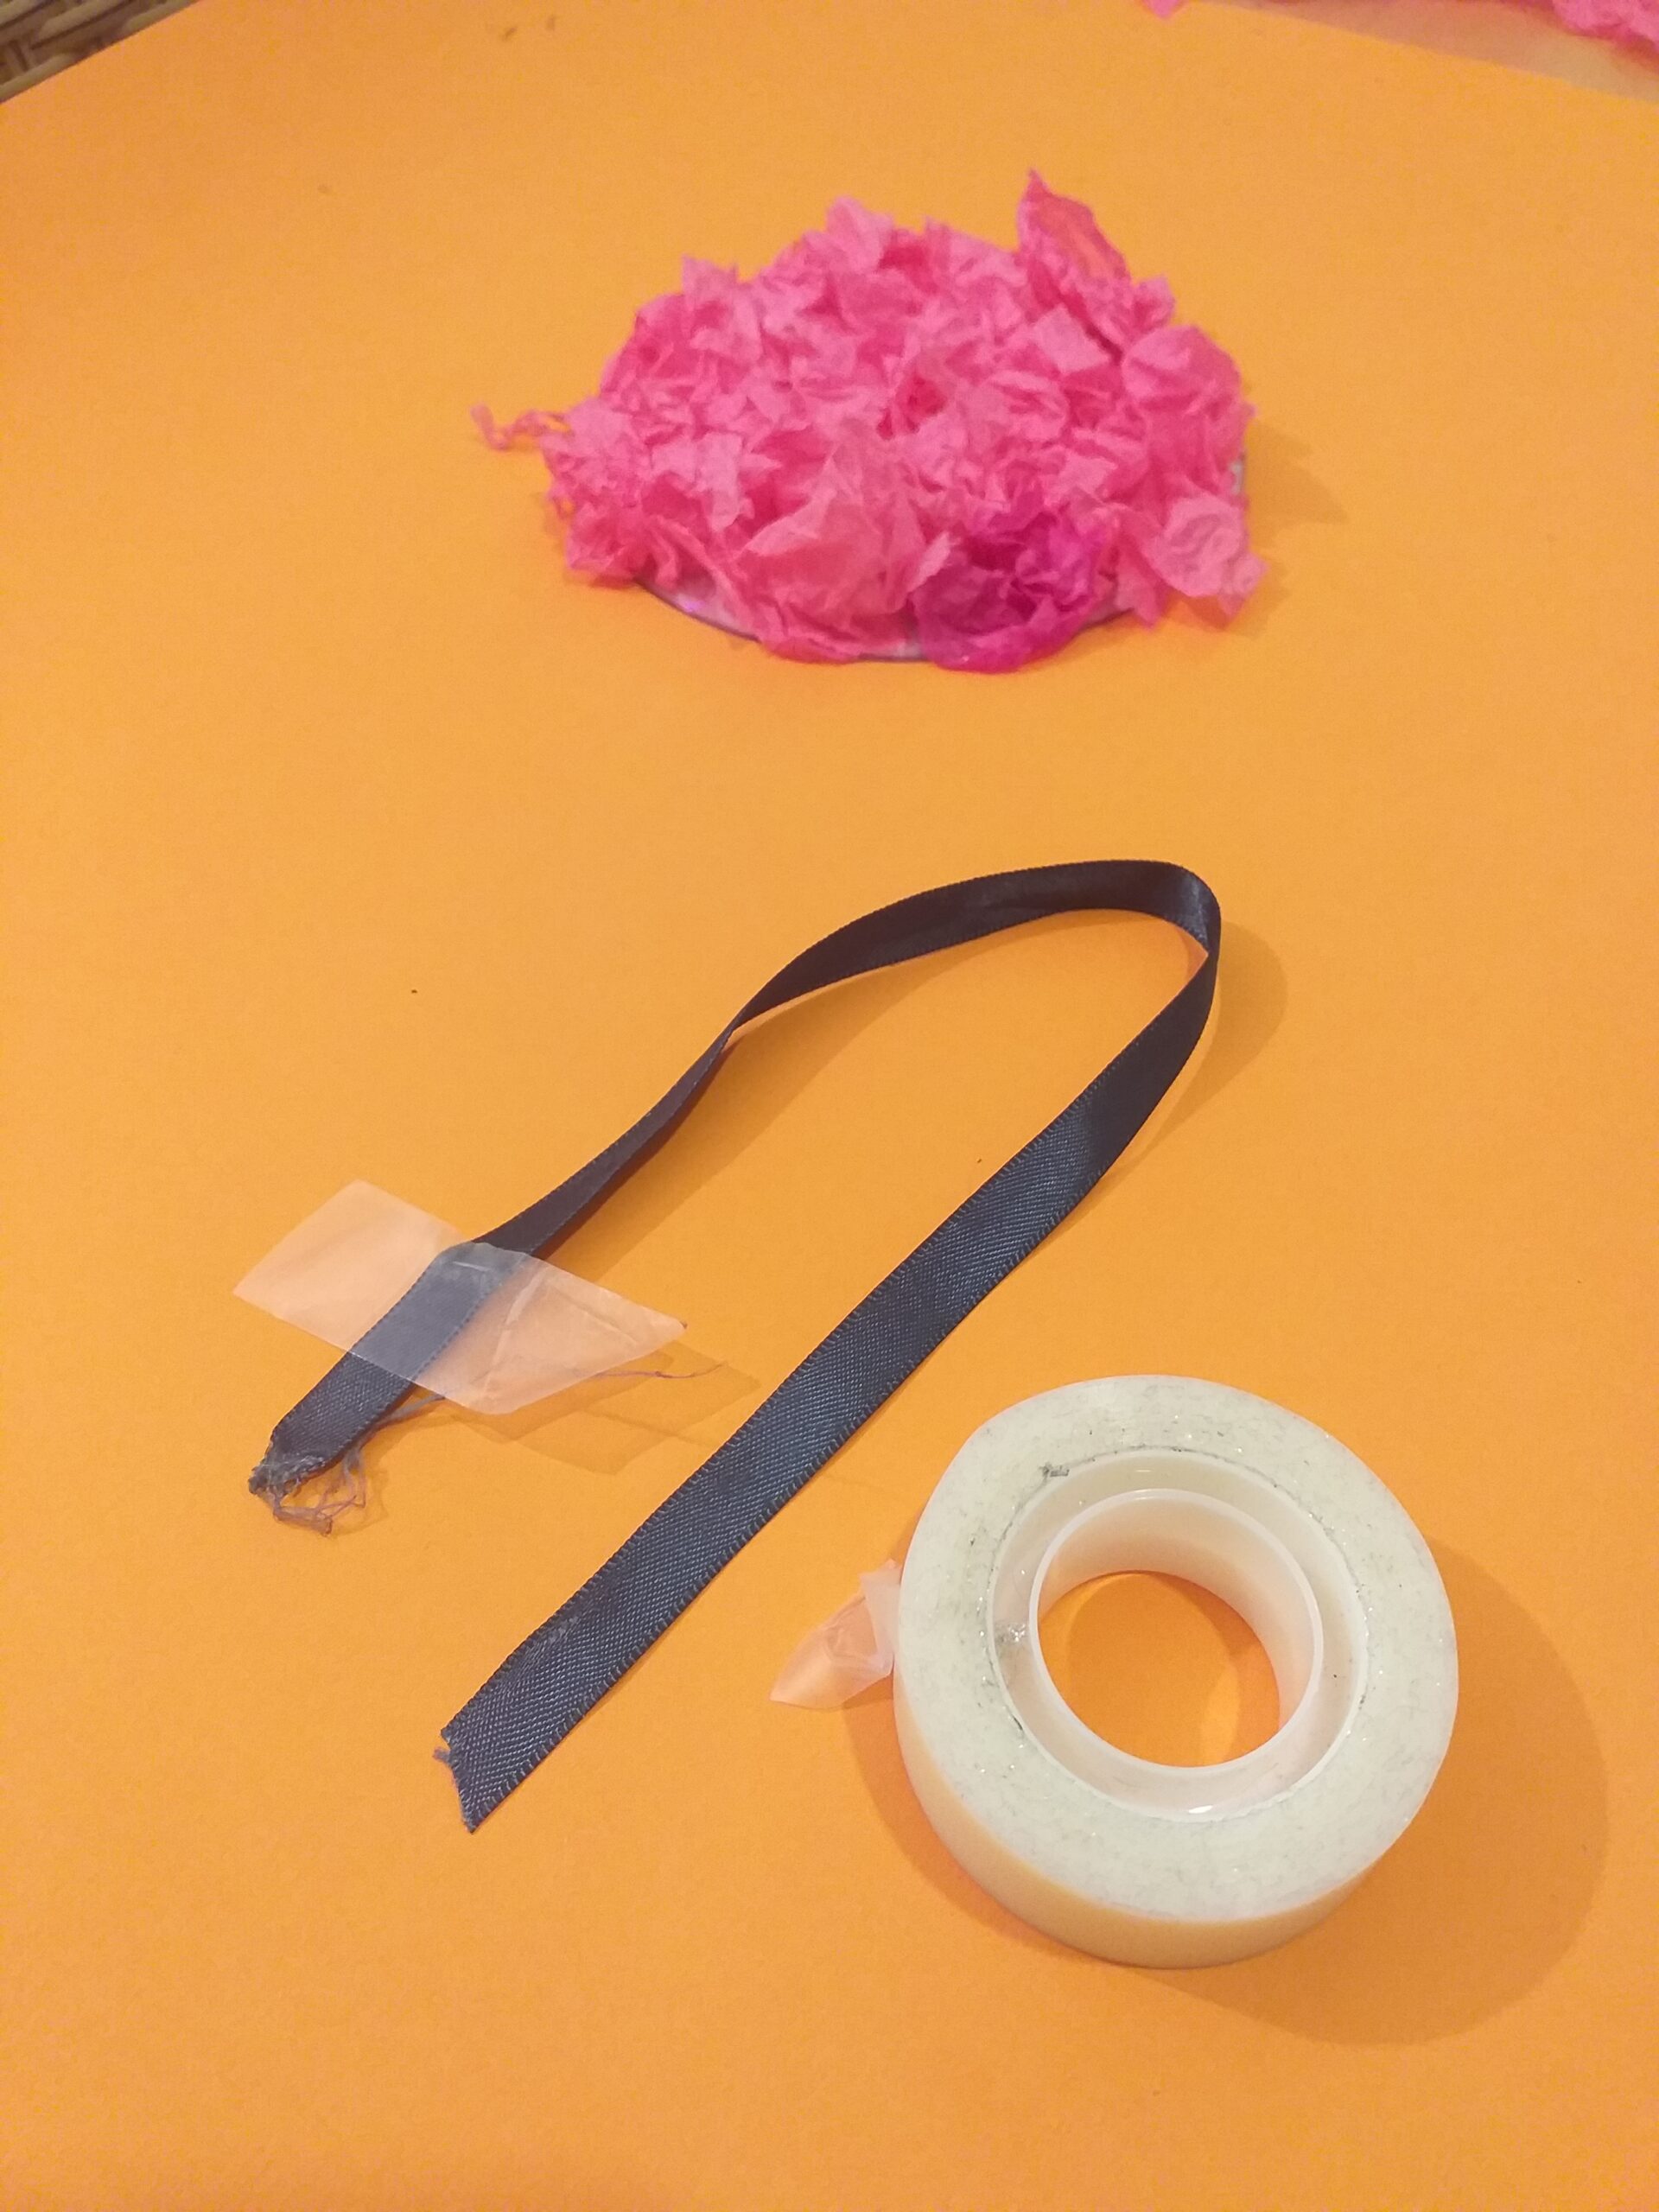
Tape ribbon to disc, glue papers on each side.
Or use double sided tape around disc, for a better hold.
Cut mouth and brows and pupils out of black card. Use 1p coin.
Draw around 2p coin. Cut out white part of eyes.
Arrange all parts on the yellow disc and glue on.
One side is a smile and the back is the sad Emoji face.
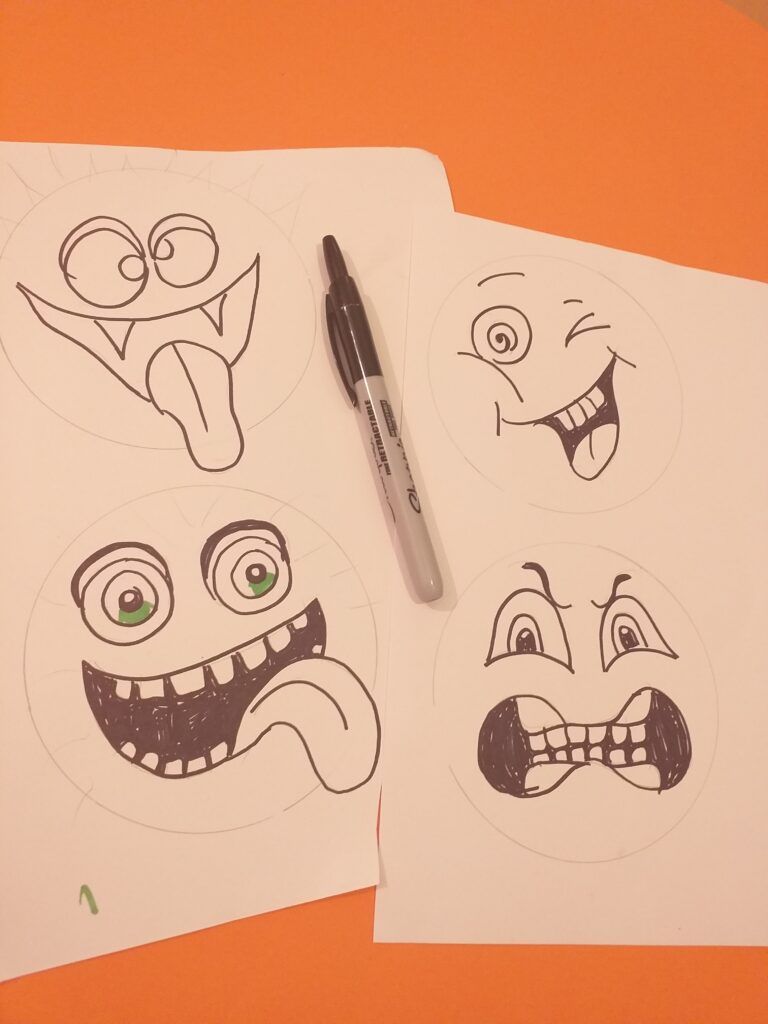
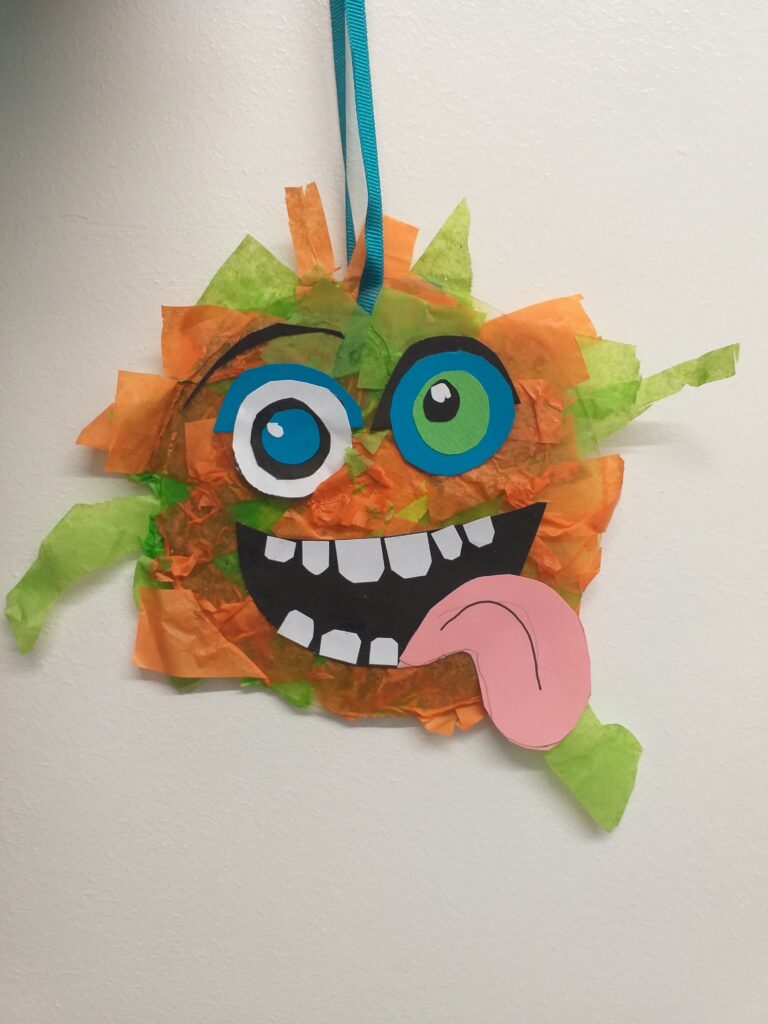
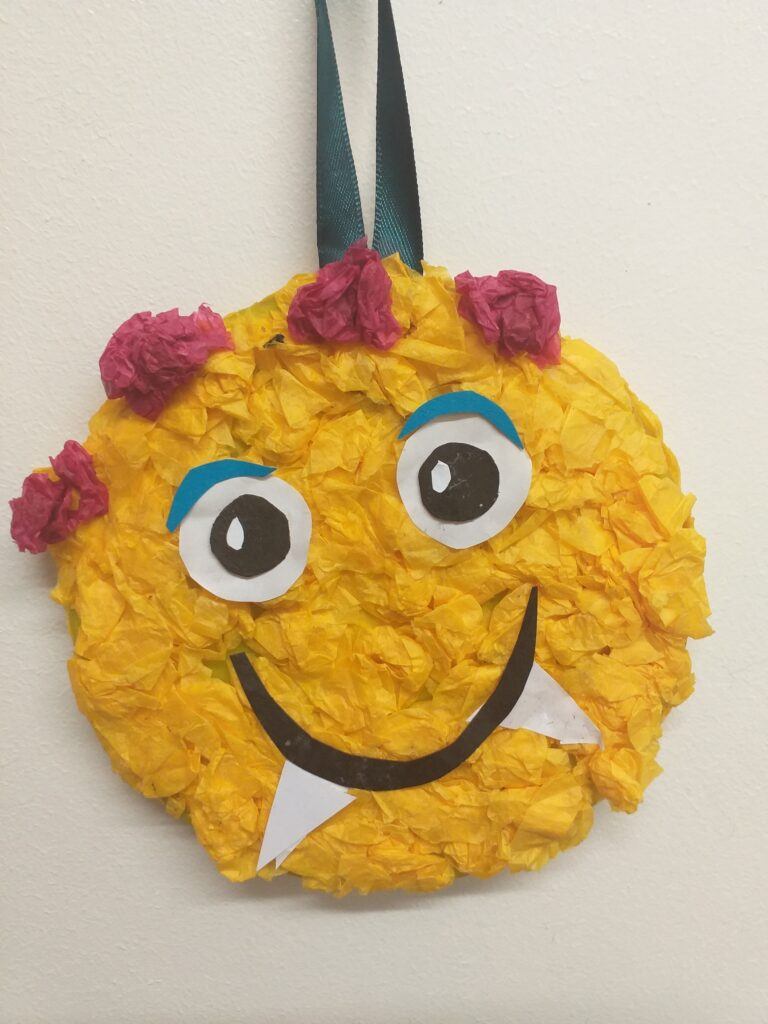
Let’s take it up a notch, this time I am going to look at monster emojis. Older kids like the scary kind. Ones with odd coloured eyes, large mouths and tongues sticking out and funny shaped teeth.
I decided on the look that I wanted and with slight adjustments here and there, reproduced them on white paper/card.
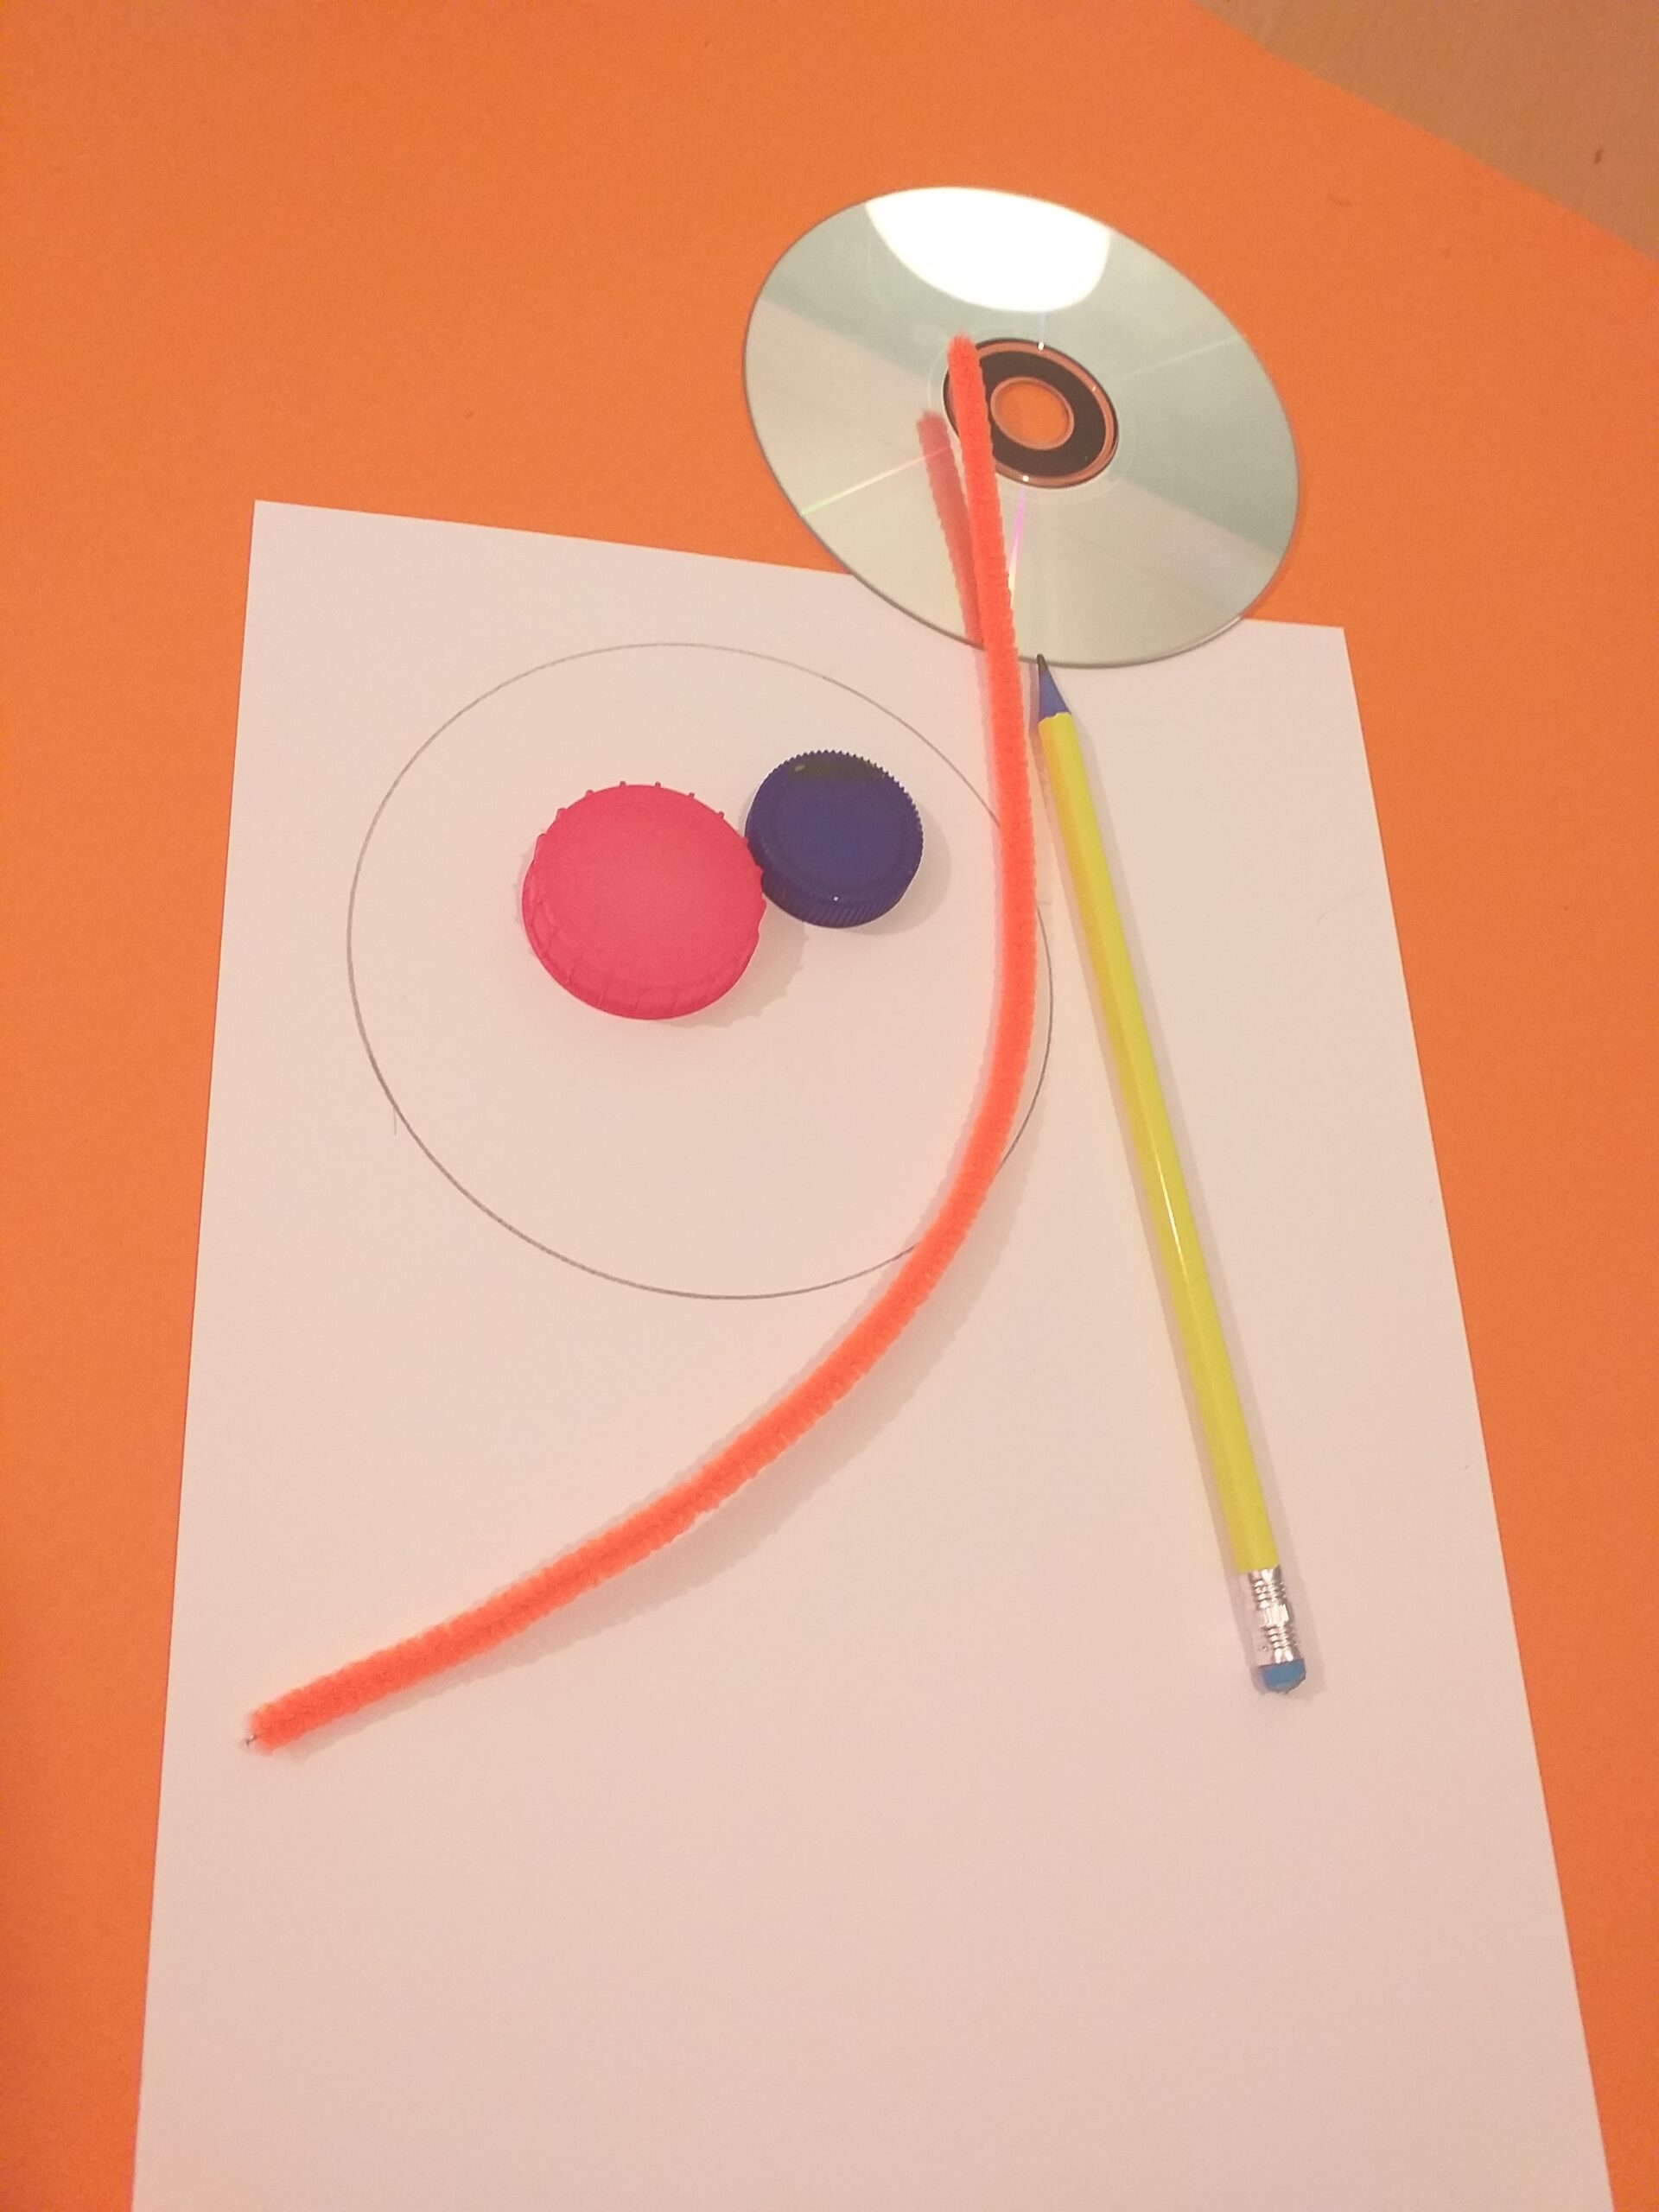
To draw I used resources that would help.
Bottle tops for the eyes and a pipe cleaner, bending and shaping into the mouth and tongue. Creating features and expressions.
Tape up the hole. Put paper under Cd, to catch glue.
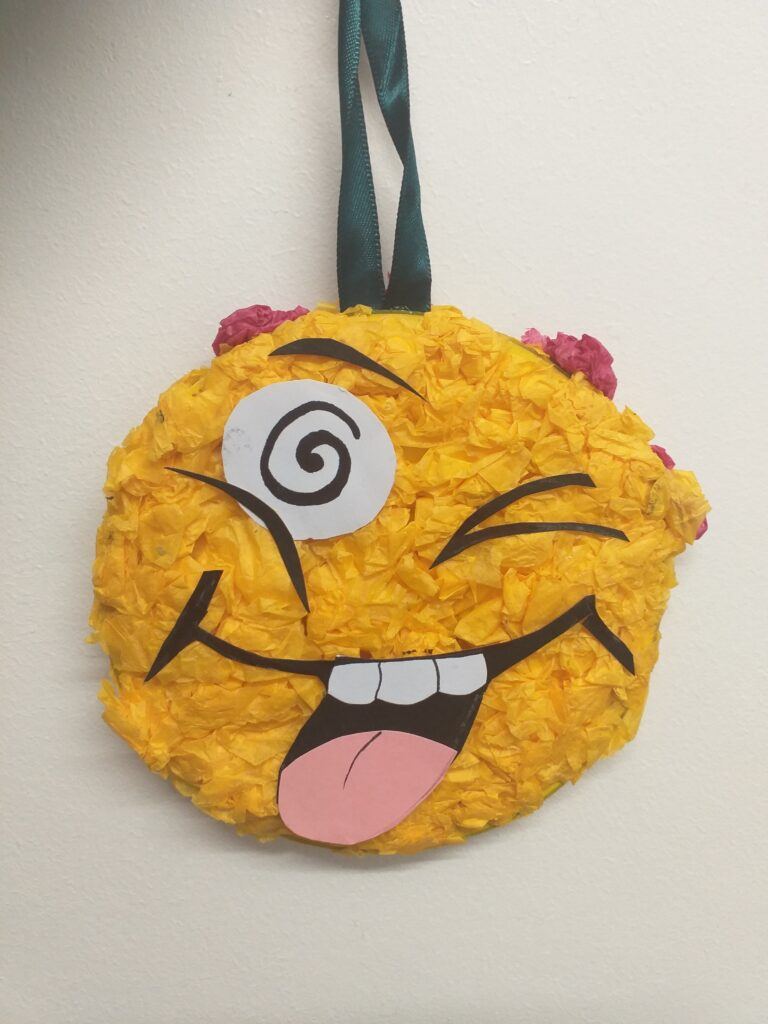
Add PVA glue on Cd, then stick on tissue paper.
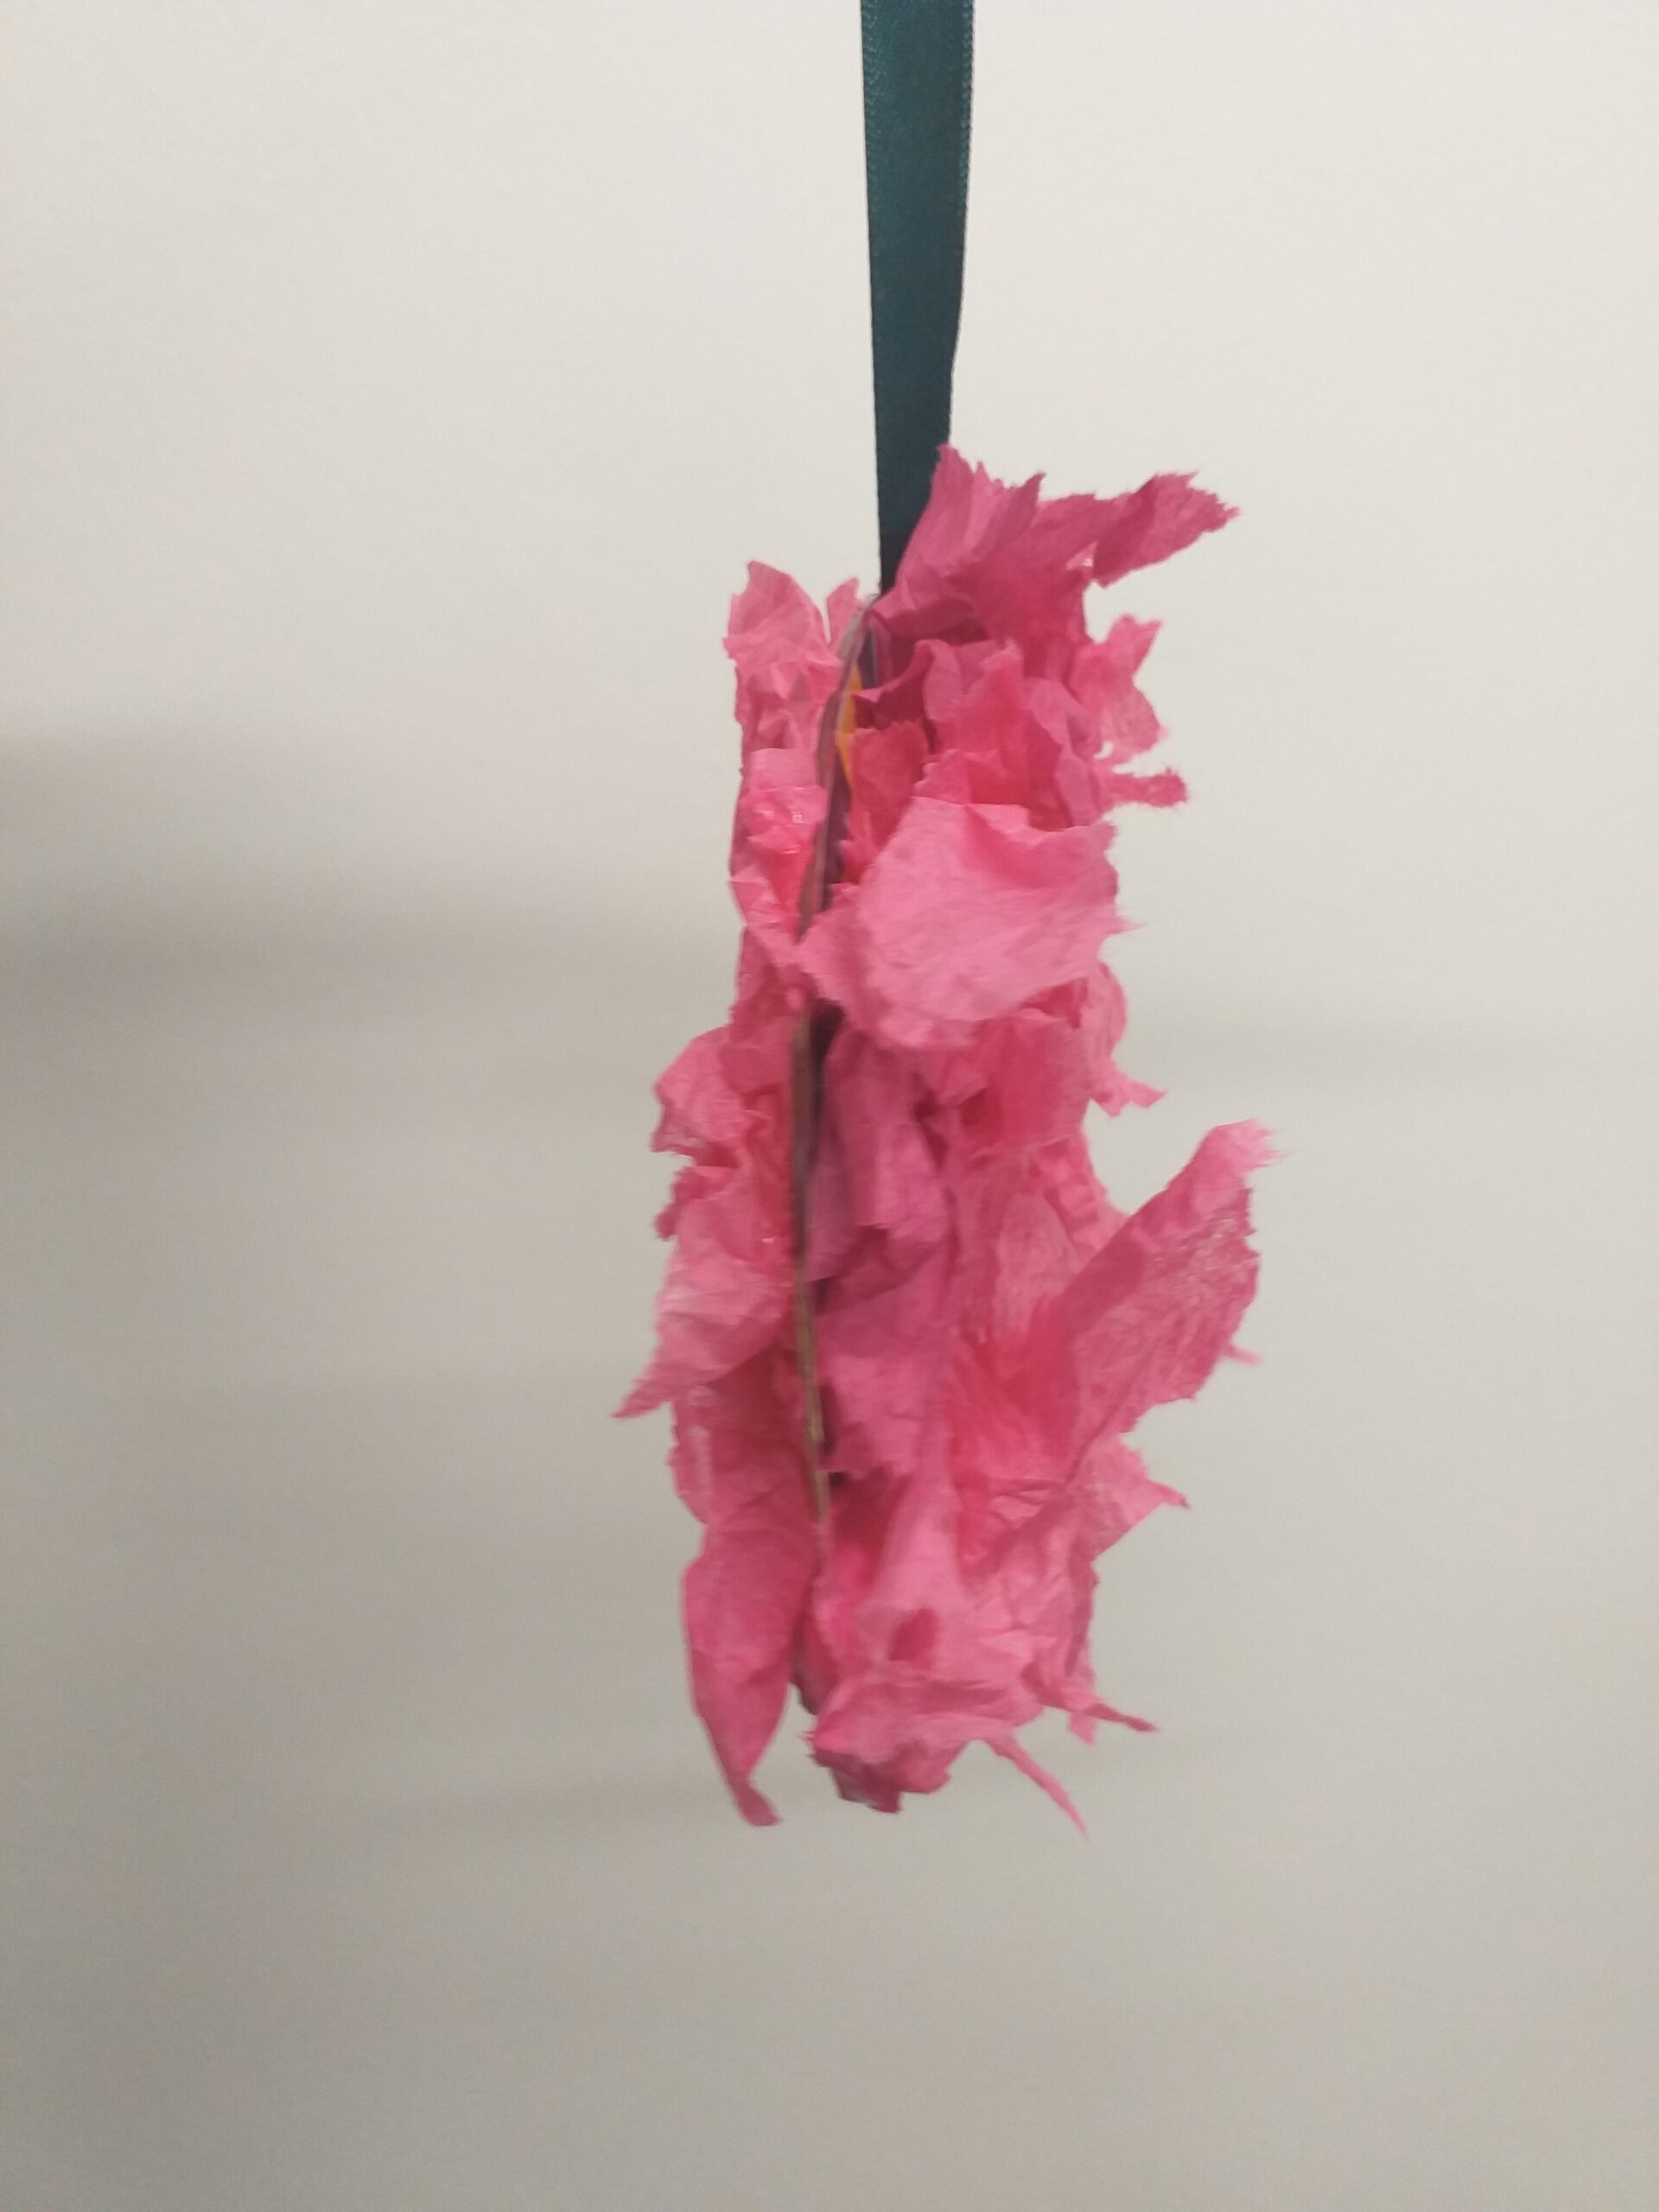
Tape on the ribbon. Cover up ribbon with tissue paper.
Both sides of Cd have tissue glued on and ribbon to hang it from.
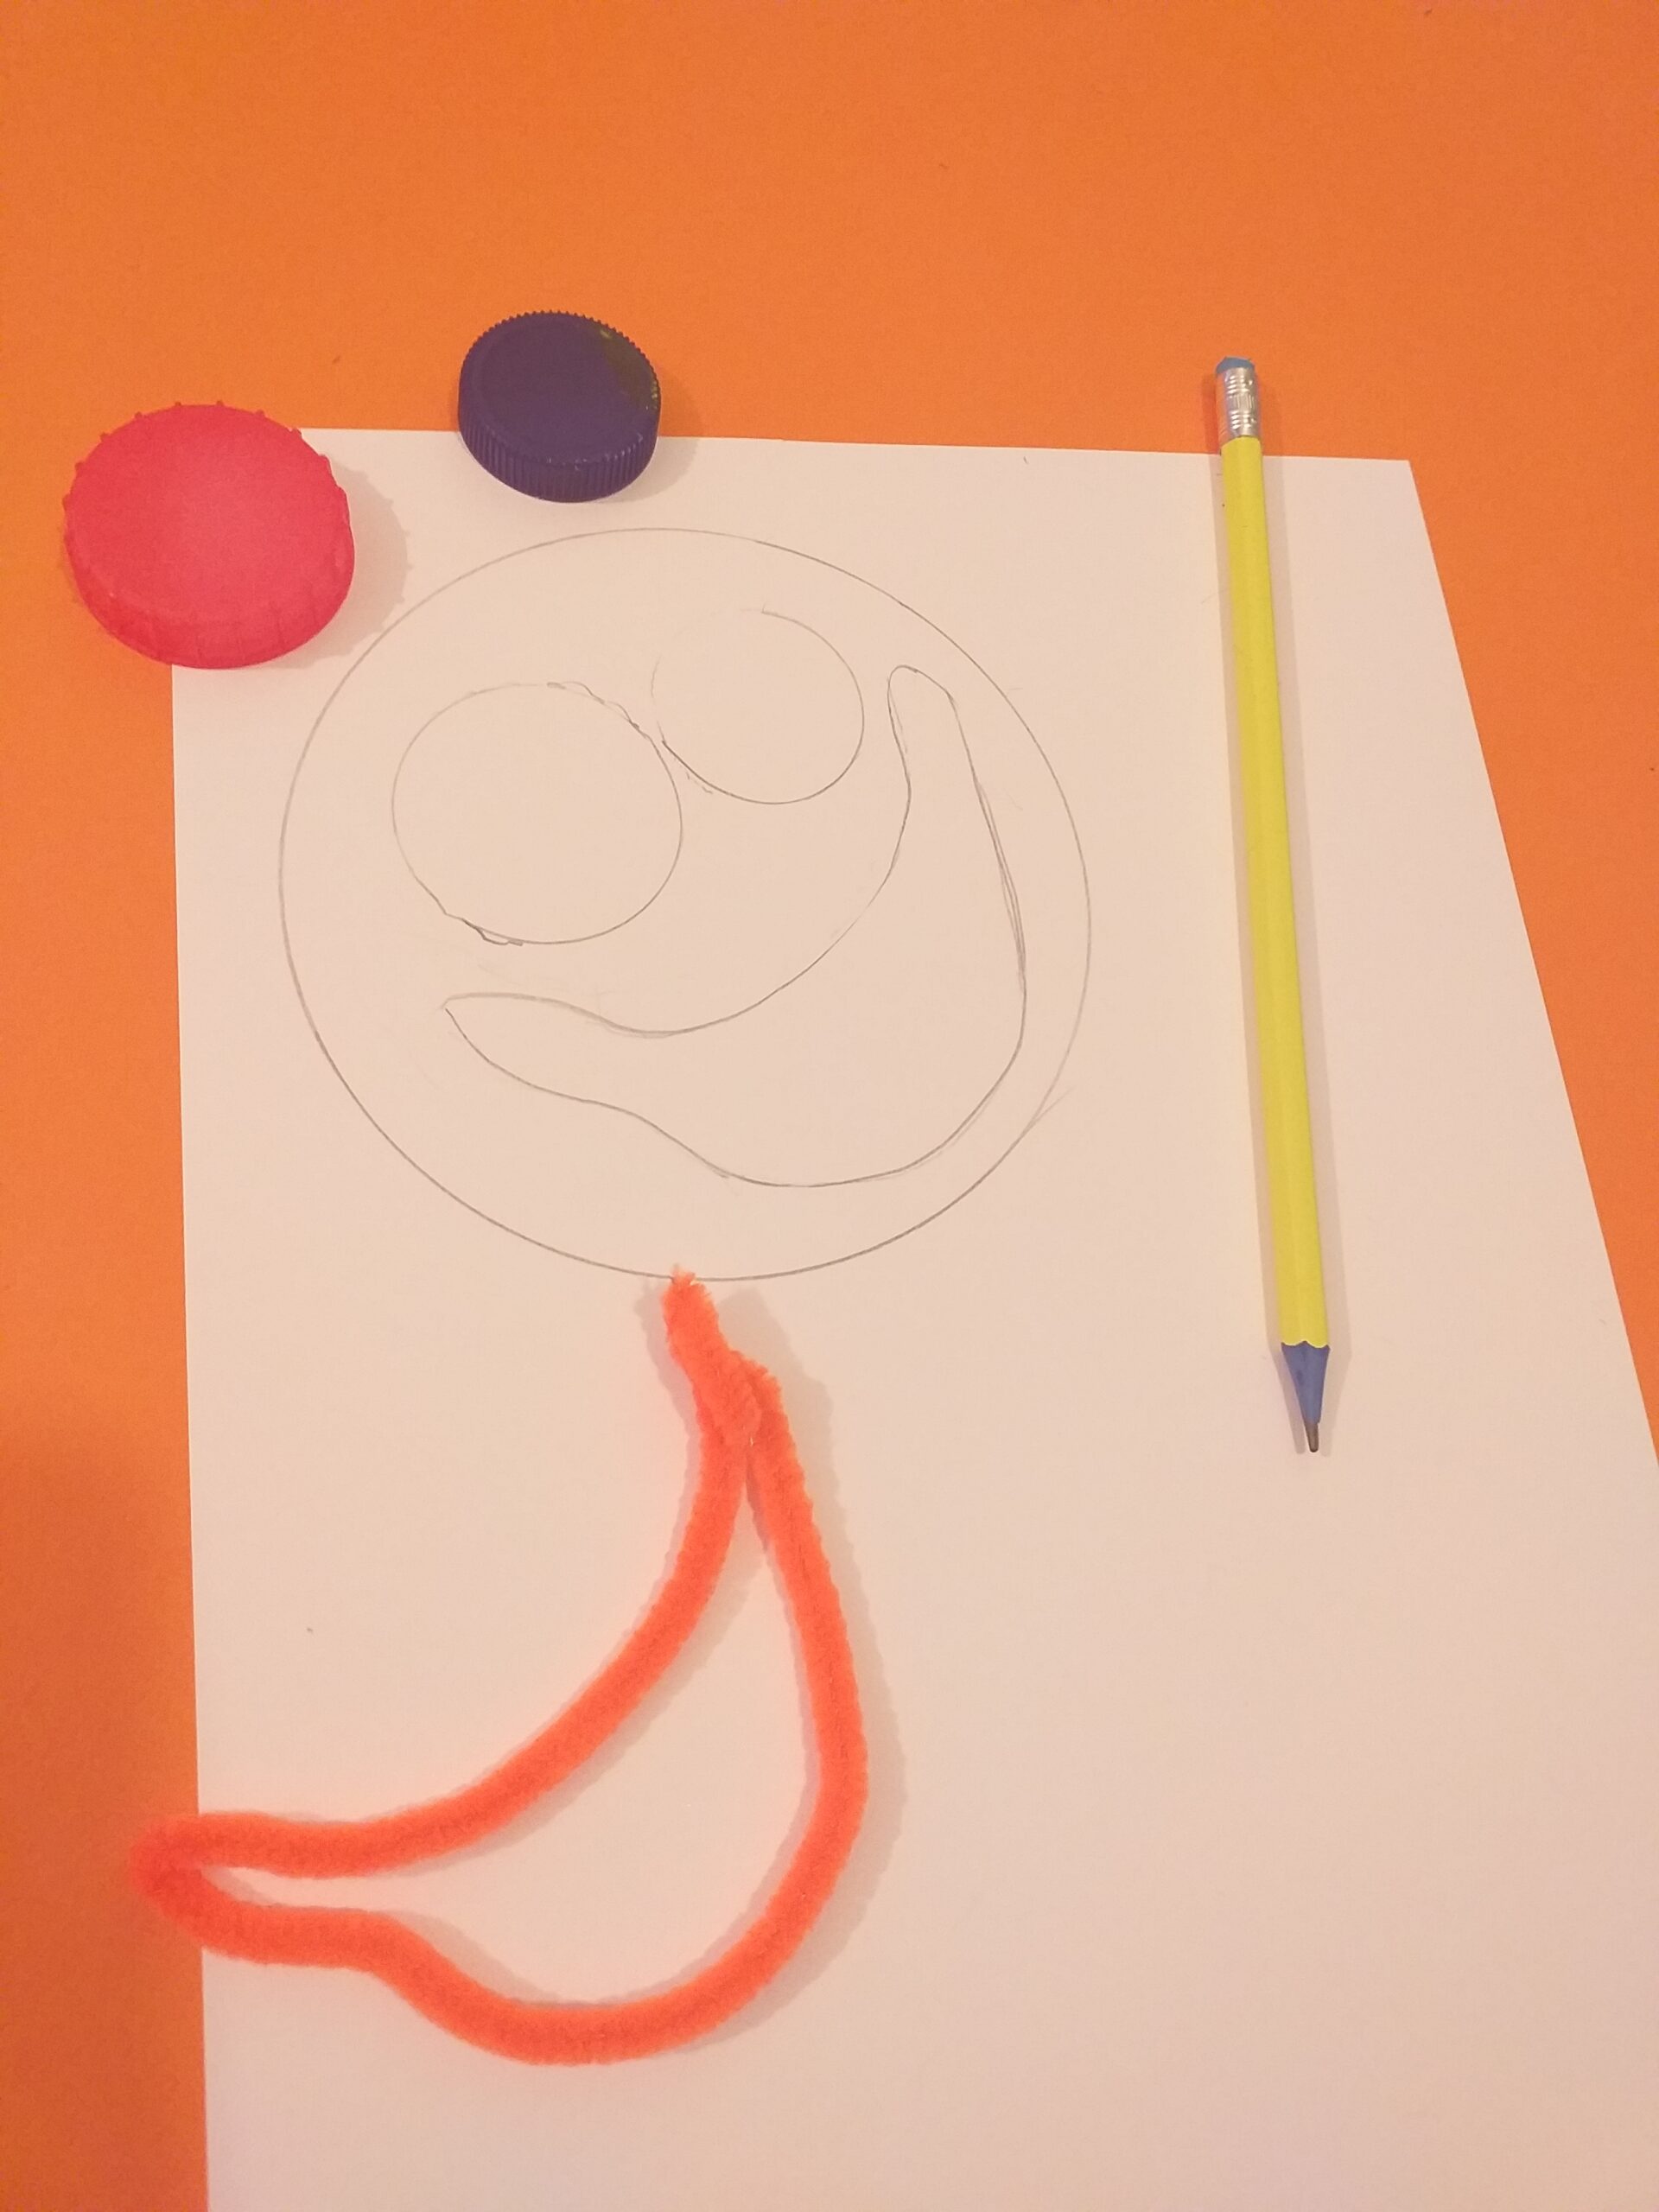
Draw around Cd to create the face.
Use bottle tops for eyes, bend pipe cleaner into mouth shape.
Plan the face on white card. Put pipe cleaner on black card.
Draw around pipe cleaner and cut out the mouth.
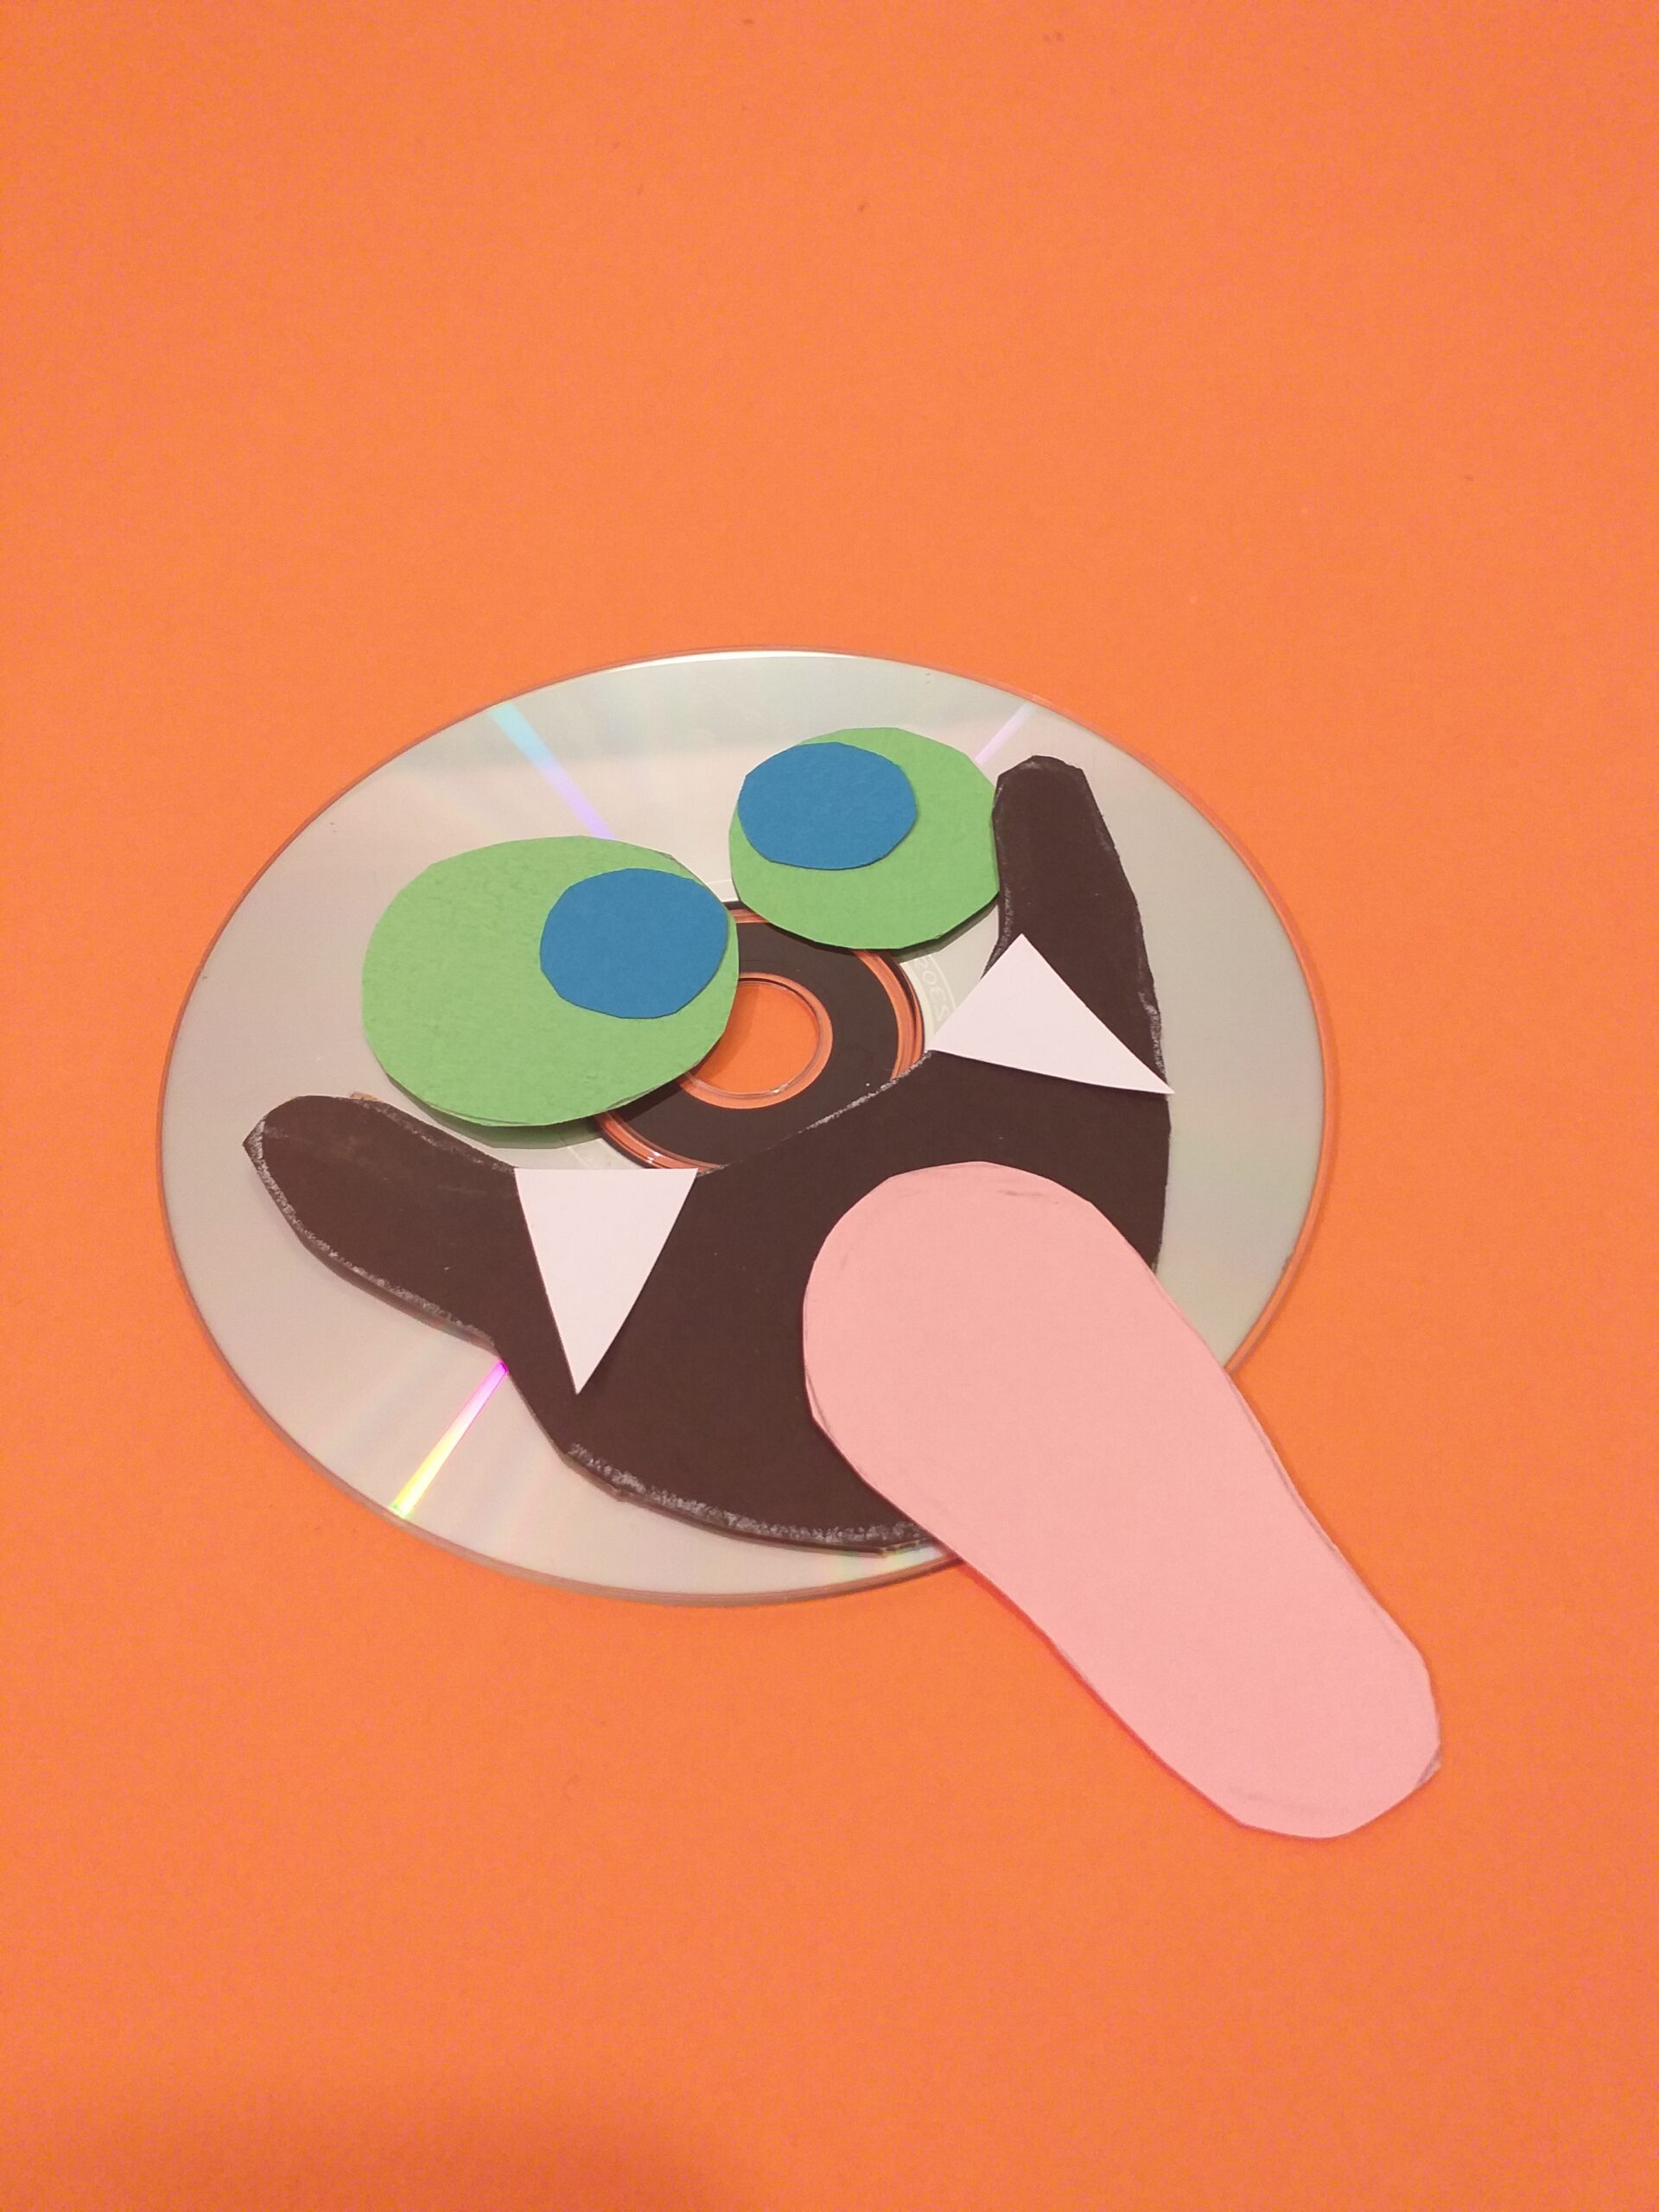
Using bottle tops draw and cut out eyes from coloured cards.
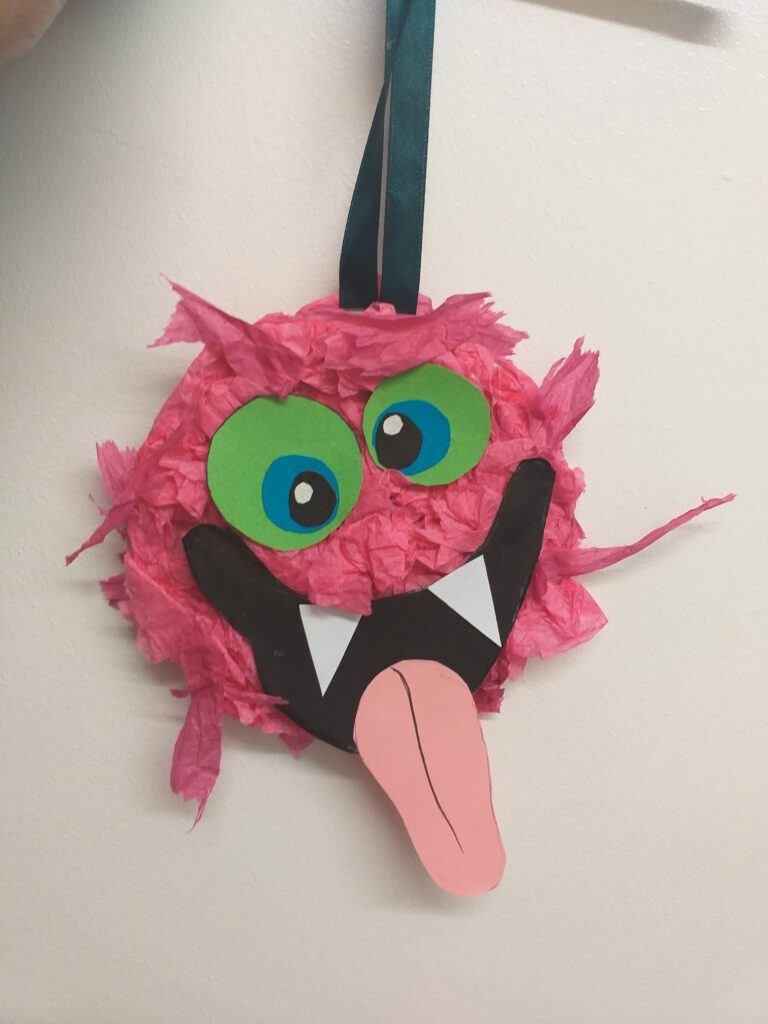
Build your face. Bend pipe cleaner to make tongue shape.
Cut tongue out of pink card, teeth out of white card.
Arrange features after you have stuck tissue on Cd.
Some pointers!
If you are confident, then once you have cut out all your parts, save, stick tissue paper with PVA glue, allow to dry then glue on the features over the tissue.
The white paper/card is to help you draw and arrange The Emoji face.
Transfer features on to the Cd, to see how it looks.
The pipe cleaner is a good tool to help shape the mouth and tongue, then you can draw around it and cut out the shape out of card.
This is now your Emoji!
Check out some other examples. ⇒
Project 3.
A game for younger kids.
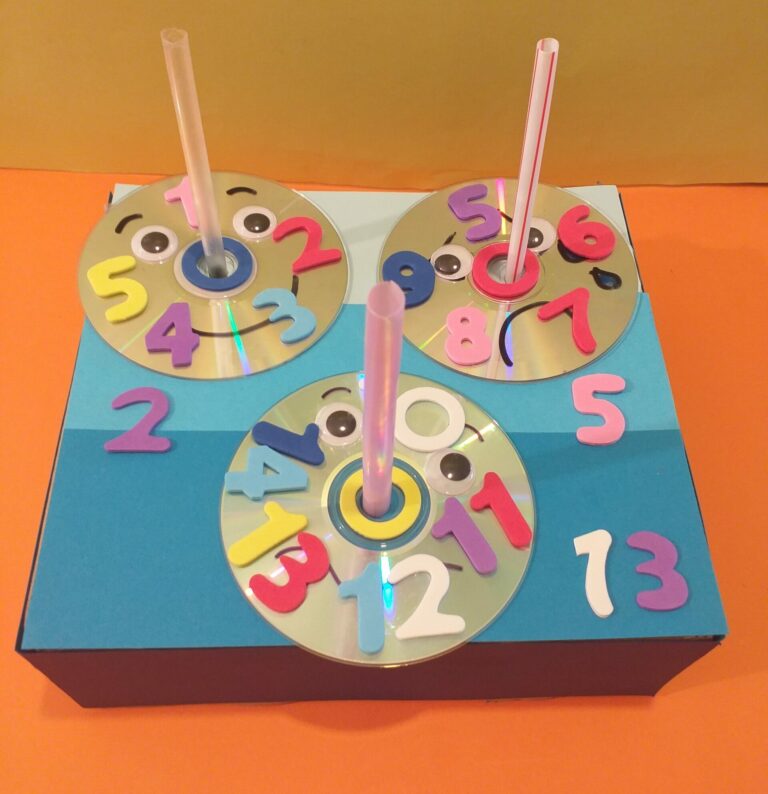
Finished Cd game, spot the number!
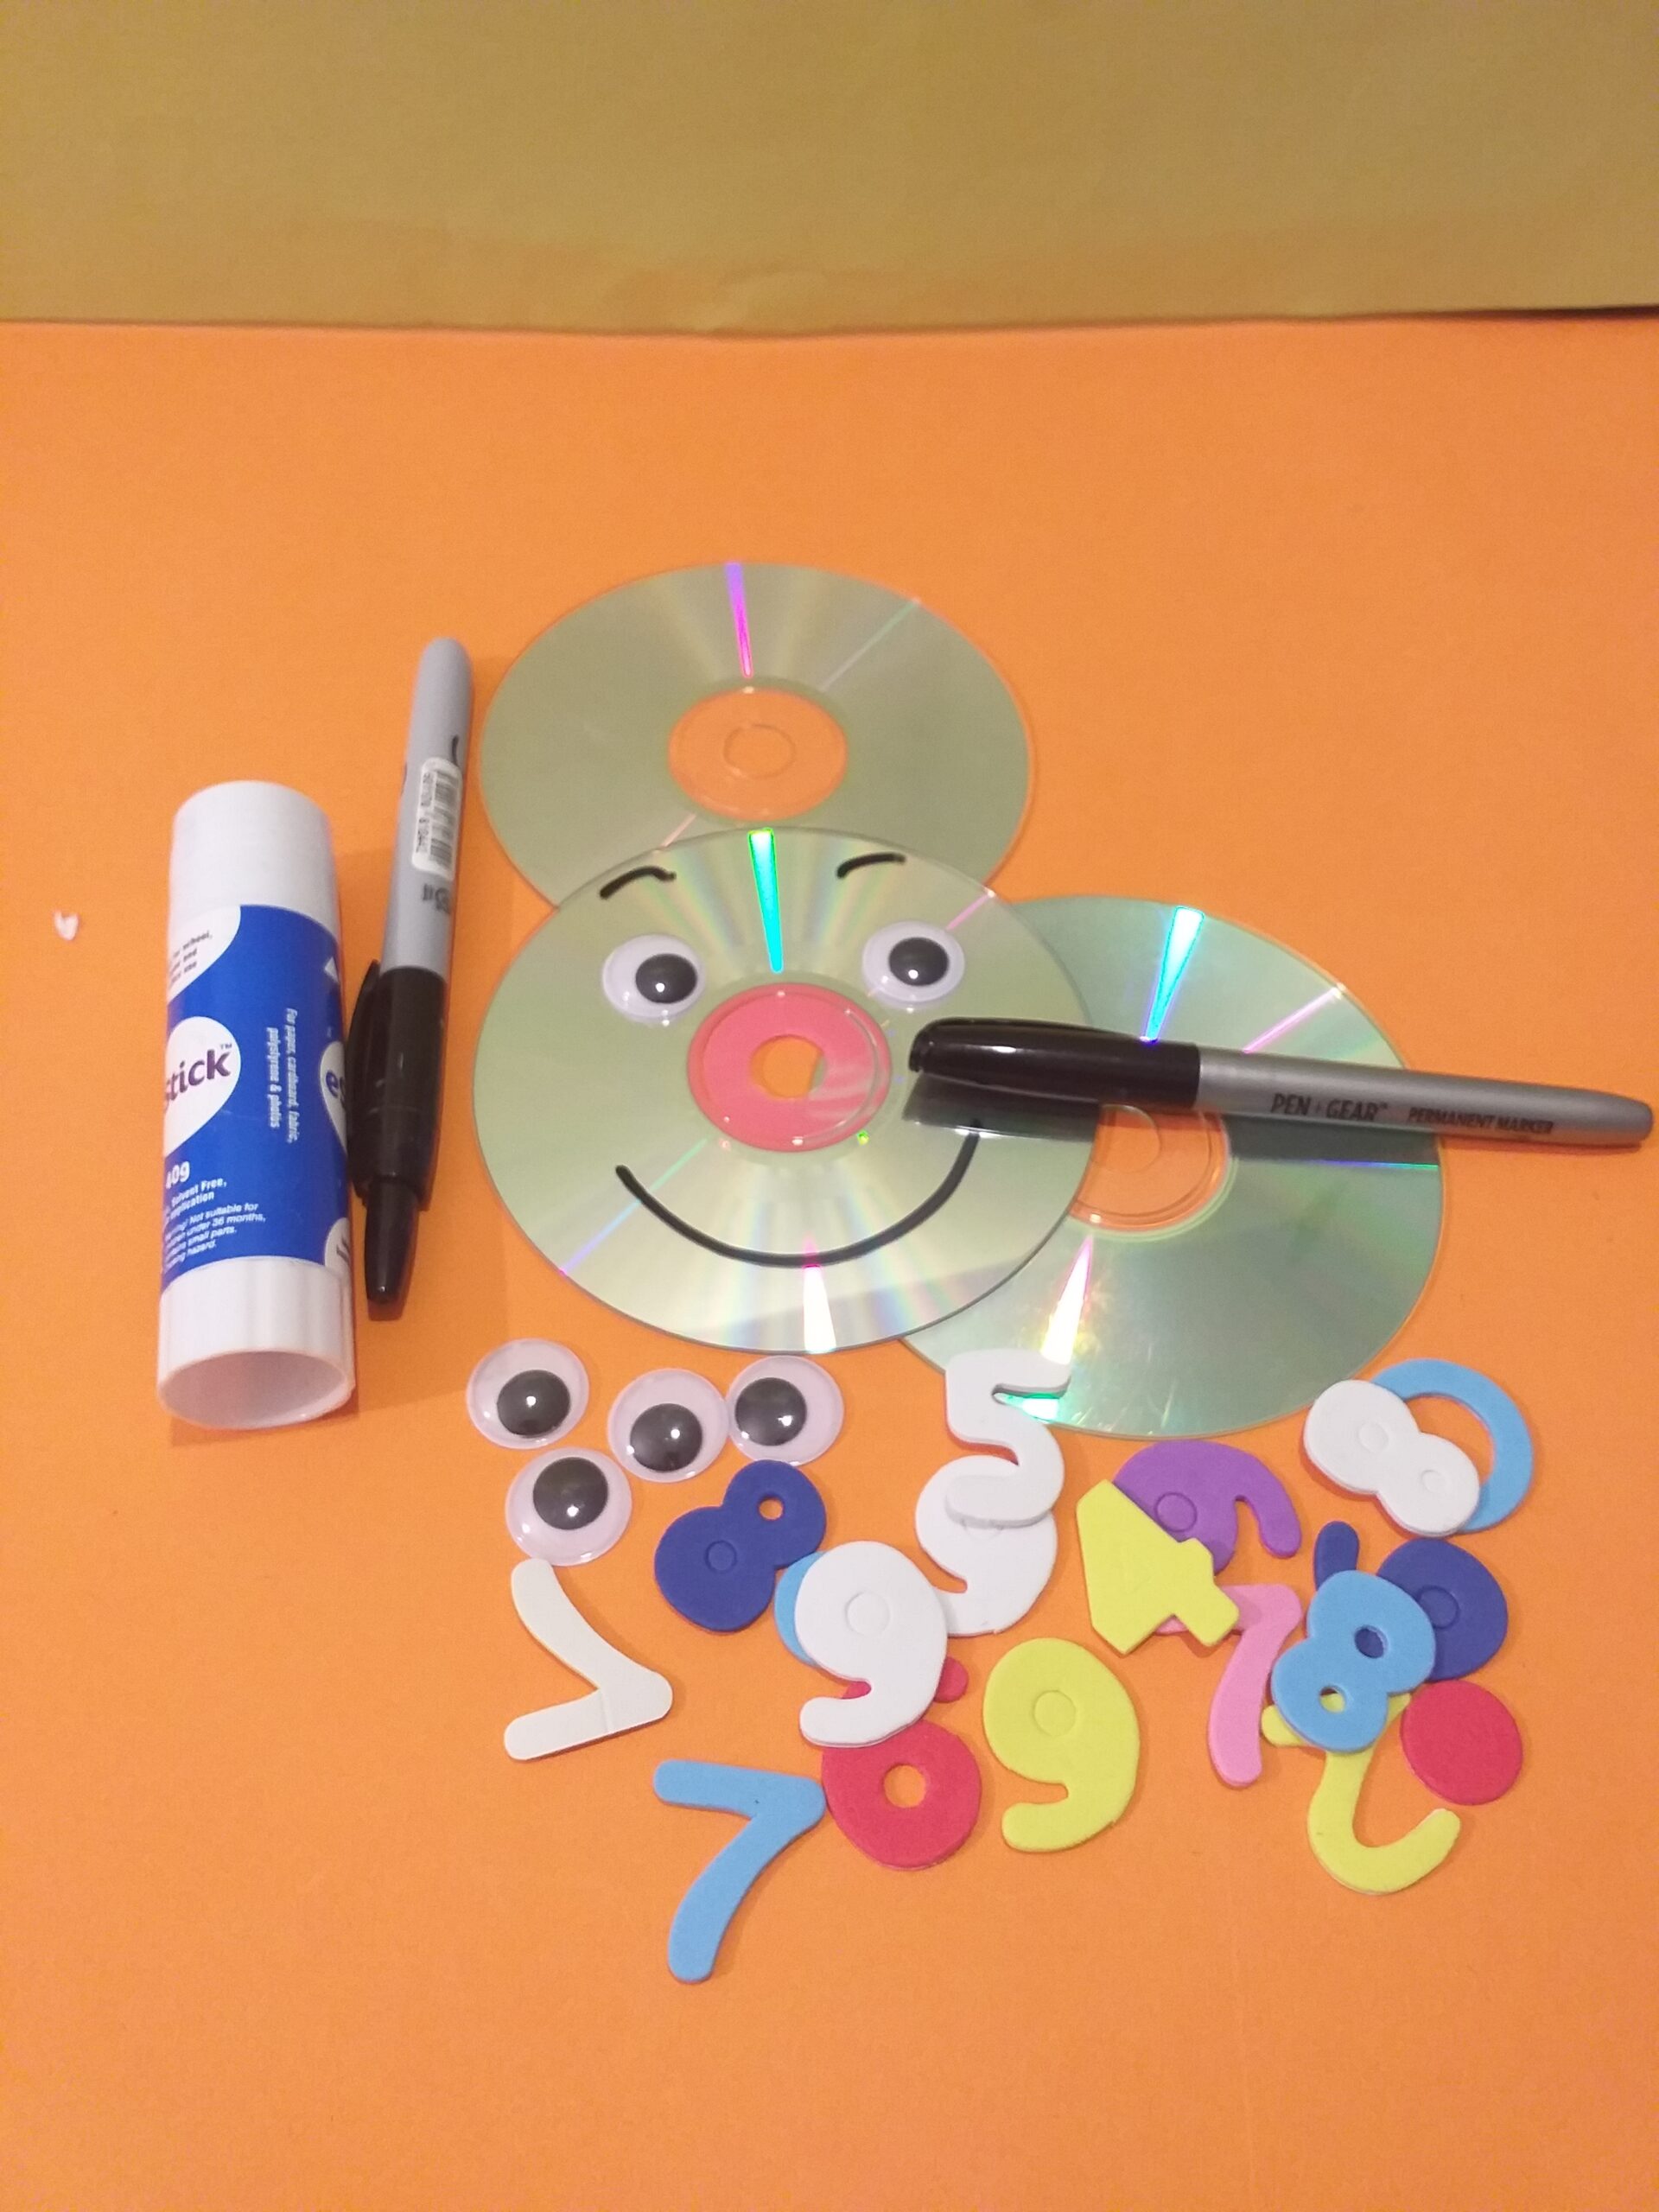
Resources!
1 box. 3 Cd’s 3 large straws. Paper to cover box. Scissors. Foam numbers. Googley eyes. Black permanent pen. Glue stick. Double sided tape. Pencil. Ruler. (Alternative, coloured permanent pens. Card to roll for poles.)
How about doing something for younger kids, that’s more interactive, fun and making use of numbers. They would be connecting and applying their decision, as well as recognising and becoming familiar with shape, form and acting on impulse.
It would be ‘where’s the number’ game and quickly looking for it and making a link. Having the hole in the Cd, can either be a hindrance or put to good use.
So in this game I have devised a very simple construction where your kid can run the Cd down a pole that has the correct number by it on the base of that pole.
What to look for.
Have a look at your throw-outs and search for packaging you can use for the base of this construction. Probably a brown box with a lid, or something similar.
Make sure it’s large enough for at least 3 to 4 Cd’s to fit on the lid and preferably with some space around each one.
Next look for large saved straws you may have used for smoothies. ( if you don’t have straws, you can roll up any card into a straw like finish so the Cd can pass down it and about the length of a typical straw) These straws will be the poles.
Now to cover the box. If you have some saved wrapping up paper you can use that. I have saved coloured cards and measured the box and cut the cards to size. I then stuck these on to the box, giving it a nice finish
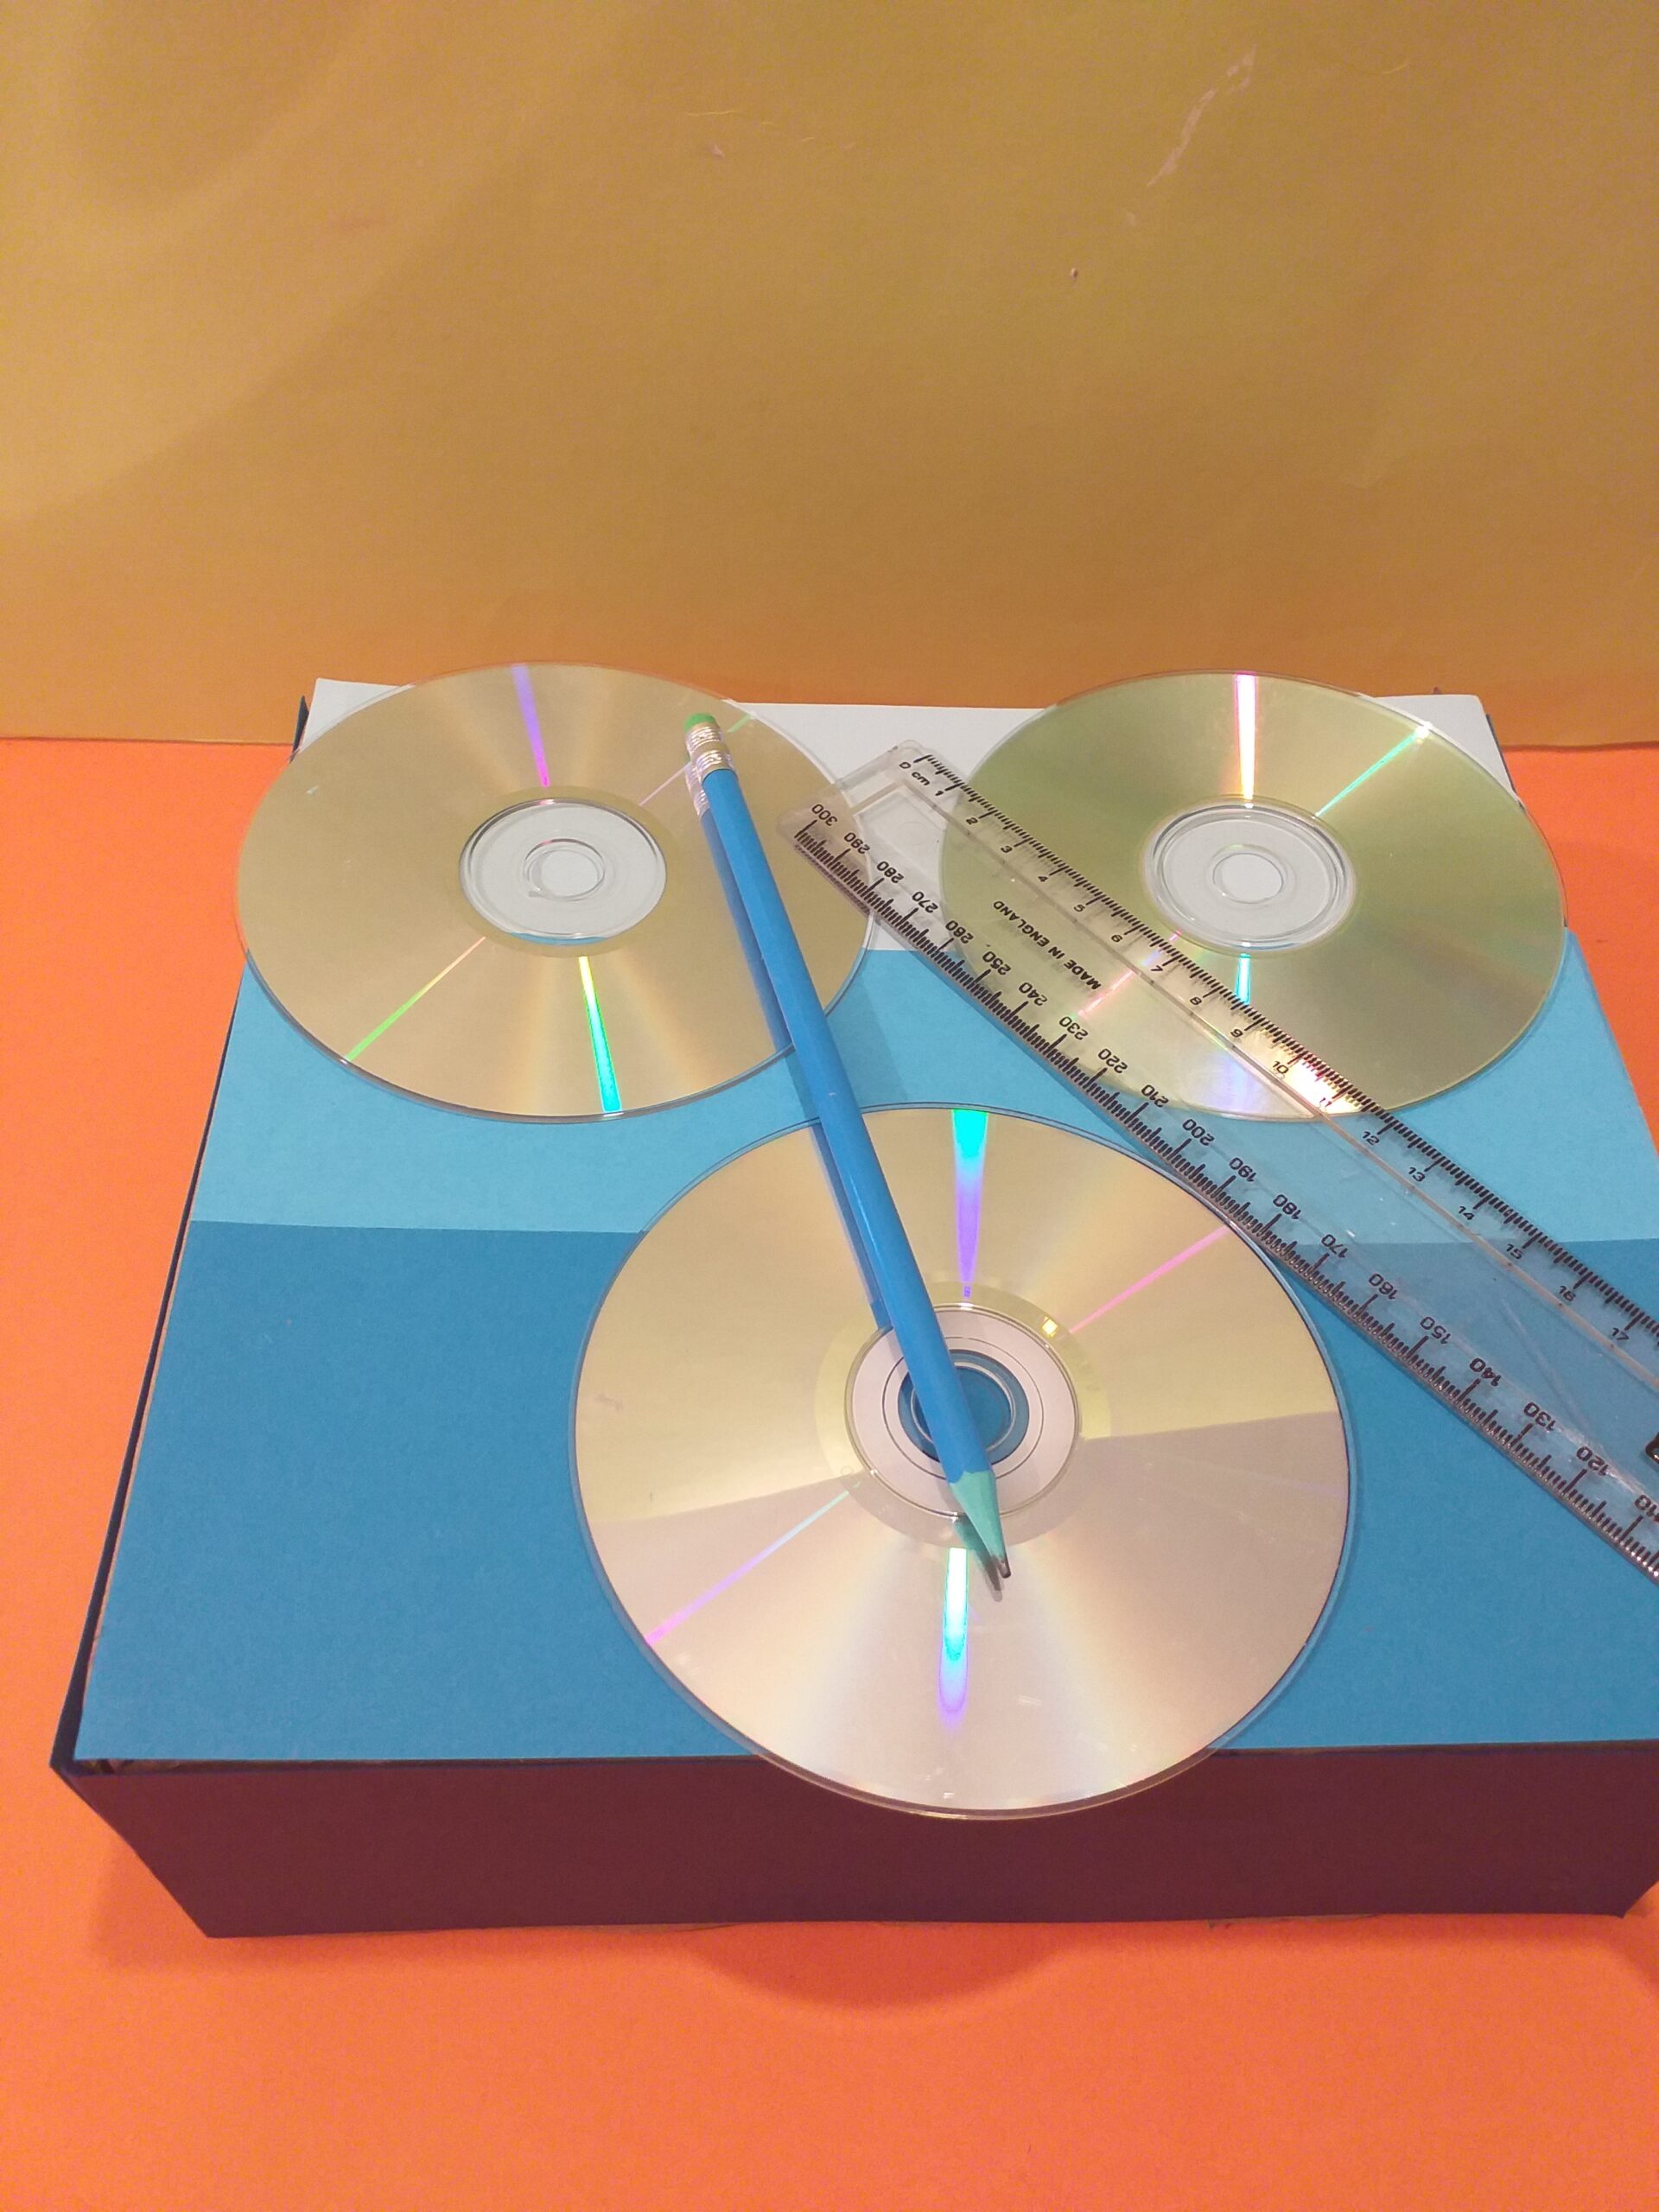
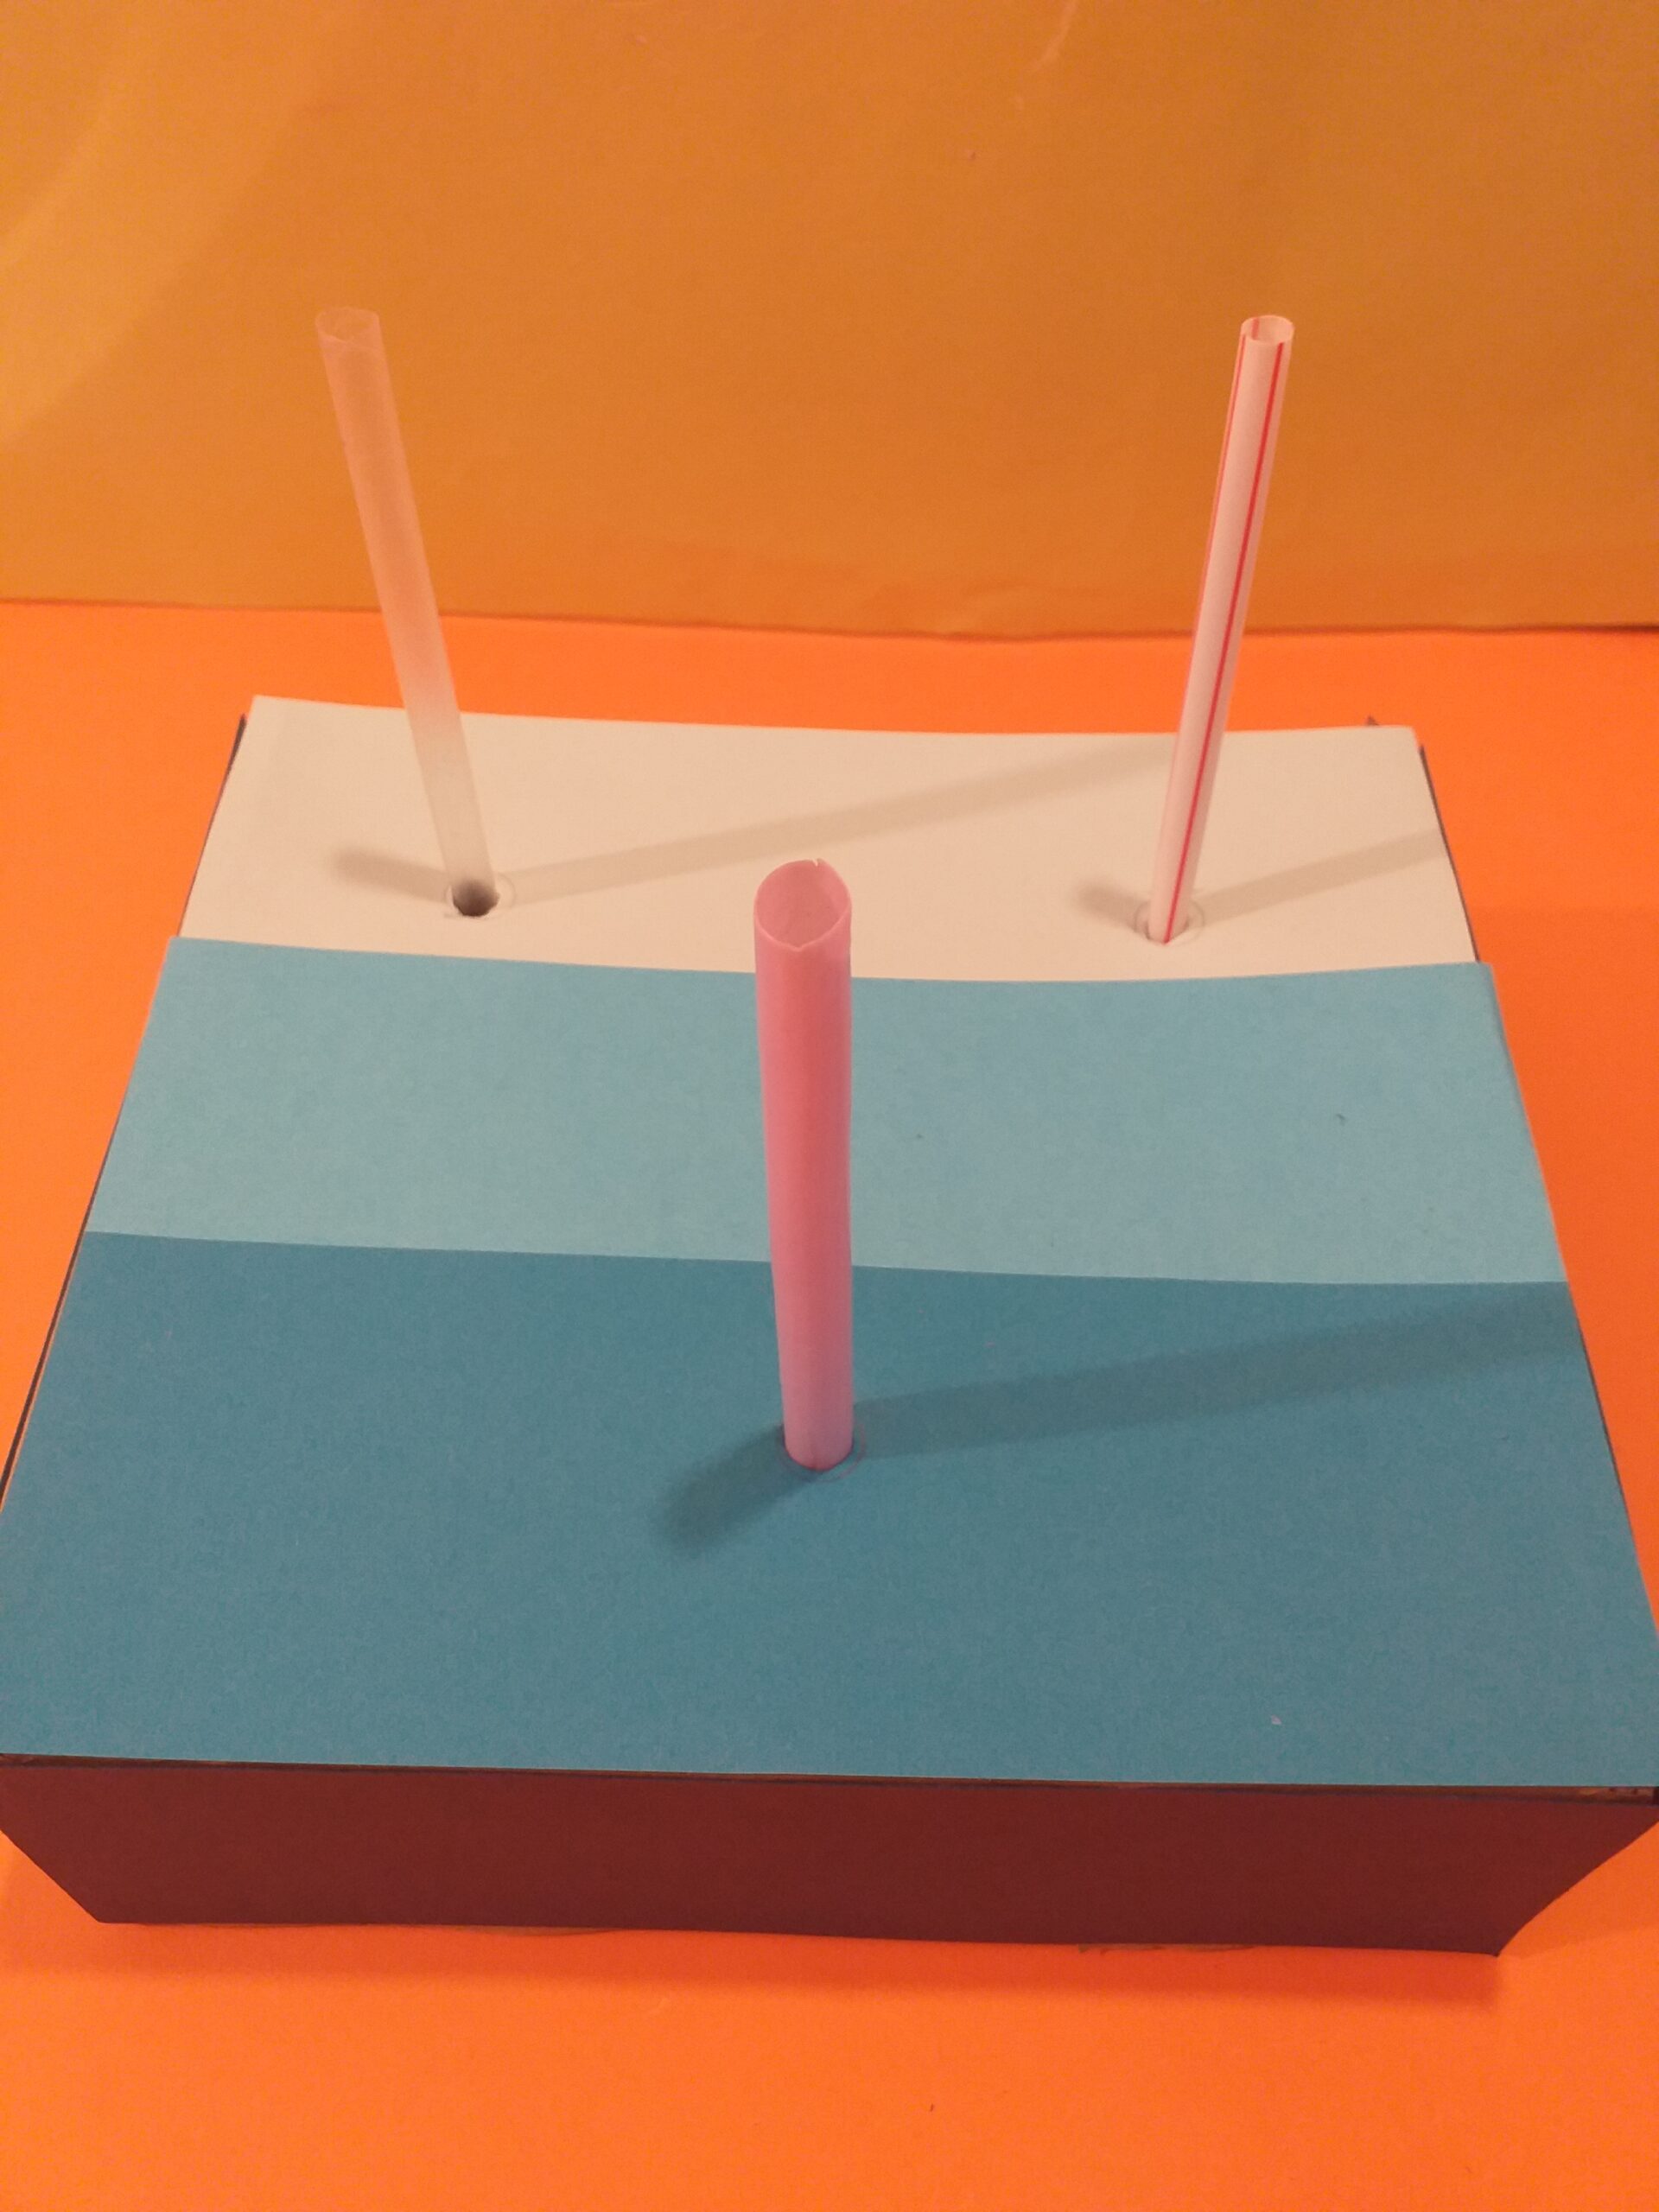
Once the box is covered, lay the Cd’s on top of the box and mark where each hole is. Double check the Cd’s don’t touch and with a scissors, pierce through the box for each Cd. Now you can push the straws into the hole.
You can change the numbers on the box to challenge the children. You can use post-its or play-dough to write or make new numbers.
Now you are ready to embellish the Cd’s!
HOW TO MAKE! Click on image to go bigger!
Gather all resources.
Position discs on box.
Mark up the holes and pierce the holes.
Push the straws through the holes.
Now you can see how it looks.
Draw mouth with black pen. Glue on foam numbers, Googley eyes.
No foam numbers, use permanent coloured pens to write numbers.
See above by resources for finished Cd game.
Let’s recap!
I have shown you 3 project aimed at younger and older kids. Of course, you can adjust them how you like. There are always old Cd’s lying around where you can recycle them into fun Emojis.
There are endless emojis you can create, with a little bit of imagination, you can have lots of fun inventing your own funny faces, I have simply paved the way and how to get going.
We all like to use Emojis when we message people, they just brighten up a message making it a bit more personal.
So let’s grab some resources, gather up your Cd’s and get sticking!!