

Here we are again, continuing with the seasonal theme.
As I have mentioned before in the previous post, ‘Autumn leaves into something crafty!’ I will show you how to make a simple creation just by using white plastic spoons!
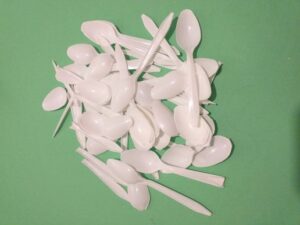
Having come across a load of plastic spoons, stored away and forgotten, they started to some what deteriorate and being that we are mainly working with recycling throw outs or re-inventing items into something else, ‘this came to mind’.
The spoon shapes naturally snapped off and they reminded me of leaves, hence trees came to mind and being its autumn, had a seasonal touch to it, so I thought hey how about making a ‘seasonal plastic spoon tree’
Our subject is Seasons and seasons remind me of changing trees as we move through the months. You may ask, but the spoons are white, they aren’t in colour how are we going to get around that?
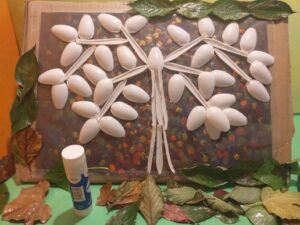
Well you provide a background that portrays the seasons. Here we will use loads of coloured dots reflecting the atmosphere of that particular season.
This is a bit like the work of the artist George Seurat back in the early 1900’s whose work was on ‘POINTILLISM’ a technique used by applying two distinct colours in a dot form close to each other, they would blend together giving the illusion of another colour.
(below are 2 examples of Surat’s work.)
In this project we are looking at something similar, where dots are scattered randomly on a black background that will give the feel and texture that will capture that particular season.
For example, Spring I visualise, loads of pink and white dots. Summer, orange, yellow and green dots. Autumn, browns, rust, gold and red dots and Winter, shades of blue and white dots.
Do you see where I am coming from?
THIS IS WHAT WE DO!
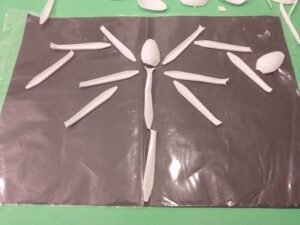
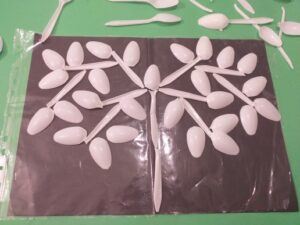
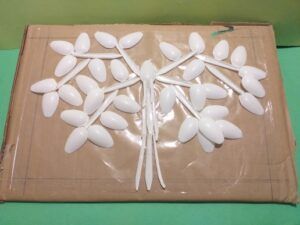
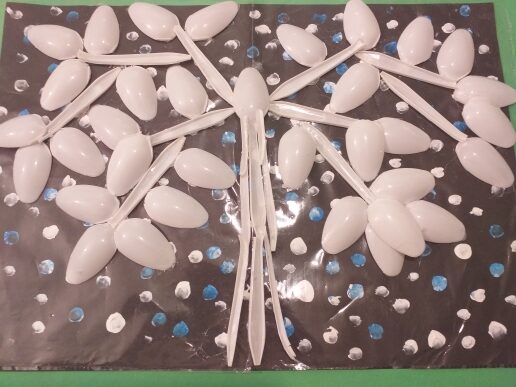
Easy, with the white spoons you simply lay down the arms of the spoons to represent the branches of the tree and the spoon shape will be the leaves.
Once you have decided how the tree will look, you will need to do some gluing.
RESOURCES!
- Approx. 35 white plastic tea-spoons
- 1 A4 plastic wallet sleeve. (cut open into an A3 size) or A3 acetate sheet.
- 4 A3 black card.
- Hot wax.
- Acrylic paints, pink, white, shades of blue, browns, reds, greens, oranges yellow etc.
- A selection of garden leaves.
- PVA glue.
- A large piece of card bigger than A3. (to attache artwork on as a base.)
- Your fingers! (to do all the dots with.)
CLICK PICS TO GO BIG!
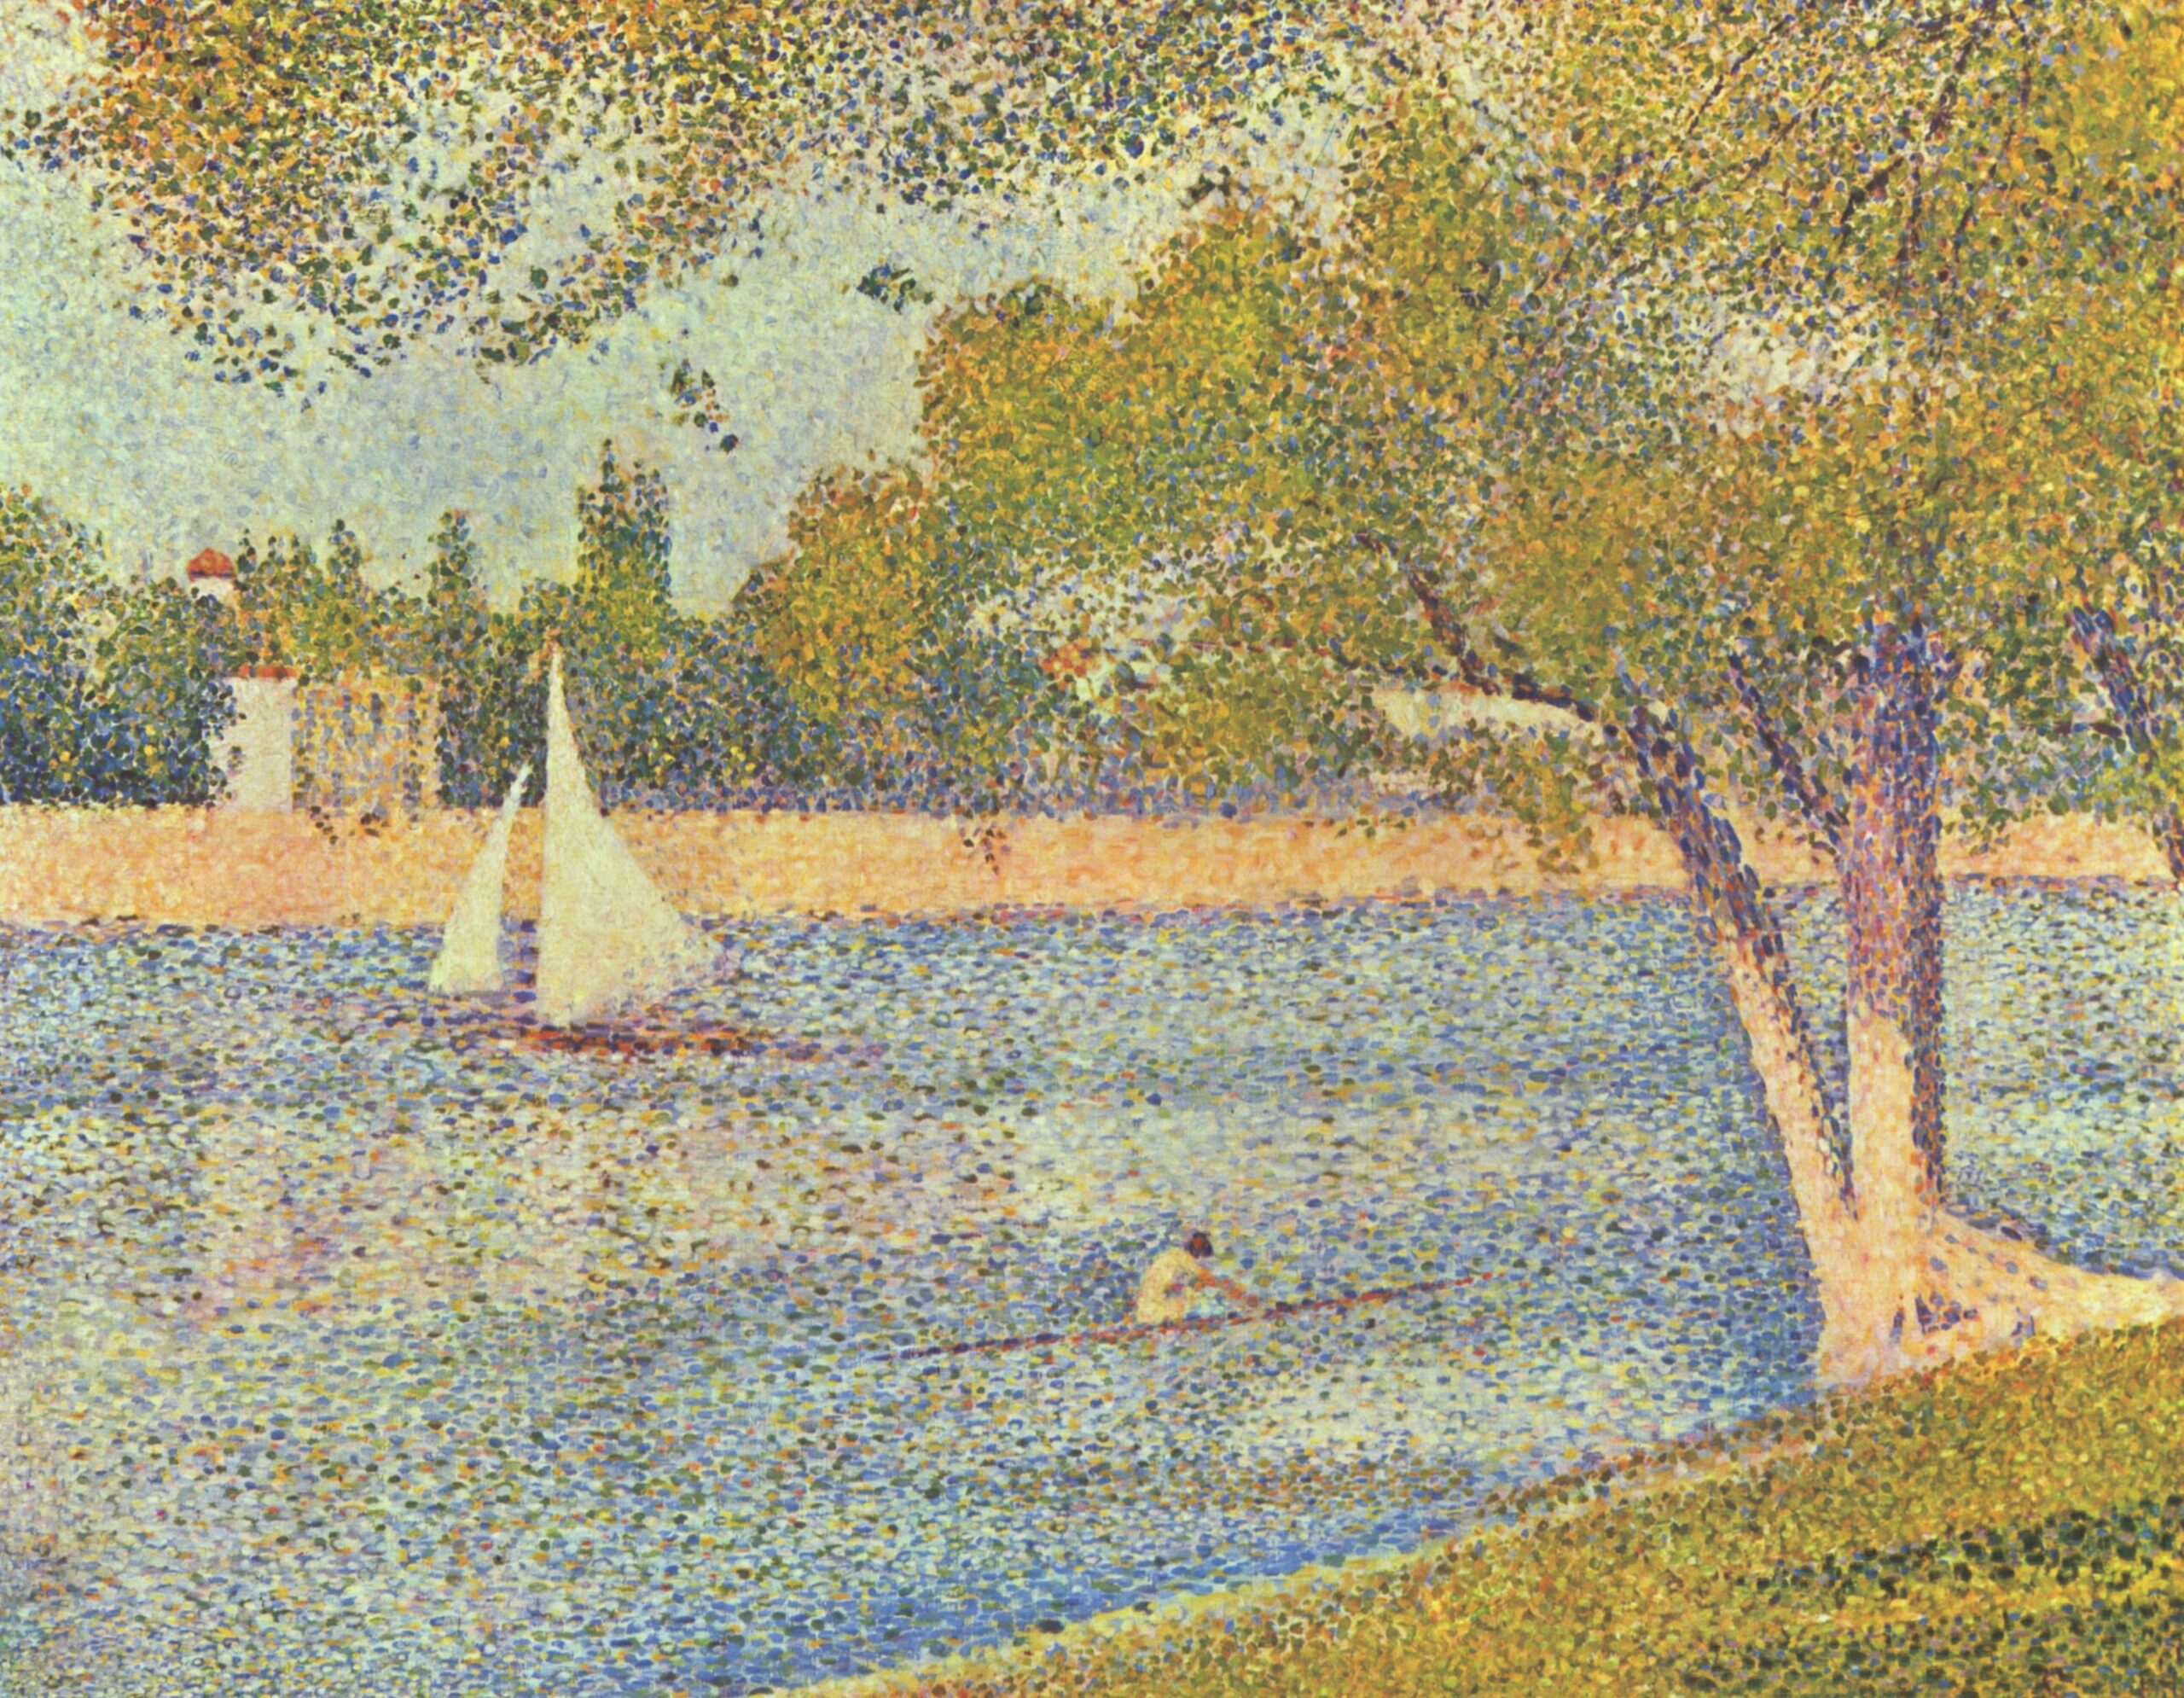
PAINTINGS BY GEORGE SEURAT
The Seine and la Grande Jaffe. Springtime 1888.

The Eiffel tower 1889 California palace of the legion of honor. San Francisco.
These are 2 of Seurat’s painting showing POINTILLISM. These paintings depict the colourful dots as an expression of atmosphere. Blending colour and creating a beautiful scenes.
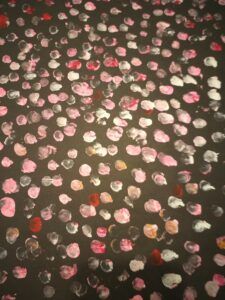
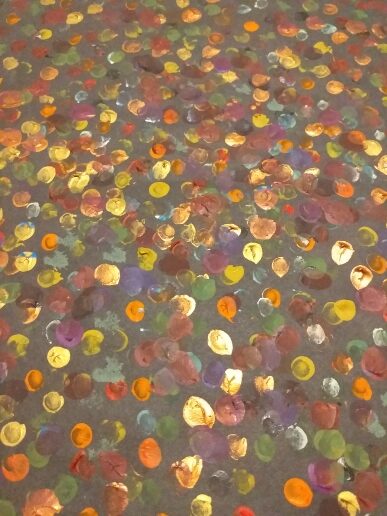
START OFF WITH THE 4 SEASONS.
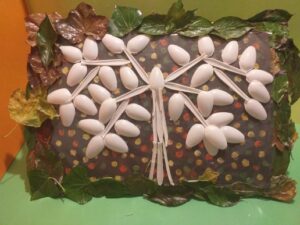
Here are 4 examples of the 4 seasons. Spring, Summer, Autumn and Winter. As you can see I have used coloured dots to depict the seasons that represent to me those seasons.
I used my fingers dipped in the appropriate colour and dotted randomly all around the black sugar paper until it covered it.
These will be the backing to the ‘seasonal plastic spoon tree’ which can be changed accordingly as you will see in the demo below.
LET’S GET GOING!


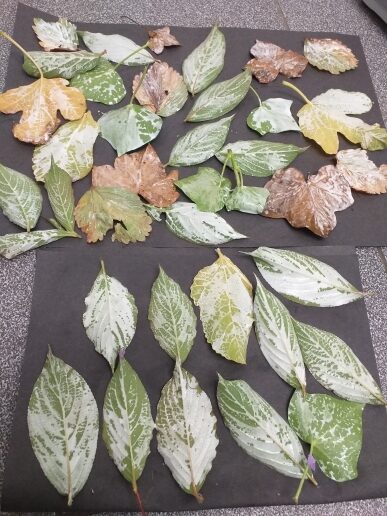
Gather all your leaves and carefully coat them with PVA glue and leave overnight to dry. They will finish up with a sheen coating. These will be next stuck around your image with hot wax for effect.
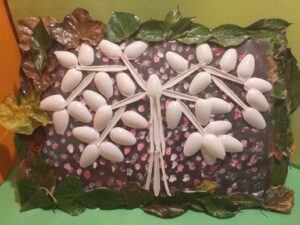
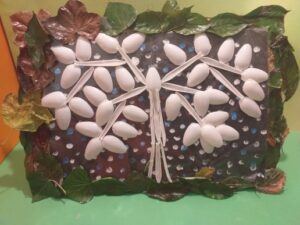
Here are a couple of finished examples. A winter scene without the leaf surrounds and a spring effect with leaf surround.

TIPS.
- Having worked on this project I found it would be better to use black card instead of black sugar paper, as this would be less flexible and much more easier to slide under plastic.
- I used a plastic sleeve which I had on hand. This is then cut and opened up to make A3.
- If you are able to get hold of clear acetate A3 size which will be tougher surface to work on and more see-through.
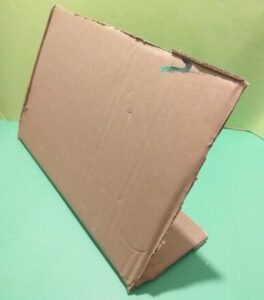
- Find cardboard packaging which will accommodate an A3 size image and fold over so you have a bottom flap to help stand up.
- If you have a laminating machine you could laminate the leaves, cut them out and stick them on, these will be much more lasting and hold shape and colour longer.
- If you do not want to use leaves, you could trace around different leaves and have kids colour them in, cut out and stick them instead.
- Alternatively you can access a printable from twinkl.co.uk:- copy link below.
- https://www.twinkl.co.uk/resource/t-m-247-editable-autumn-leaves-
So there you have it. A bit tricky to make, but quite challenging and quite satisfying when it’s completed.
Take your time and don’t rush it. Work with your child and help with the hot glue gun.
TO CONCLUDE
In this project our chosen subject is Autumn and how you can depict it using old plastic spoons, in a way to create a tree and demonstrate not only Autumn, but also the changing seasons.
Also using resources you may already have, as well as having an adventure out doors, gathering leaves for the final touches, providing texture and effect to your final piece of artwork.
Enjoy!
ADDED NOTE!
Let us know how it goes, I would love to see what you or your kids create. I had old plastic spoons which I used up in a creative way, if you don’t have any hanging around, these are quite reasonable to purchase any supermarket would stock them, or a caterers outlet.
For the younger kids, you need only do 1 season and just stick the spoons directly on the chosen dotted paper, rather than fussing around changing the different seasons.
If you have any questions please feel free to drop me a line, I would be more that glad to help!
So let’s get crafting!