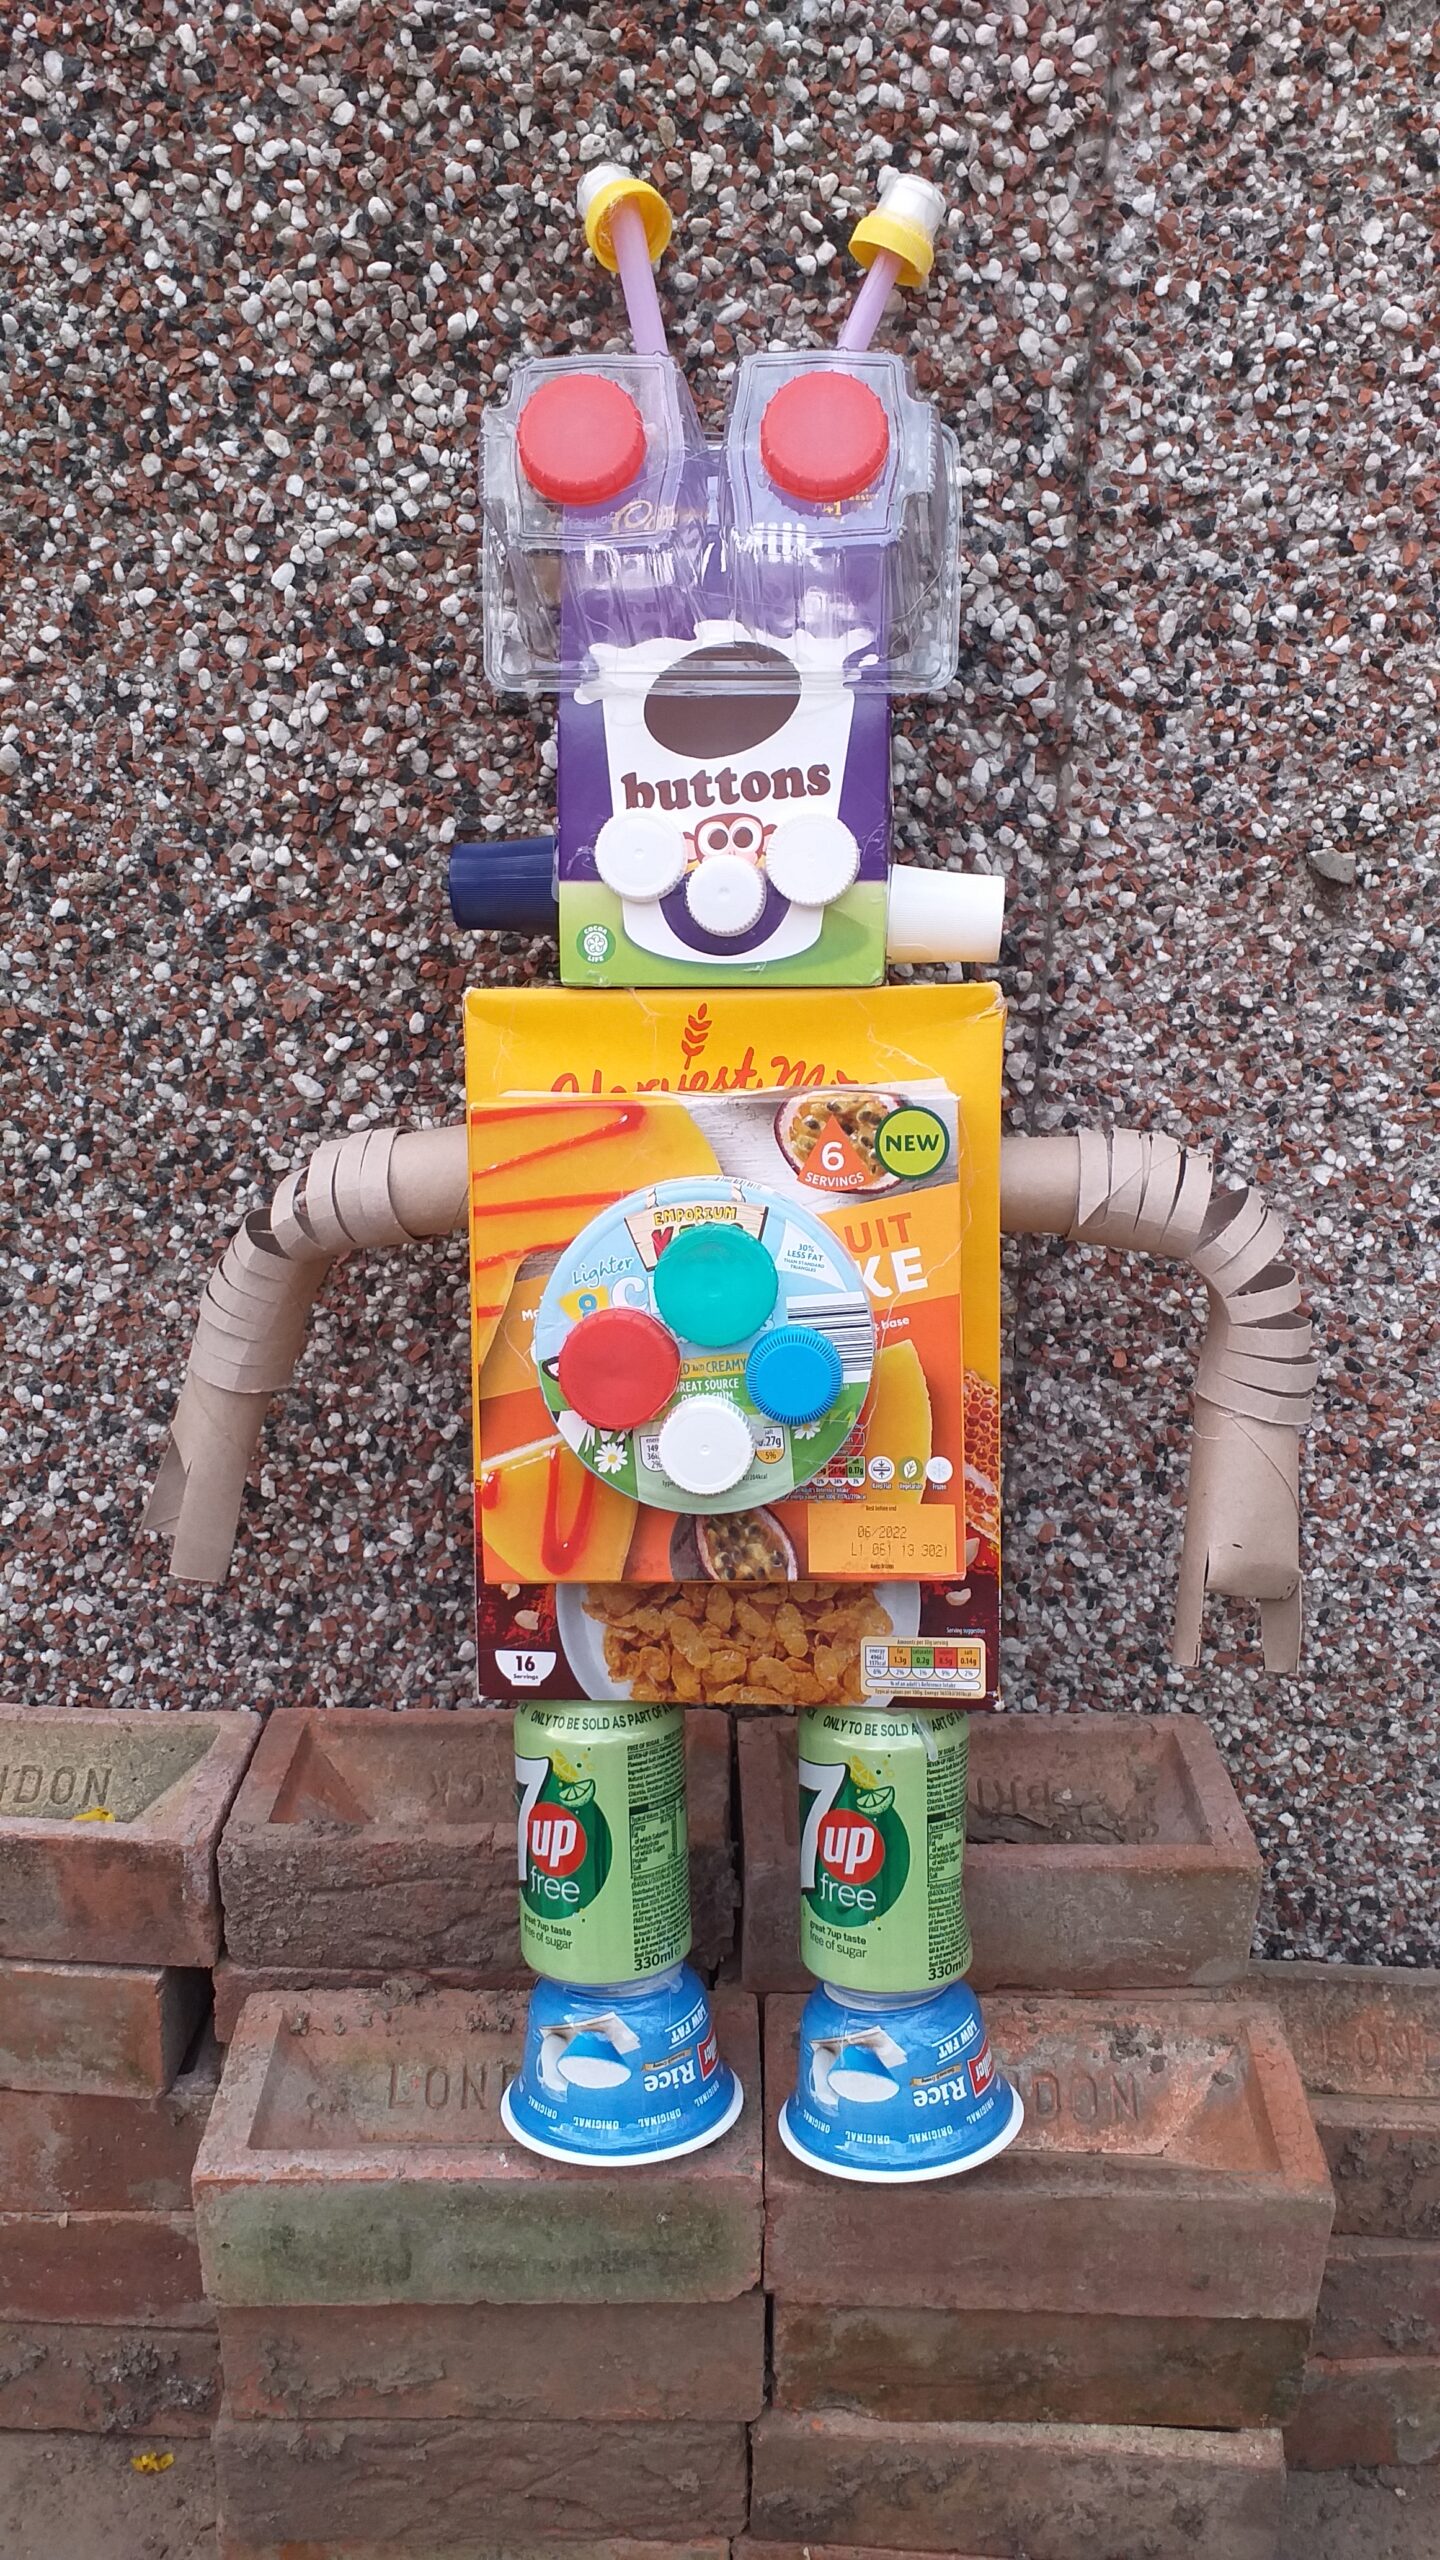
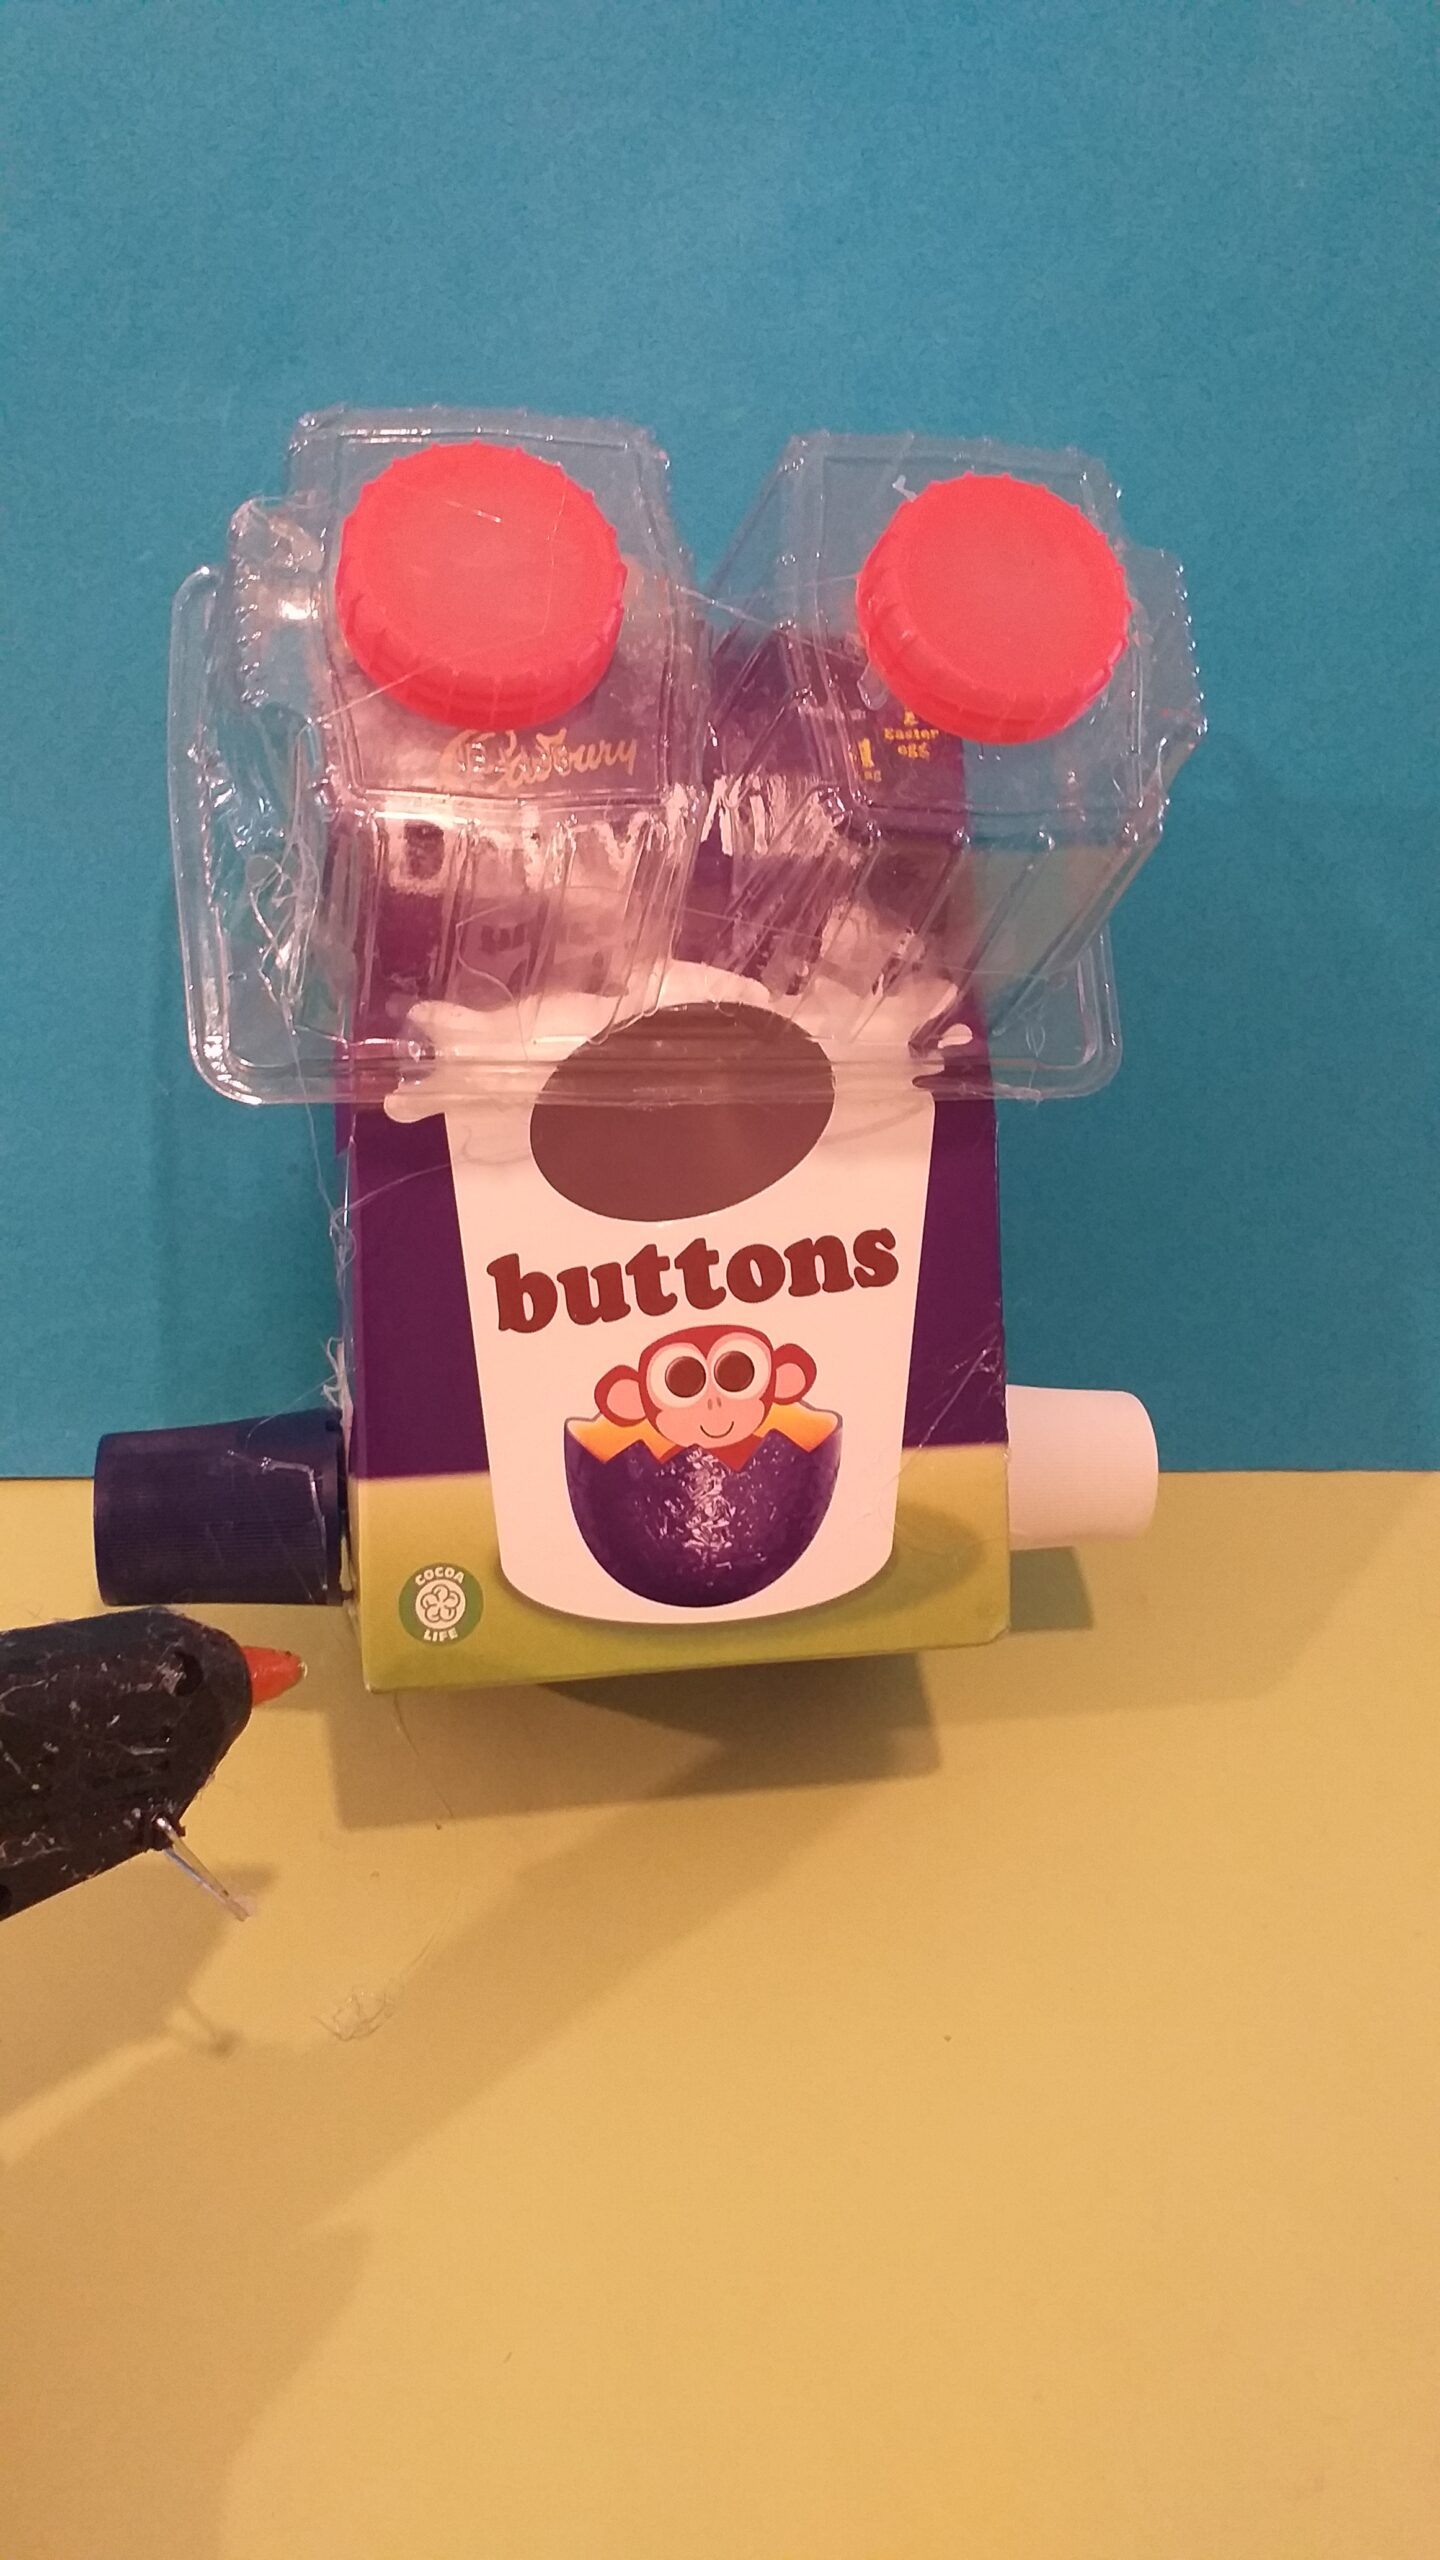
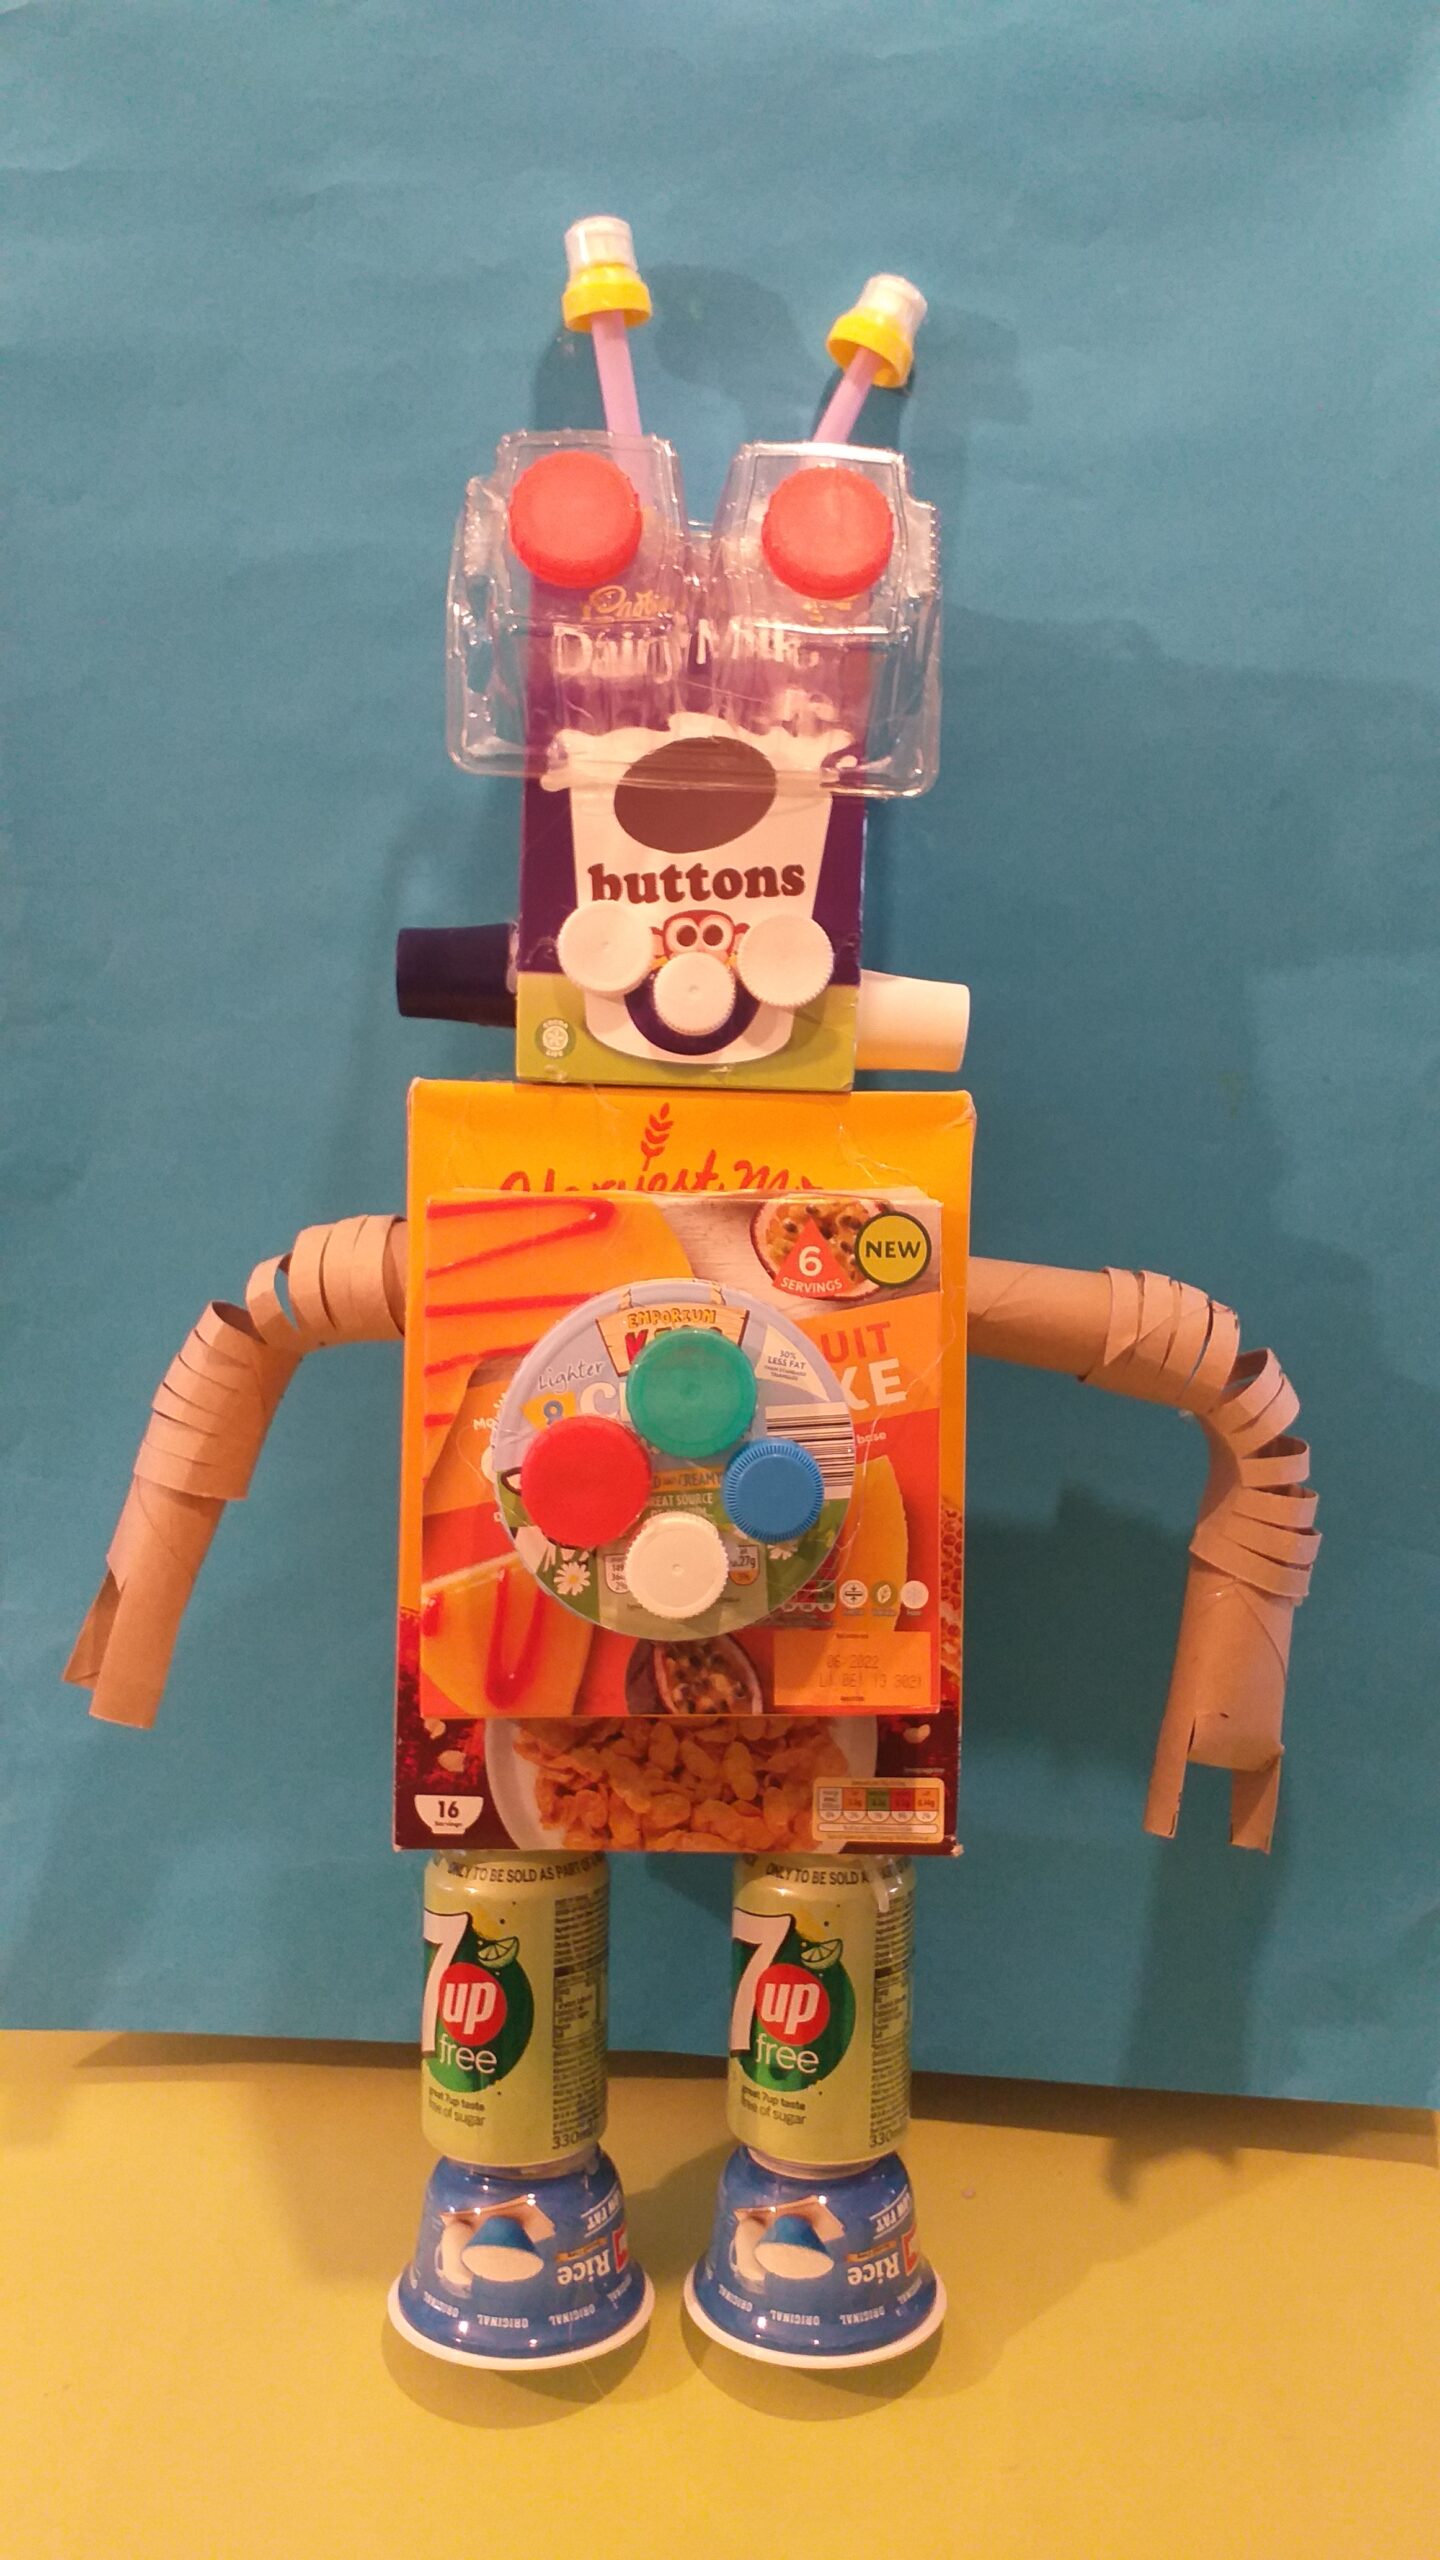
There is no guessing here what this is, such a brilliant way to get your kids enthusiastic about creating their very own Recycled Robot for kids!
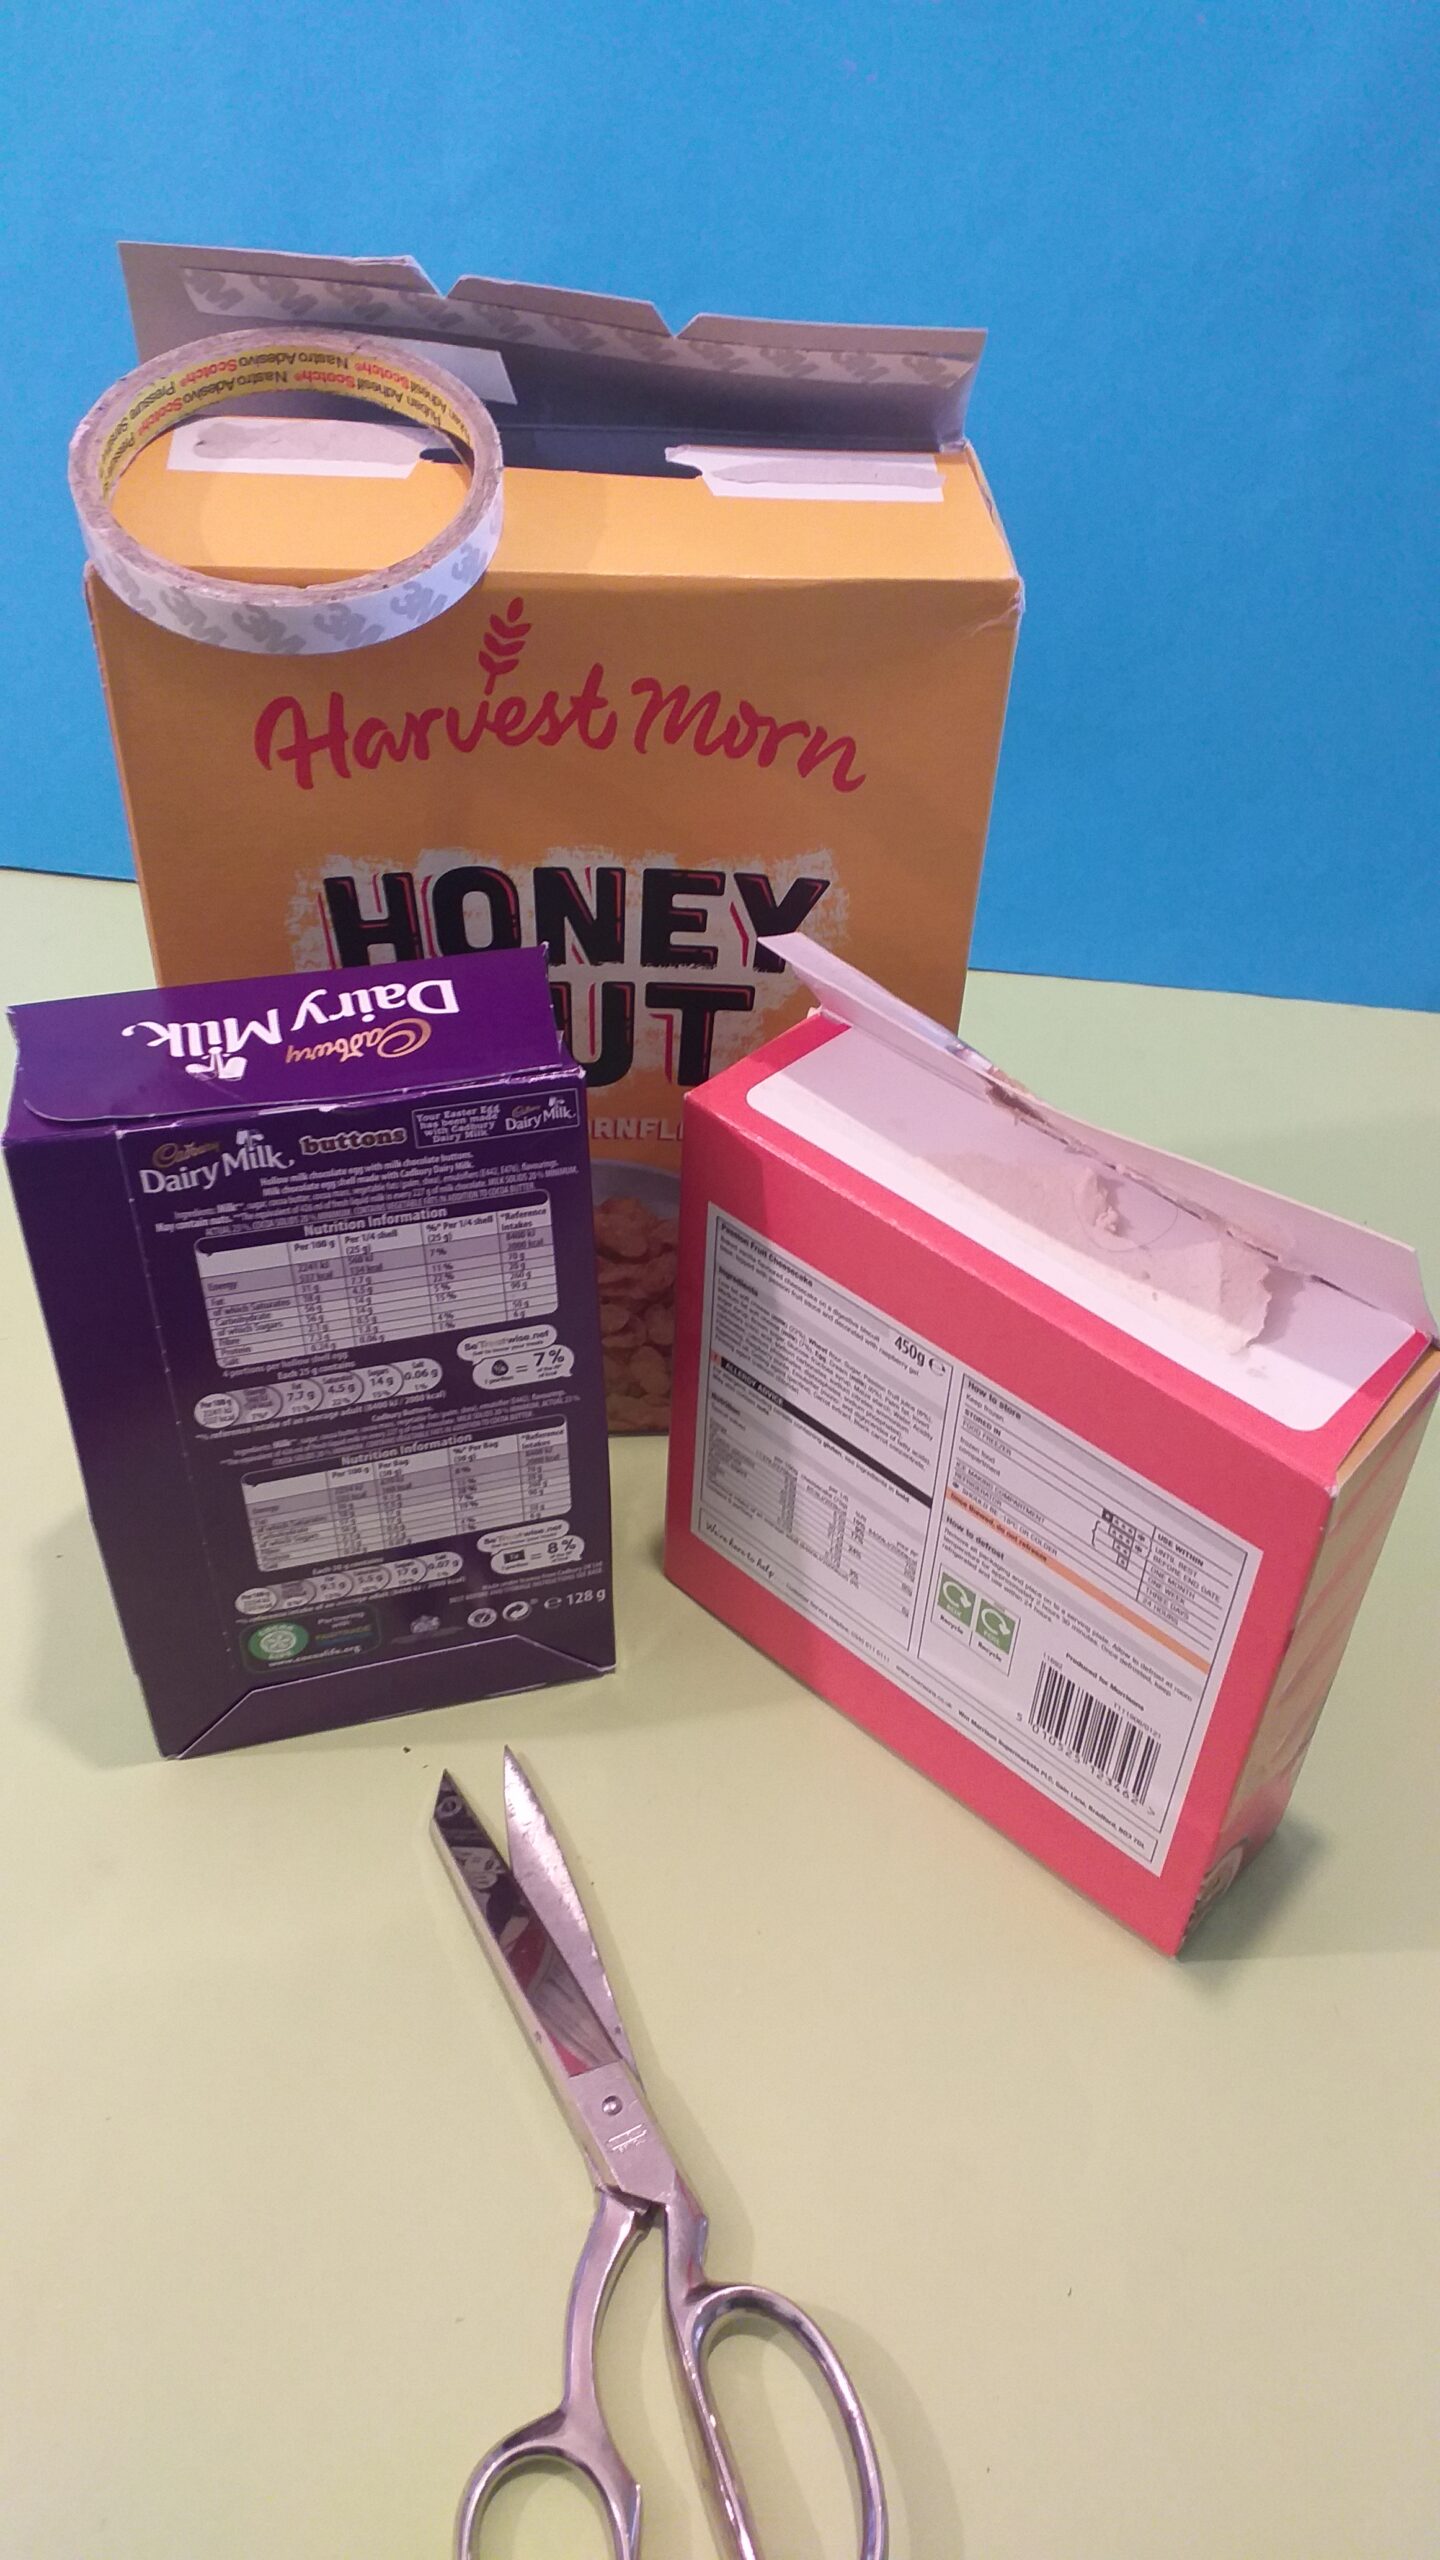
CHECK YOUR RUBBISH!
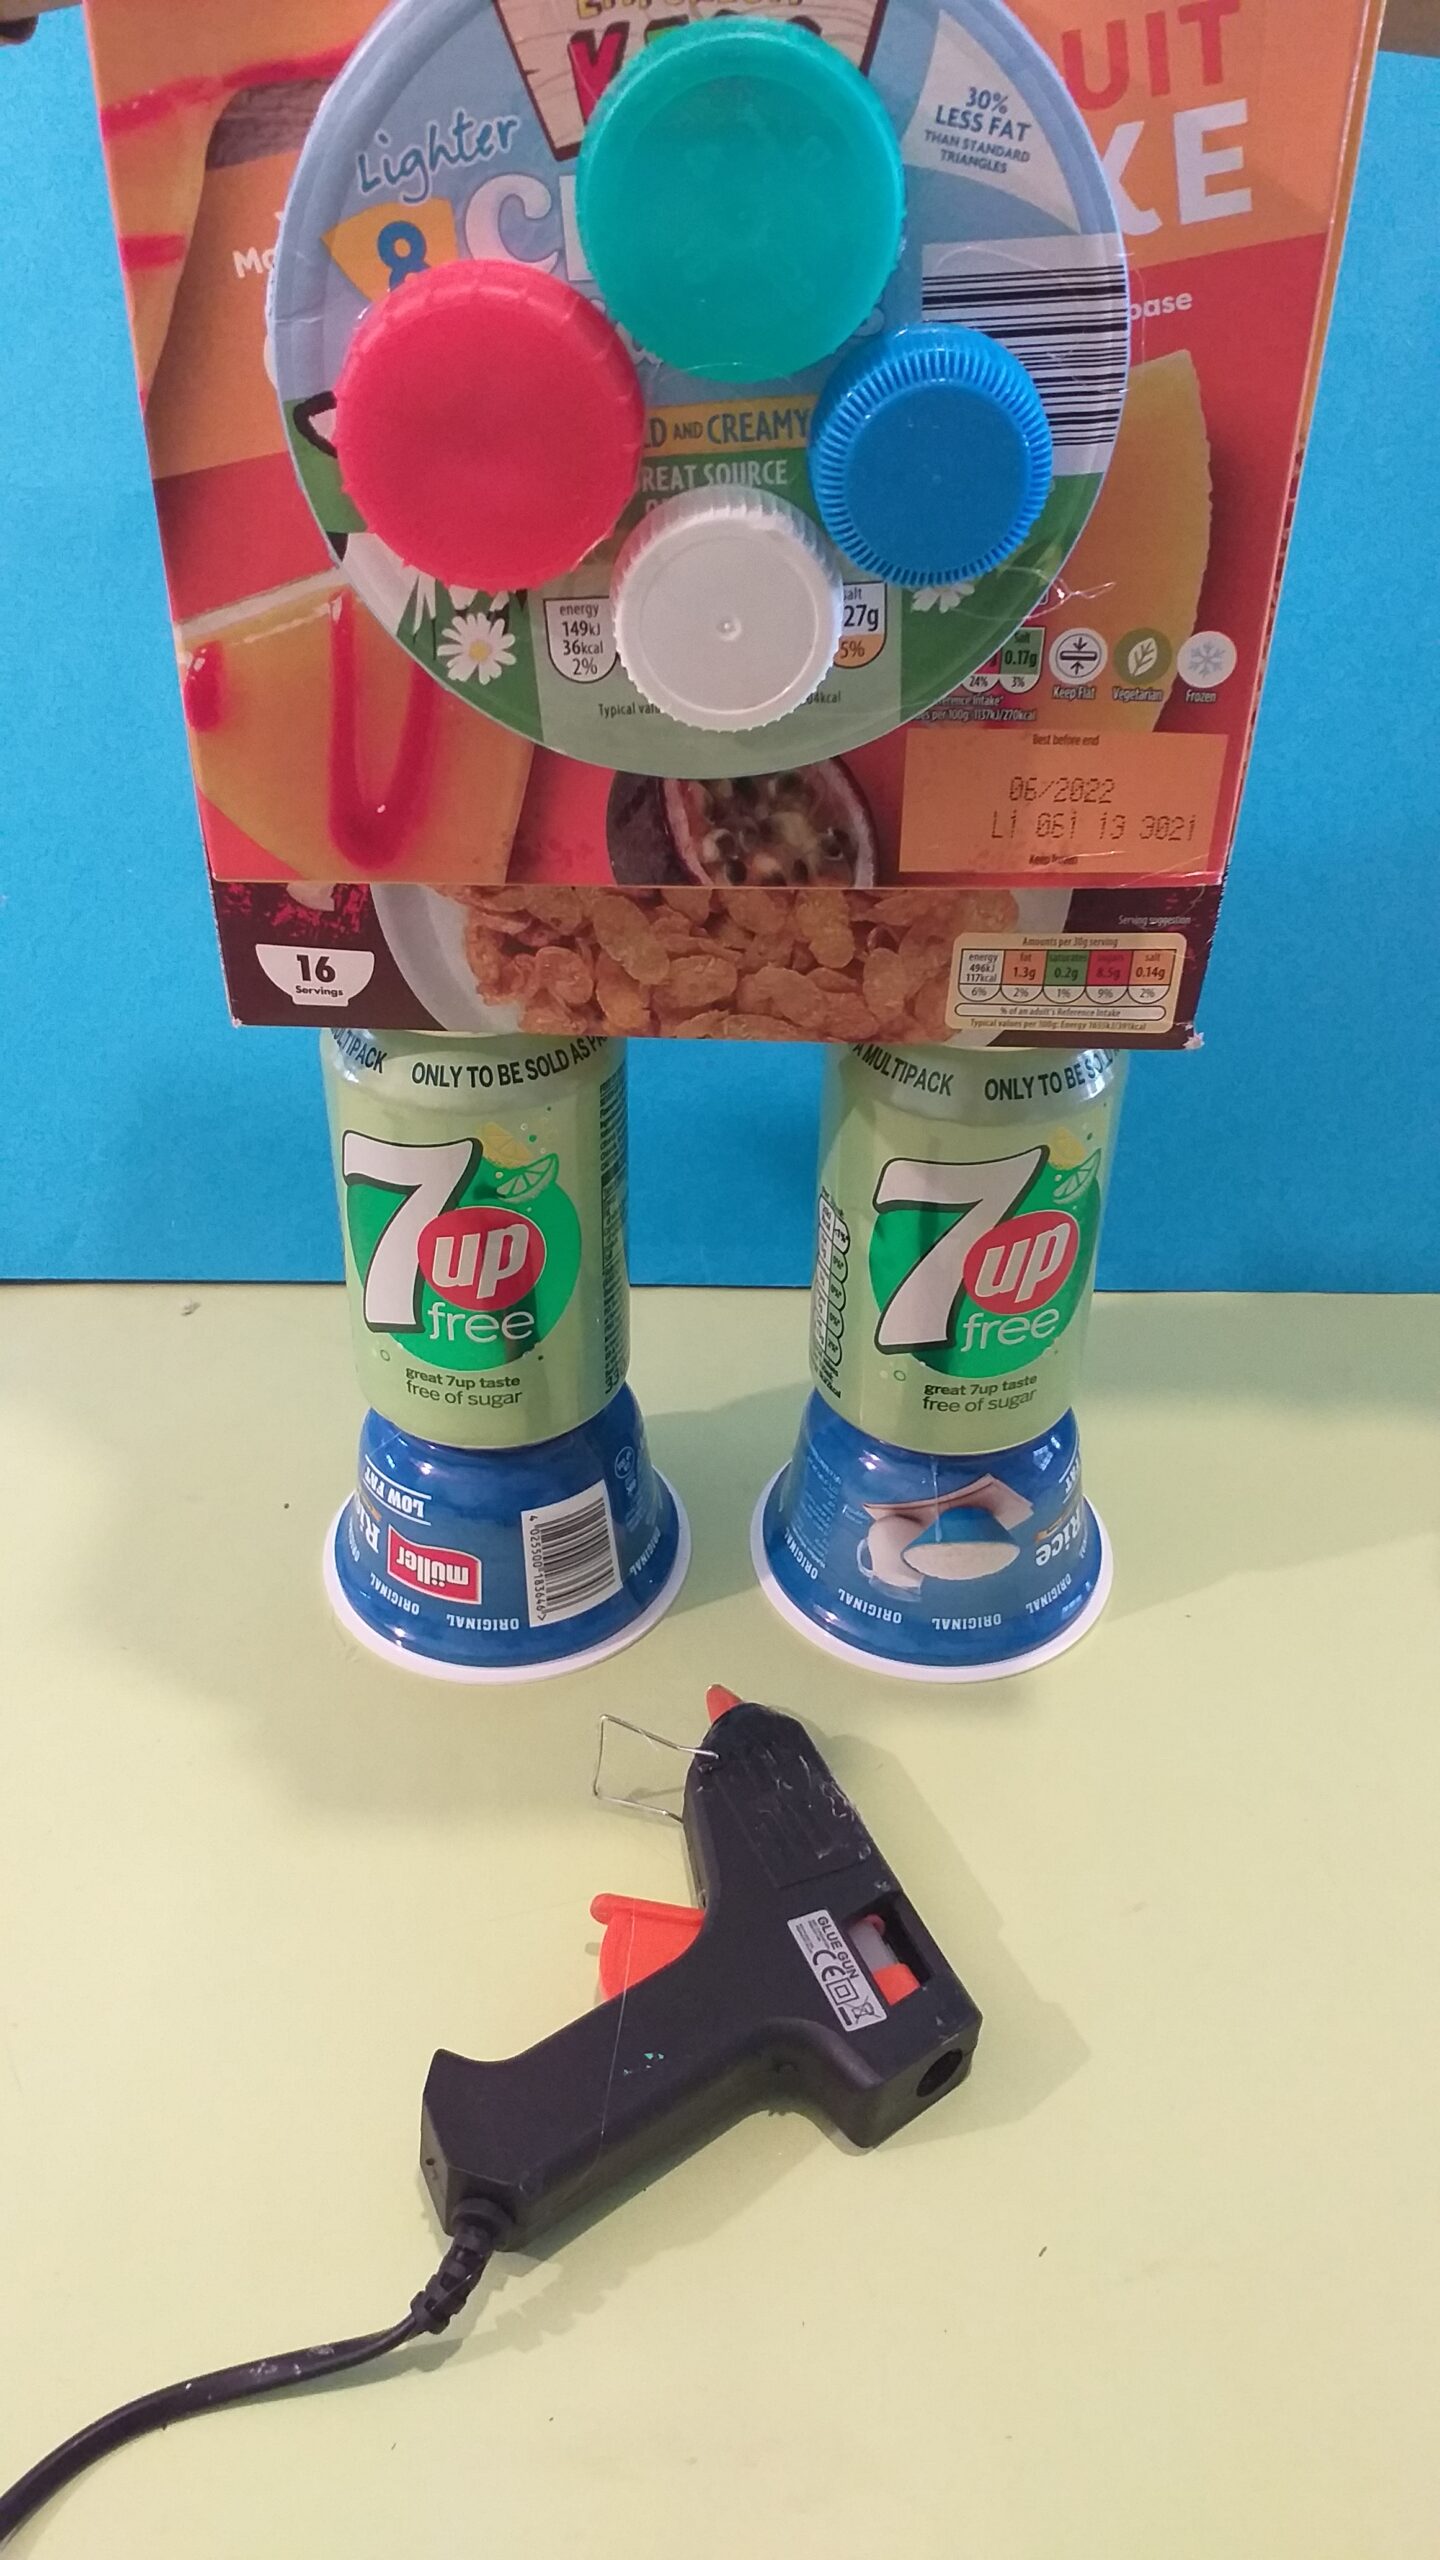
This is an opportunity to get them involved in collecting everything they can find in the recycling bag to convert into a ‘Rubbish’ or ‘Junk’ Robot!
WHAT KIND?
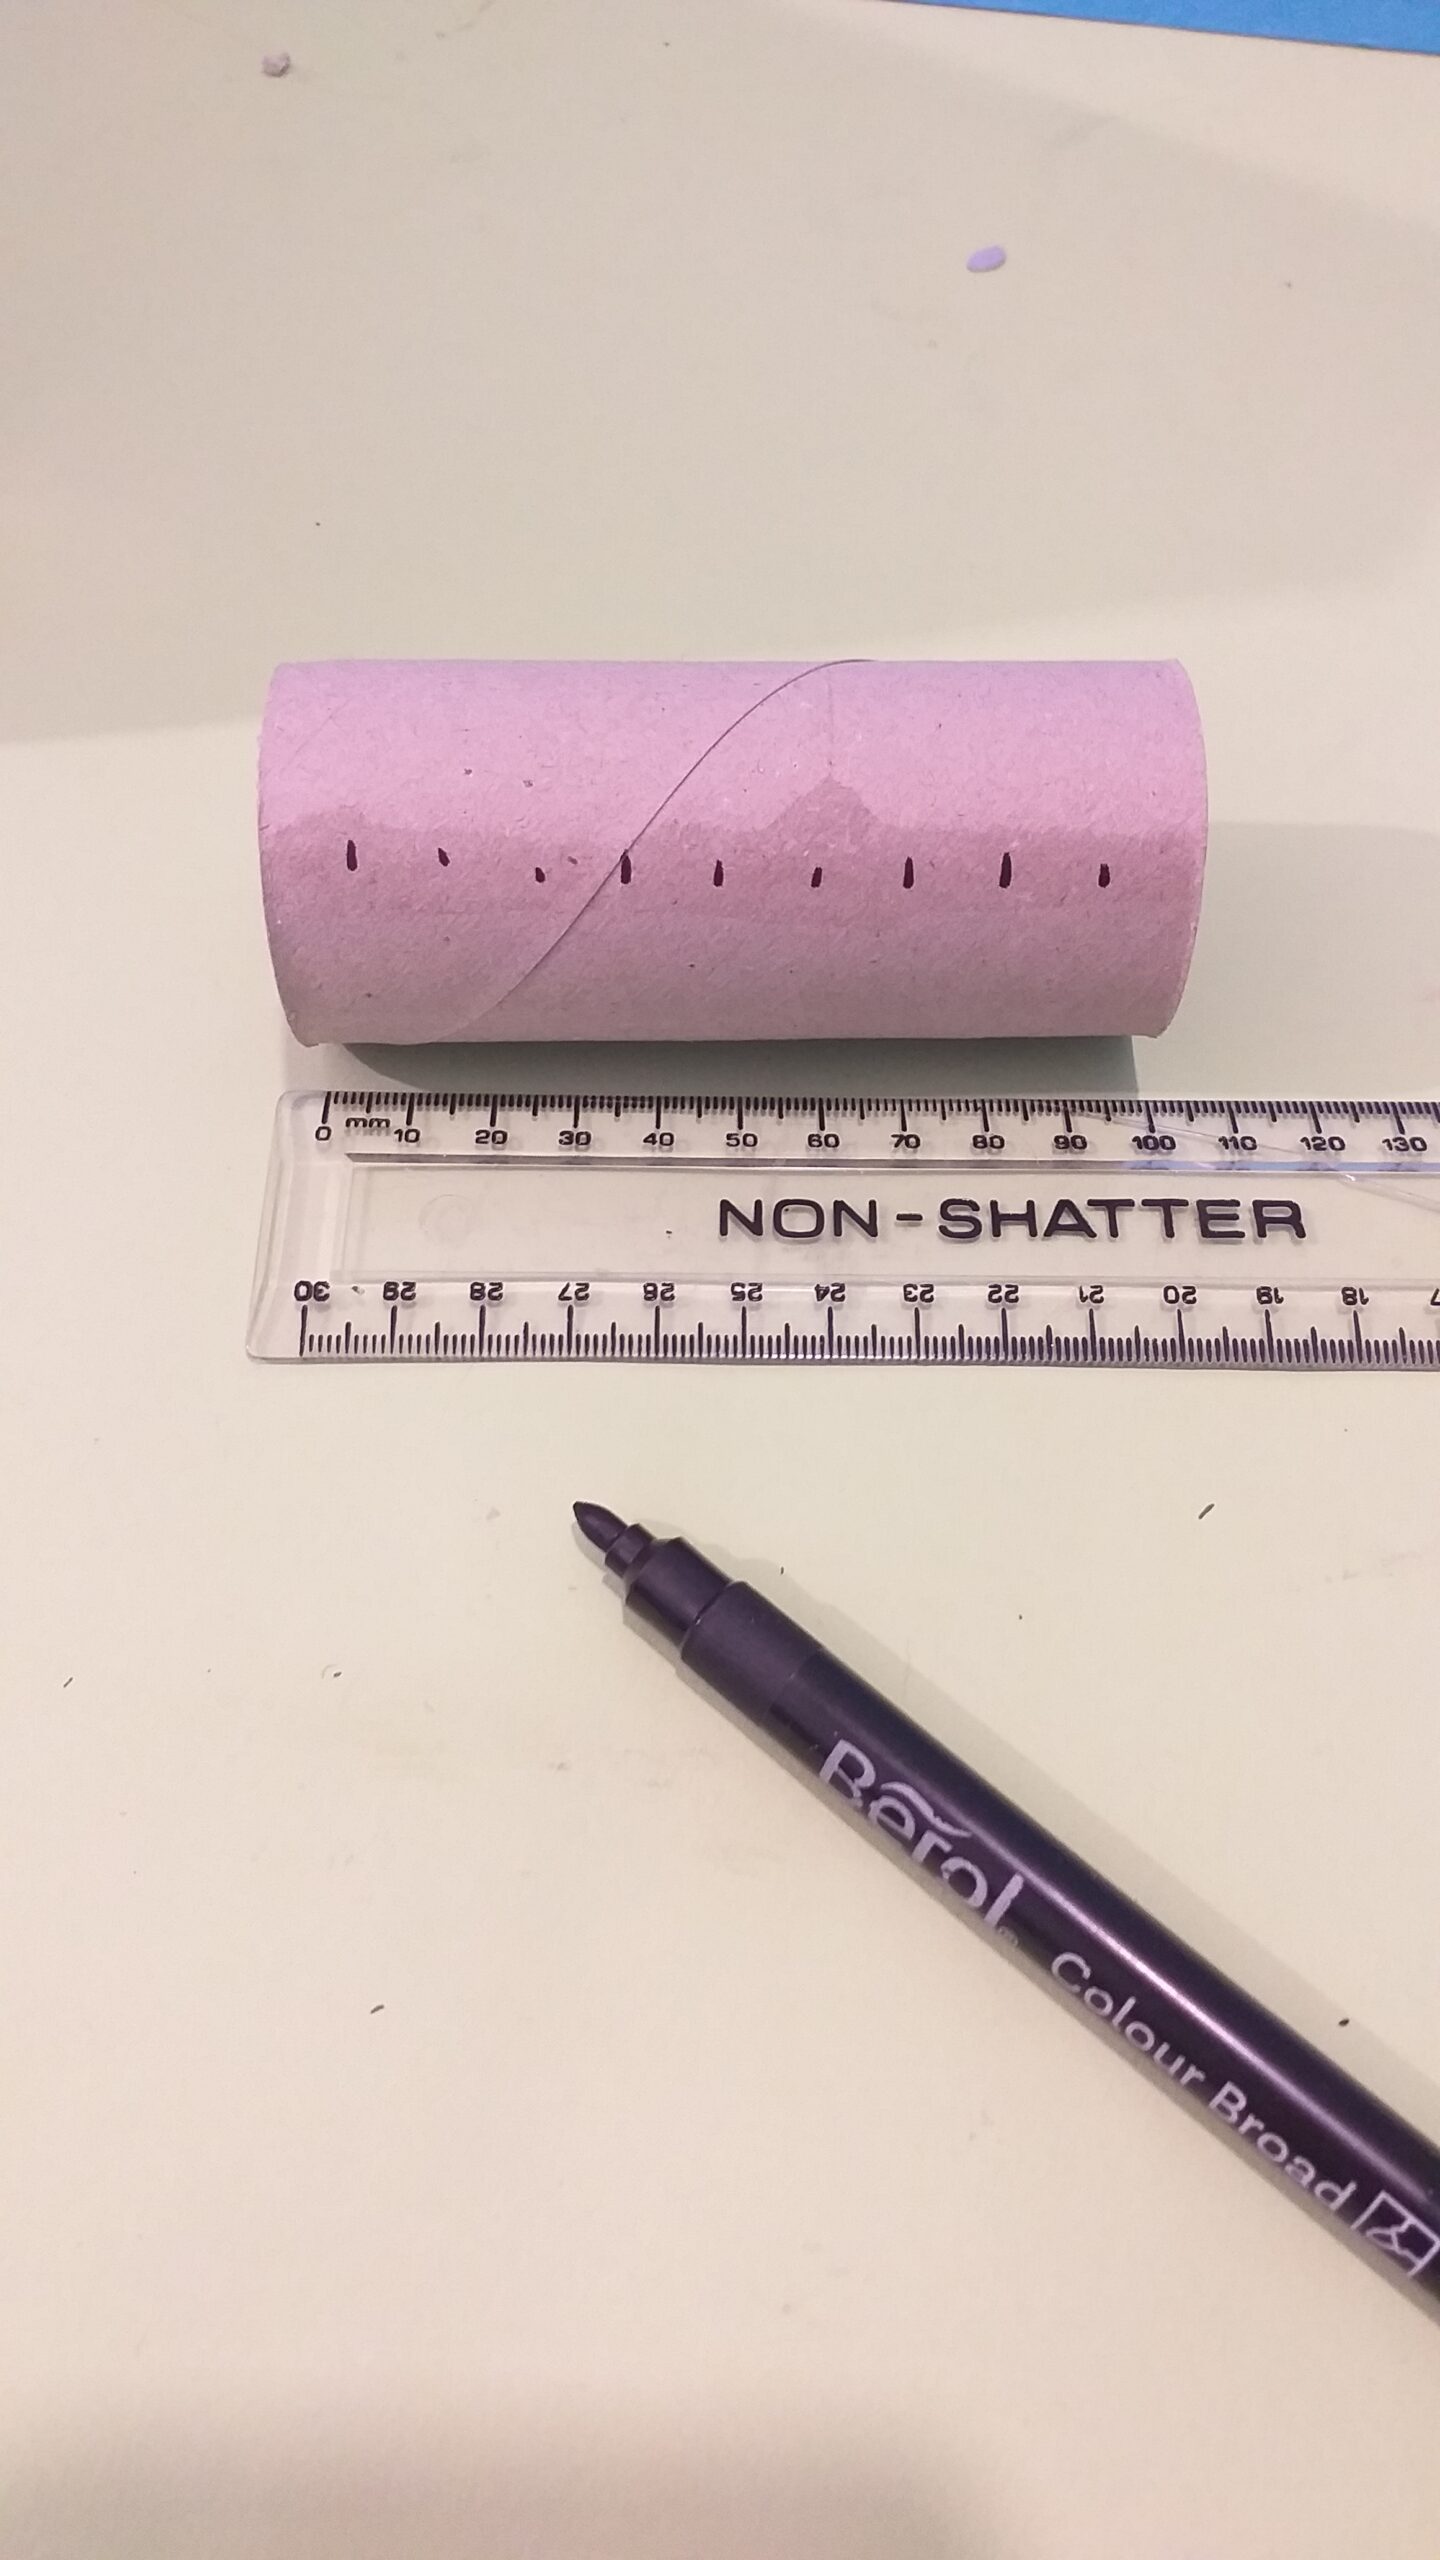
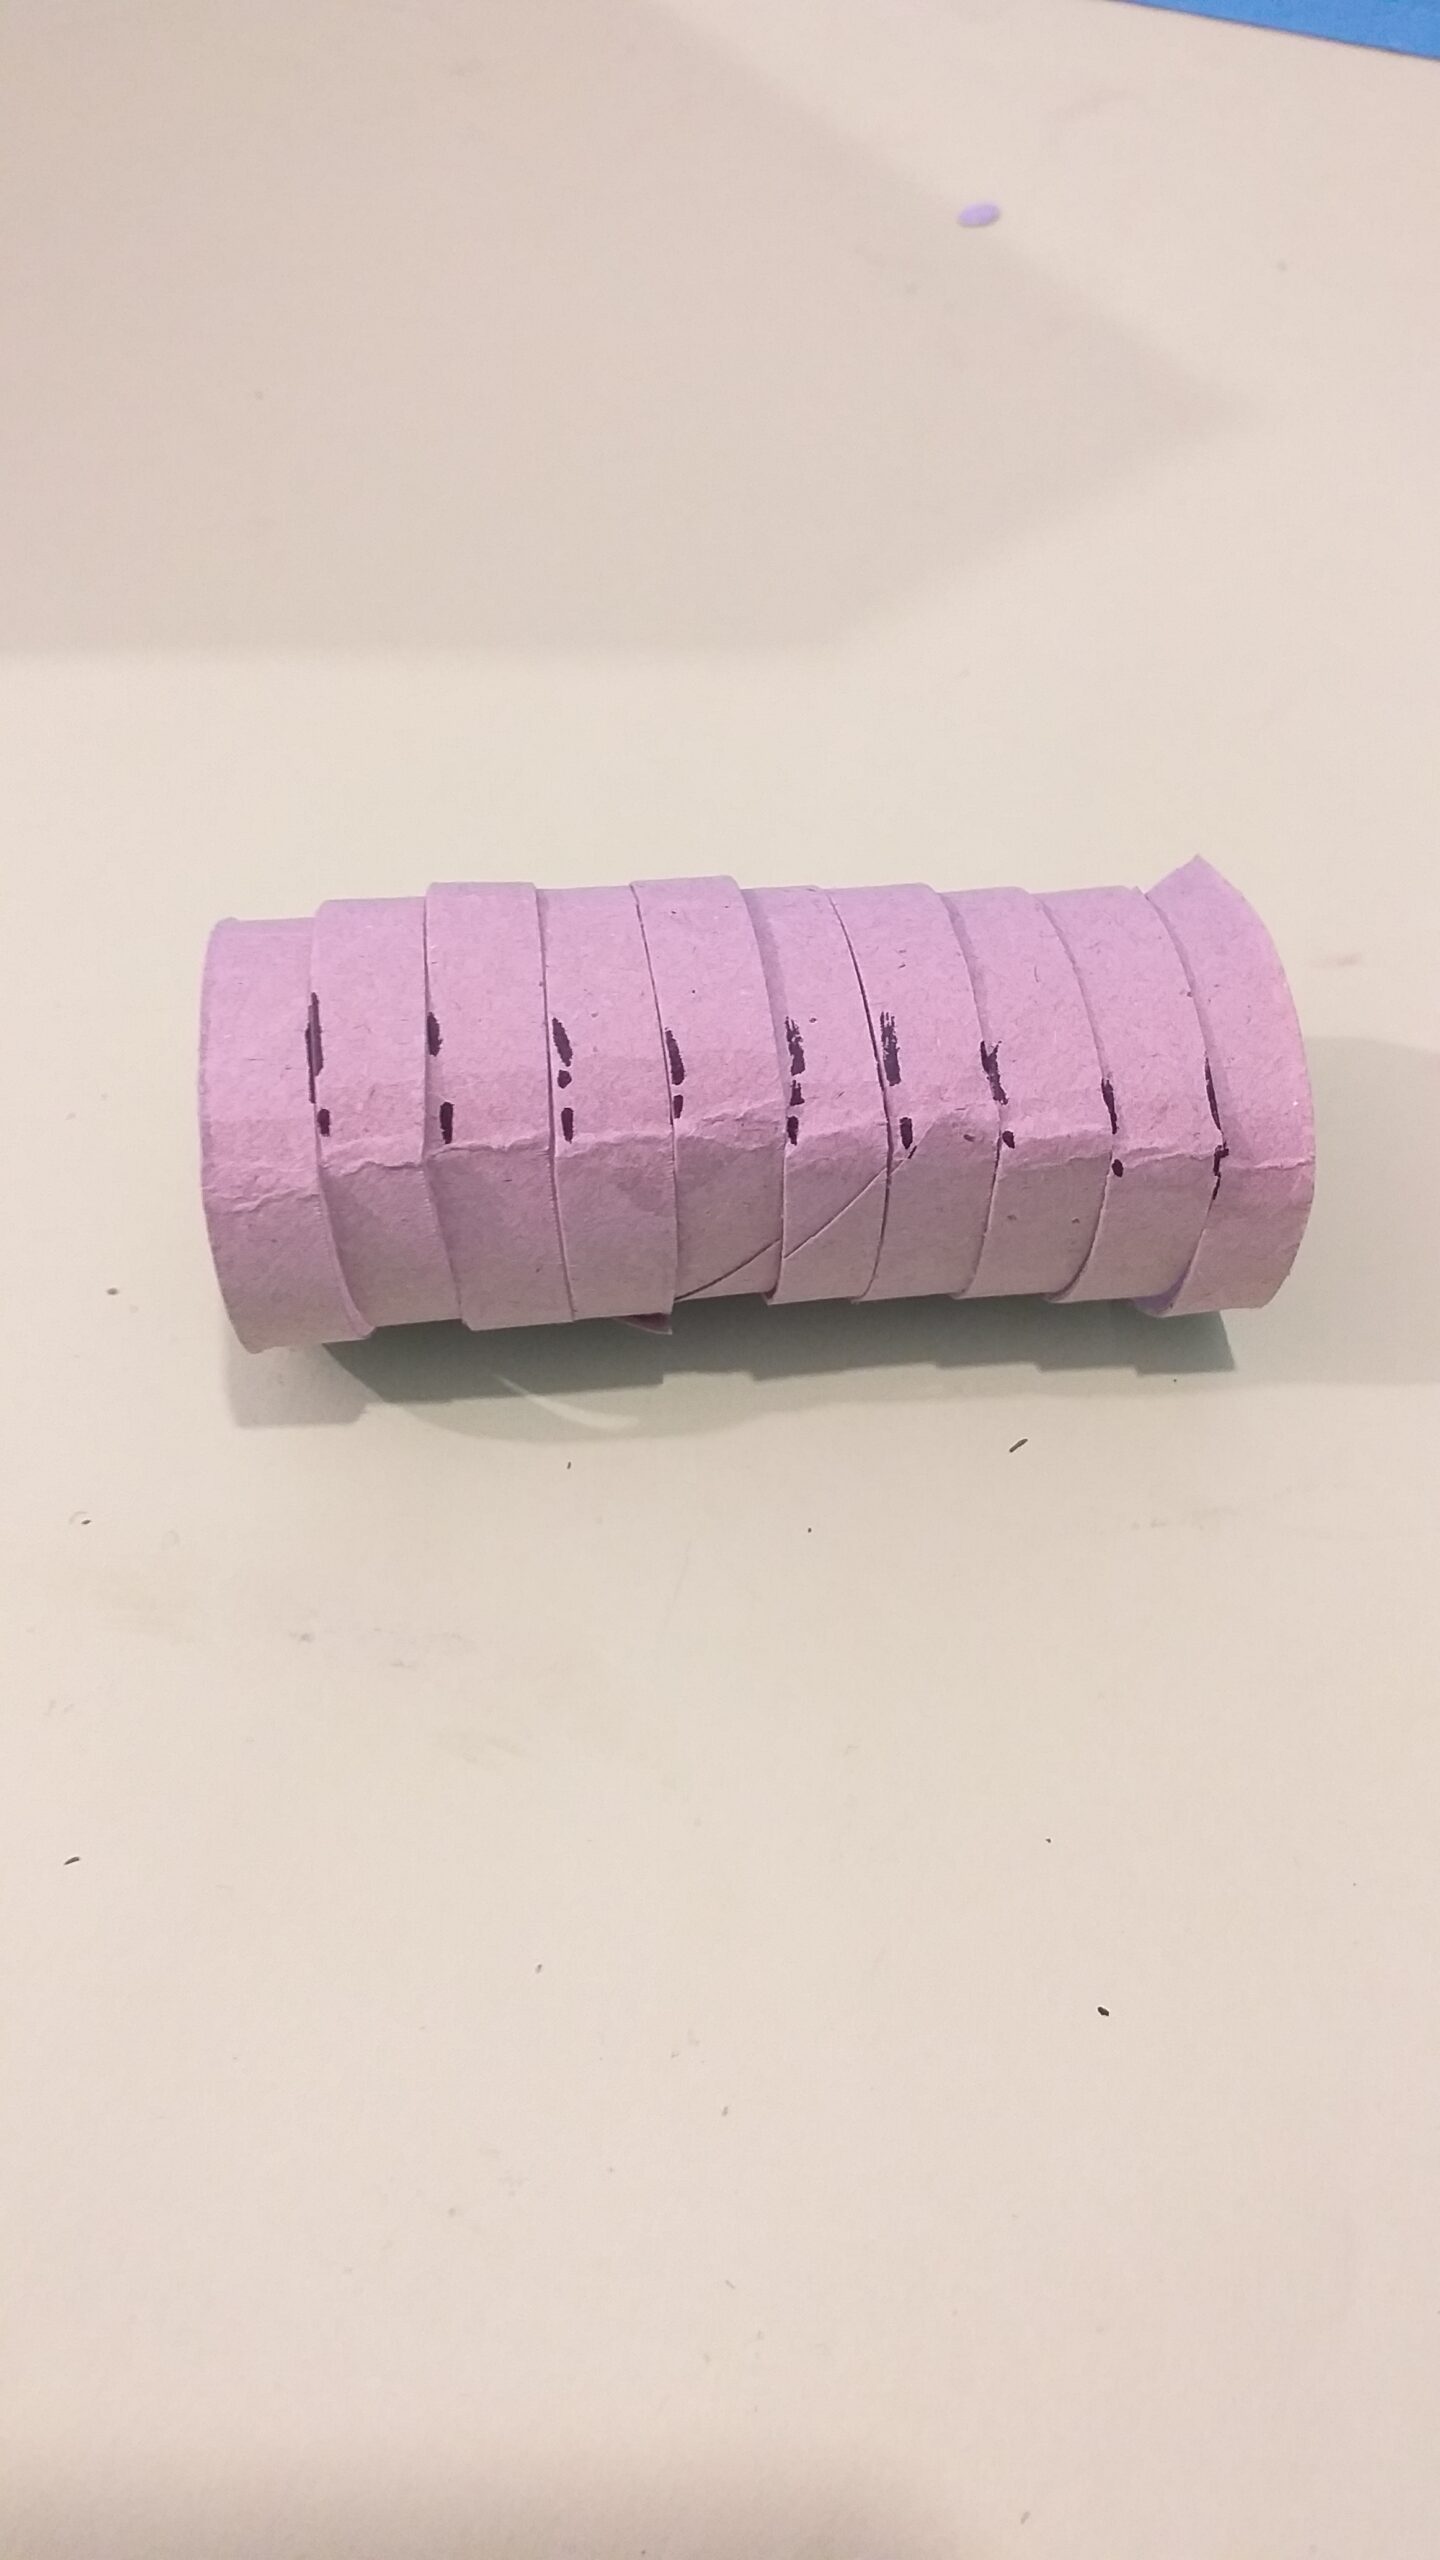
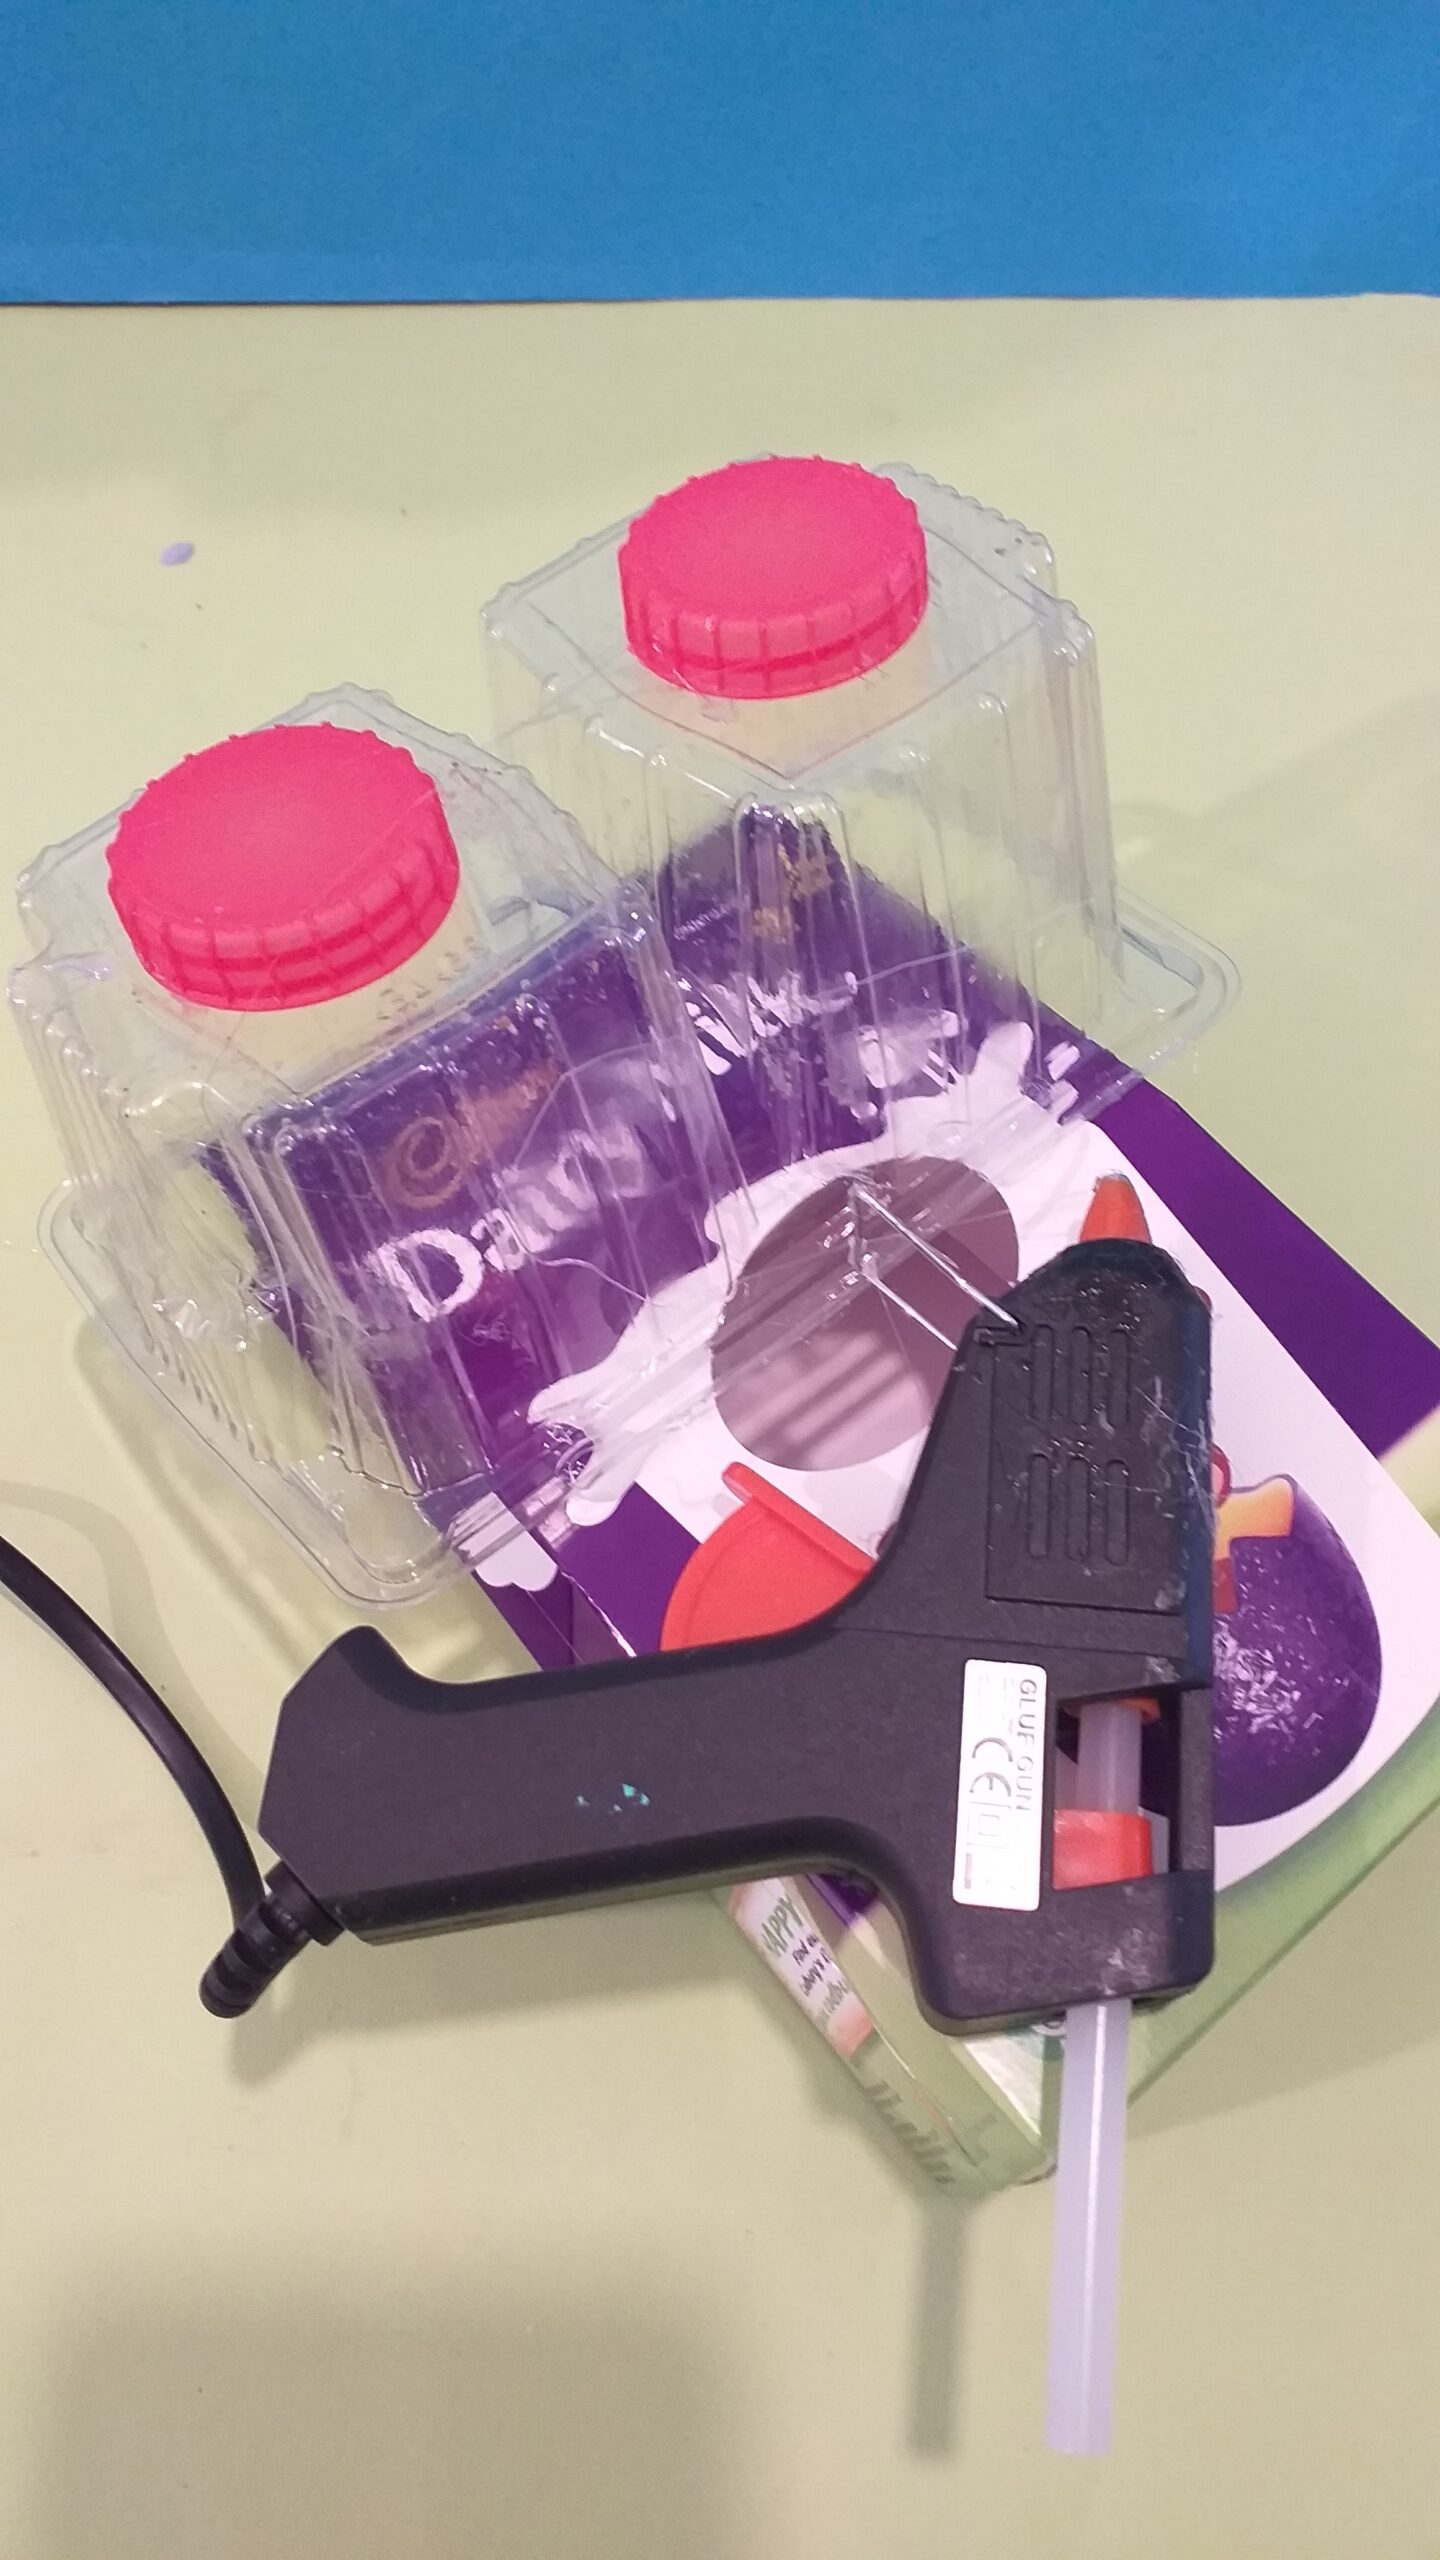
This would include items like a cereal box, a cake box, an Easter box, a cheese triangle box, cardboard inner tubes, empty tin cans, empty rice pots, bottle tops of all kinds, a large straw and a cake plastic packaging, all to make a super Recycled Robot for kids!
WHAT THIS ACTIVITY ADDRESSES!
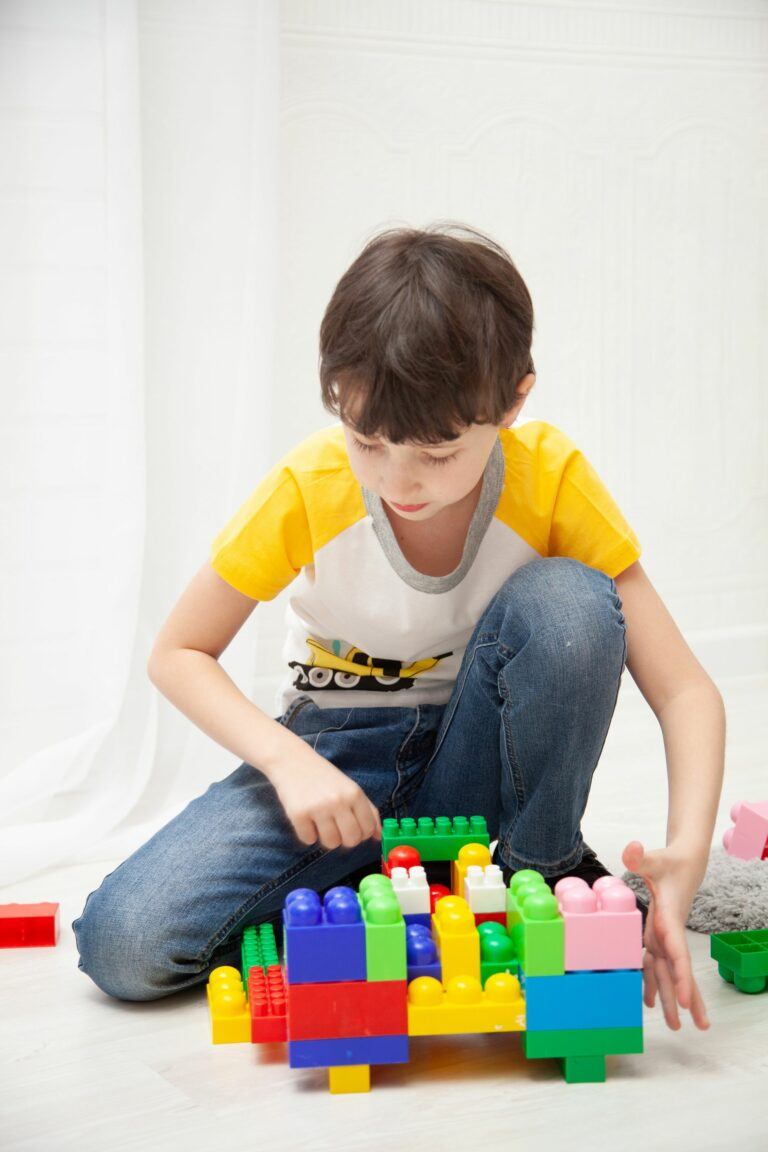
Kids have an amazing imagination and can magically pull together all these odd shapes and sizes.
This activity will offer an opportunity for kids to talk openly about the shape, form and size, as well as what else these shapes resemble around the house.
WHAT SHAPES ARE SIMILAR?
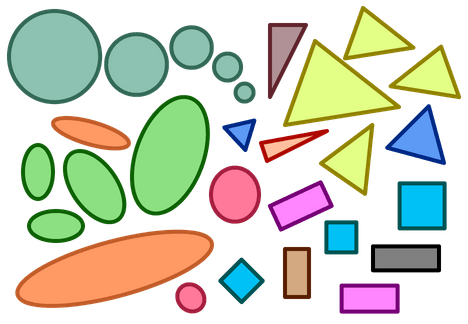
Put it out there…. is this shape a …….(whilst they are handling them), rectangle, square, triangle, circle, sphere and so on.
Here are some shapes that you can refer to: There are circles, ovals, triangles, rectangles, and squares, which are familiar 2D shapes as well as 3D shapes. Remember to cover how many sides these shapes have and have your kids point them out.
LET’S TALK MATHS!
For example, a square has 4 equal straight sides, a rectangle also has 4 sides, 2 long sides and 2 shorter sides, and opposite sides are equal and parallel to each other, a circle has only 1 side, and a triangle has 3 straight equal sides.
Phew! This is a bit lengthy, but here’s a much more fun way to explain this in two short videos.
Check out this super kids site:- BBC bite-size information for kids.
Here is another way of looking at triangles, as there are different types, and this might be useful for your kids to know when they move up in year groups.
I refer to BBC Bitesize for kids, as it explains quite difficult aspects of this post in a more simplified way, just for kids.


A perfect time to come across this post for my daughter.
Thanks for sharing!
We’ll get working on this tomorrow as its nighttime here now. Thanks again!
Mel & MJ
How wonderful! I am so pleased you like this post, I had a lot of interest, especially when using all your throw-outs combined and then to create a fabulous Robot! So don’t forget to hold on to all your junk, as everything you will use will play a special part in the making of your Robot!
Thanks for your super comment, and happy crafting!
Julia.😊
Hi Julia,
I love this article as children need to learn more about recycling, and the reasons why we recycle.
This is a great way to teach them and also make it fun for them.
Gtreta Thunberg would love this article too, you should send it on to her 🙂
I’m going to share this with friends and family who have small children so they can use it to help them teach about recycling and again have fun.
Thank you for sharing and keep up the amazing work.
All the best,
Tom
Hi Tom, thanks for your positive feedback. I enjoyed doing this activity too, and actually seeing what material you can use to represent parts of the robot! Still till this day, I cannot believe the amount of rubbish that litters our streets, and the disrepect for our land, and the streets we walk along each day! A good way to educate children is while looking for items to make their robot is to talk about recycling throw-outs in the appropriate way, in that way children will grow up with the right attitude and understanding an in-hand protecting our planet.
Once again thanks for your super comment, and maybe I will reach out to Greta Thunberg!
I would love to see any results at your end, and I could then post them as updates showing each childs creation!
Happy Crafting!
Julia.😊