LET’S RECAP!
The soldering iron is used primarily for soldering circuit boards and soldering wires.
HOW IT WORKS!
The heat from the soldering tool melts the solder which looks like a wire, this glues together the wires or fuse circuits. In this case, regular solder is used.
OTHER CRAFT IDEAS!
Soldering can be used in crafts where you can solder mosaic glass together, even jewelry, working with coloured glass or gemstones, welding provides links to form a bracelet.
WOOD ENGRAVING!
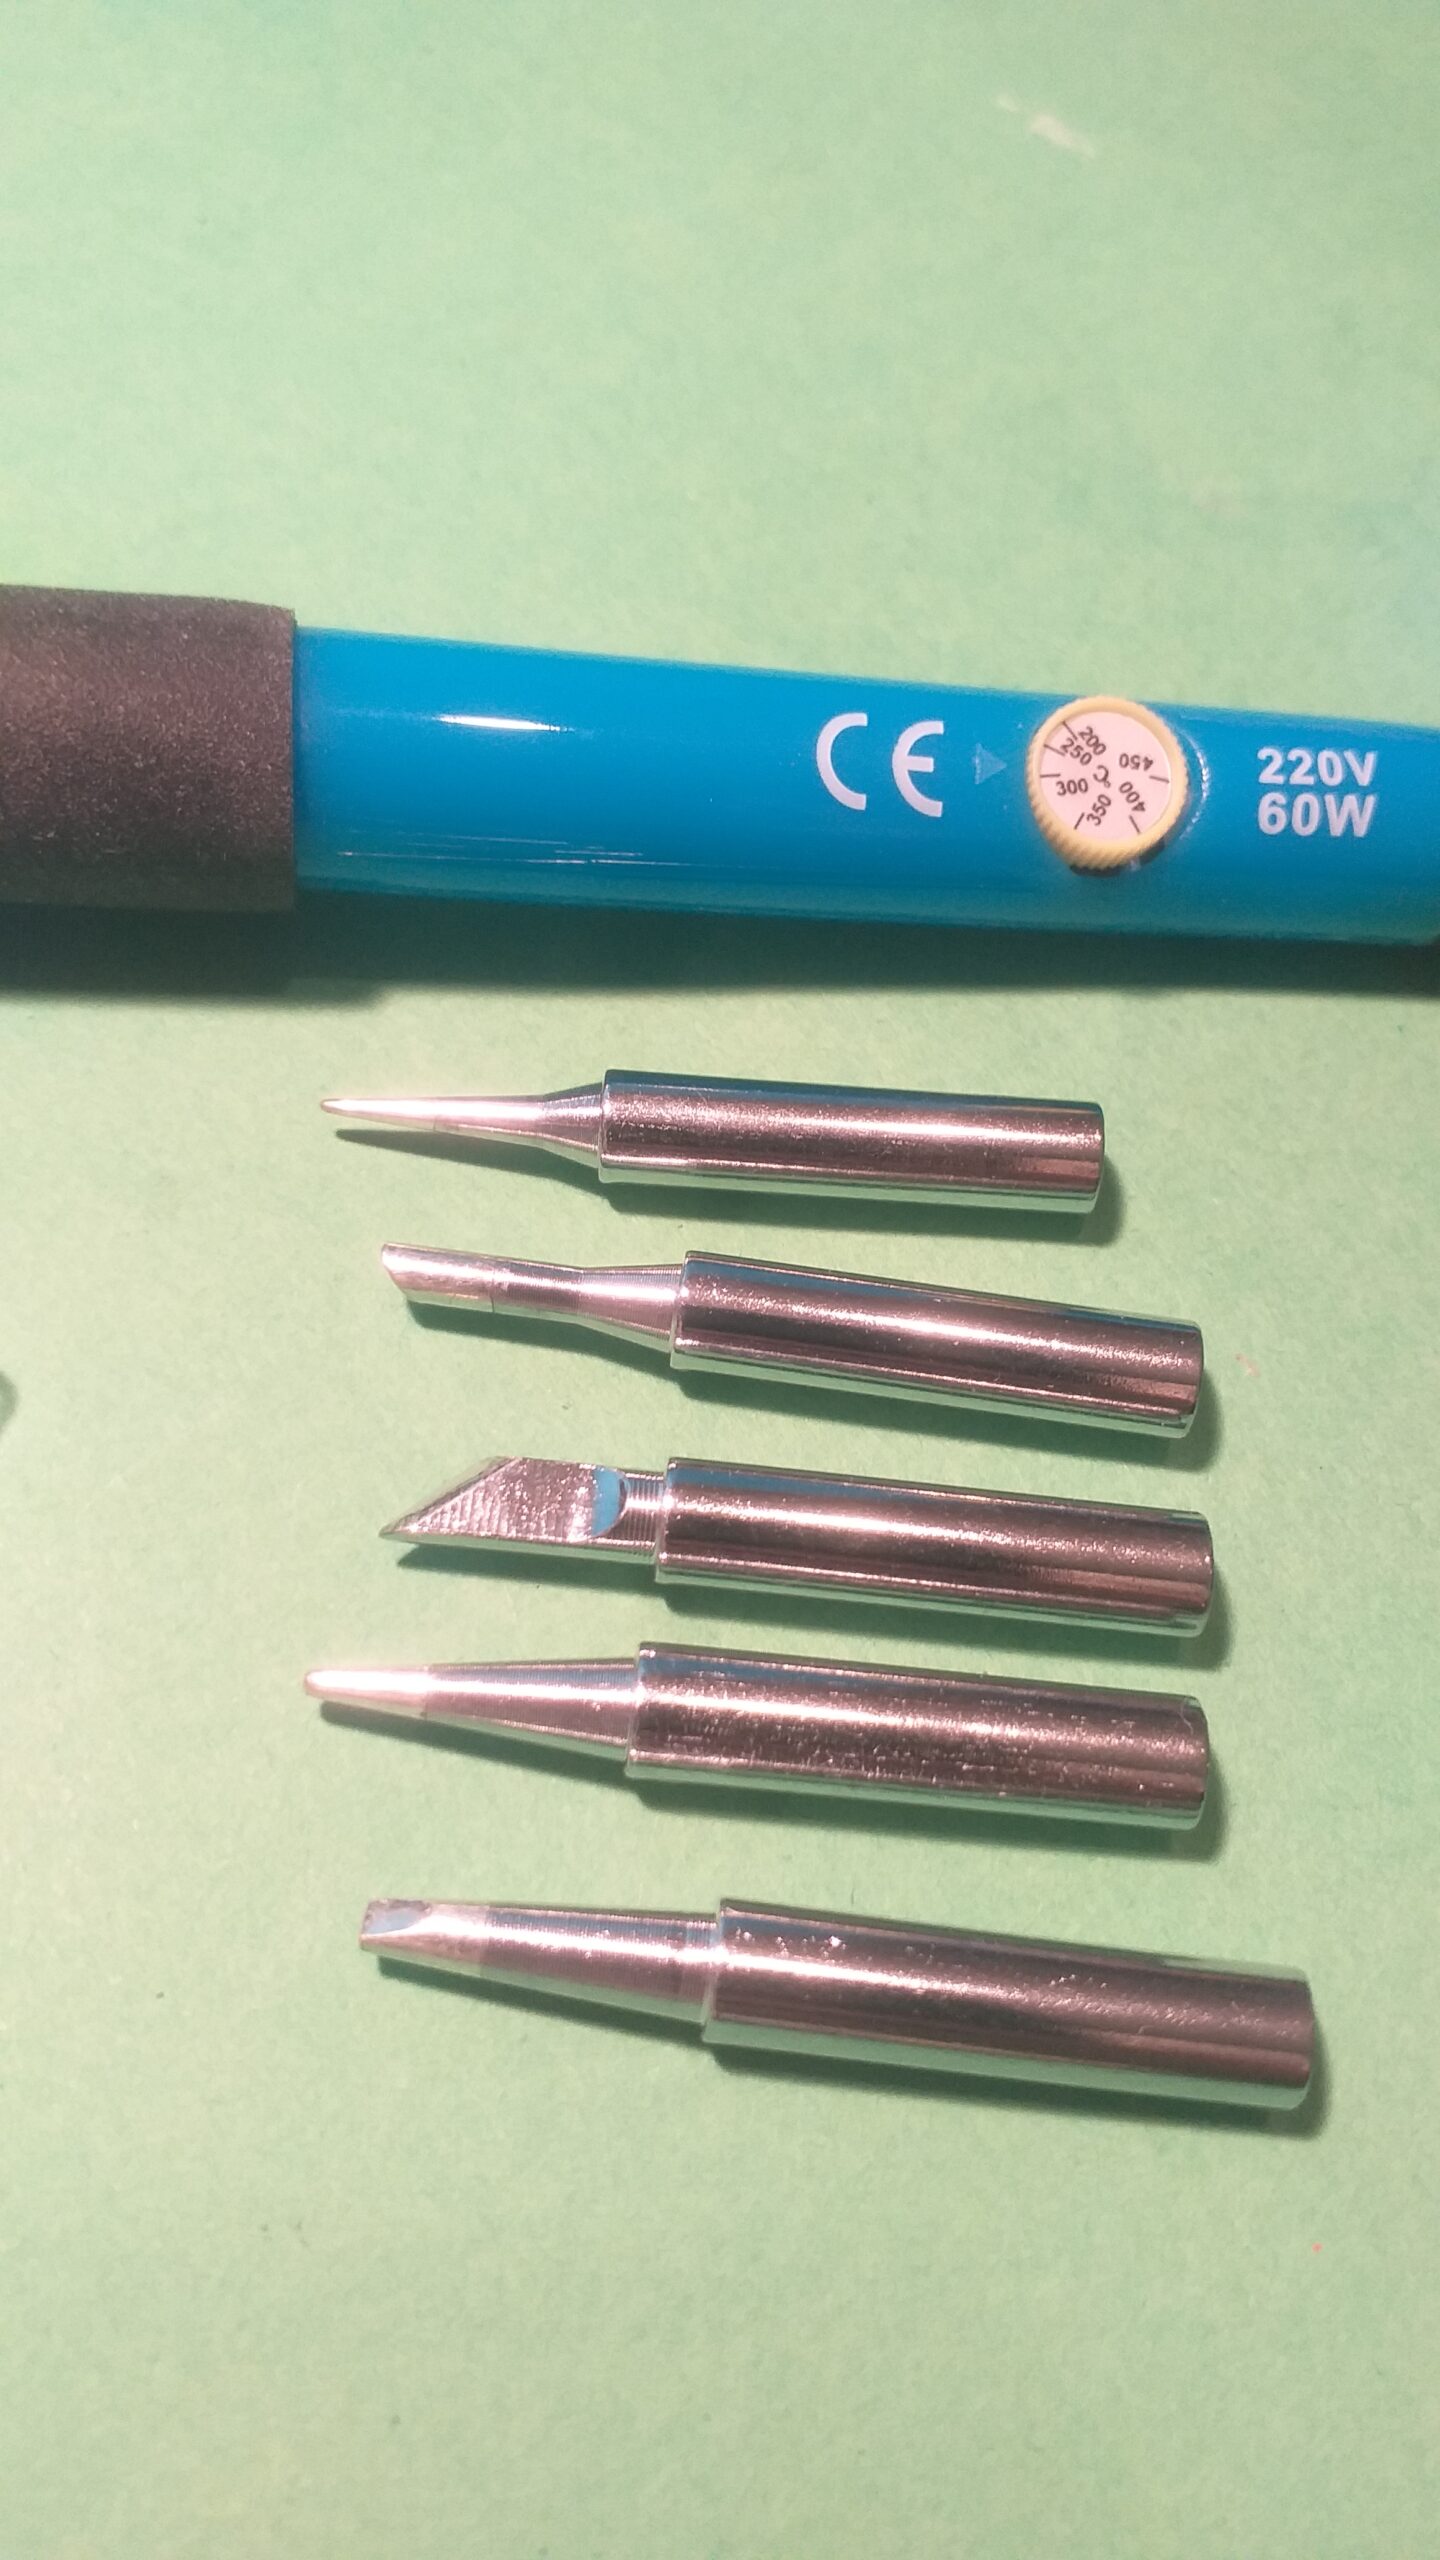
Also, another way you can use the soldering iron is with the right tip, you can do some wood engraving, just by adjusting the heat.
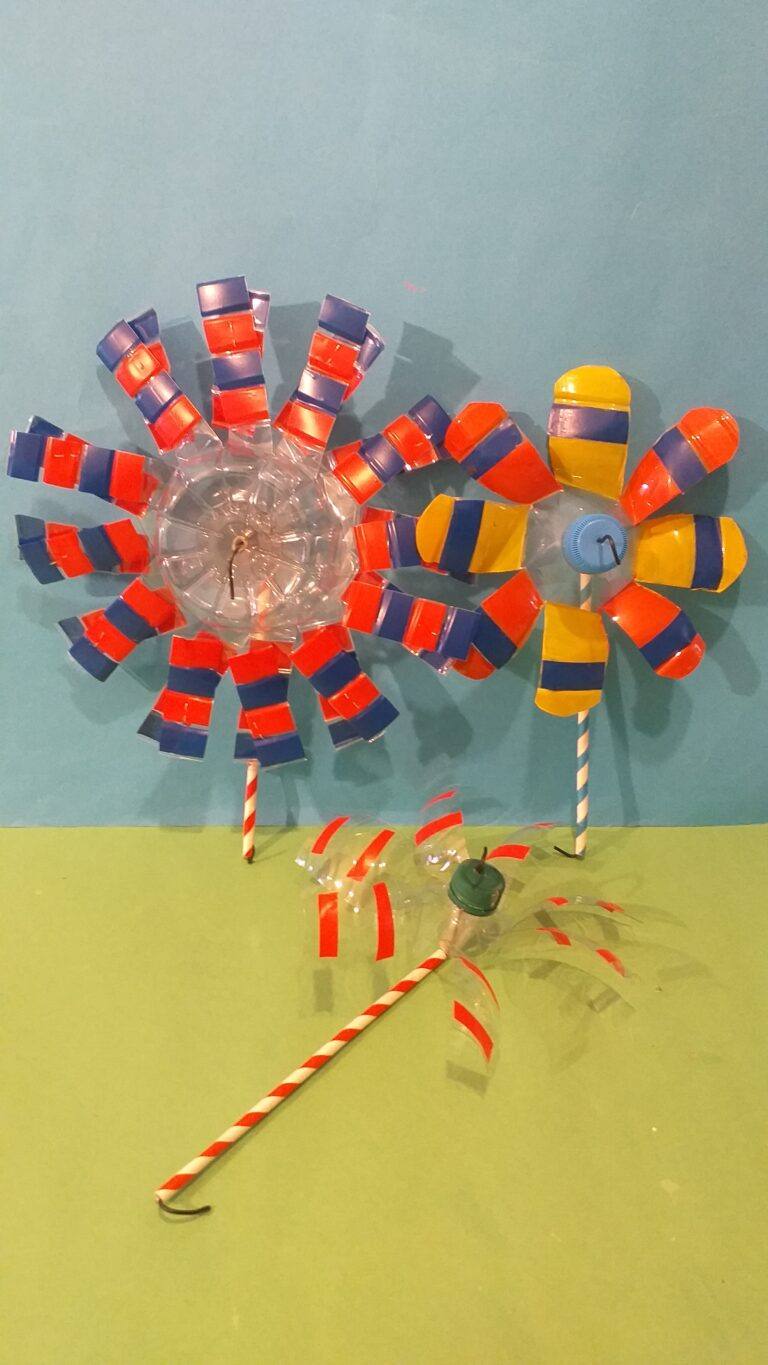
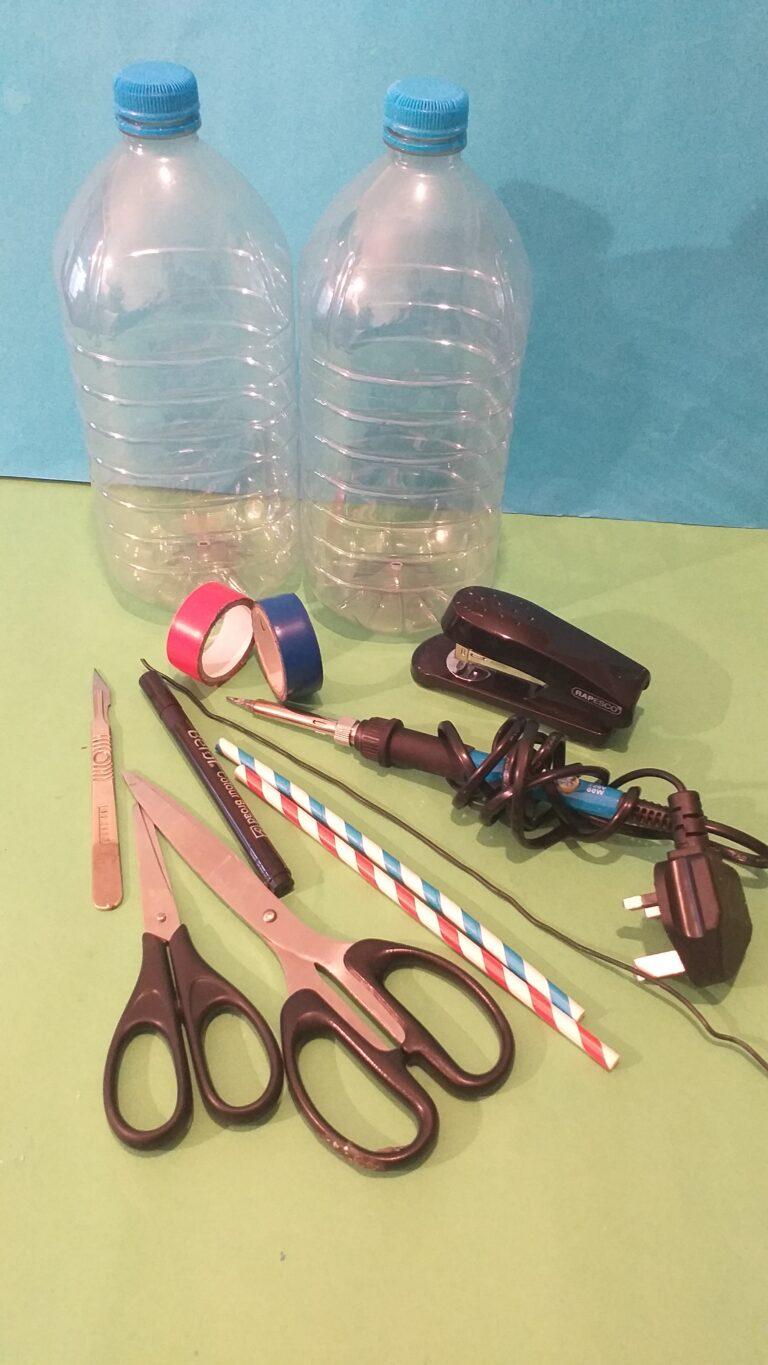
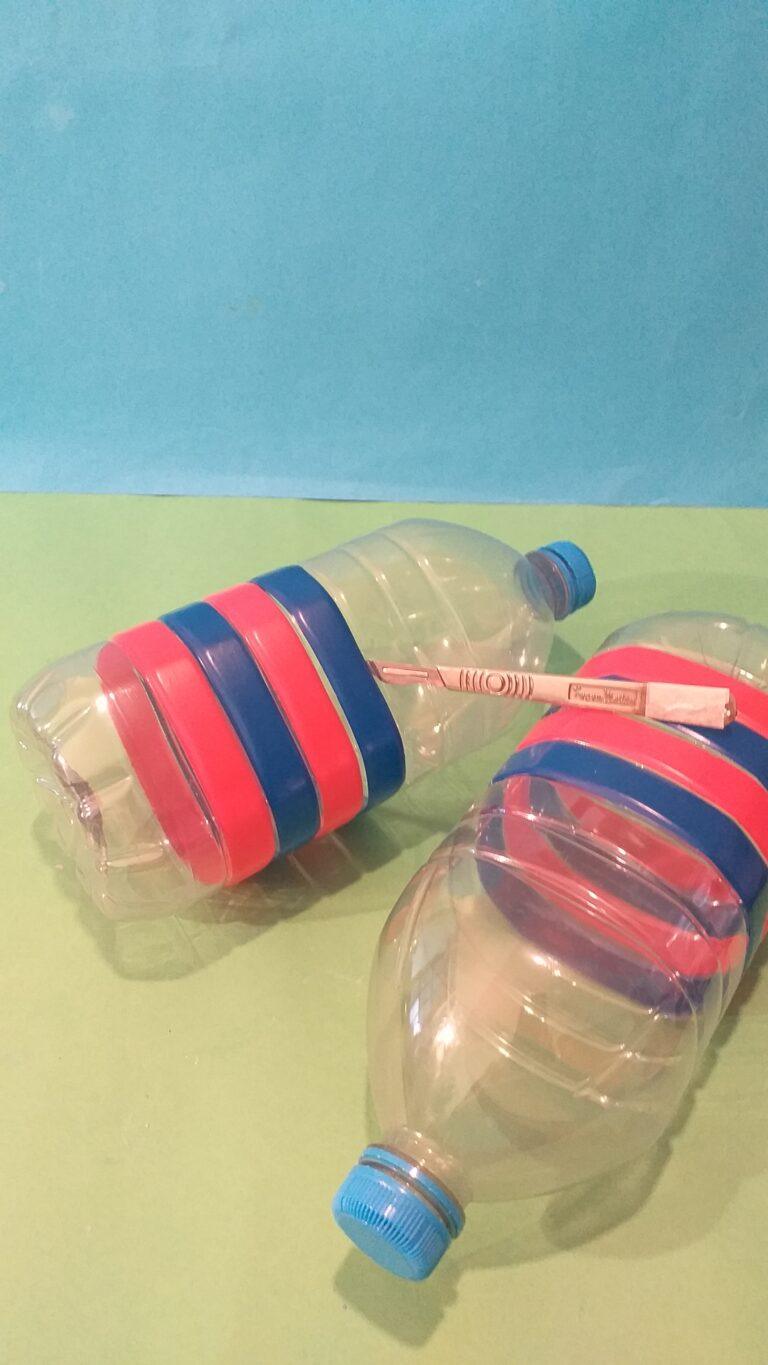
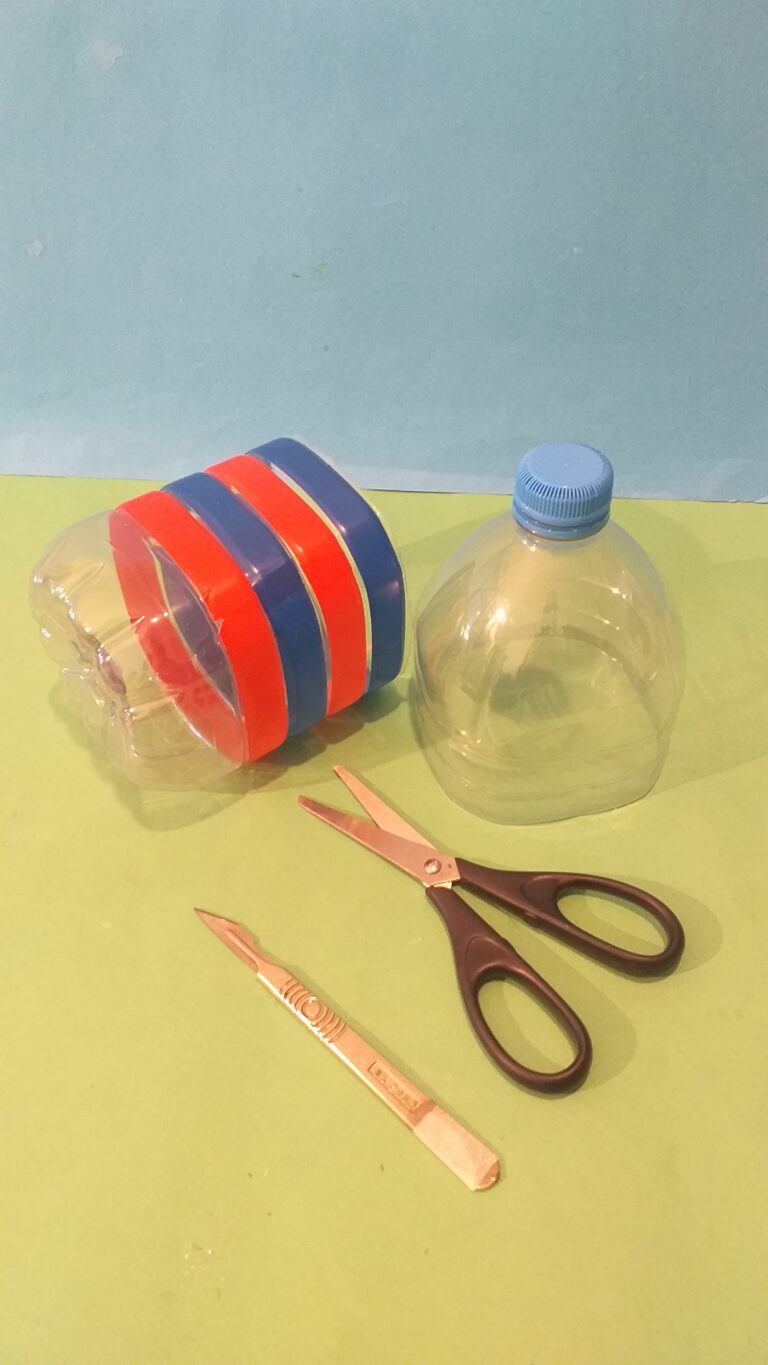
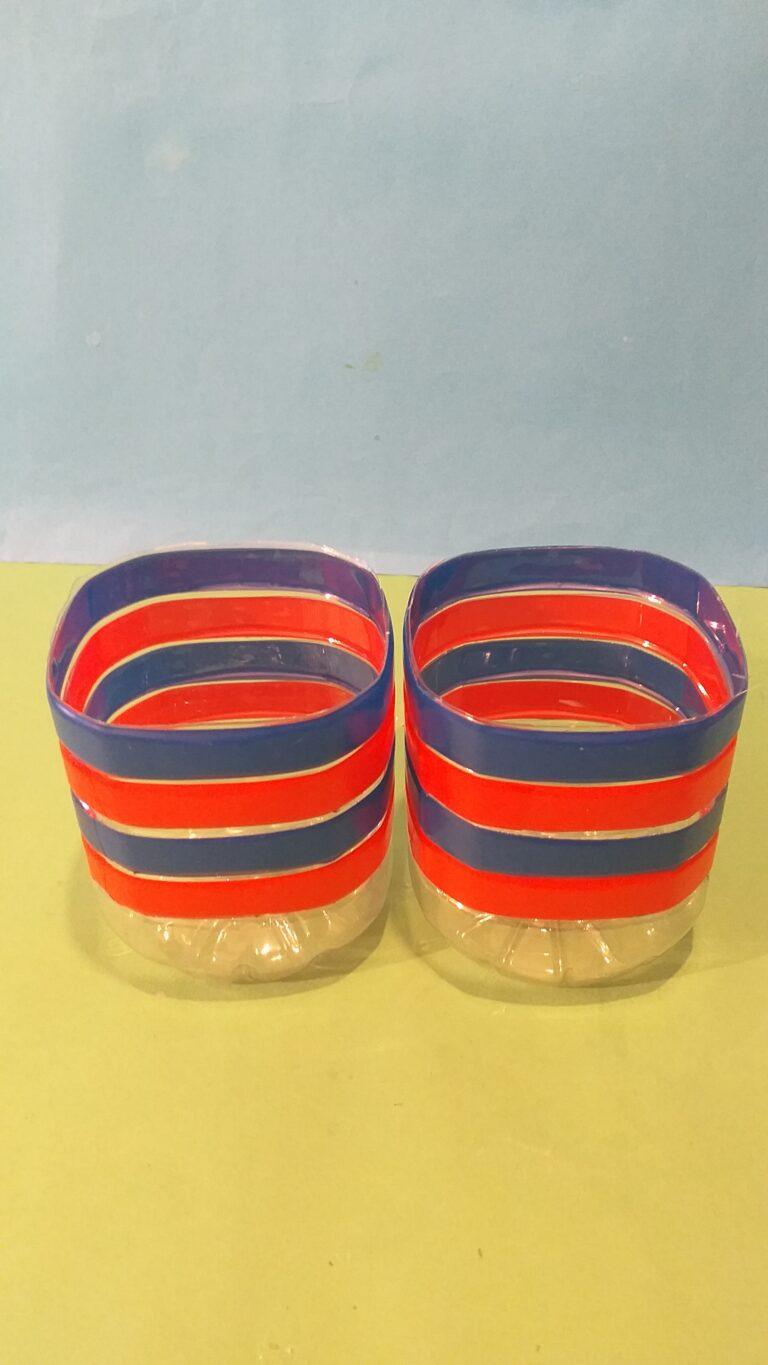
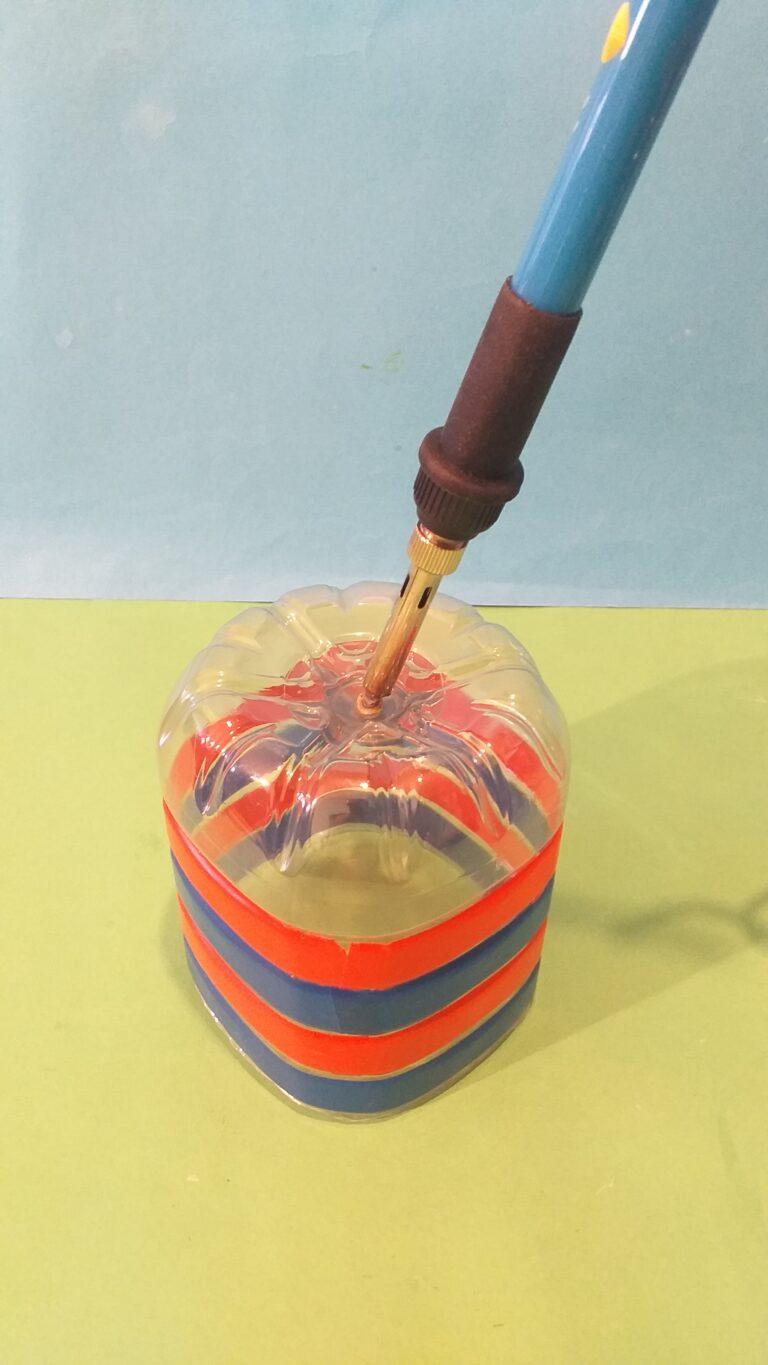
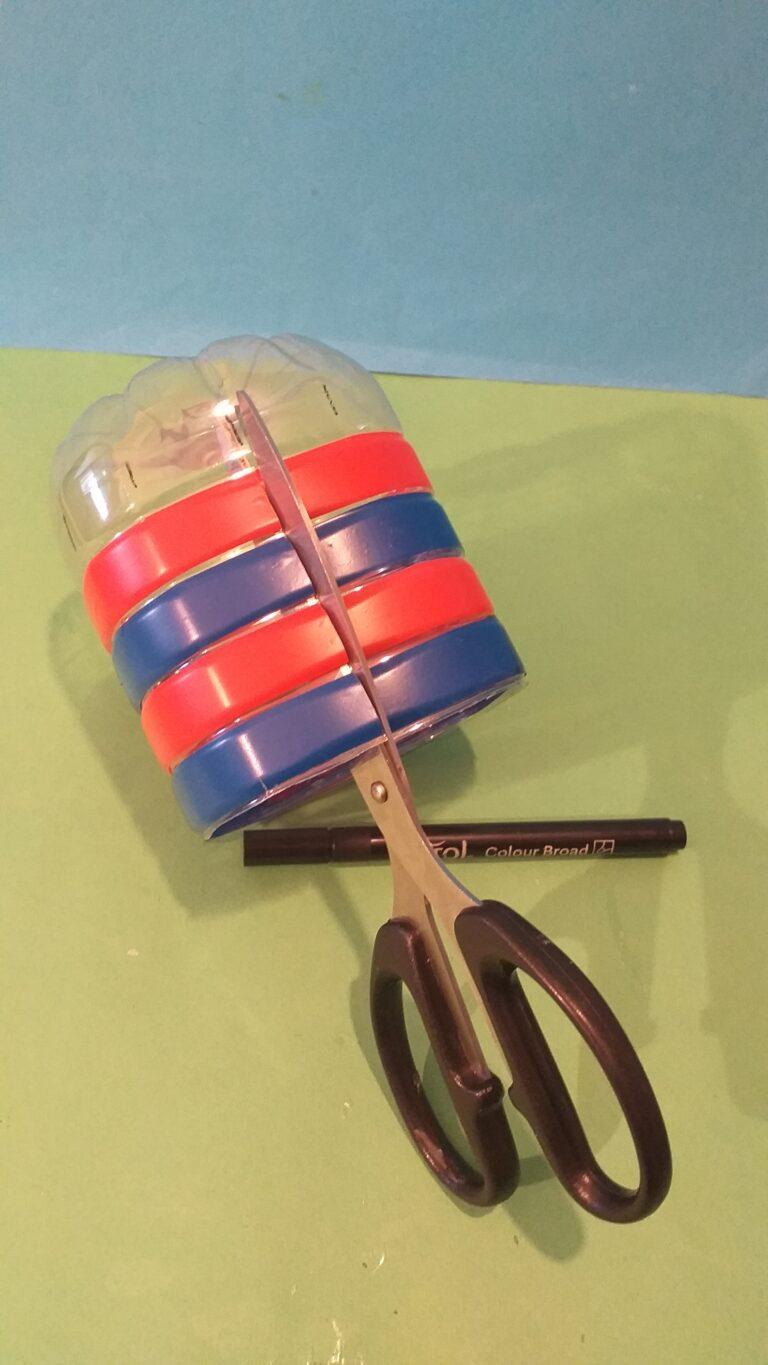
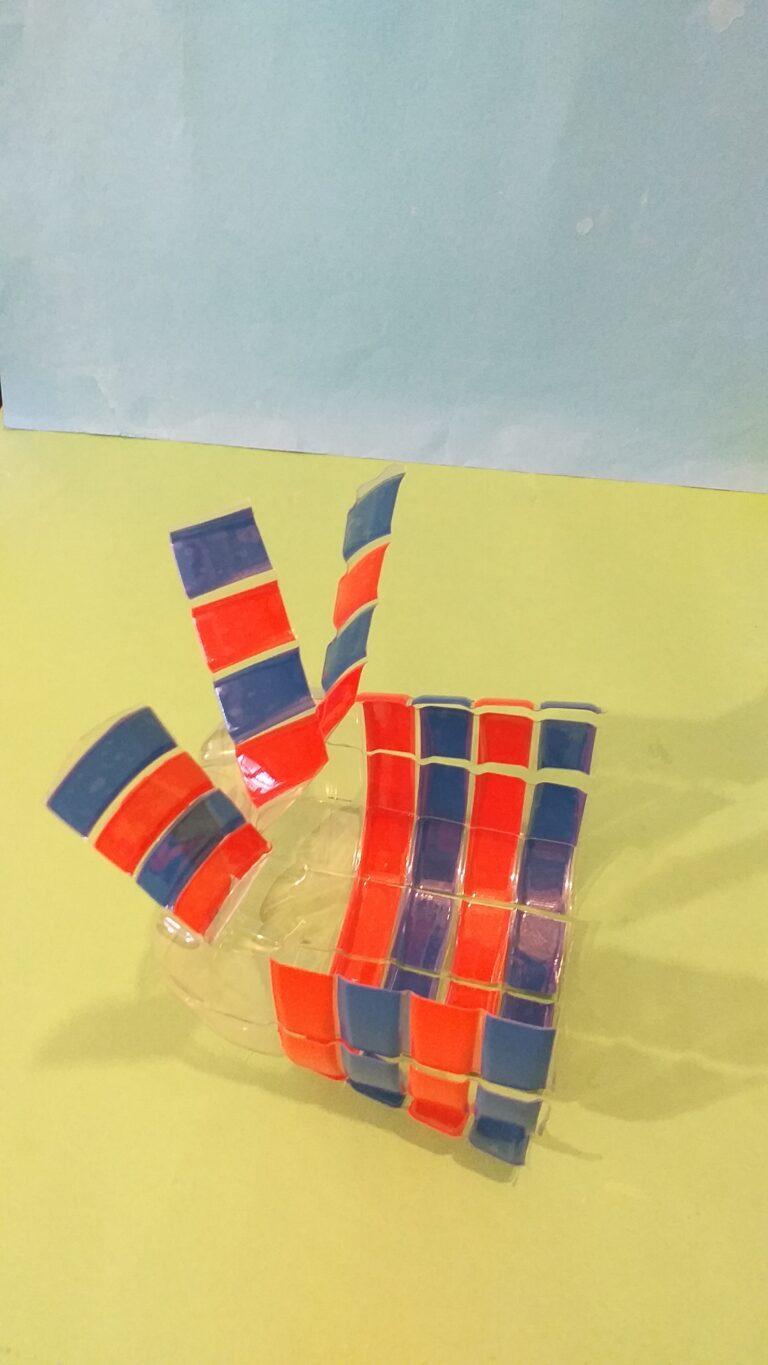
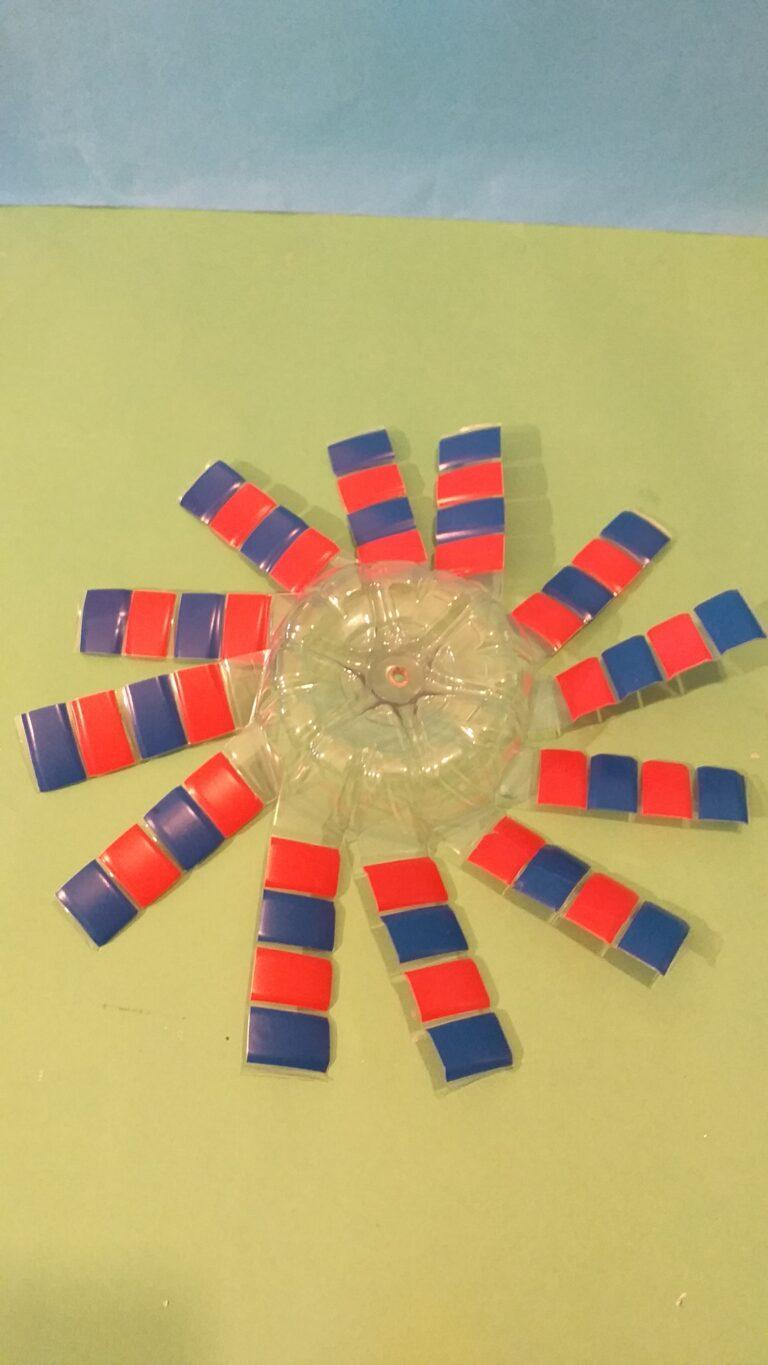
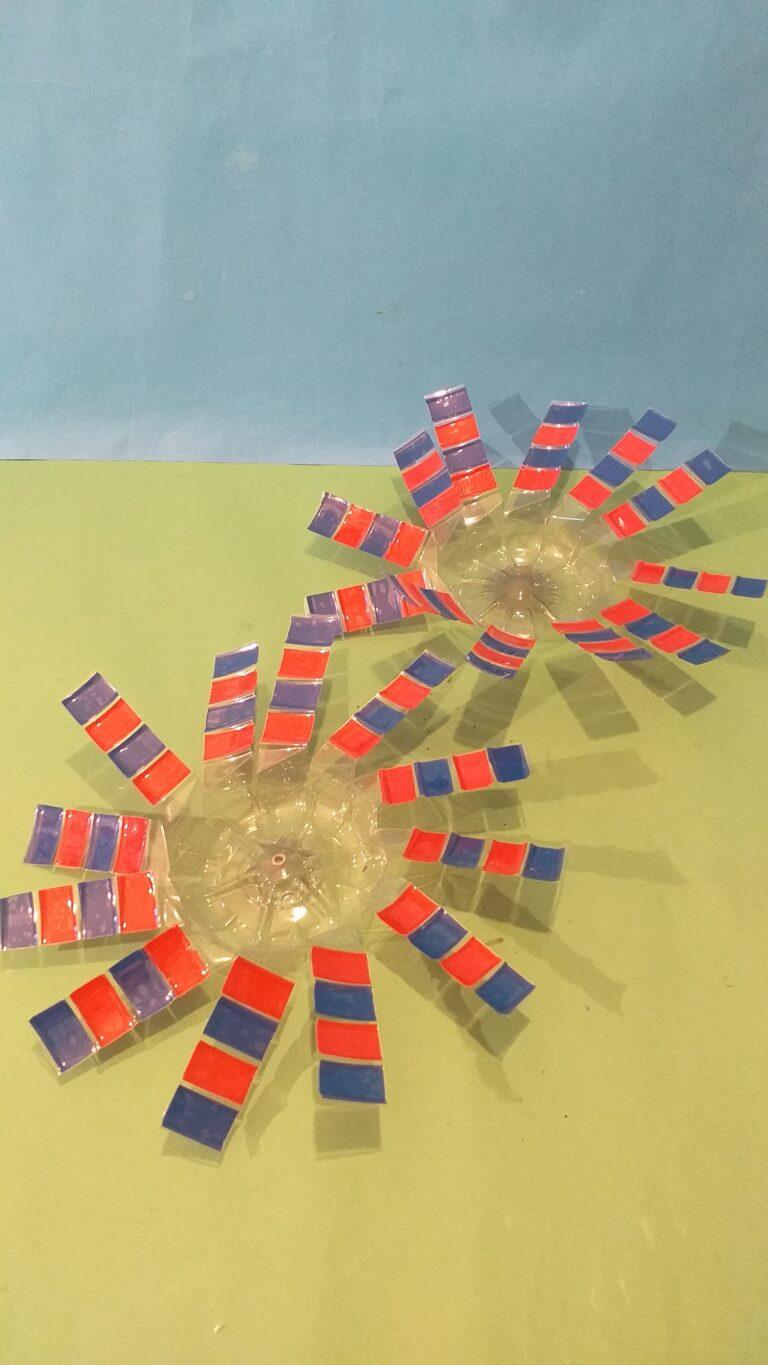
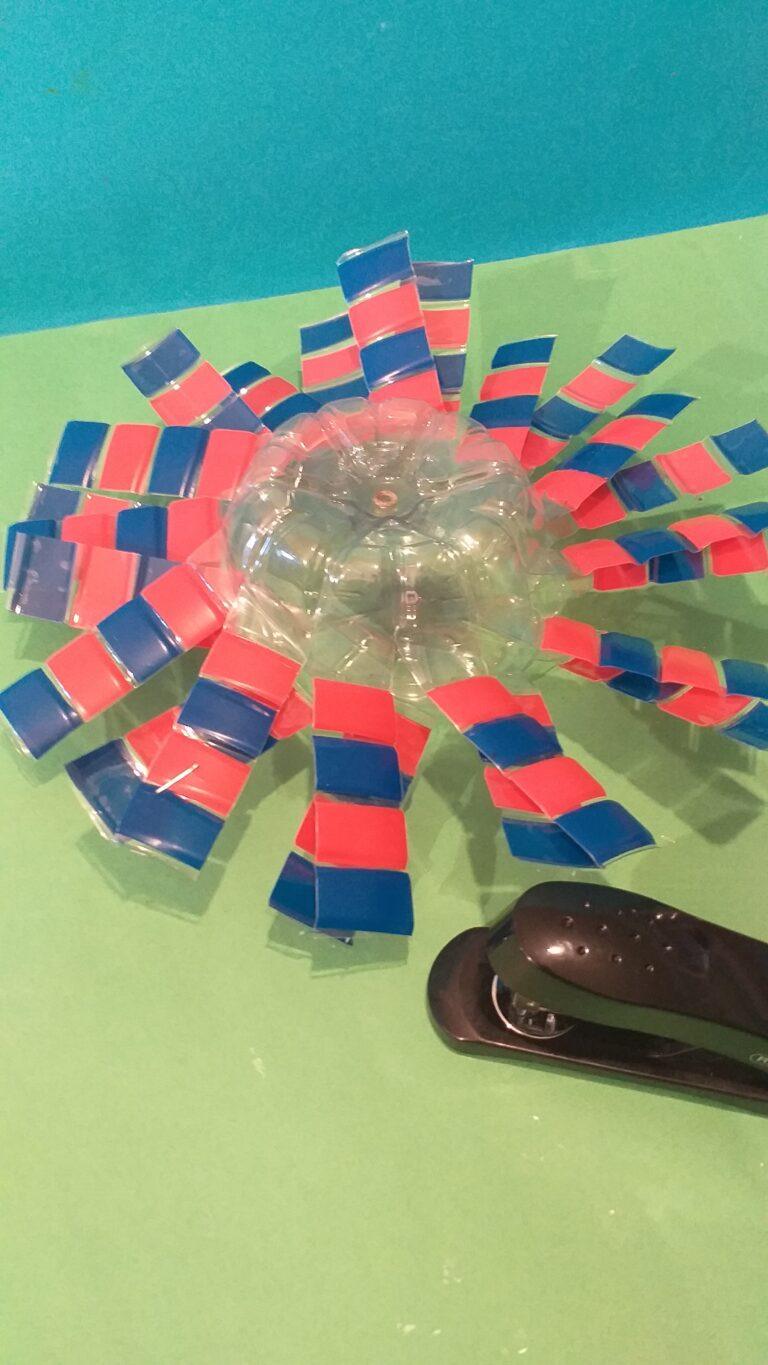
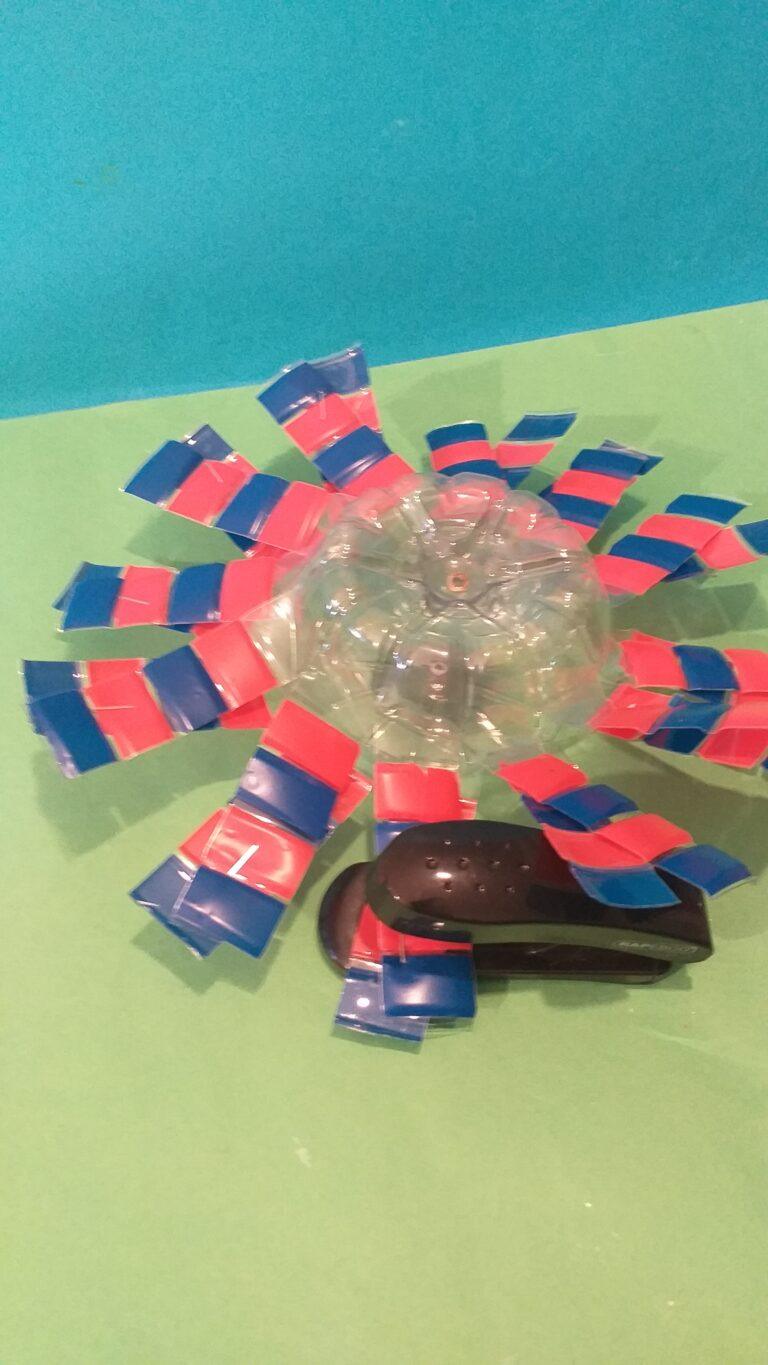
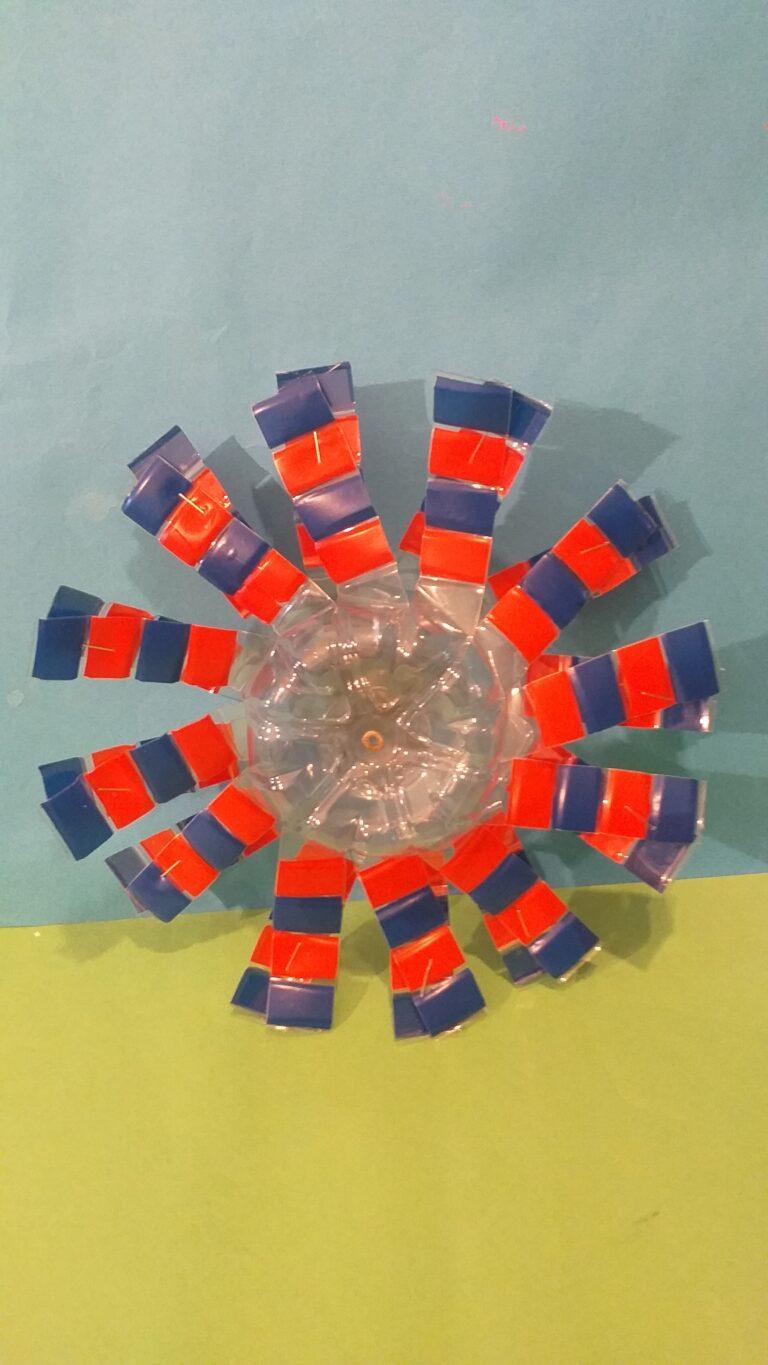
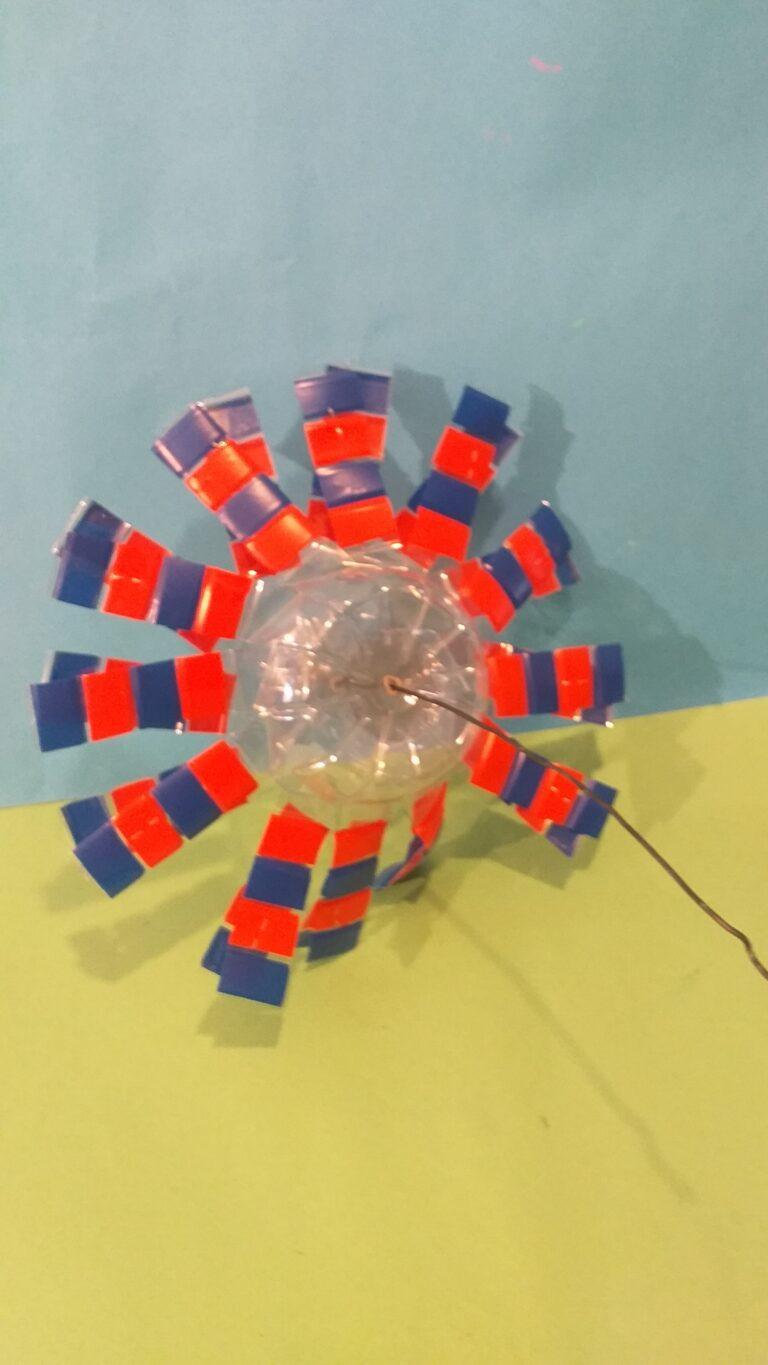
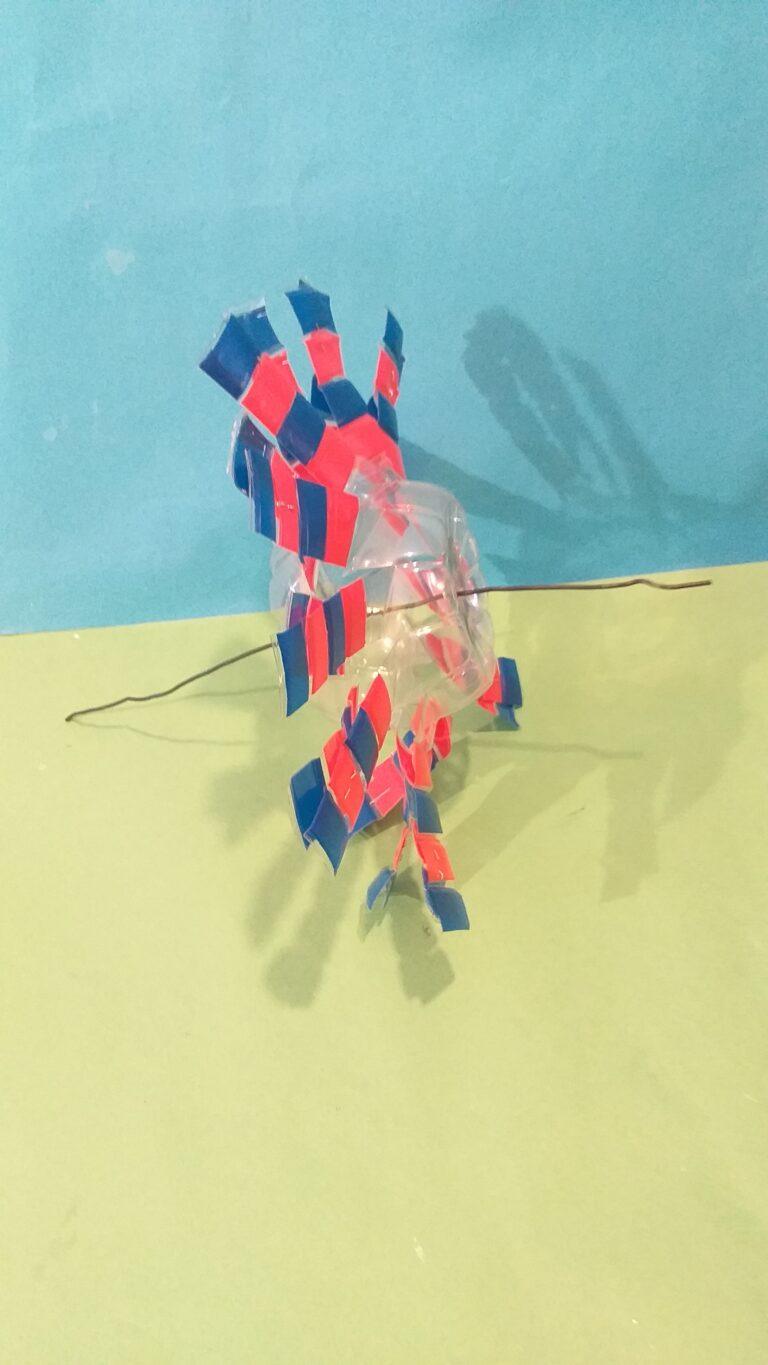
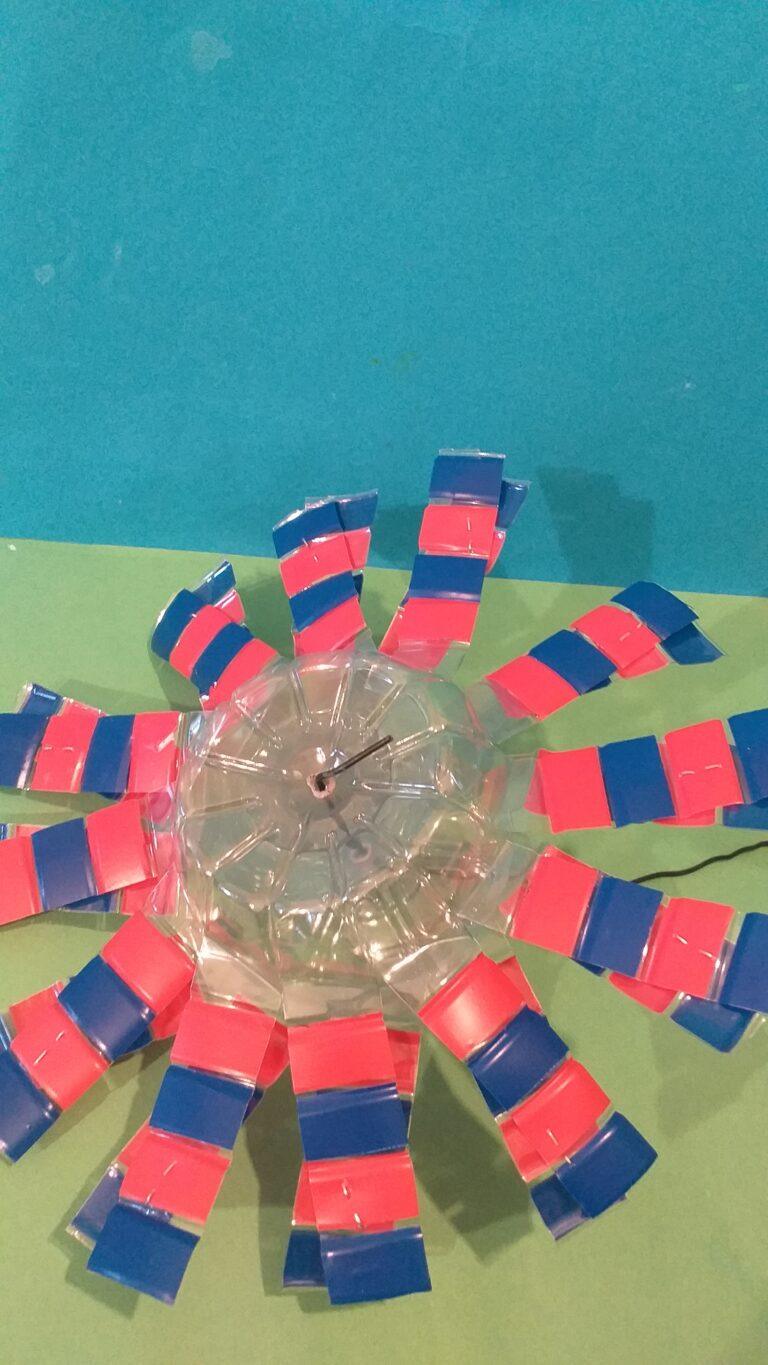
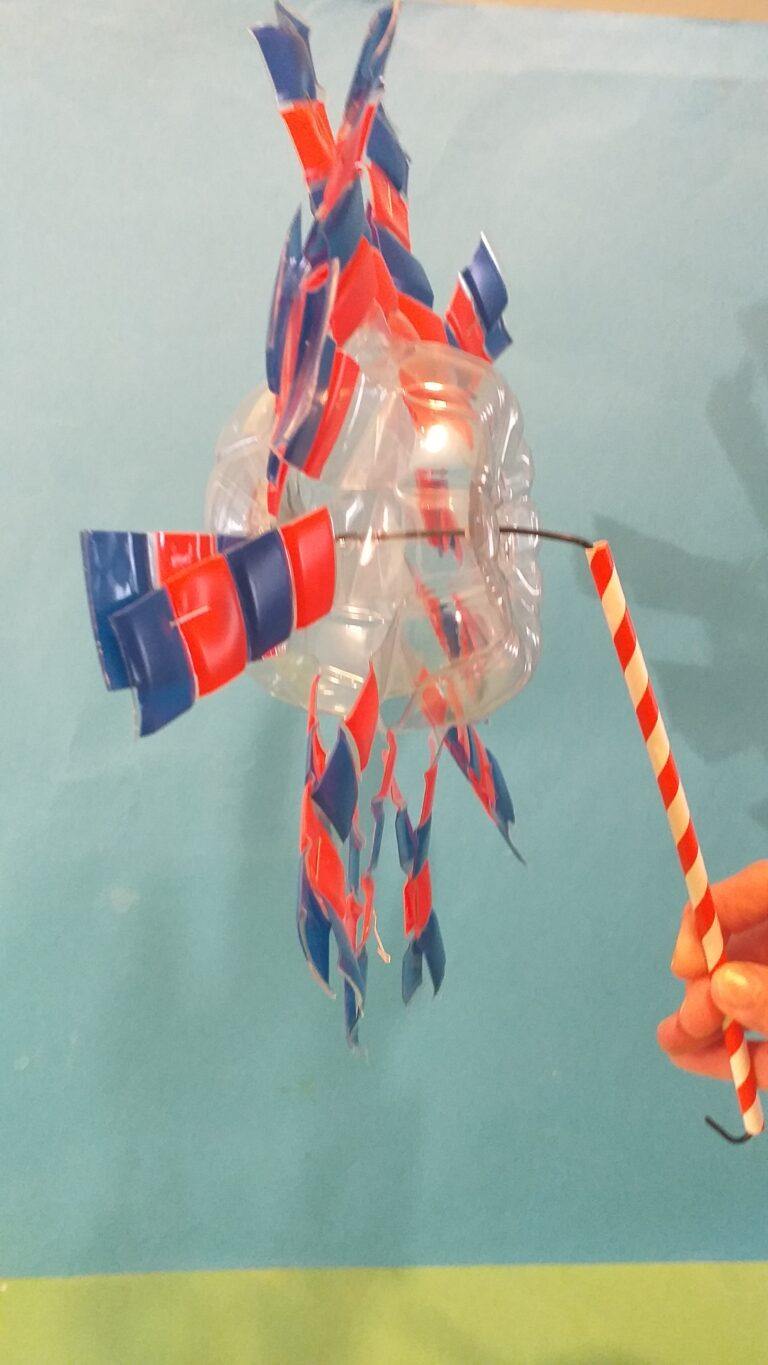
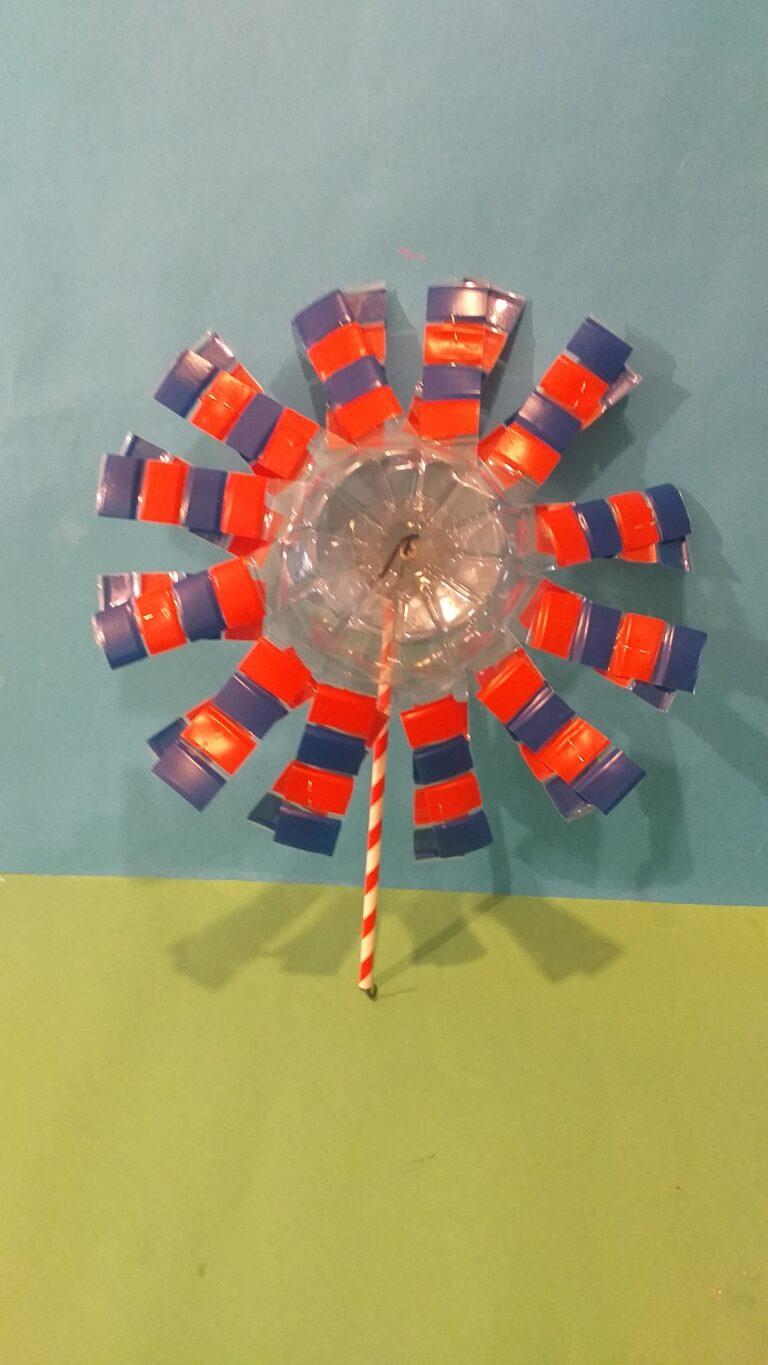
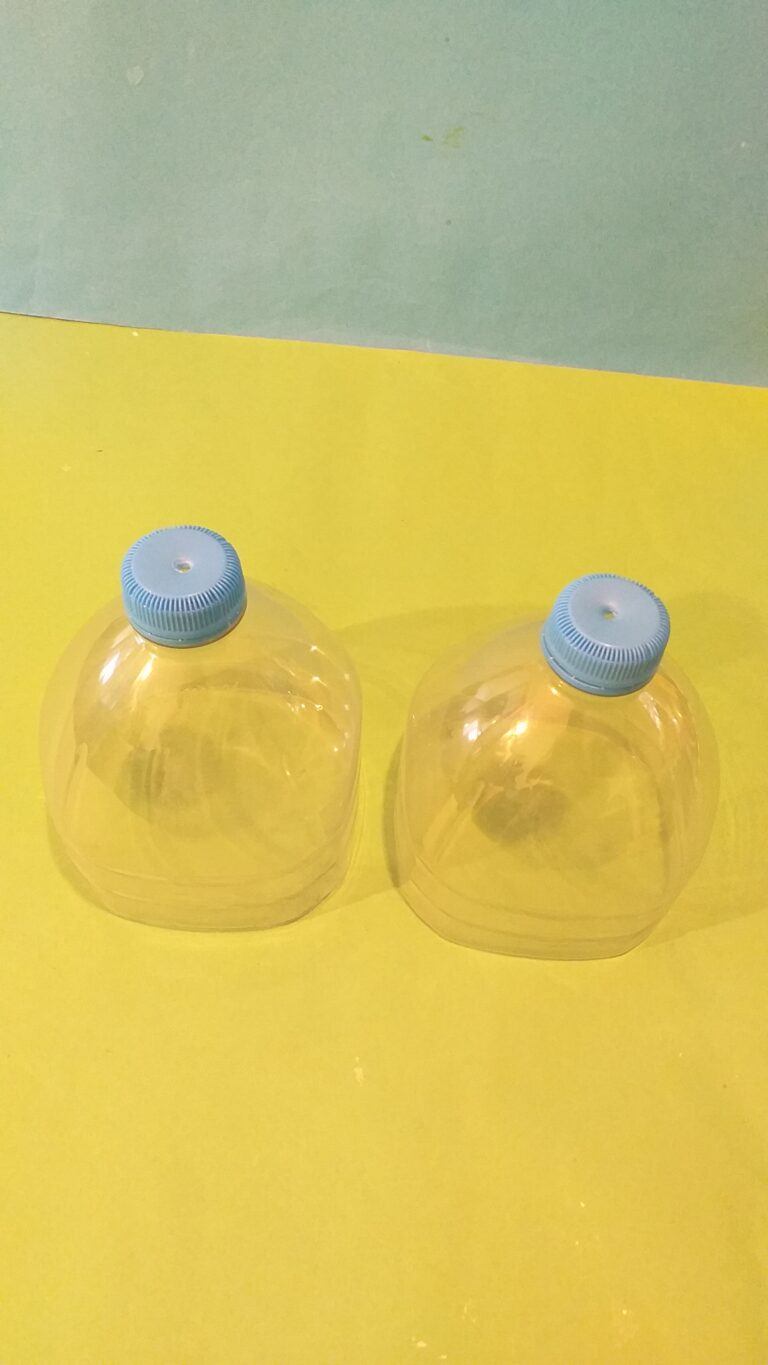
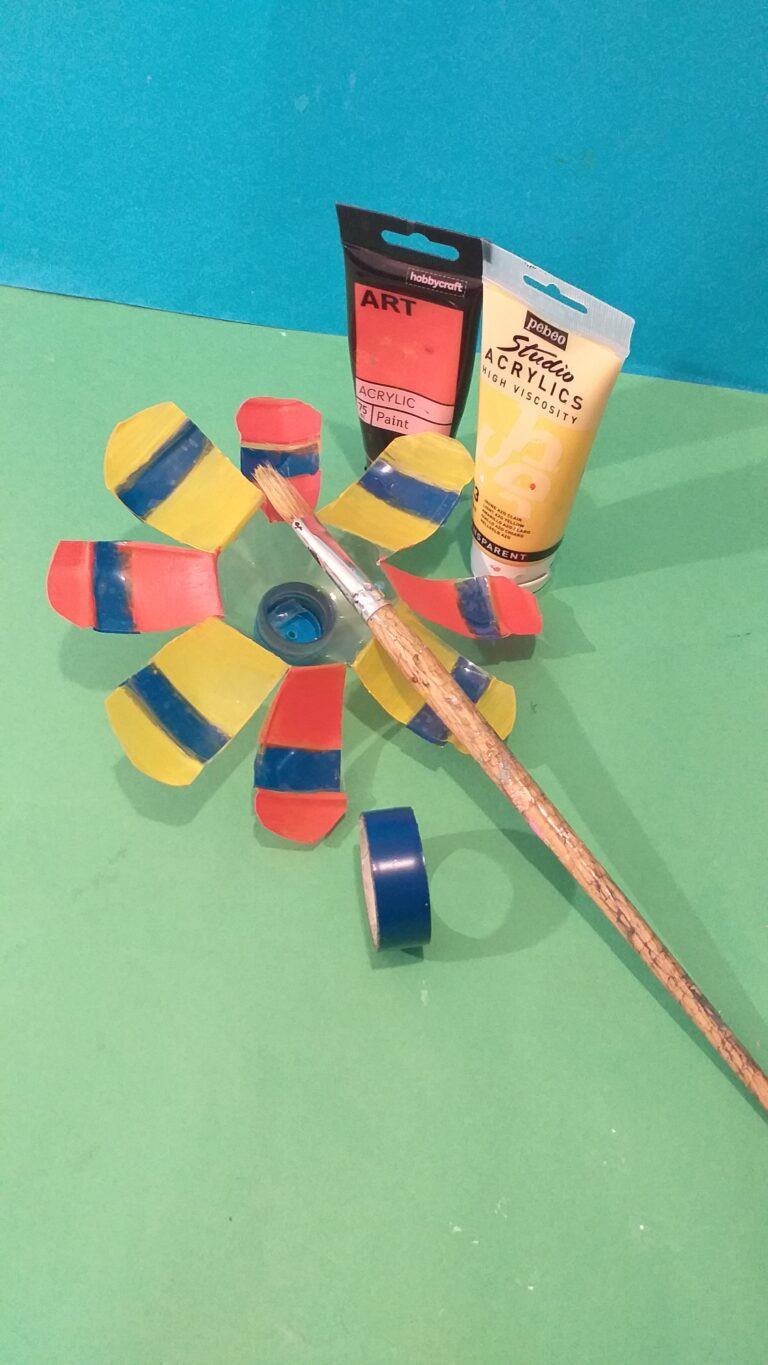
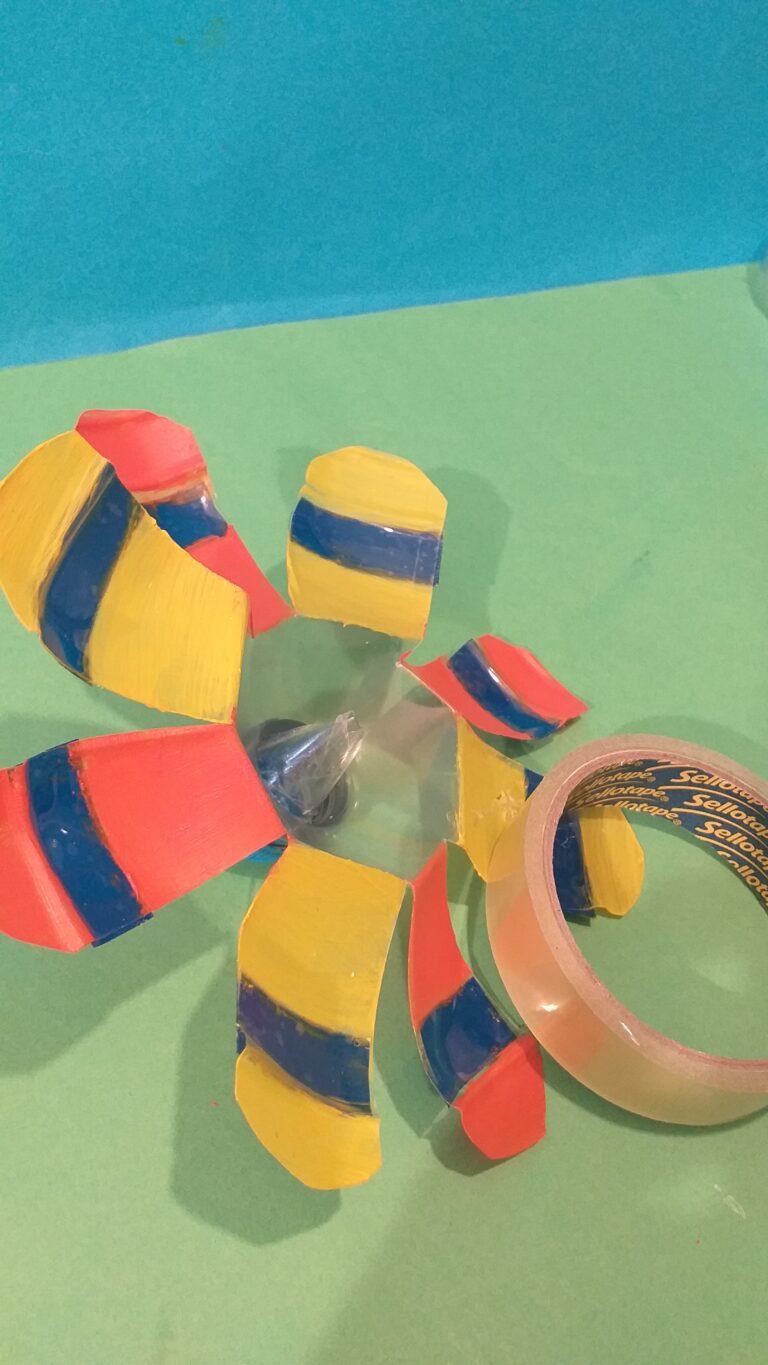
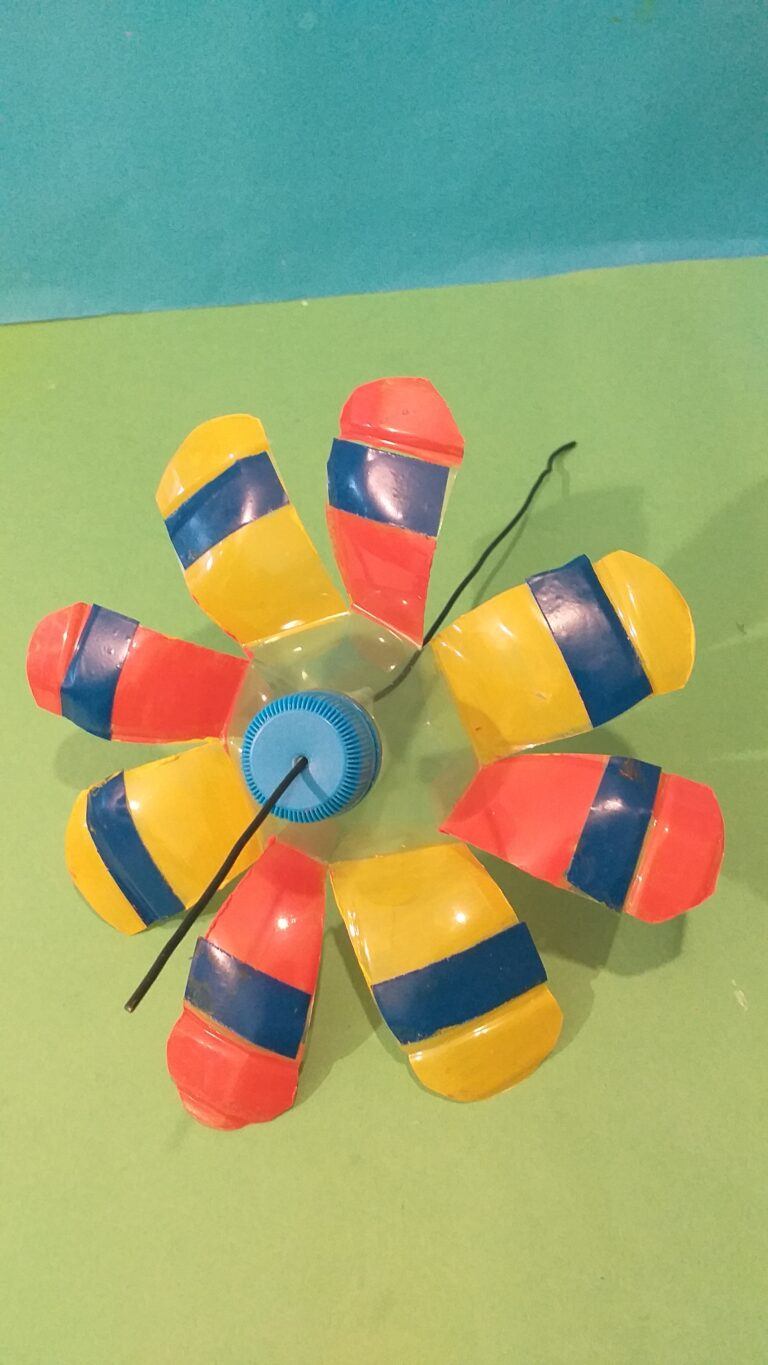
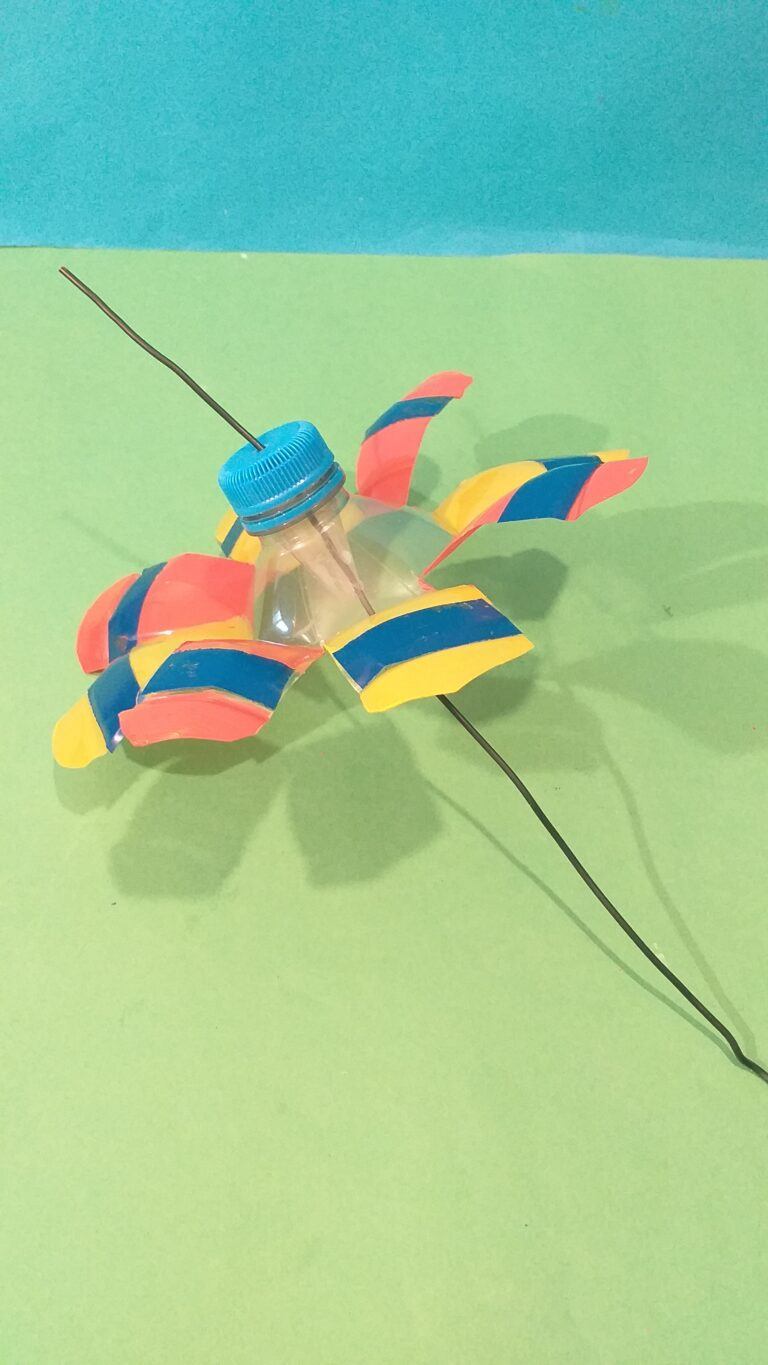
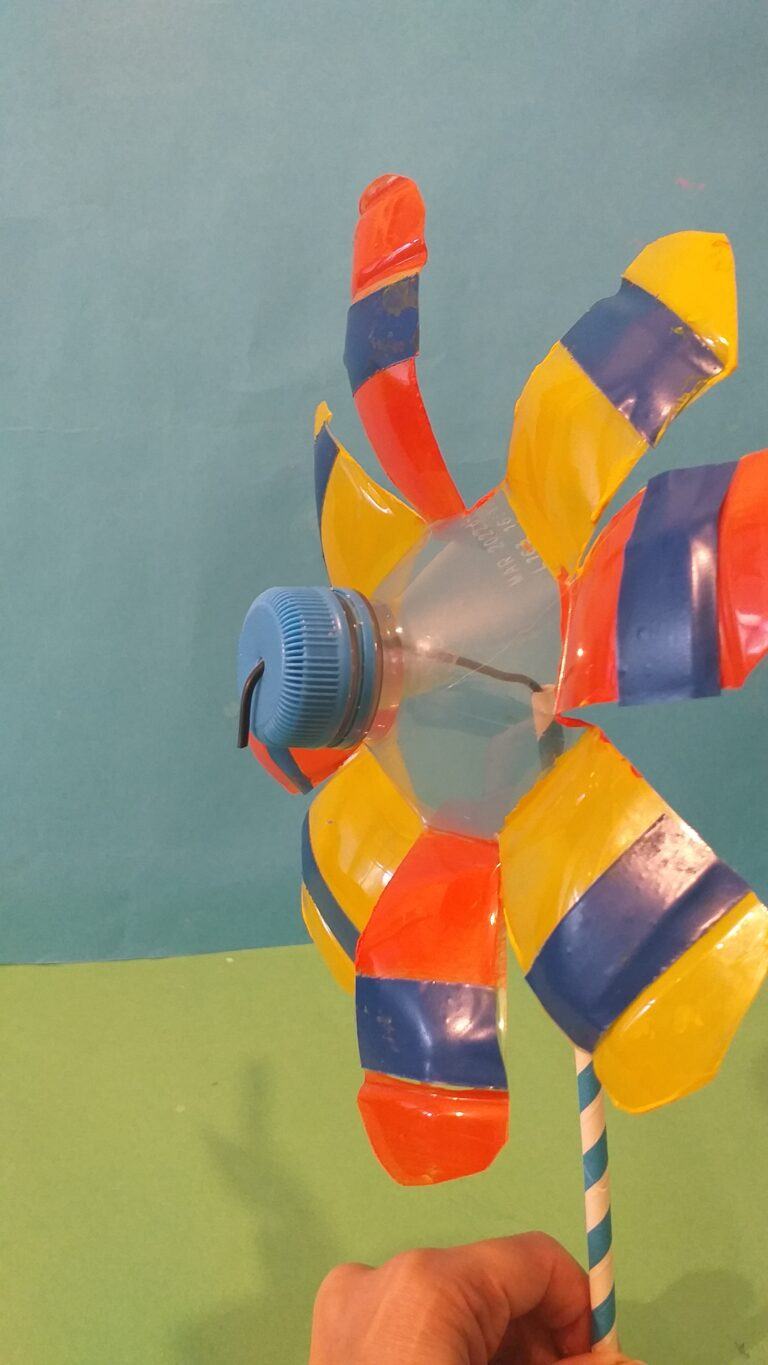
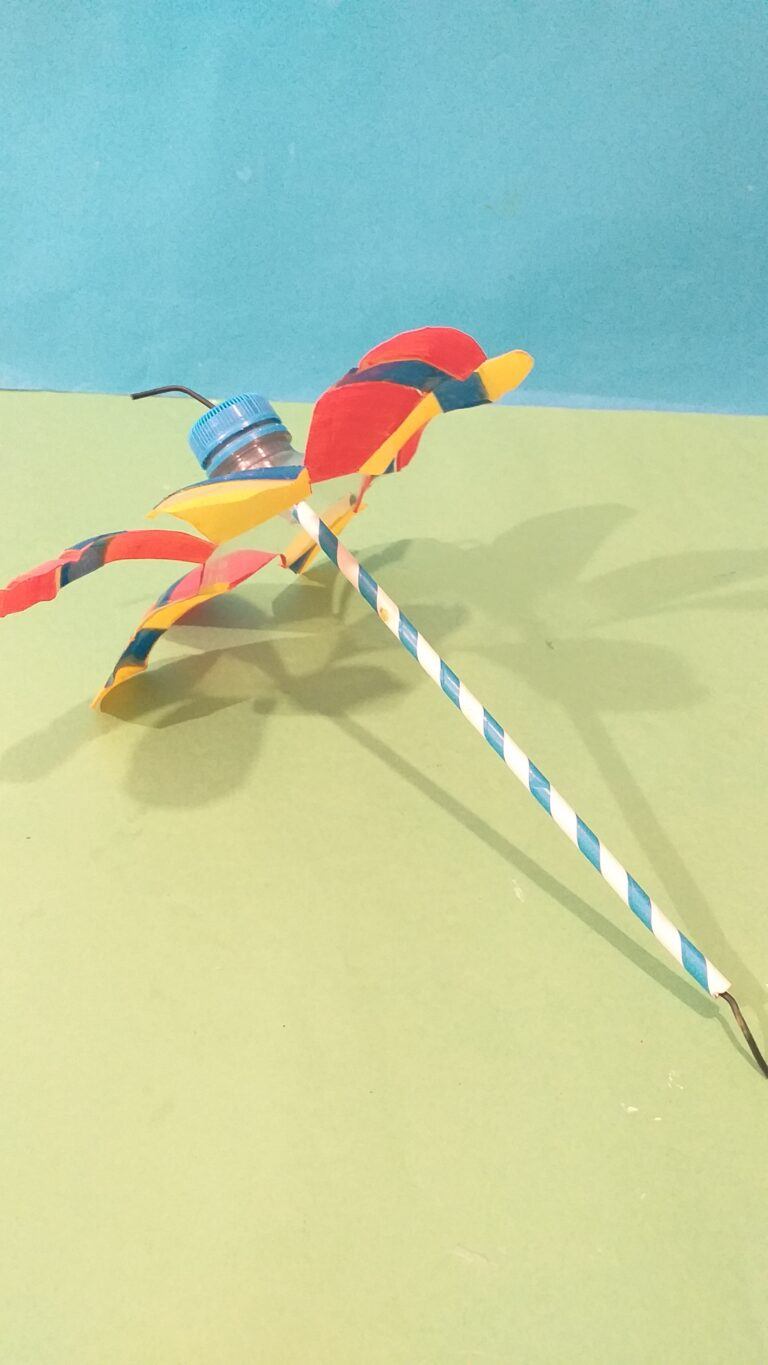
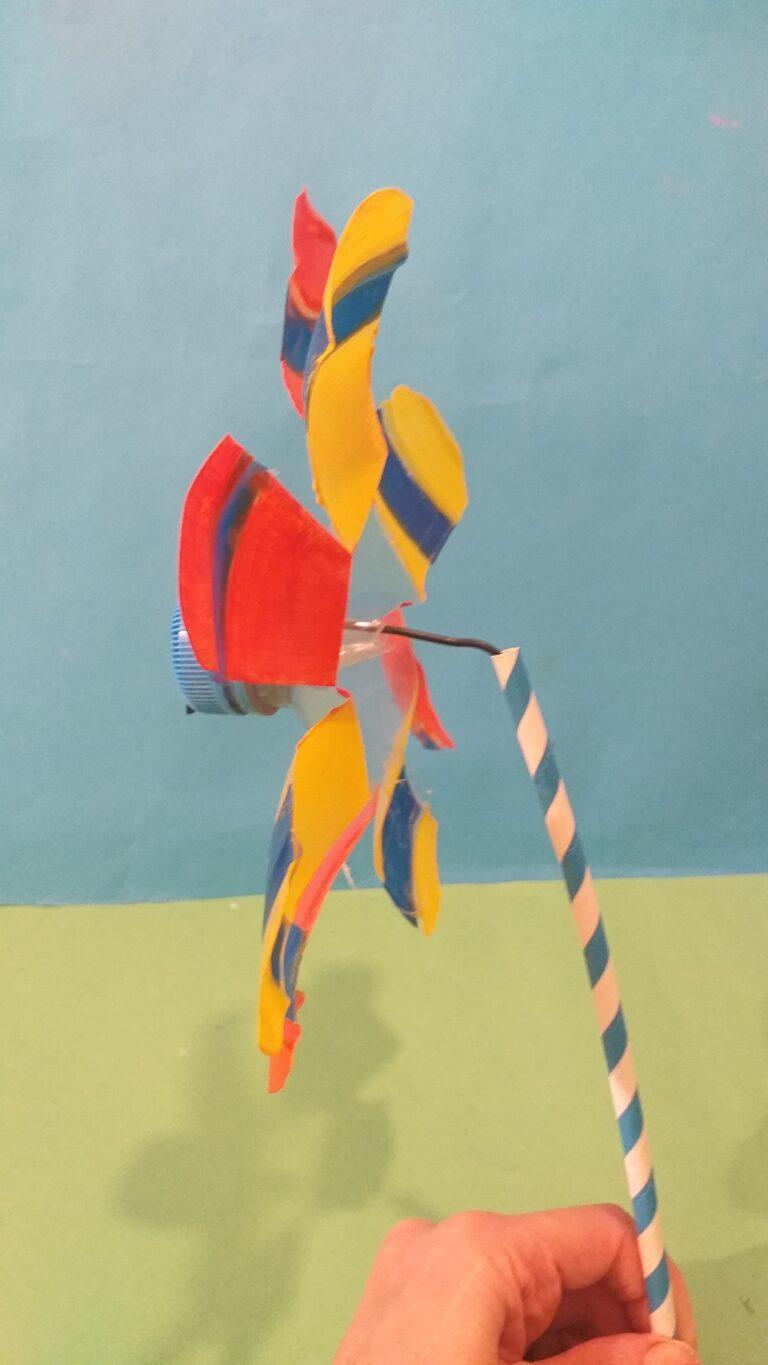
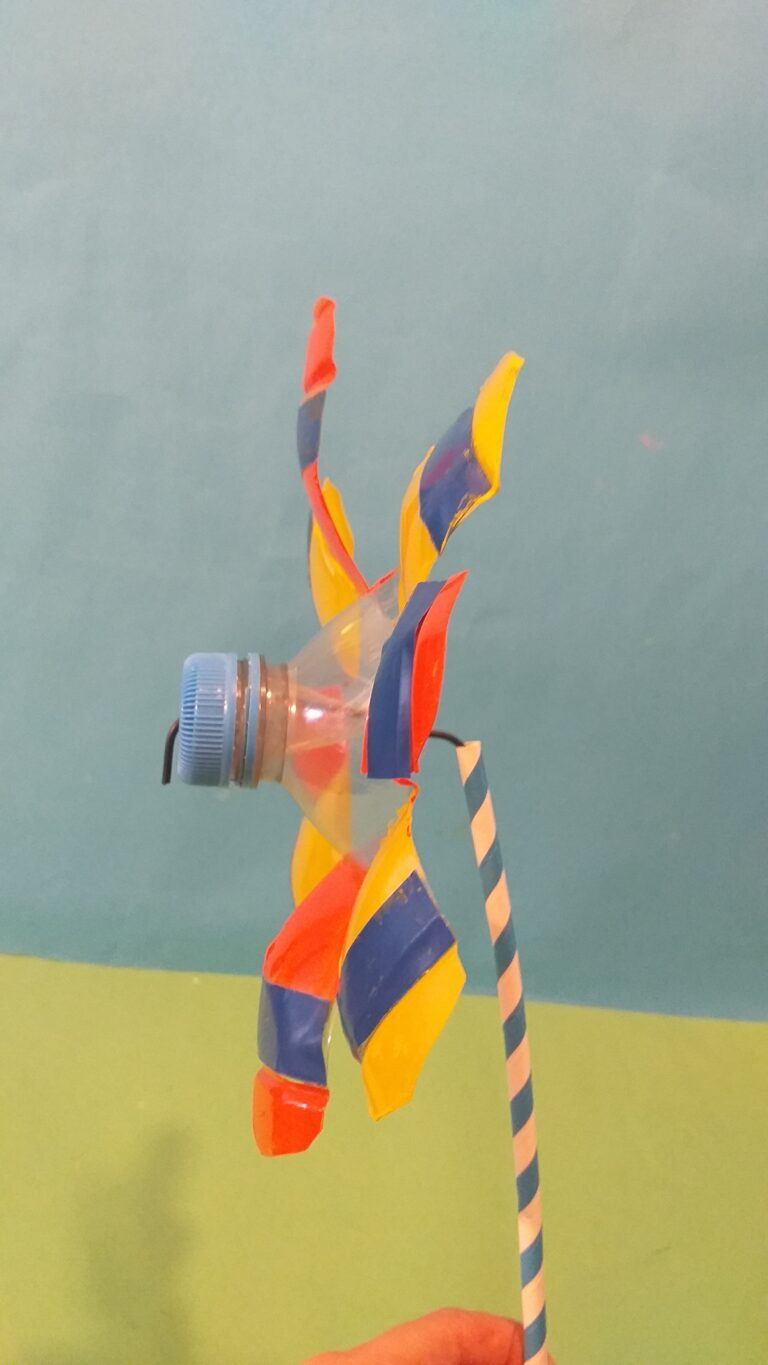
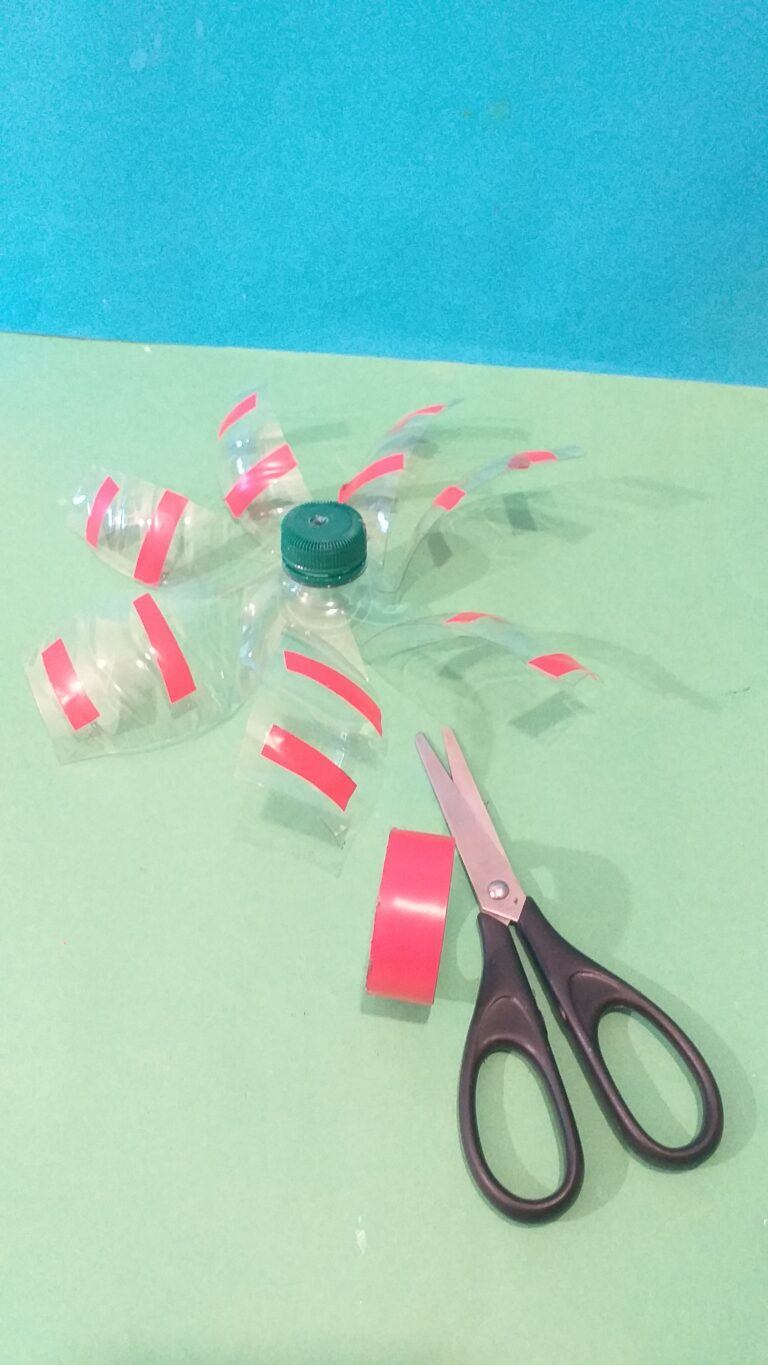
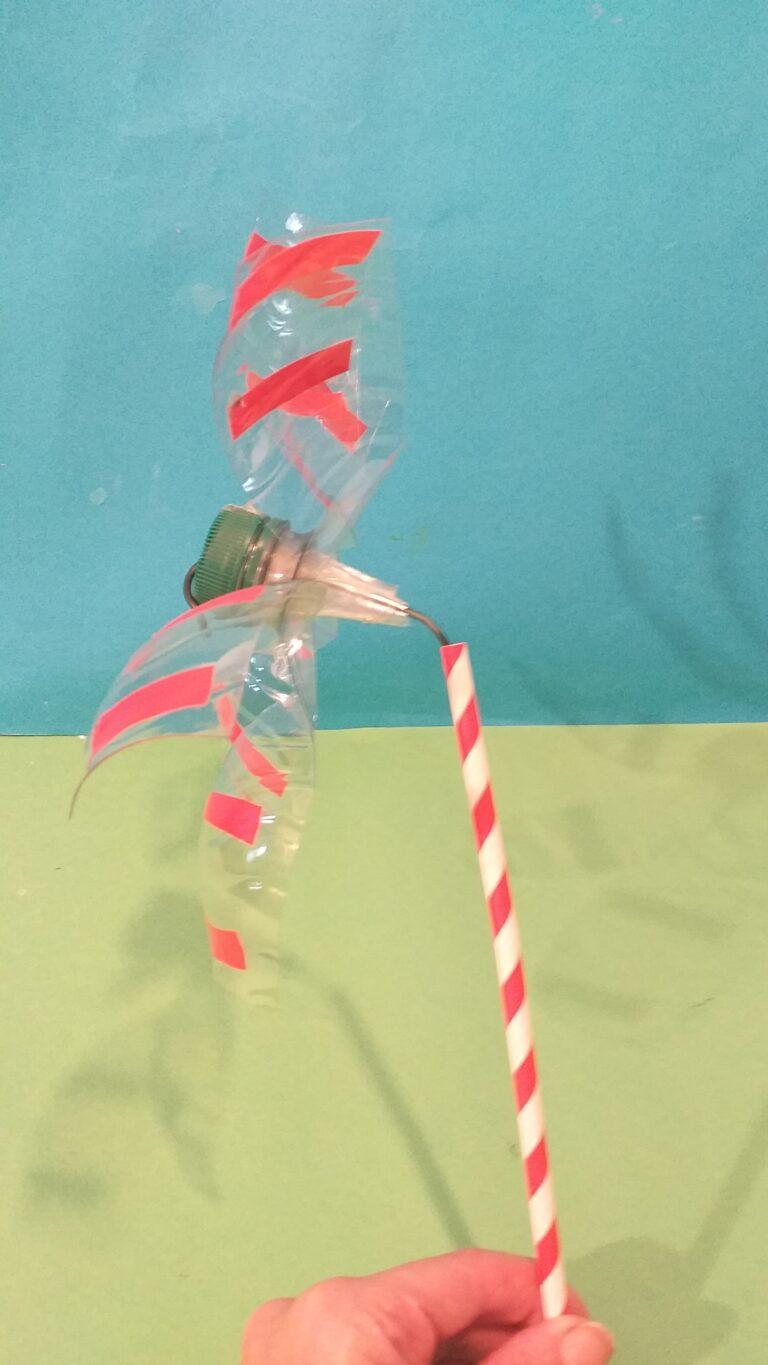
There are endless ways you can use a soldering iron, I found one way and that was to make super quick holes in plastic.
HOW I CLEANED IT UP!
Whilst burning plastic, there was a build-up of carbon on the tip, this has to be cleaned off to maintain good working order of the tool for next time.
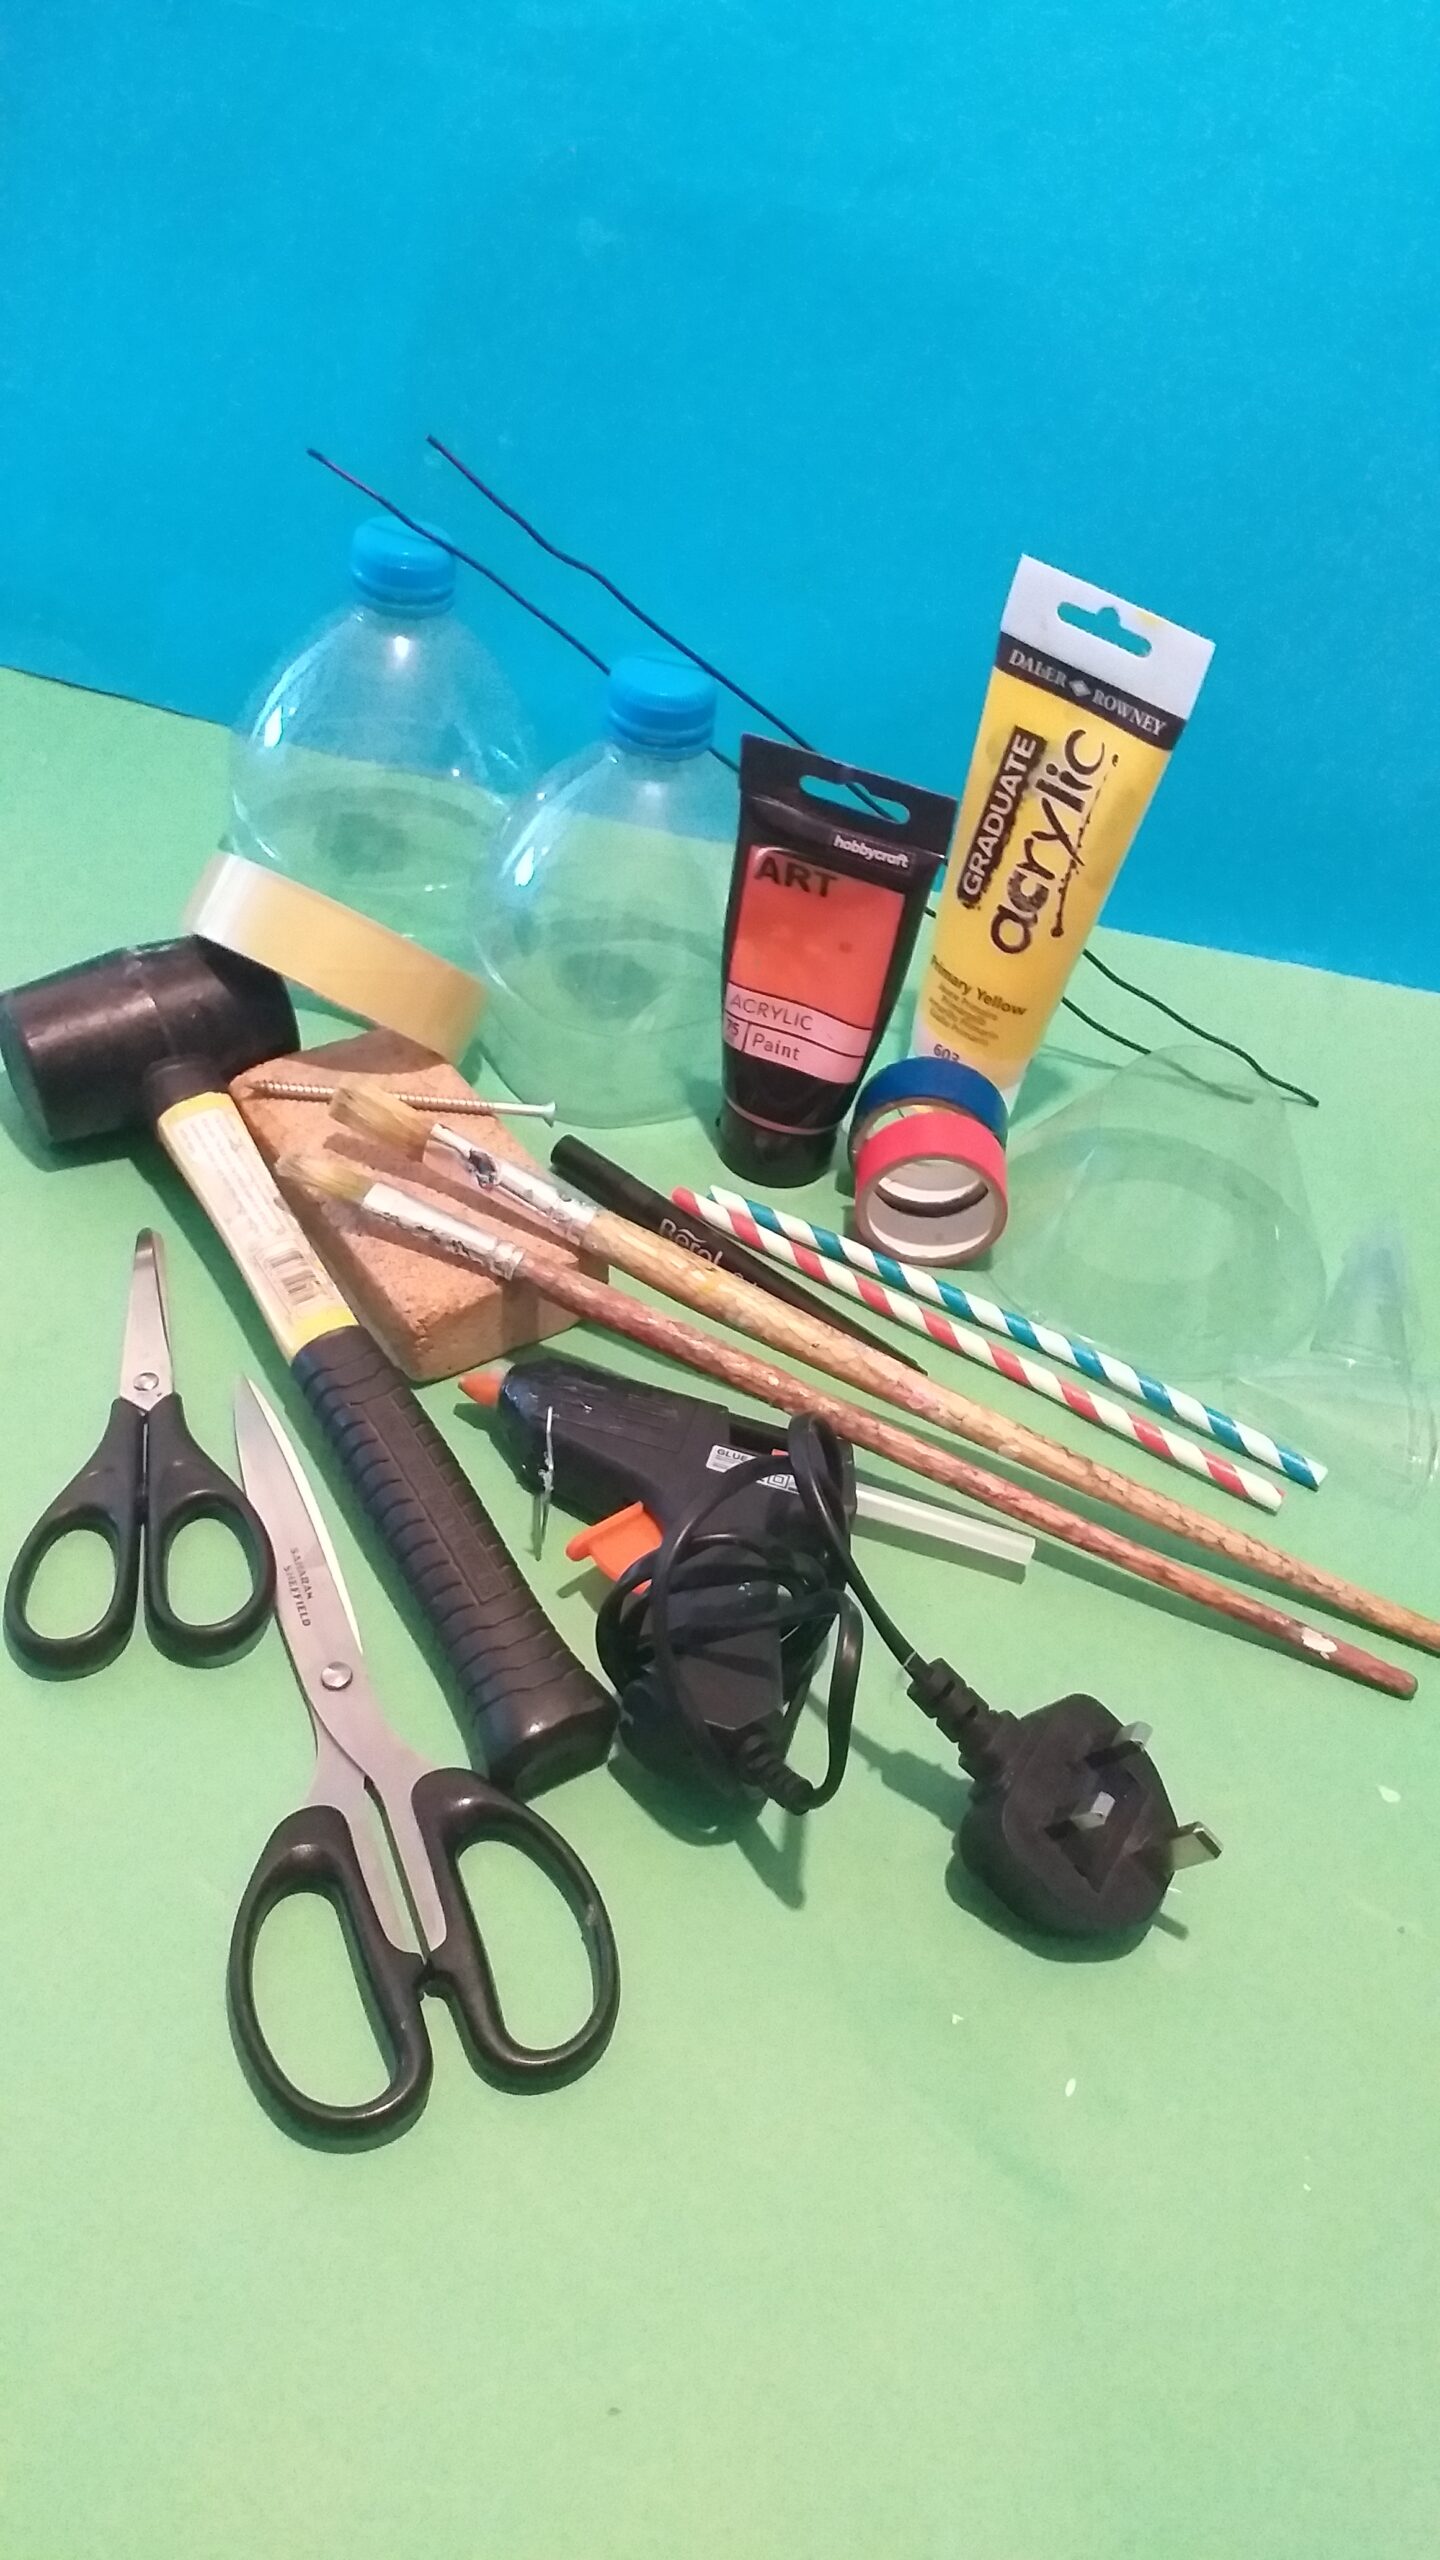
START OFF!
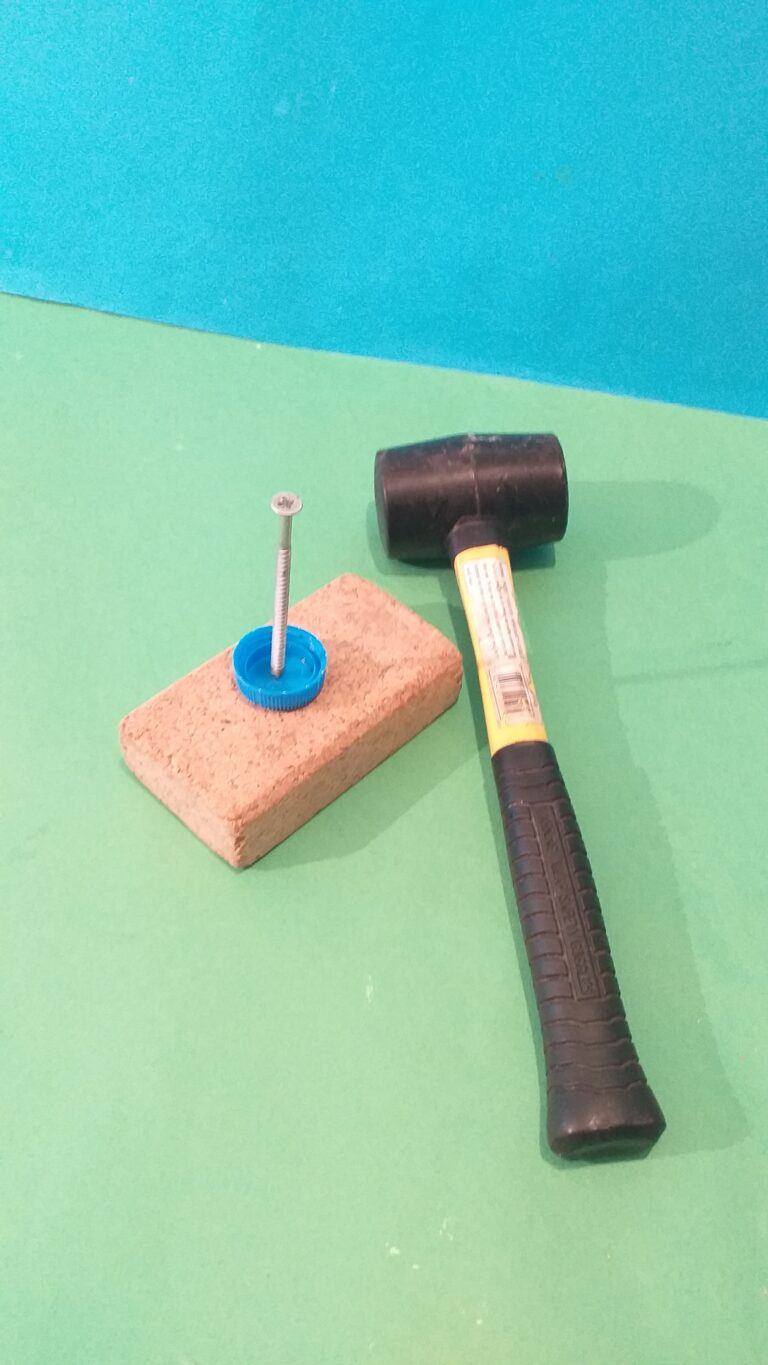
First, you have to heat it up, On hand I had a block of fabricated wood to sit the hot iron on, making sure the tip does not touch the block.
RIGHT SPONGE!
I had a damp sponge with a textured surface and a damp paper towel, as well as a scouring wire and some cleaning paste.
Alternating I rubbed the tip on the paper towel, and on the sponge and had a good rub on the scouring wire, eventually, it cleaned up.
SWITCH OFF!
At this point, I switched off the plug and the soldering iron was hot enough to continue with cleaning. The heat helps melt and shift the carbon residue.
APPLY PASTE!
I also applied some cleaning paste to the tip, which helped shift the small hard-to-get area.
FINALLY!
Finally, clean the tip up with a microfibre cloth and as you can see in the picture above it’s cleaned up really well!