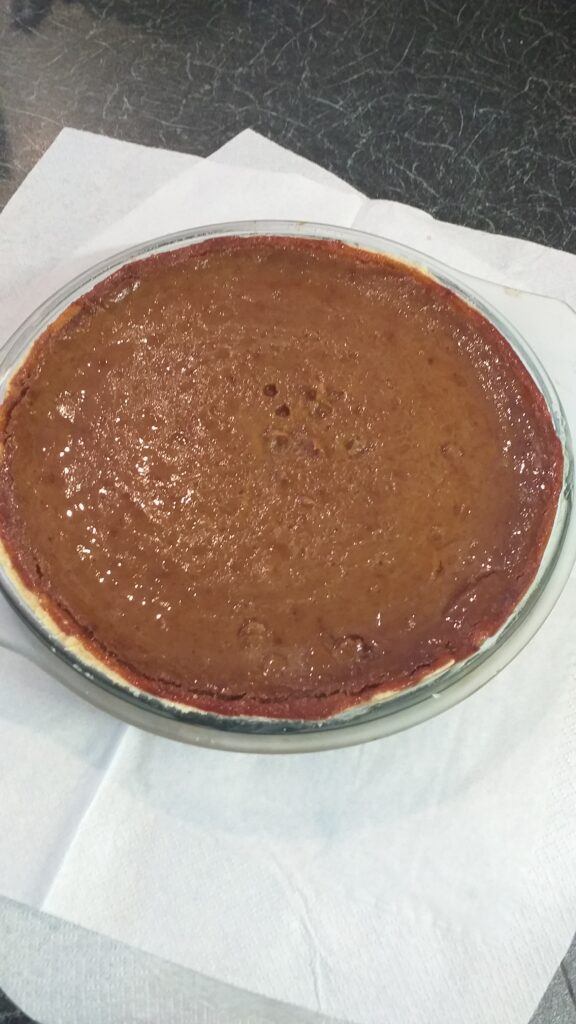
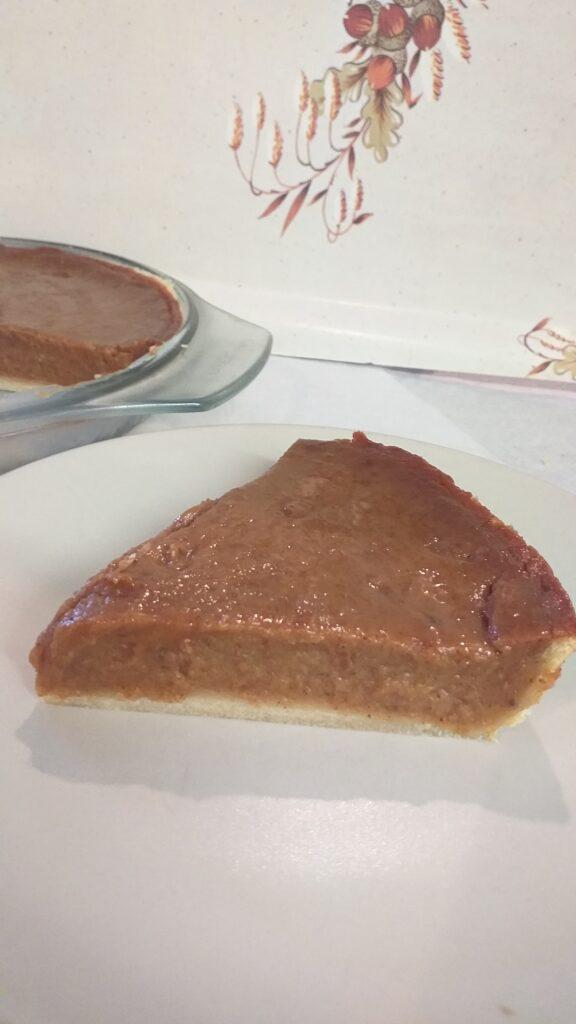
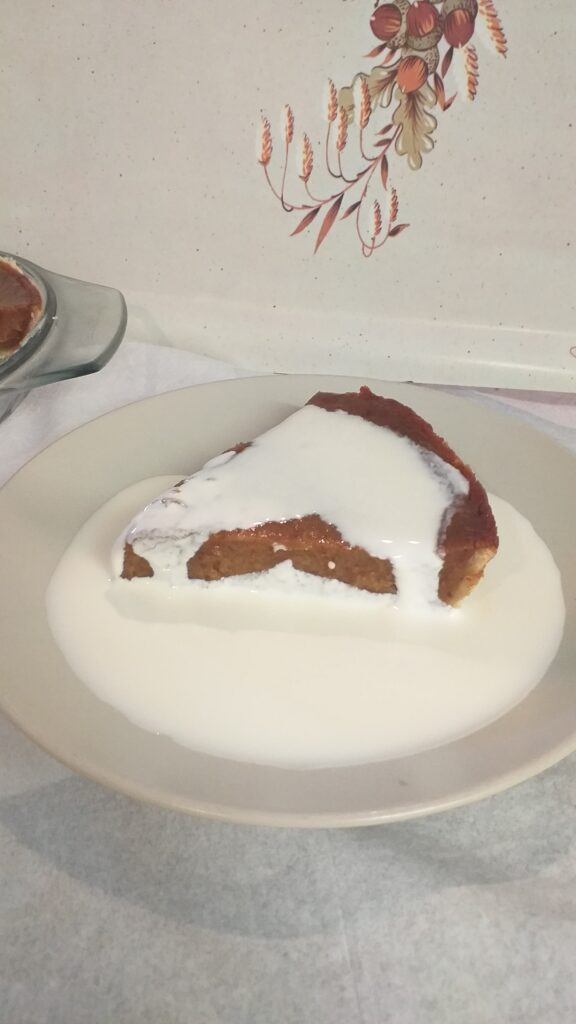
This is the first time I got to make Pumpkin pie, and it came out exactly as described. I added fresh cream as a final touch,
SET IN A FRIDGE!
It needed to be set overnight in the fridge, as the filling is like a blancmange. I found the taste to be very flavoursome! and very strong!
BURST OF FLAVOURS!
Pumpkin in itself really has no flavour as such, as I had a taste whilst raw and baked, and it was quite bland, so by adding all those spices it knocked it up a bit,….. well more like an explosion in your mouth!
MOUTH-WATERING SPICES!
It is a very unusual flavour, an acquired taste, but worth giving it a go. My recommendation is to tame the amount of spices you add. For me, less is more. I did find the nutmeg to be a little bit overwhelming, but hey, you may like that, and also maybe tone down on the sugar.
LESS IS MORE!
Try to make it kid-friendly, so instead of half a teaspoon of each spice, go with a quarter teaspoon.
MY FINAL THOUGHTS!
This type of pie is more geared towards adults, as it has a strong flavour.
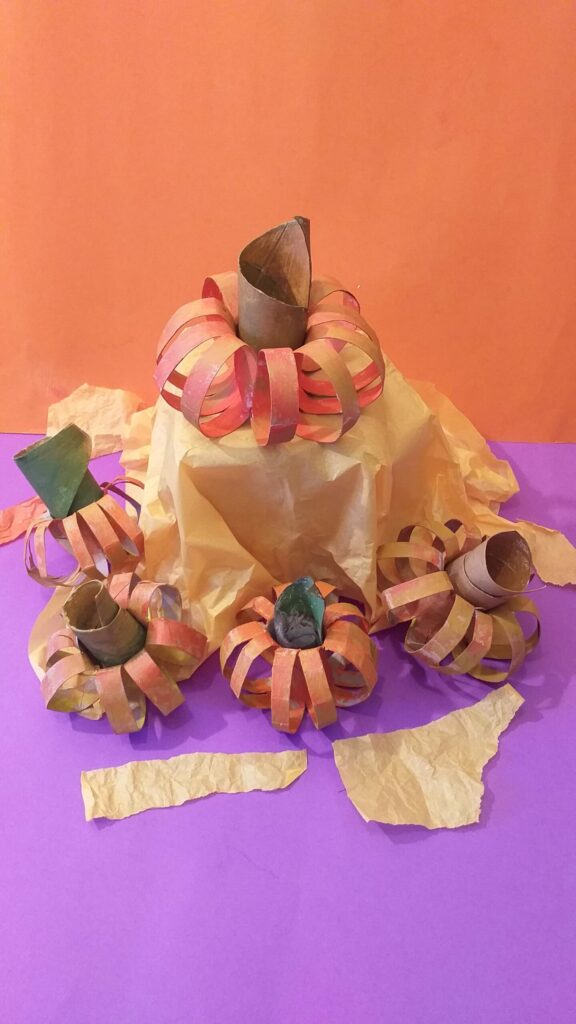
HALLOWEEN AND PUMPKINS!
Pumpkin pie is a tradition that ties in neatly with Halloween, and for those like-minded, I applaud them for making the best of a vegetable that is often discarded after its use.
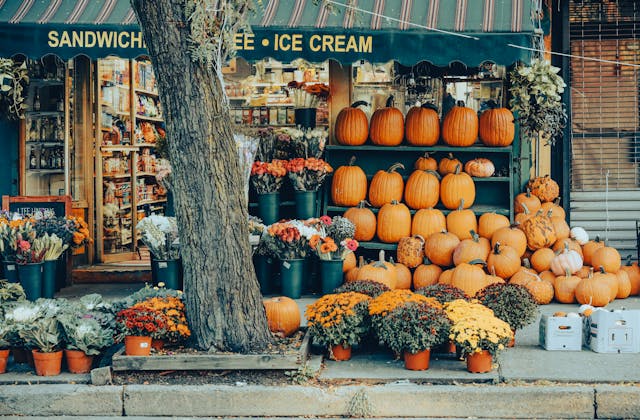
NEVER TASTED PUMPKIN PIE!
As a Londoner, I have heard of Pumpkin pie, but have never seen or tasted it before now, and it’s always been more about what Americans make during Halloween and what I have read about in children’s stories.
THUMBS UP FROM THE FAMILY!
So there you have it, curiosity took the better of me, and as I had featured it in this post, I felt that this was a perfect opportunity to bake it for myself and try it out on my family, and I got a thumbs up.
I would like to hear your take on Pumpkin pie and if you make it during this time of the year.
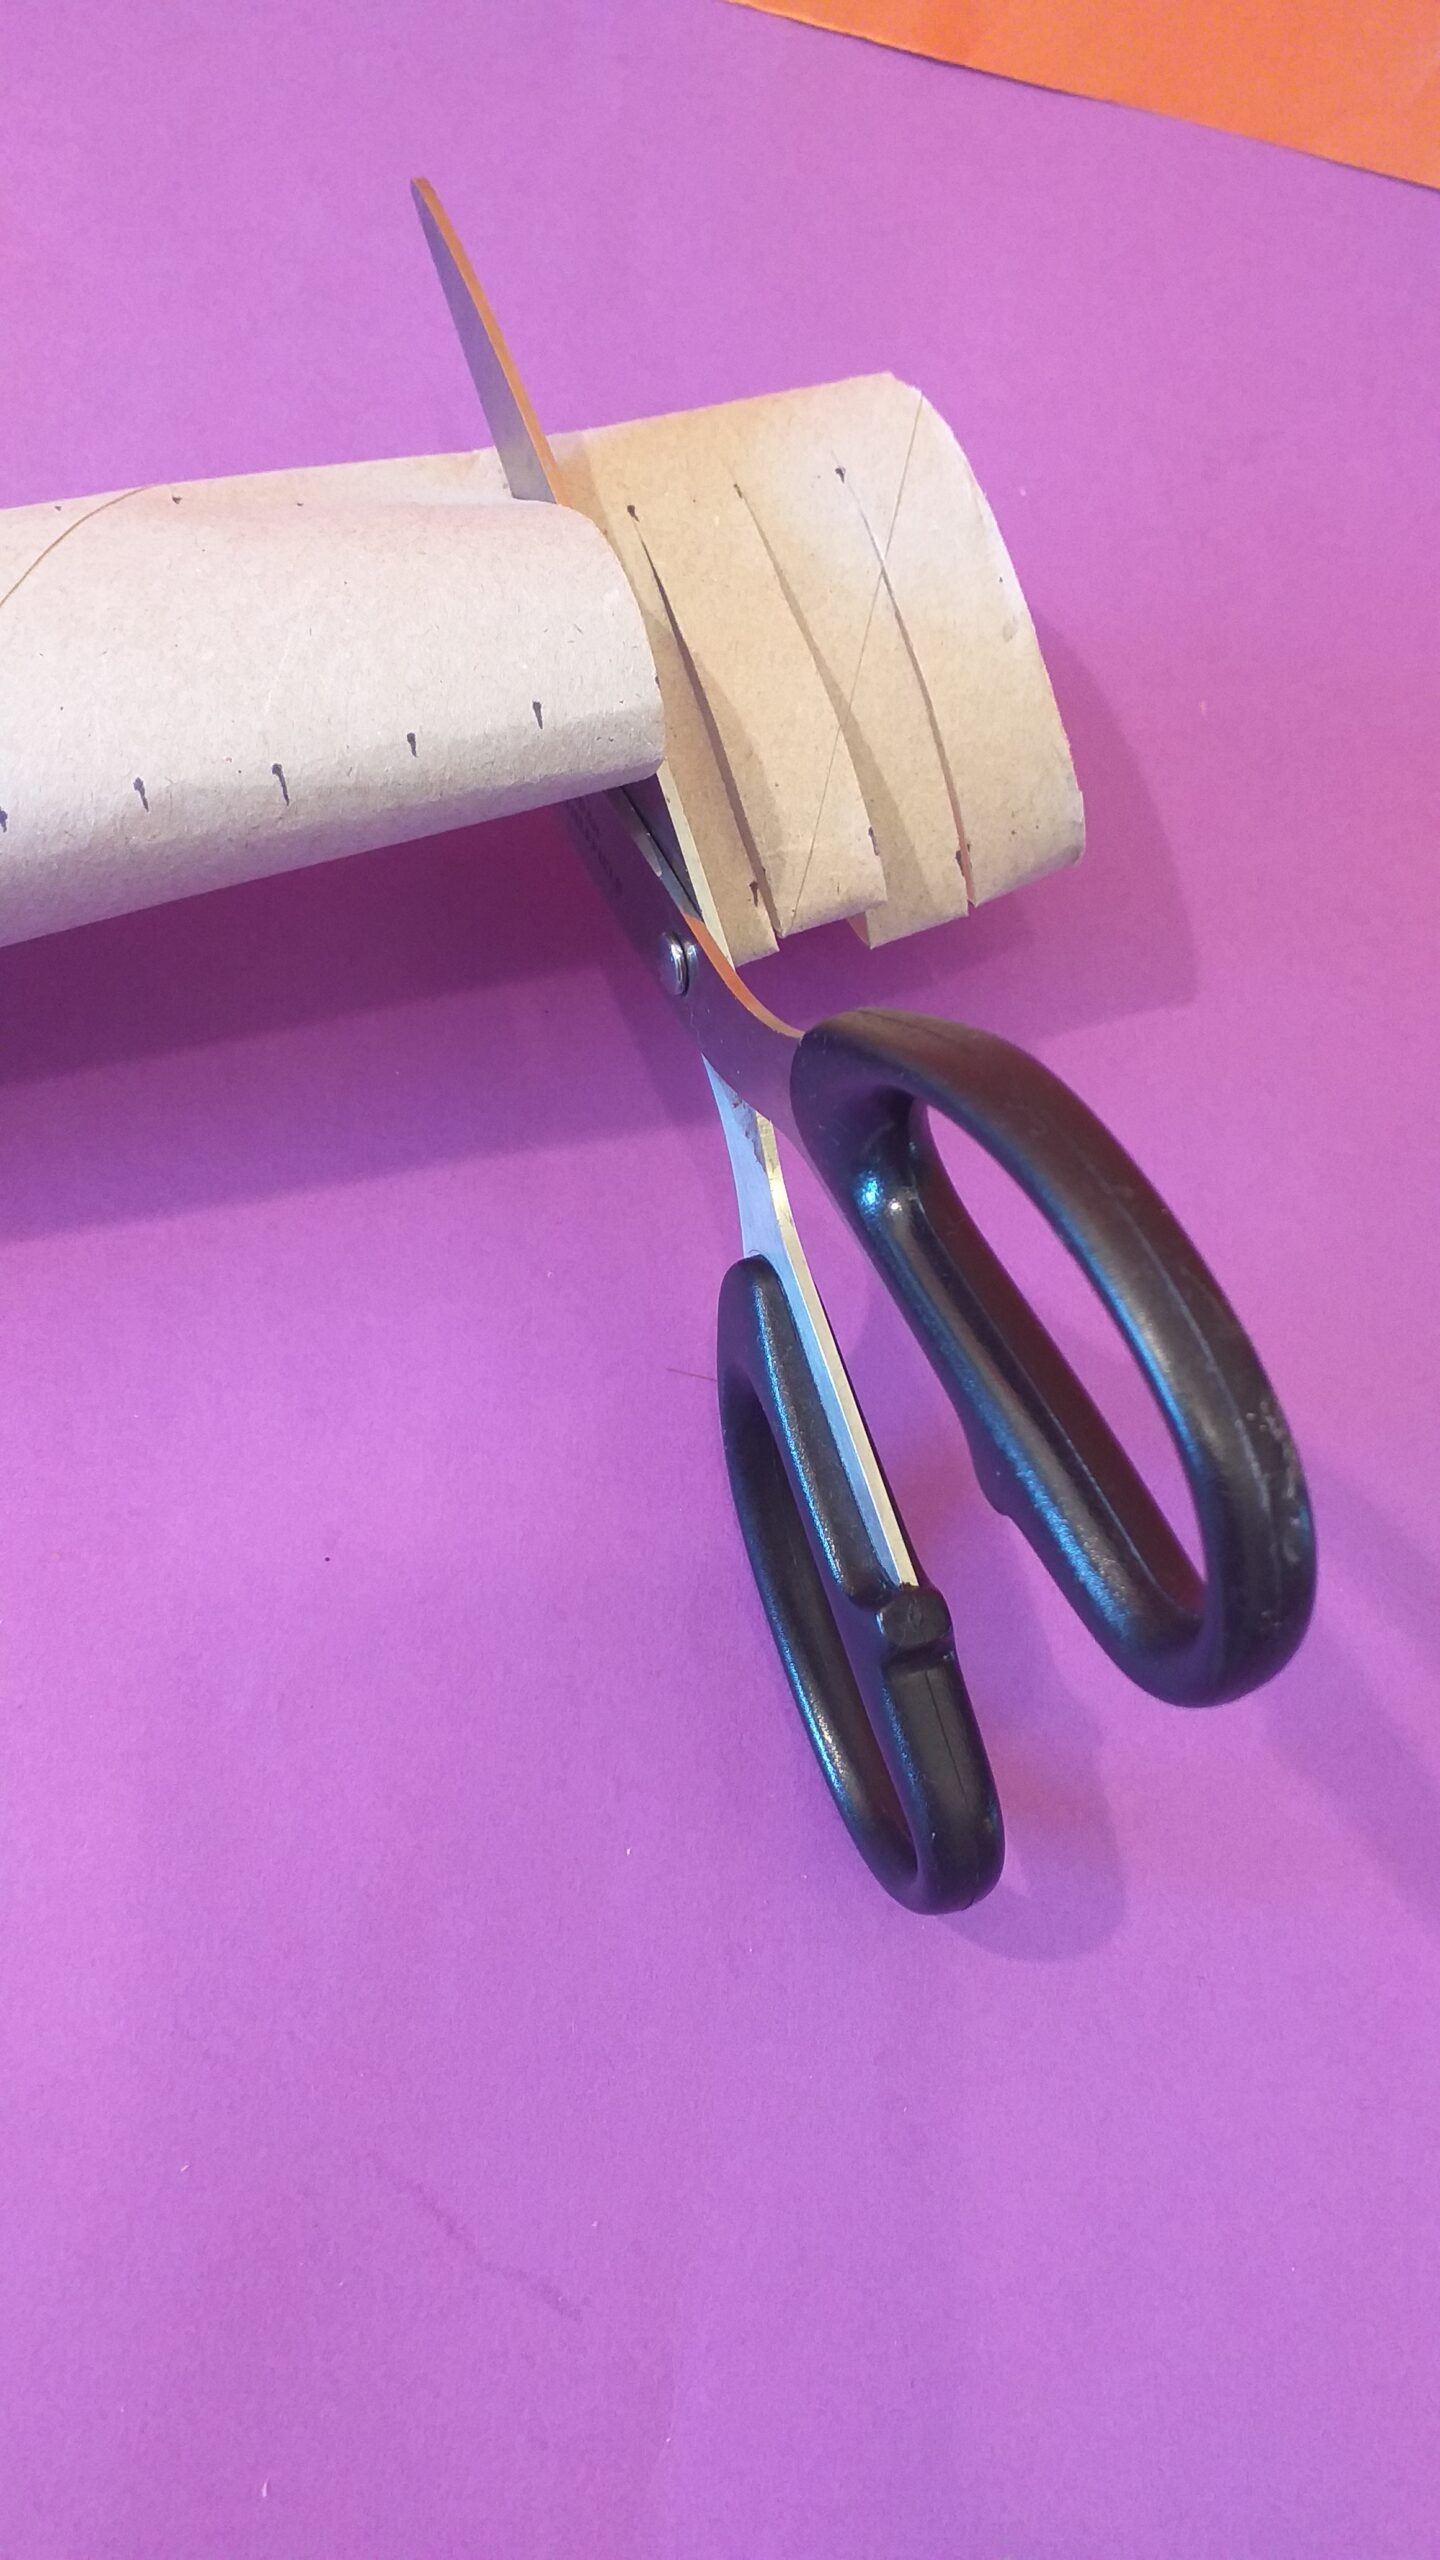
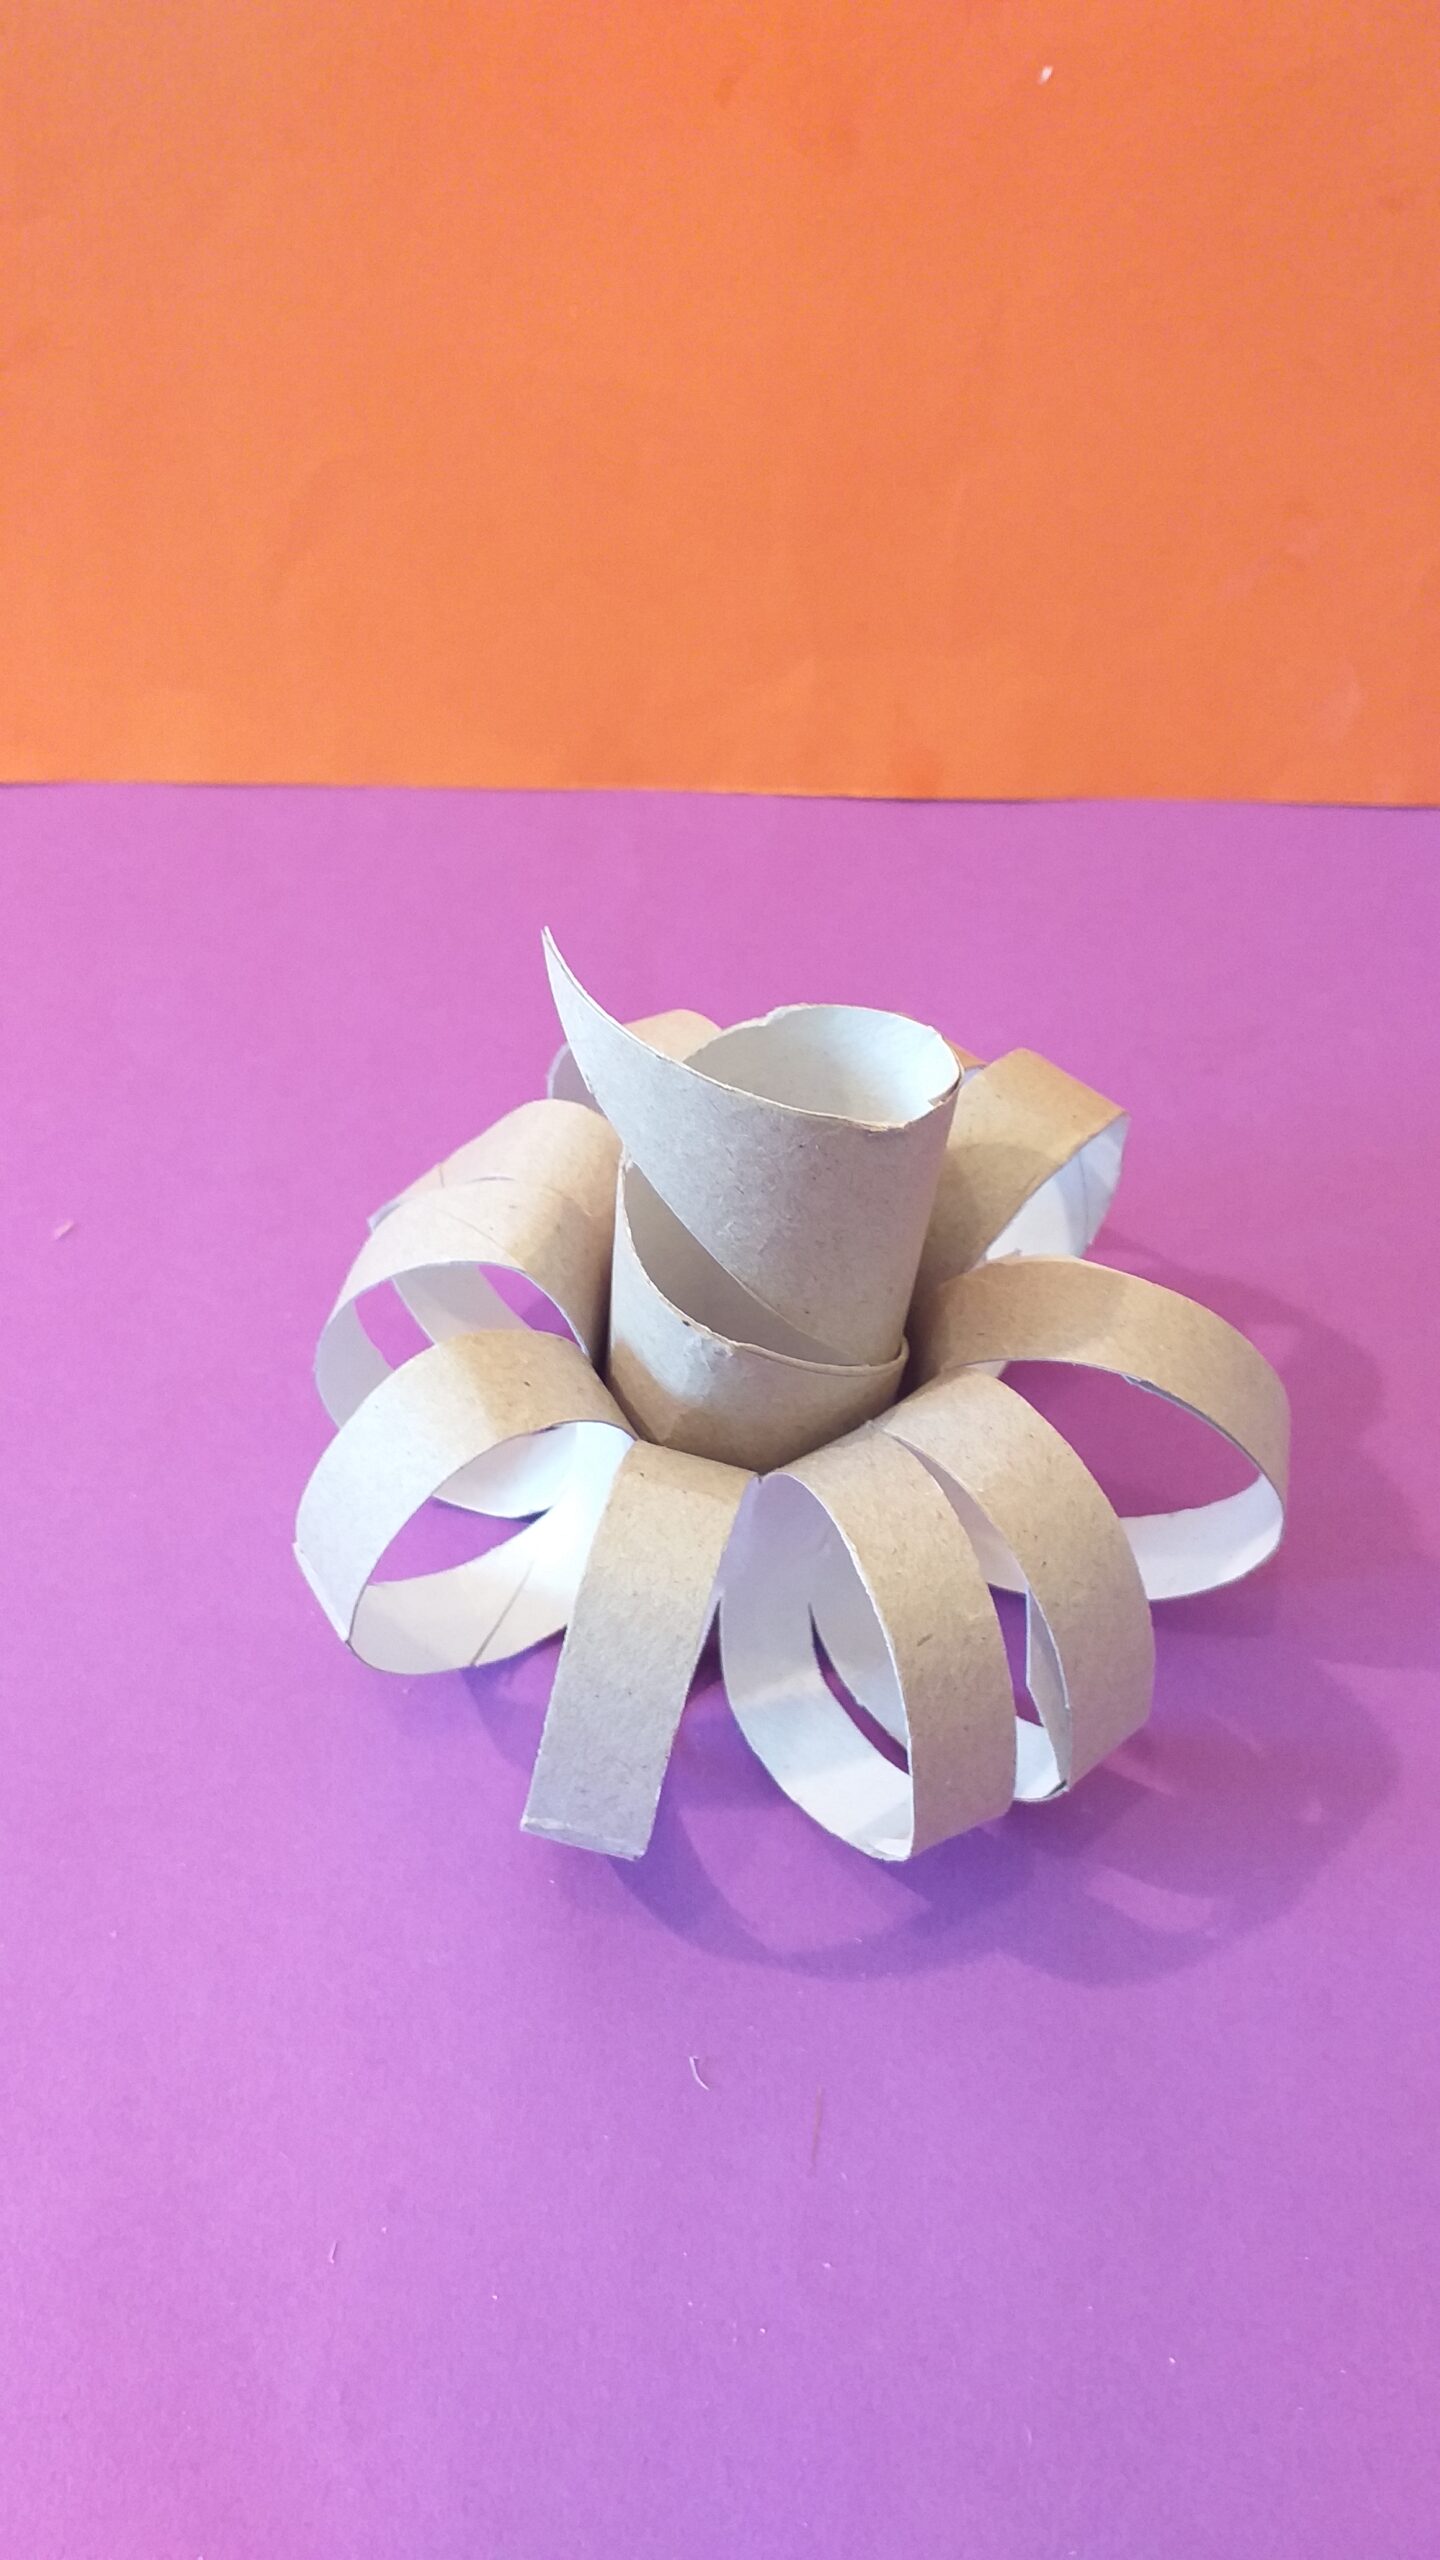
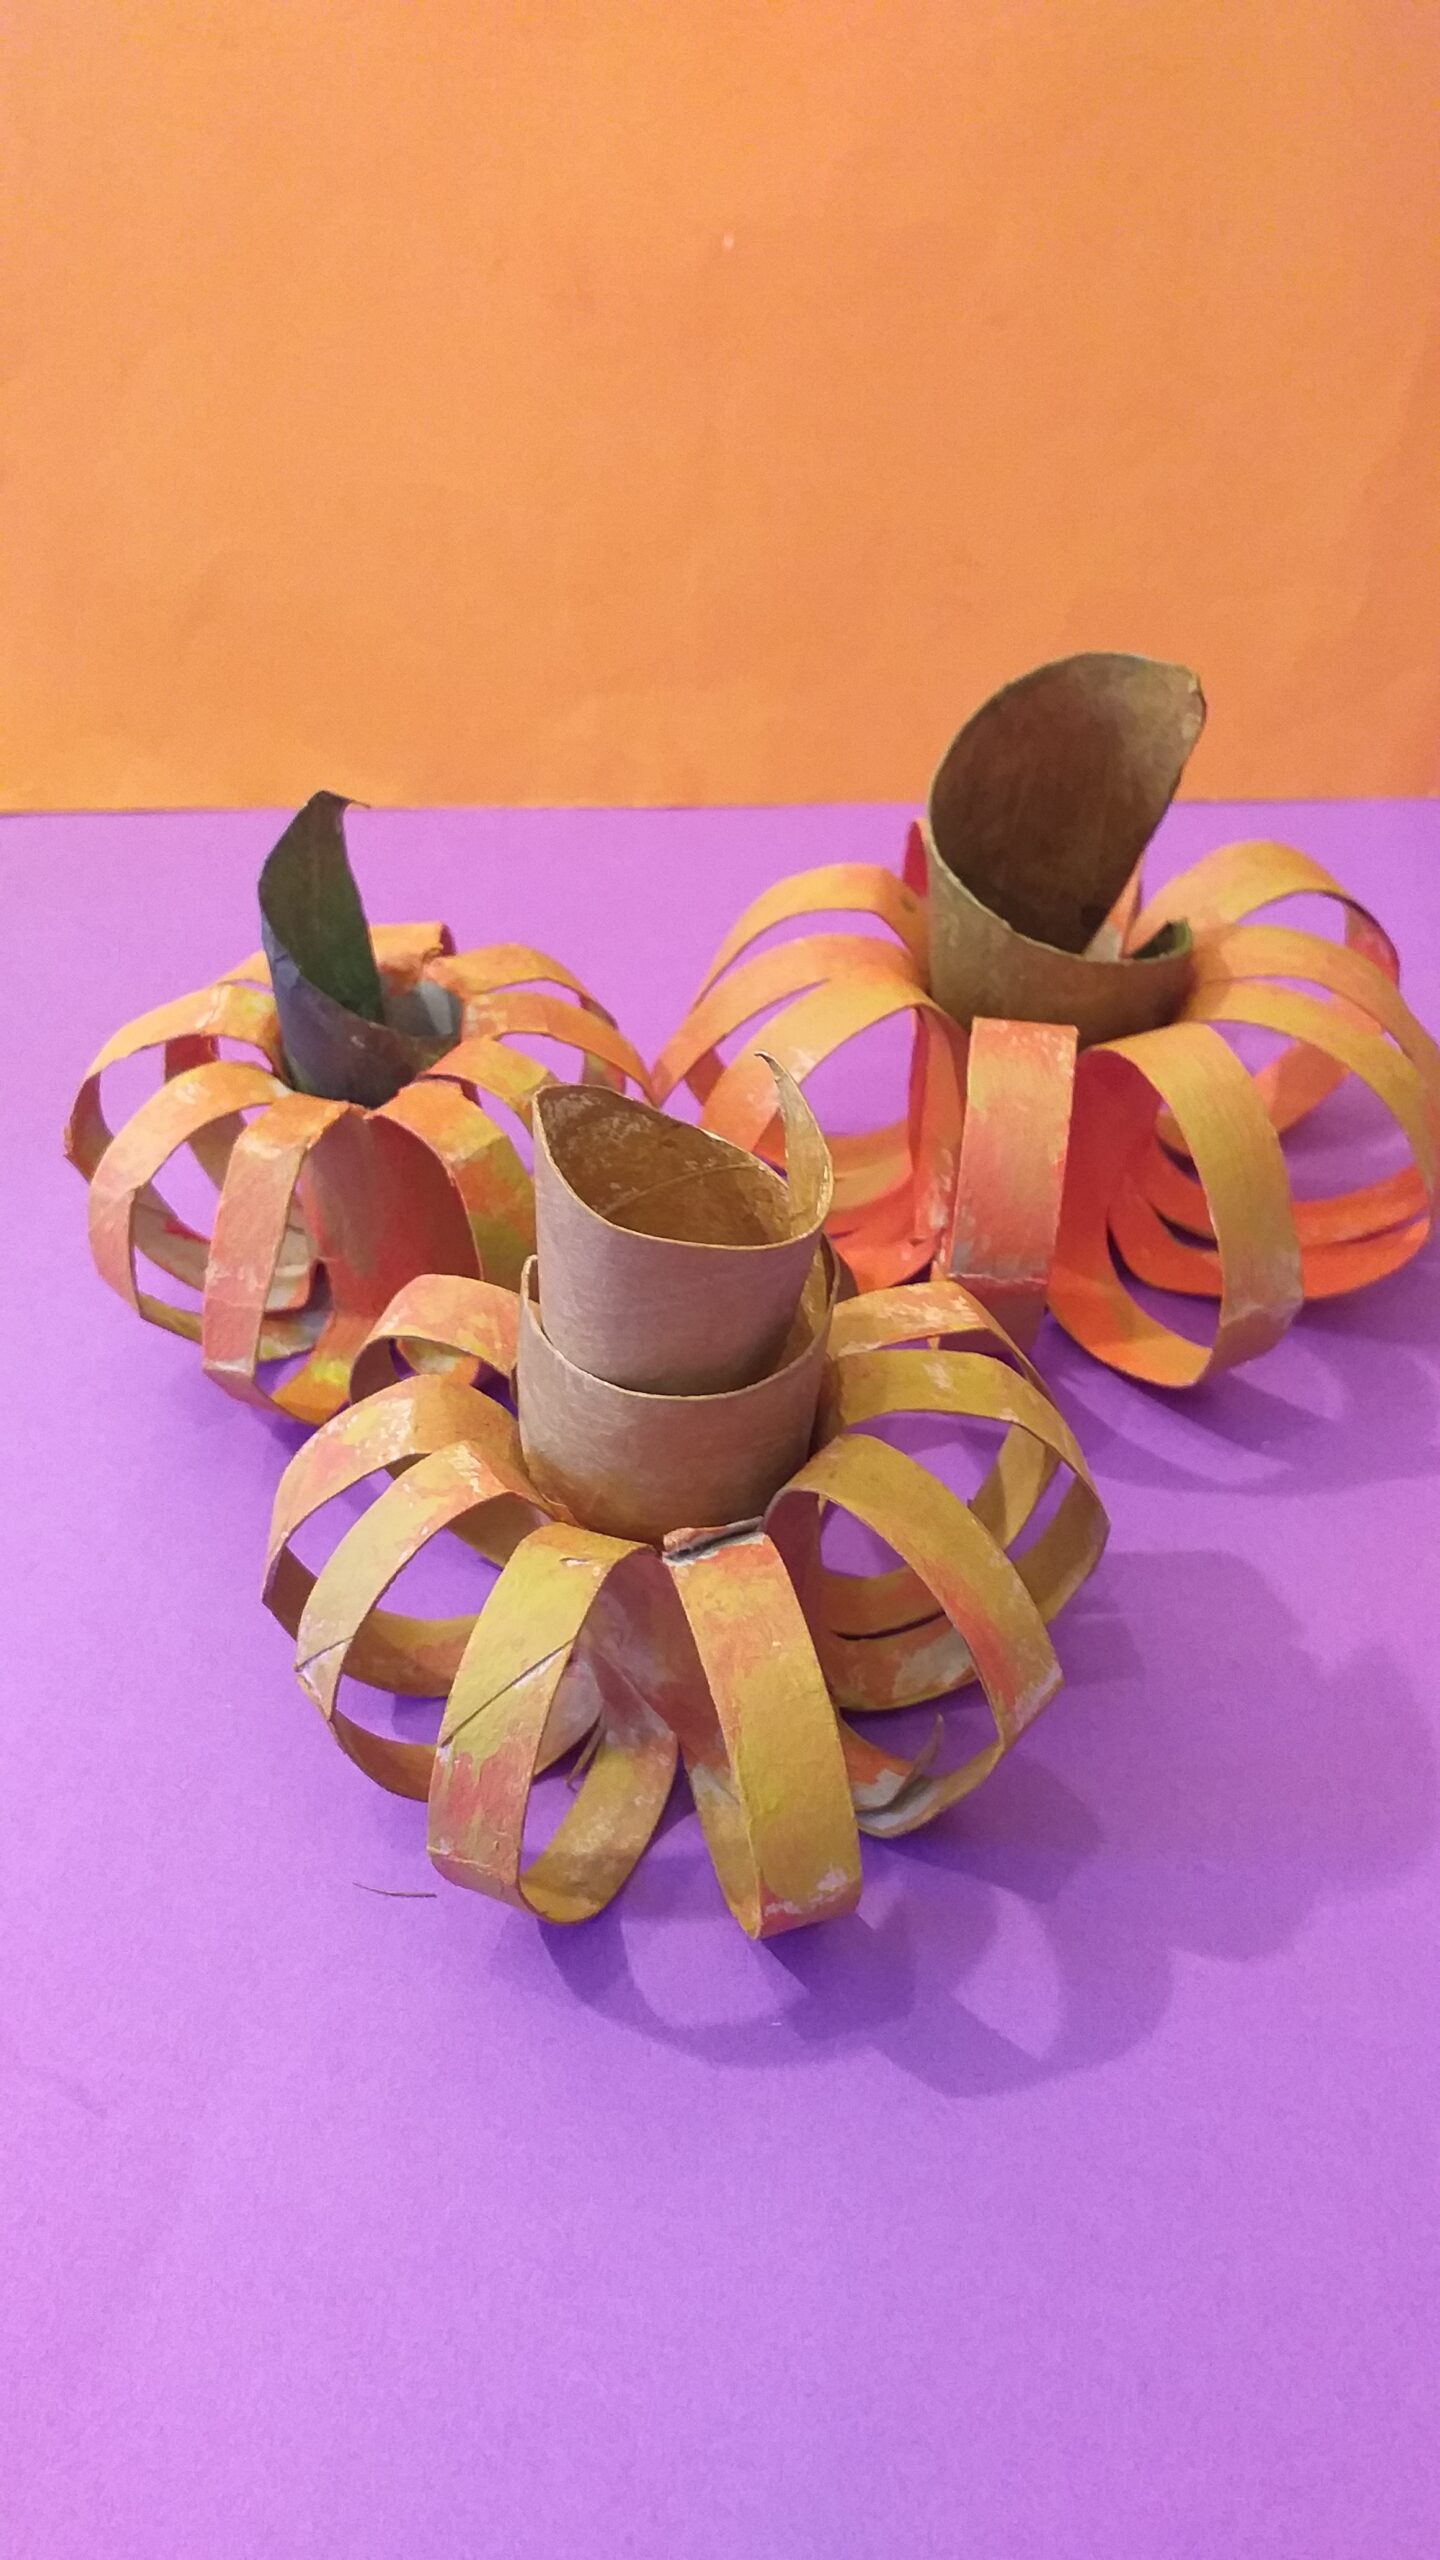
RECYCLE!
A quick reminder to all you Halloweeners out there, don’t forget to recycle your Pumpkins!
This is the perfect opportunity to make good use of your humble Pumpkins, after carving them into fries, pie, or even Pumpkin seeds!