Updated November 2025
Easter holiday fun for kids!
What does Easter remind us of?
Let’s take a look:-
School Easter holiday.
What to do with kids!
Egg hunt!
Chocolate.
Easter eggs.
Hot cross buns.
Sunny, but chilly weather.
Blossoms.
Daffodils and tulips
Religious connotations.
There is probably more to add to this list, but these are some Eastery ideas.
WHAT ELSE?
Well, when it comes to kids, and I know this, as I have asked many children in their early years, hey what does Easter mean, some would say…..chocolate eggs, others would yell out chicks, bunnies and yummy Easter eggs!
Teachers would elaborate a bit on the reason for easter eggs’ shape and its symbolic meaning.
Also when spring is upon us, it brings with it the rebirth of new life, the cycle of life.
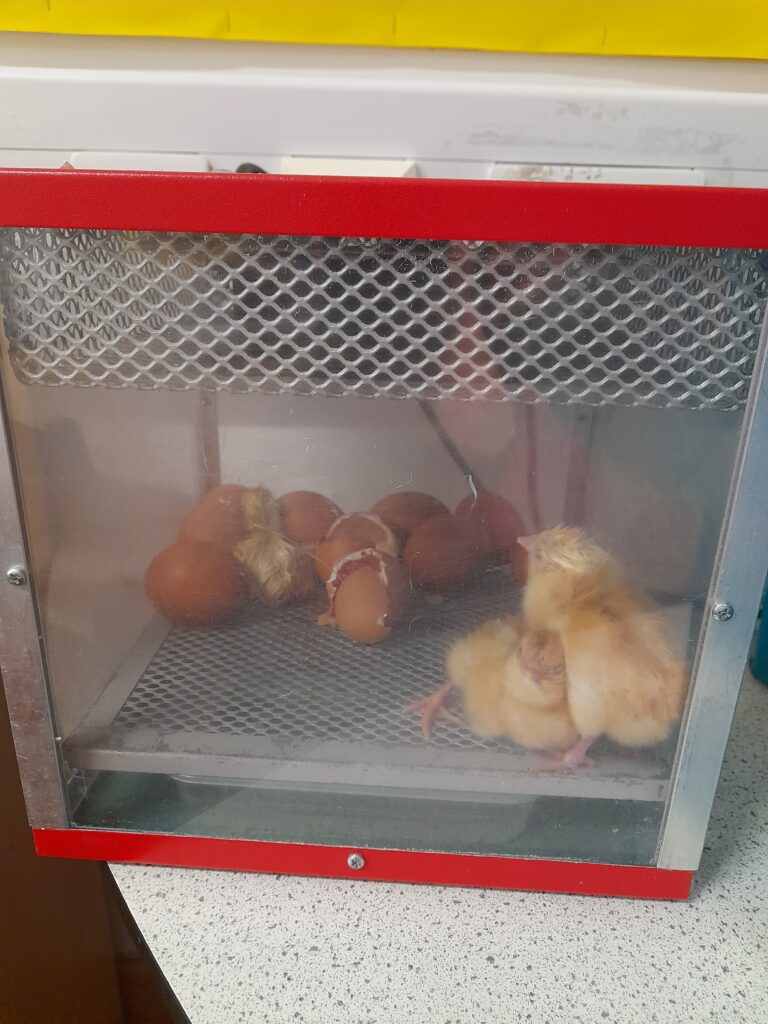
See below, pics of the birth of new life.
MY INTENTION!
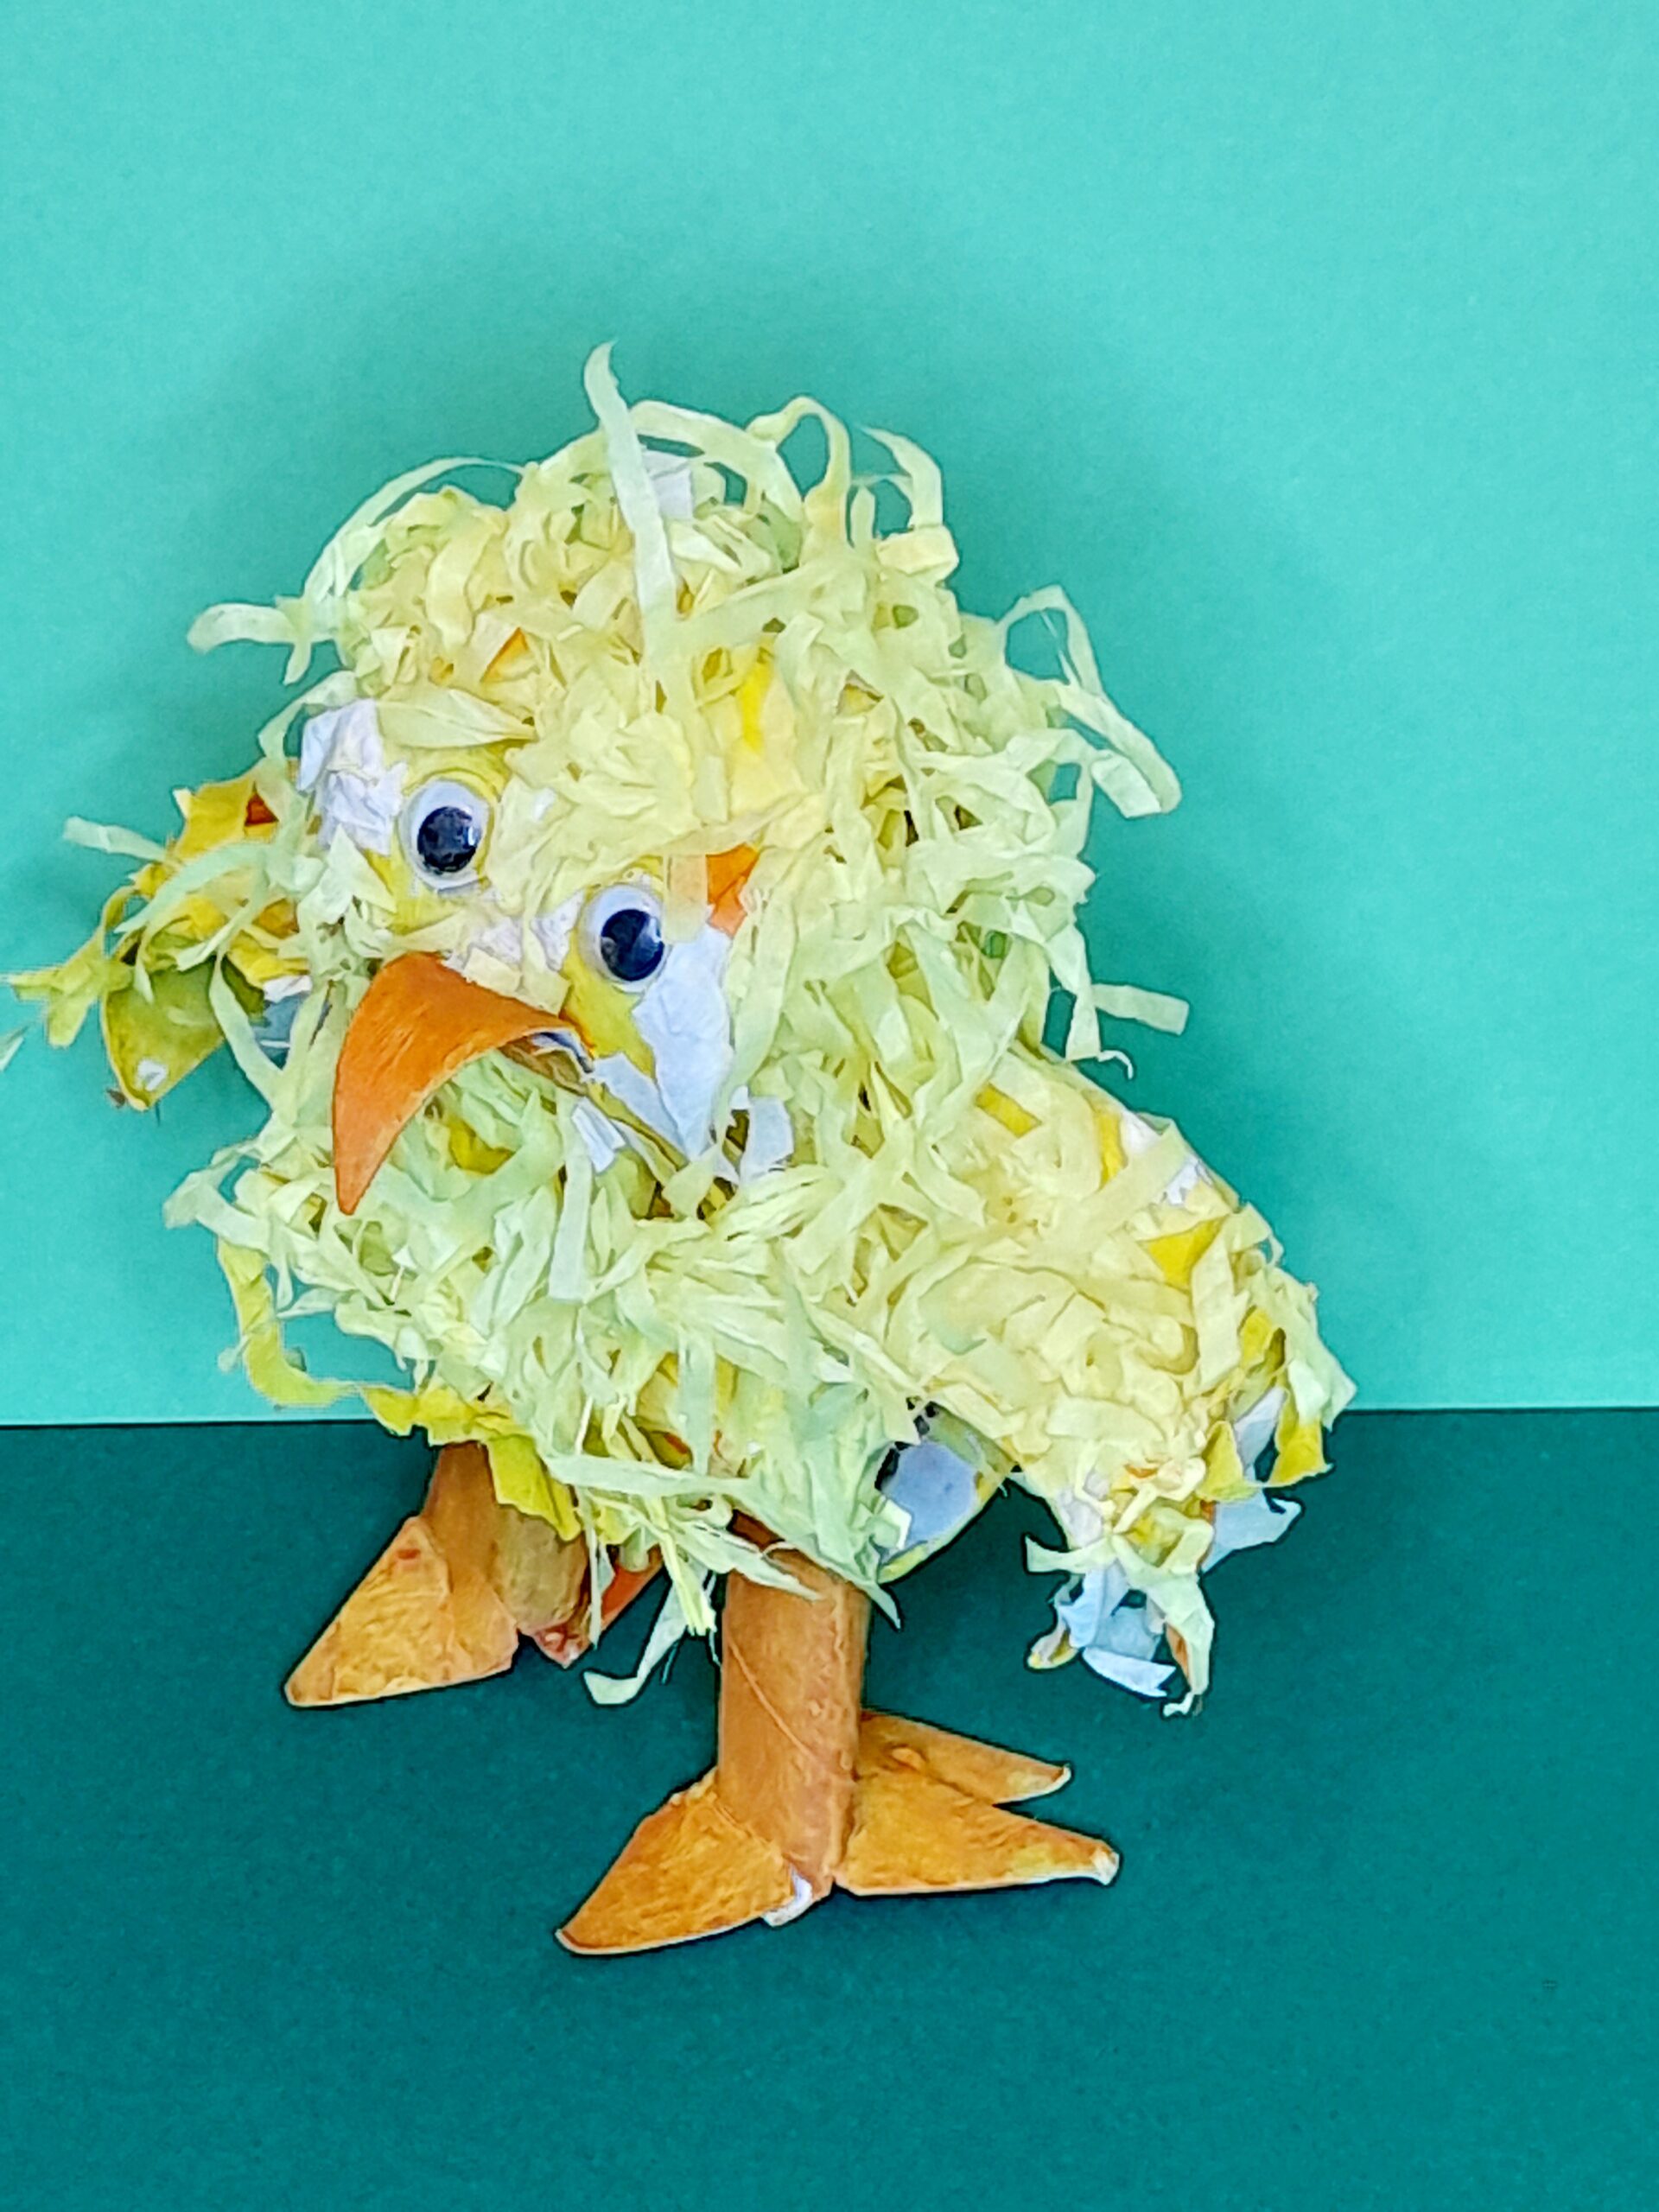
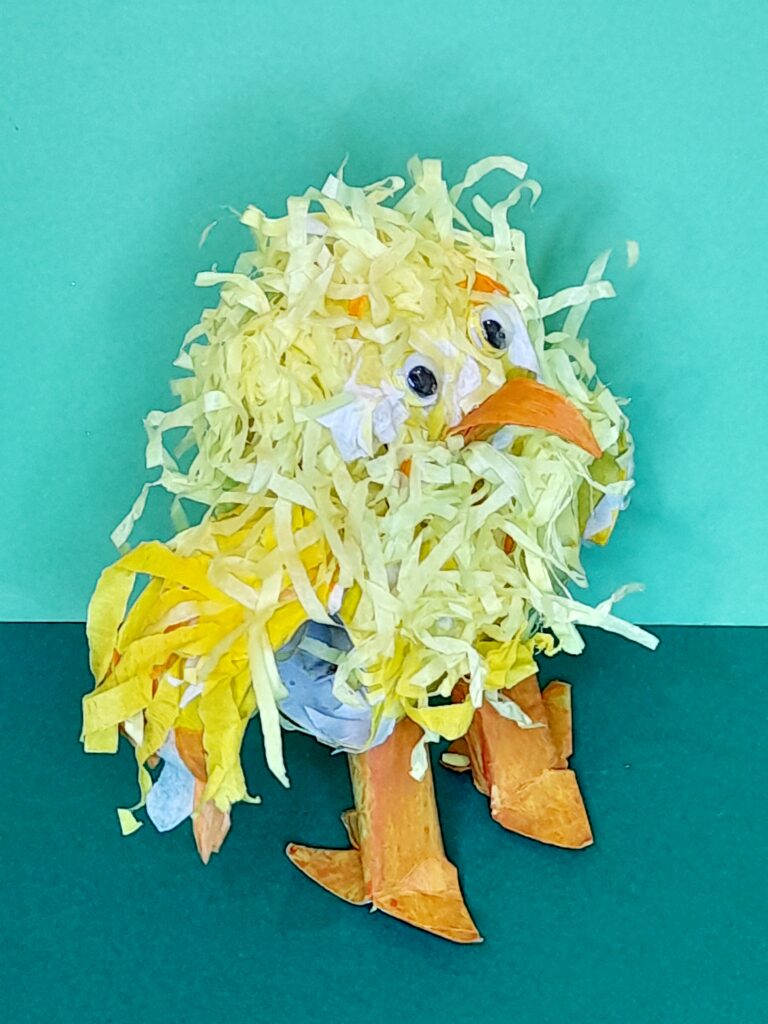
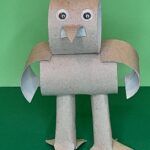
So in this post, I shall be focusing on crafting an Easter chick craft for kids! I shall be crafting with cardboard inner tubes, some paint, and tissue paper.
Before we tuck into our creation, I want to share something with you, which is such a lovely opportunity for kids to observe and learn at the same time something special and unique to them!
WATCH EGGS HATCH!
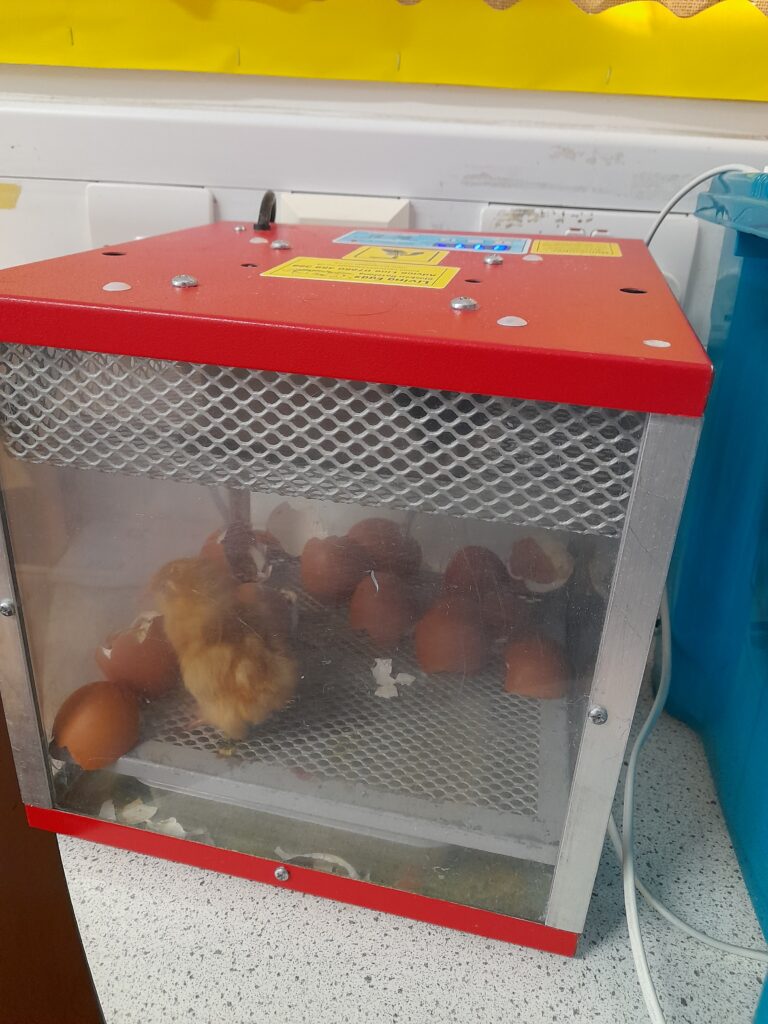
In our school, every spring season, just before the Easter holidays, chick eggs are bought into our school in an incubator where the children can watch the baby chicks hatch out!
Furthermore, they would see the baby chicks grow!
WHAT DO CHICK COLOURS MEAN?
Once the chicks hatch out, busy chirping and scurrying around, there are two types, there are the hens which are a brownish colour and the male chicks a bright yellow colour.
I cannot believe how quickly these baby chicks grow, from the baby stage to the teenage stage within a few days.
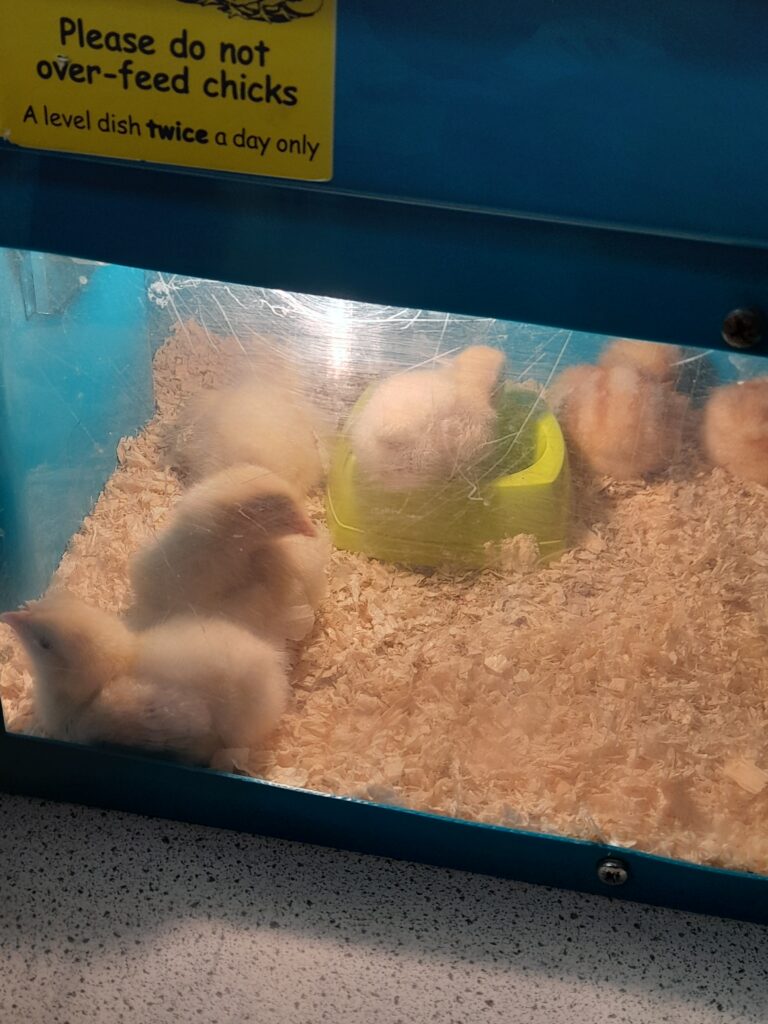
Here are some photos I took, over a course of a couple of weeks, showing the different stages of the chicks development.
GREAT EXPERIENCE!
This is such an amazing experience for the kids to see. In this instance they can watch, one step at a time, how baby chicks grow, witnessing the transition before their eyes.
The only place they could see this would be on a farm, so children born in the city, in urban areas, would find this an incredible treat!
FROM EGG TO CUTE CHICKS!
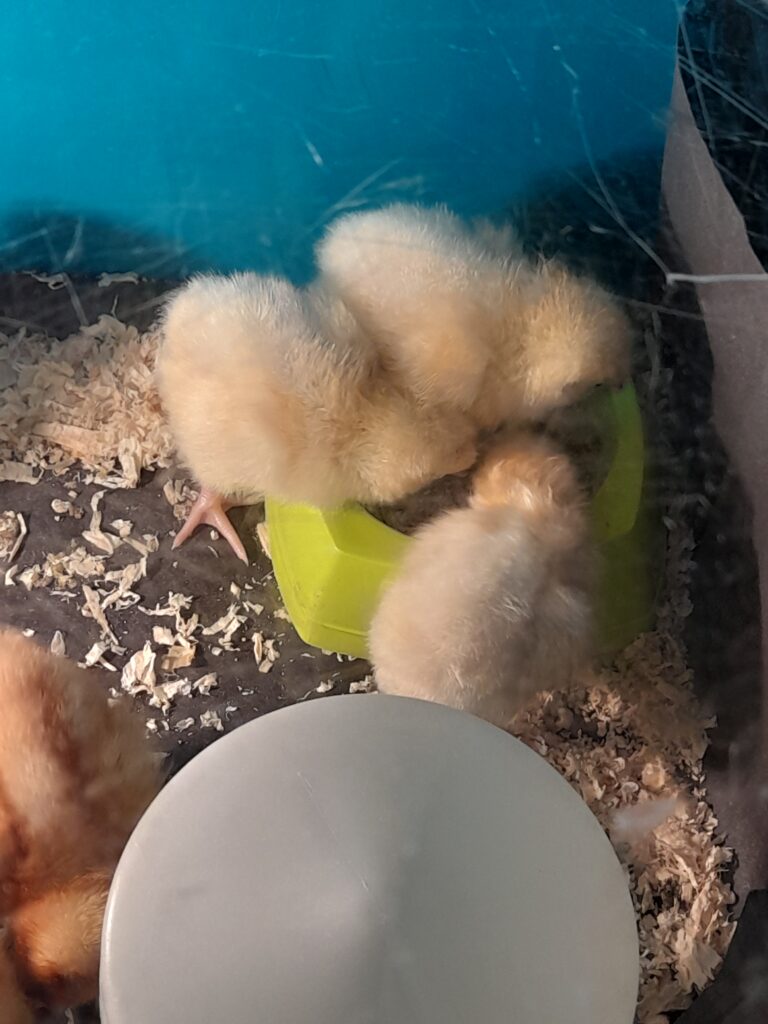
Here are some pics showing the hen chick, in a darker shade, and the male chick in a lighter yellow colour.
In the final pic, they are almost at the teenage stage. The incubator’s plastic surrounds have scratches here and there, so the image may be a bit obscure, but I guess you get an idea of how they look, and see them in their prime!
Here’s a close-up of the chicks.
CUTE AREN’T THEY?
I found this video, with the sound of chicks chirping just for you to hear!
I could be listening to this sound all day long, there is something about baby chicks chirping that is so endearing!
GOING FORWARD!
In this post, we will be crafting an Easter chick craft for kids!
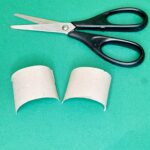
This is what you will need to acquire, cardboard inner tubes, as you will need three or four to start with, but there is no rush, failing that you can use the tube of a kitchen towel and cut it down to size.
ARE YOU READY?
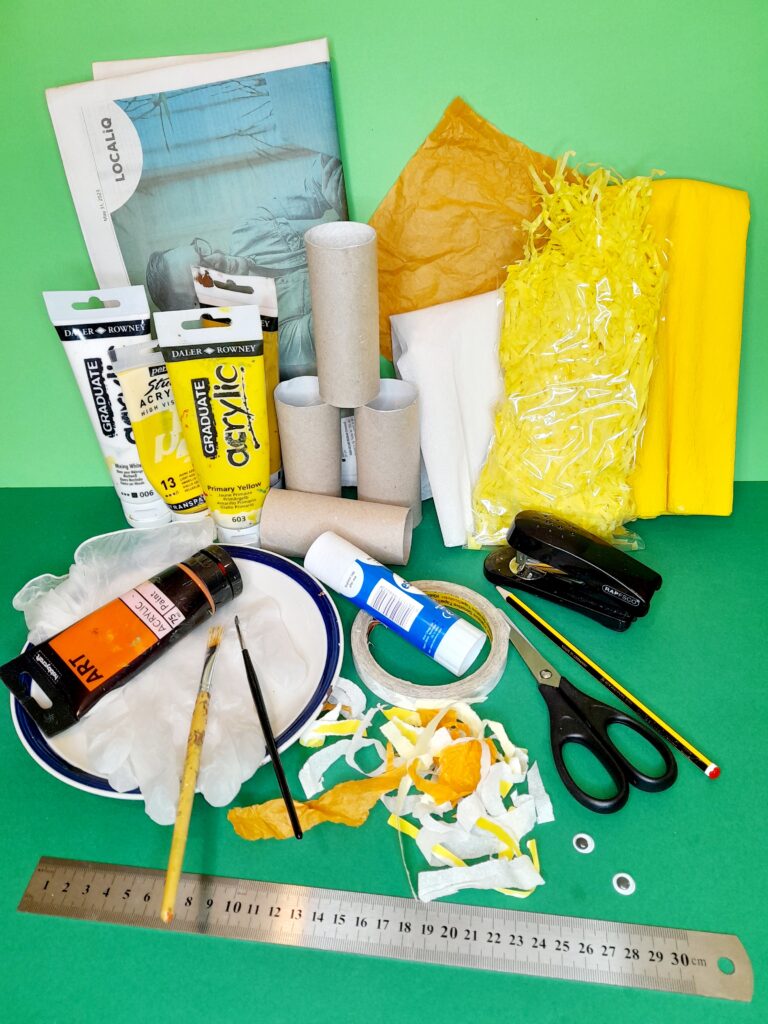
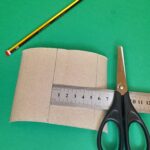
3-4 Cardboard inner tubes.
Yellow acrylic paints, yellow, white and orange.
Yellow shredded tissue paper/white/yellow/orange crepe paper.
Stapler/Scissors/Ruler.
2 Googly eyes. eyes/Pencil/Brushes.
Glue stick/double-sided tape/Newspaper.
Paint plate/Rubber gloves.
LE’S GET STARTED!
SOME TIPS!
HEAD ON BODY.
- When attaching head to body, hold tight in place to staple it, if it moves simply remove staple and attach again.
CUTTING THE FEET.
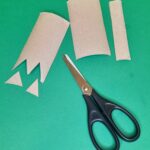
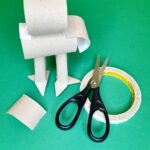
- When cutting the triangle sections for the toes, make sure they are in proportion, they may come up wide, but this will help when standing up the chick. You could cut four points out as the fourth toe can help to prop chick up.
MAKING THE LEGS.
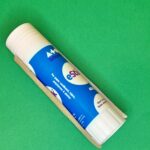
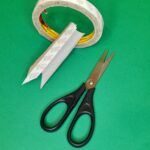
- The legs may be tricky to make, to form shape keep rolling around glue stick or pencil to form a tigher tube, then add double-sided tape pull of seal and glue tighly together.
HOLES FOR LEGS.
- Be carefull when making the holes for legs, they can tear, so gently widen the holes snipping the hole in a fan like way then push through with your finger.
ADJUSTING LEGS.
- Once you have pushed both legs into the holes, they can be adjusted so they are even, then you can stand the chick upright.
PAINTING CHICK.
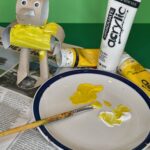
- Make up your desired colour. When paint dries, keep painting until you reach a solid yellow.
PAINTING THE LEGS.
- Carefully paint the chicks legs, once you have popped them into the holes, build up the colour and allow to dry. You can extend the legs to the desired length before you paint. Leave to dry.
GLUING ON TISSUES.
- This is the fun part, you can of course leave your chick as it is without any tissue paper on it, but I thought it looked more chick like covered in shredded yellow tissue paper. Add as much or little tissue here and there. Glue surface then attach tissues, it may come off, persevere as you build up all around covering gaps and hole.
NEATEN OFF CHICK.
- Once all the tissue papers have been stuck on, you can snip off the long bits and tidy up the overall look, then you will have your very own cute chick!
What do you do with your kids over the holidays?
How do you entertain your kids?
Well look no further because Kids Pass, can make your days stress free!
Check them out here!
Kids Pass, is an excellent way to find entertainment for your kids when they are on their school holidays!
Whether, it’s a day trip to the zoo, or fun park, or a waterworld, indoor fun, or attend the big screen and catch up on kids movies, the list is endless.
The best part is Kids Pass saves you money, and offer great deals in the process!
Hey there, when you click on links in this post and you make a purchase, I may earn a small commission that l can use towards resources (other than throw-outs) for project making within my website😀
So check them out, you won’t be dissapointed!
OR ARE YOU LOOKING FOR MORE FUN, CHICK ACTIVITIES TO DO WITH YOUR KIDS?
THEN ETSY HAVE JUST THE RESOURCES AND FUN PACKS FOR YOUR KIDS TO KEEP THEM BUSY!
If you need to up-date your art stock then Etsy are the place to go too!
They stock a great range of colouring pens, acrylic pens, paints and pencils that you can choose from, to complete your kids activity.







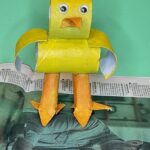

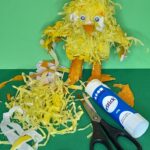
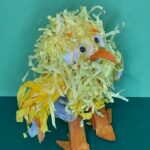
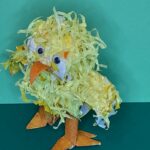

What an egg-cellent idea for Easter fun! This chick craft project is not only adorable but also a fantastic way to keep the little ones entertained during the holidays. I love how you’ve incorporated both the creative aspect of crafting and the educational experience of observing chicks hatching.
It’s amazing how something as simple as cardboard tubes, paint, and tissue paper can transform into such a cute little chick. And the step-by-step instructions make it so easy for parents and kids to follow along.
I’m curious, Julia, have you tried this craft with your own kids or students? If so, what was their favorite part of the process? I can imagine it must be quite rewarding to see their faces light up as they bring their own fluffy chick to life!
Hey Chas, thanks for jumping into this Easter post and liking the angle I have used to inspire creativity! As I still work in a school, it’s an opportunity for me to incorportate live resource where kids can still learn from it, and put my mark on it too!
Easter falls within our spring season, and beautiful things happen! Trees blossom, flowers pop up everywhere, the weather changes and becomes warmer, and of course all manner of insects start to materialize!!! (this is a clue for my next project lol!),and of course our cute baby chick are there too!
I have saved an abundance of cardboard tubes, as they are a great material to craft with, and just by adding a few more resources kids projects are simple, and fun to make!
As for your question, well I haven’t experienced this type of project with my Art club, or my grandkids, as I am on Easter school holiday break, and I still have a week to go, as for my grandkids, they are a bit too young to understand crafting like this, but it could be one for the future, that we could indulge in, as you have given me the idea now!
But I know kids would love the painting part and sticking on all that shredded tissue, and what a mess it will be!!!lol.
Thanks for your support in my craft work and your interest in all of my projects!
Happy Chick crafting!
Julia.?
Hey,
This is such an inspirational article for all the kids in our lives, especially around Easter time.
I have shared this article with the friends and family I know who have children, and I know they are going to love it. It is a great opportunity for parents to teach their kids on something new and interesting, with very cute chicks.
Thank you for continually sharing lovely articles and keep up the amazing work.
All the best,
Tom
Hey Tom, and welcome to this Easter craft! I like for my projects to have some meaning behind them, and in this case everything fell into place when the chick eggs were brought in! I felt it was a great opportunity to show and record this evidence, where kids can also learn while having fun crafting a cute chick, especially over Easter where we have, new chicks, bunnies and all things eastery!??? Also it’s great that you are sharing this post with friends who have kids, it is truly an eye-operner, and I know they will fall in love with these cute baby chicks, as they are so adorable!
Once again, thanks for your support and interest in my work!
Happy Chick crafting!
Julia.
Hello
Wow, you bring not only, life to real-life chickens, how cute! But also the crafted chickens look so creative and a perfect project for the whole family to do!
I love the step-by-step tutorial, you really put a lot of hard work into this blog post, thank you!
All the best
Lizzy
Hey Lizzie, so glad you enjoyed this chick craft! And thanks for jumping in and having a peek! Sometimes you have to capture real live things as they happen! I was at the right place at the right time, and opportunity knocked quite loudly for me.
I am also glad you liked the step-by-step tutorial. I try to make it as easy as I can for kids, as well as adults to follow!
So please check-out other posts too, I am sure there are plenty of creative ideas that you can use, or pass on to family, friends, and friends kids that might find fun activities to do, making great use of their throw-outs!
Happy Crafting.
Julia.?