Easy Mummy crafts for kids to do for Halloween! Mummies galore with cardboard inner tubes!
The Mummies are coming!
Cardboard inner tubes are versatile and make easy mummy crafts for kids to do for Halloween!
Inner tubes are always plentiful because they are the basis of what holds our toilet paper and kitchen paper towels together. They are also a great crafting resource.
RECYCLE THOSE TUBE!
Cardboard inner tubes come up frequently for many of the projects I have demoed, as they are a great means to an end!
WHAT’S AHEAD?
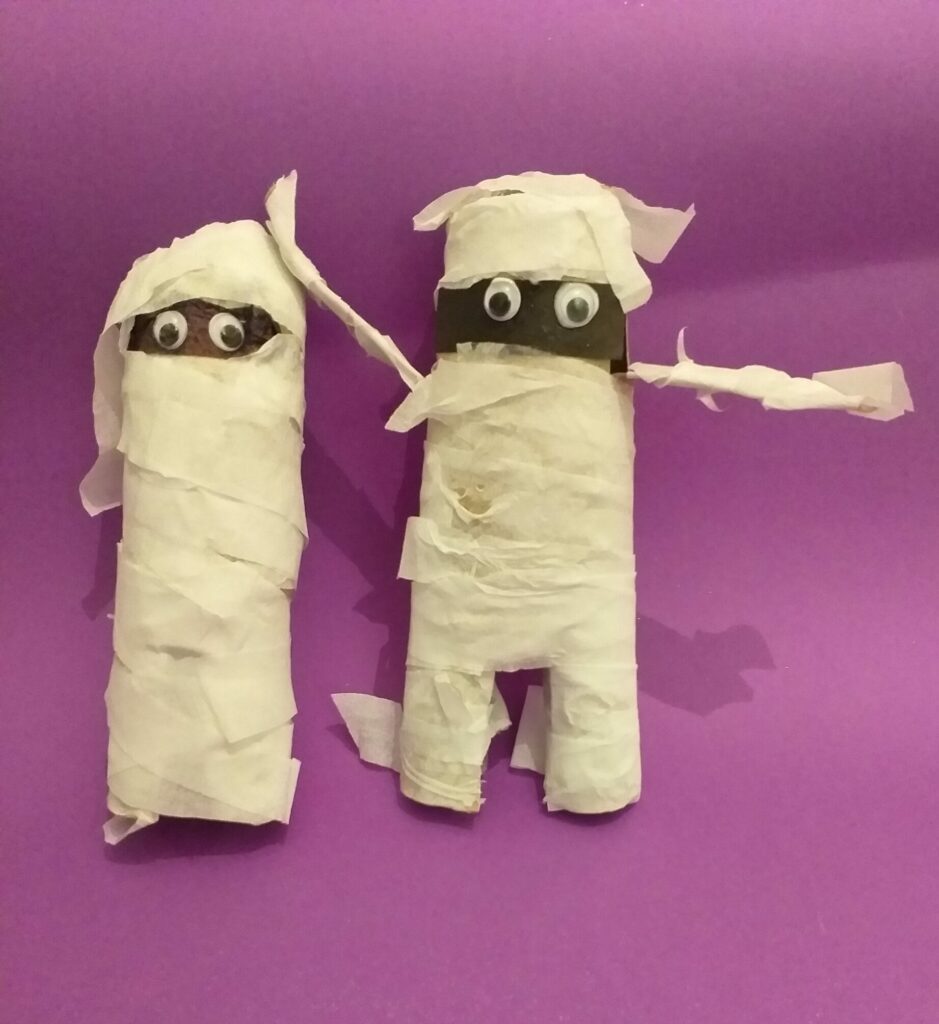
Within this post, I will show you how you can make a couple of super easy Mummies.
This time I have up-cycled these inner tubes into two types of MUMMIES!
WHATEVER OCCASION!
Whether it’s for Halloween or a fun project, all you need to do is gather your resources then you’re good to go!
WHAT KIDS LIKE!
Kids love spooks and monsters, like the Boo in the movie Monsters Inc. In a previous post, we looked at crafting Ghosts made with cardboard inner tubes and now we shall look at crafting Mummies galore with recycled cardboard inner tubes! More spooks!
Here I shall show how to make two versions, one will be easy and more simplified, and the other will have a little more to it with arms and legs.
LET’S RECAP!
I will demonstrate in easy-to-follow images, showing how you an easy way to make them. Give them time to dry in between stages to set.
Picture from Pexels.com by Daisy Anderson.
Kids love to dress up for Halloween and this would be a great horror outfit that would literally go down a treat…a Mummy!
Just wrap around loads of bandages or white strips of an old bed sheet and there you have it, a great look for trick or treating!
WHAT WE KNOW ABOUT MUMMIES!
Before we start why are Mummies called Mummies, have you ever wondered why?
The name comes fromMummifyingEgyptian kings, princes, high priestesses, or any Egyptian who could afford to be preserved for the afterlife.
Mummies don’t attack, their story is more of vengeance or revenge. They would be preserved this way because they believe in keeping the body intact allowing it to be transported to the afterlife.
TO BE MUMMIFIED!
In a gruesome way, all the entrails or moisture would be removed, that’s all the inside bits of the body and they would leave the hard casing, that’s the outside of the body, then it would be embalmed in oils and finally wrapped in cloth.
This was an Egyptian ritual carried out during that period.
Before you make the Mummies, here is a quick video on the history of Pyramids and Mummies.
ARE YOU READY?
Here is a series of 12 images showing how to make Mummies galore with recycled cardboard inner tubes!
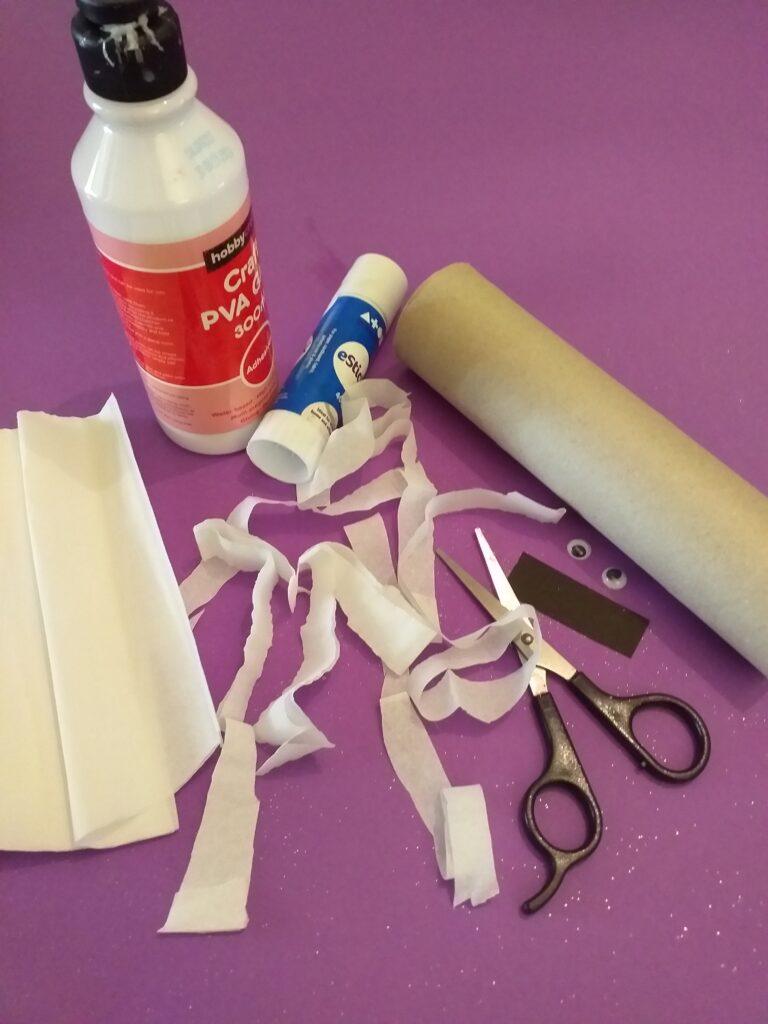
WHAT YOU NEED!
The resources are the same for both versions, easy Mummy and Mummy with arms and legs.
RESOURCES!
1 long cardboard inner tube, for arms and legs Mummy.
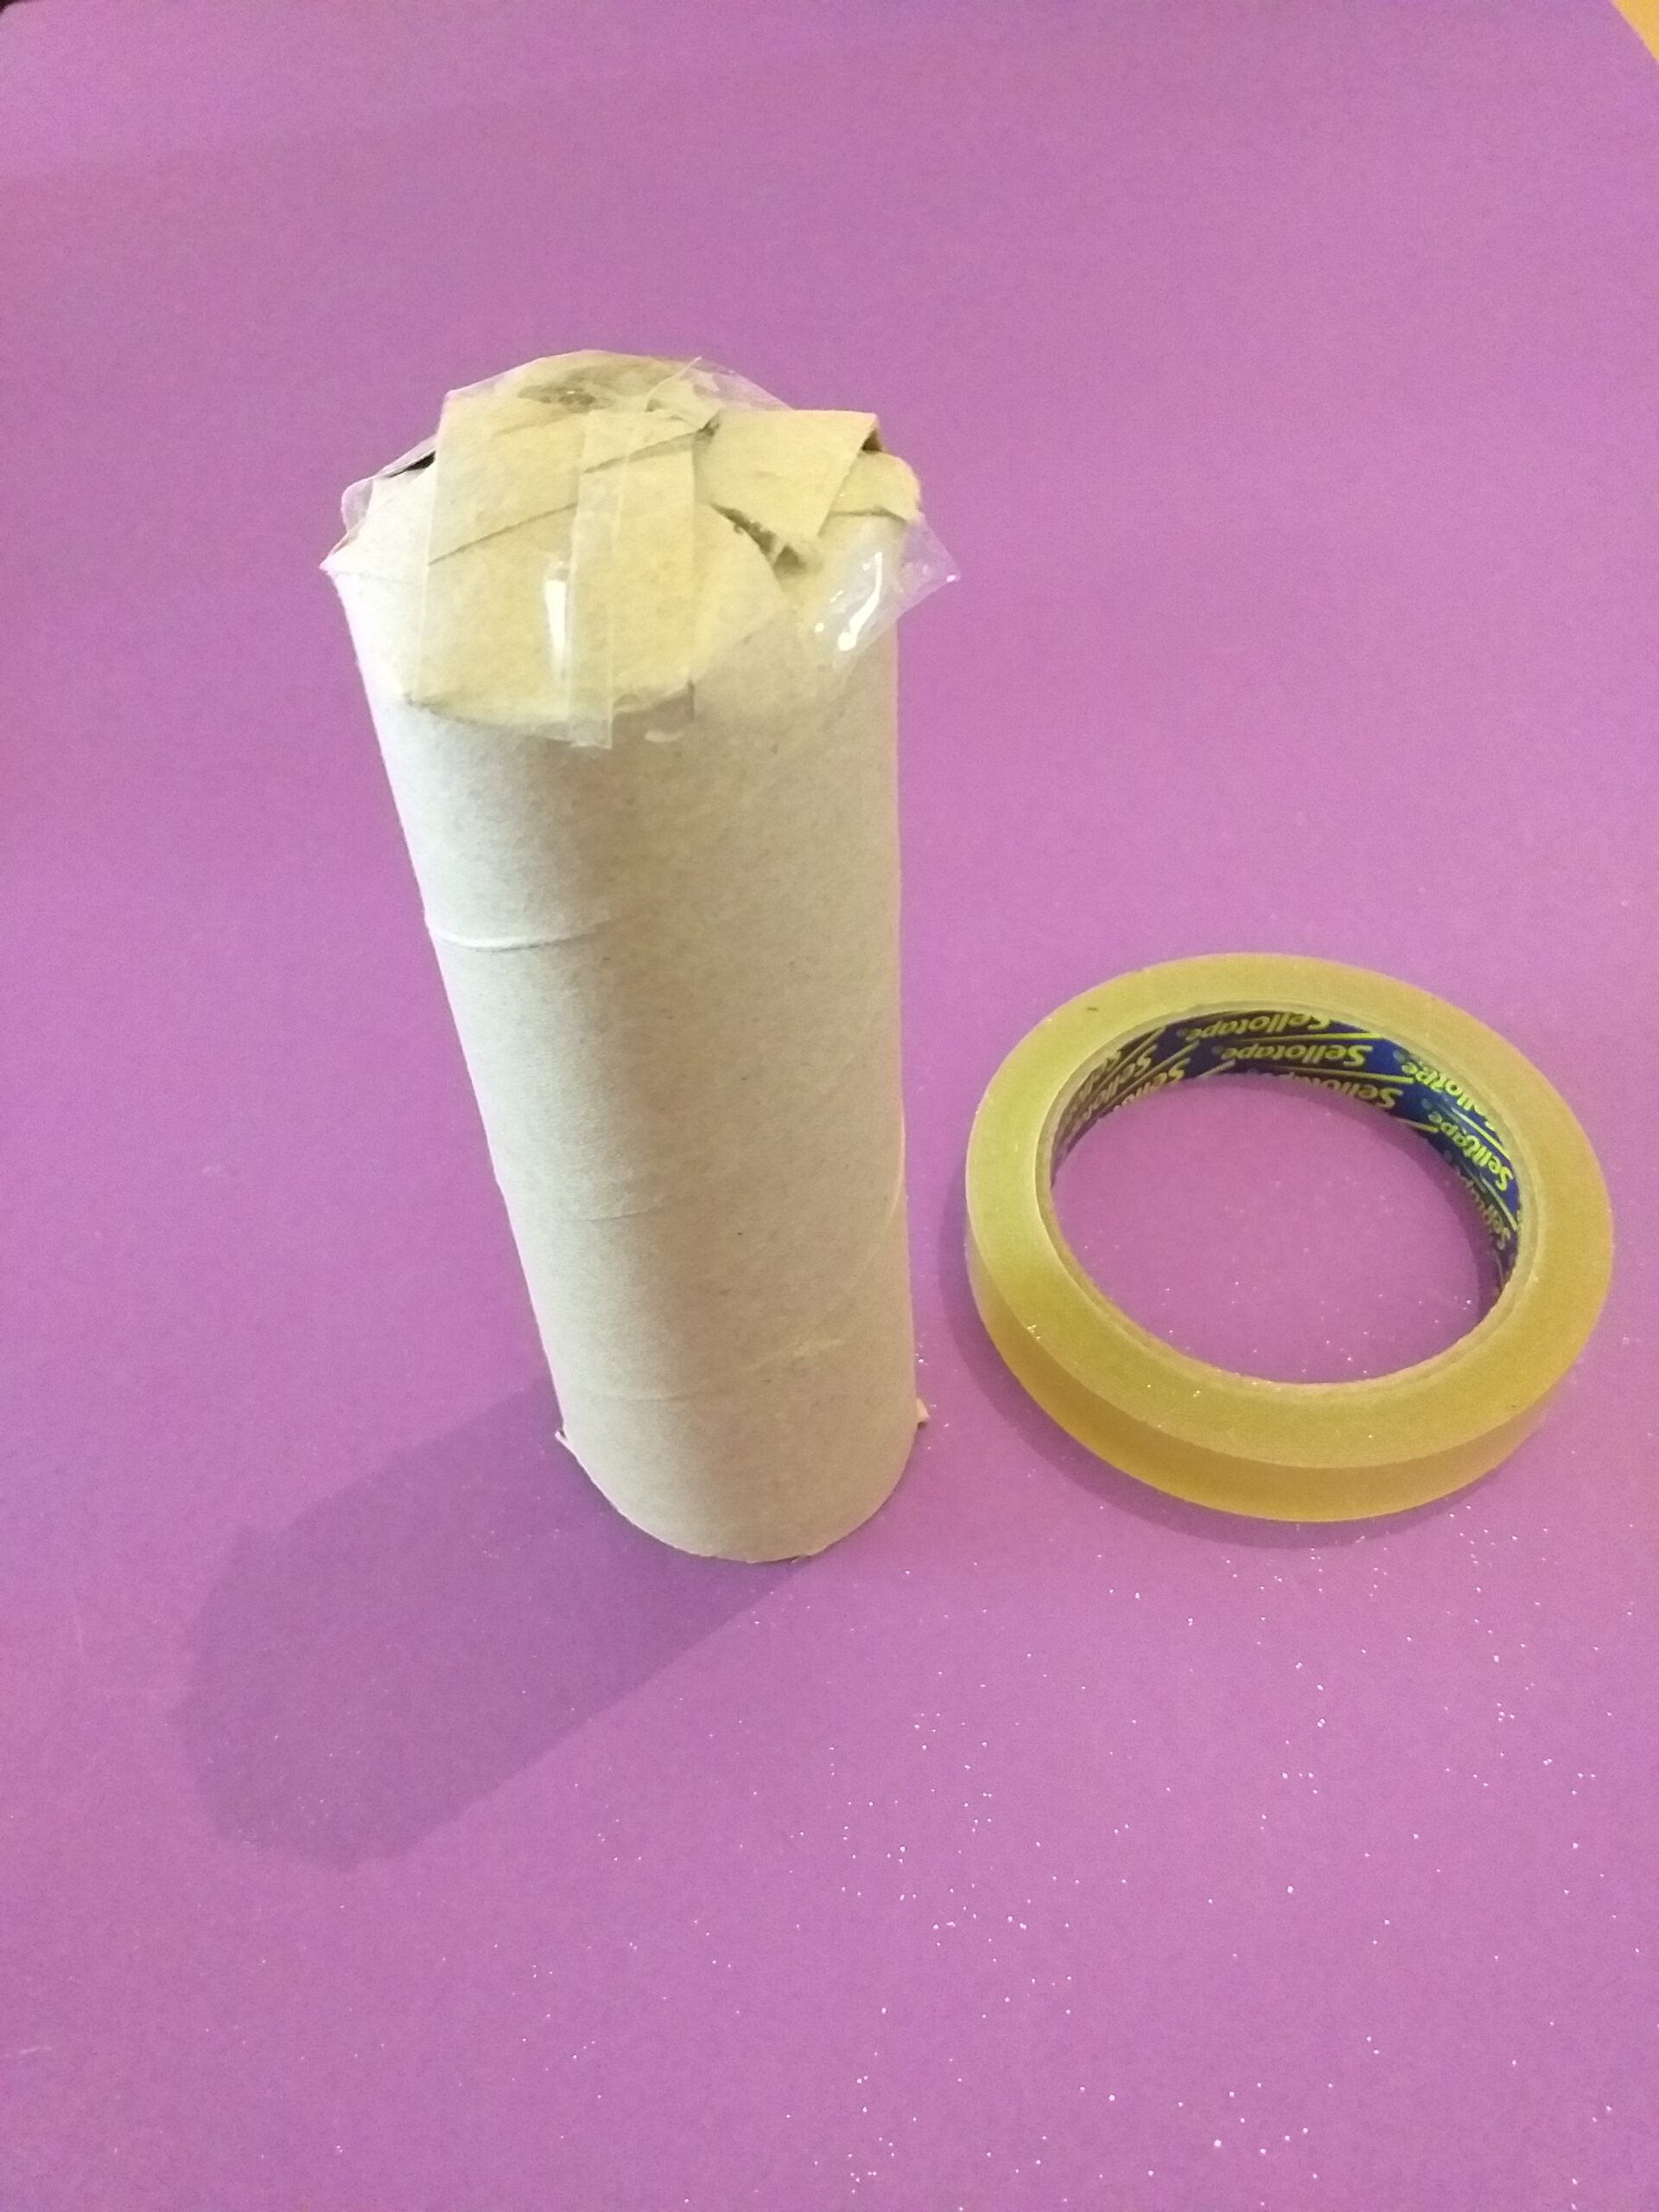
If you decide to make the block-wrapped mummy, you can cut off some of the long tube to shorten it or use a smaller inner tube, such as that of a toilet roll (not shown).
I prefer to give the mummy a rounded head, hence cutting all the way around like a frill to push down and form the top part of the head, then secure it with sticky tape.
MUMMY’S BODY!
USE THE LONG TUBE!
To make the mummy with arms and legs, you will need the whole length of the long tube.
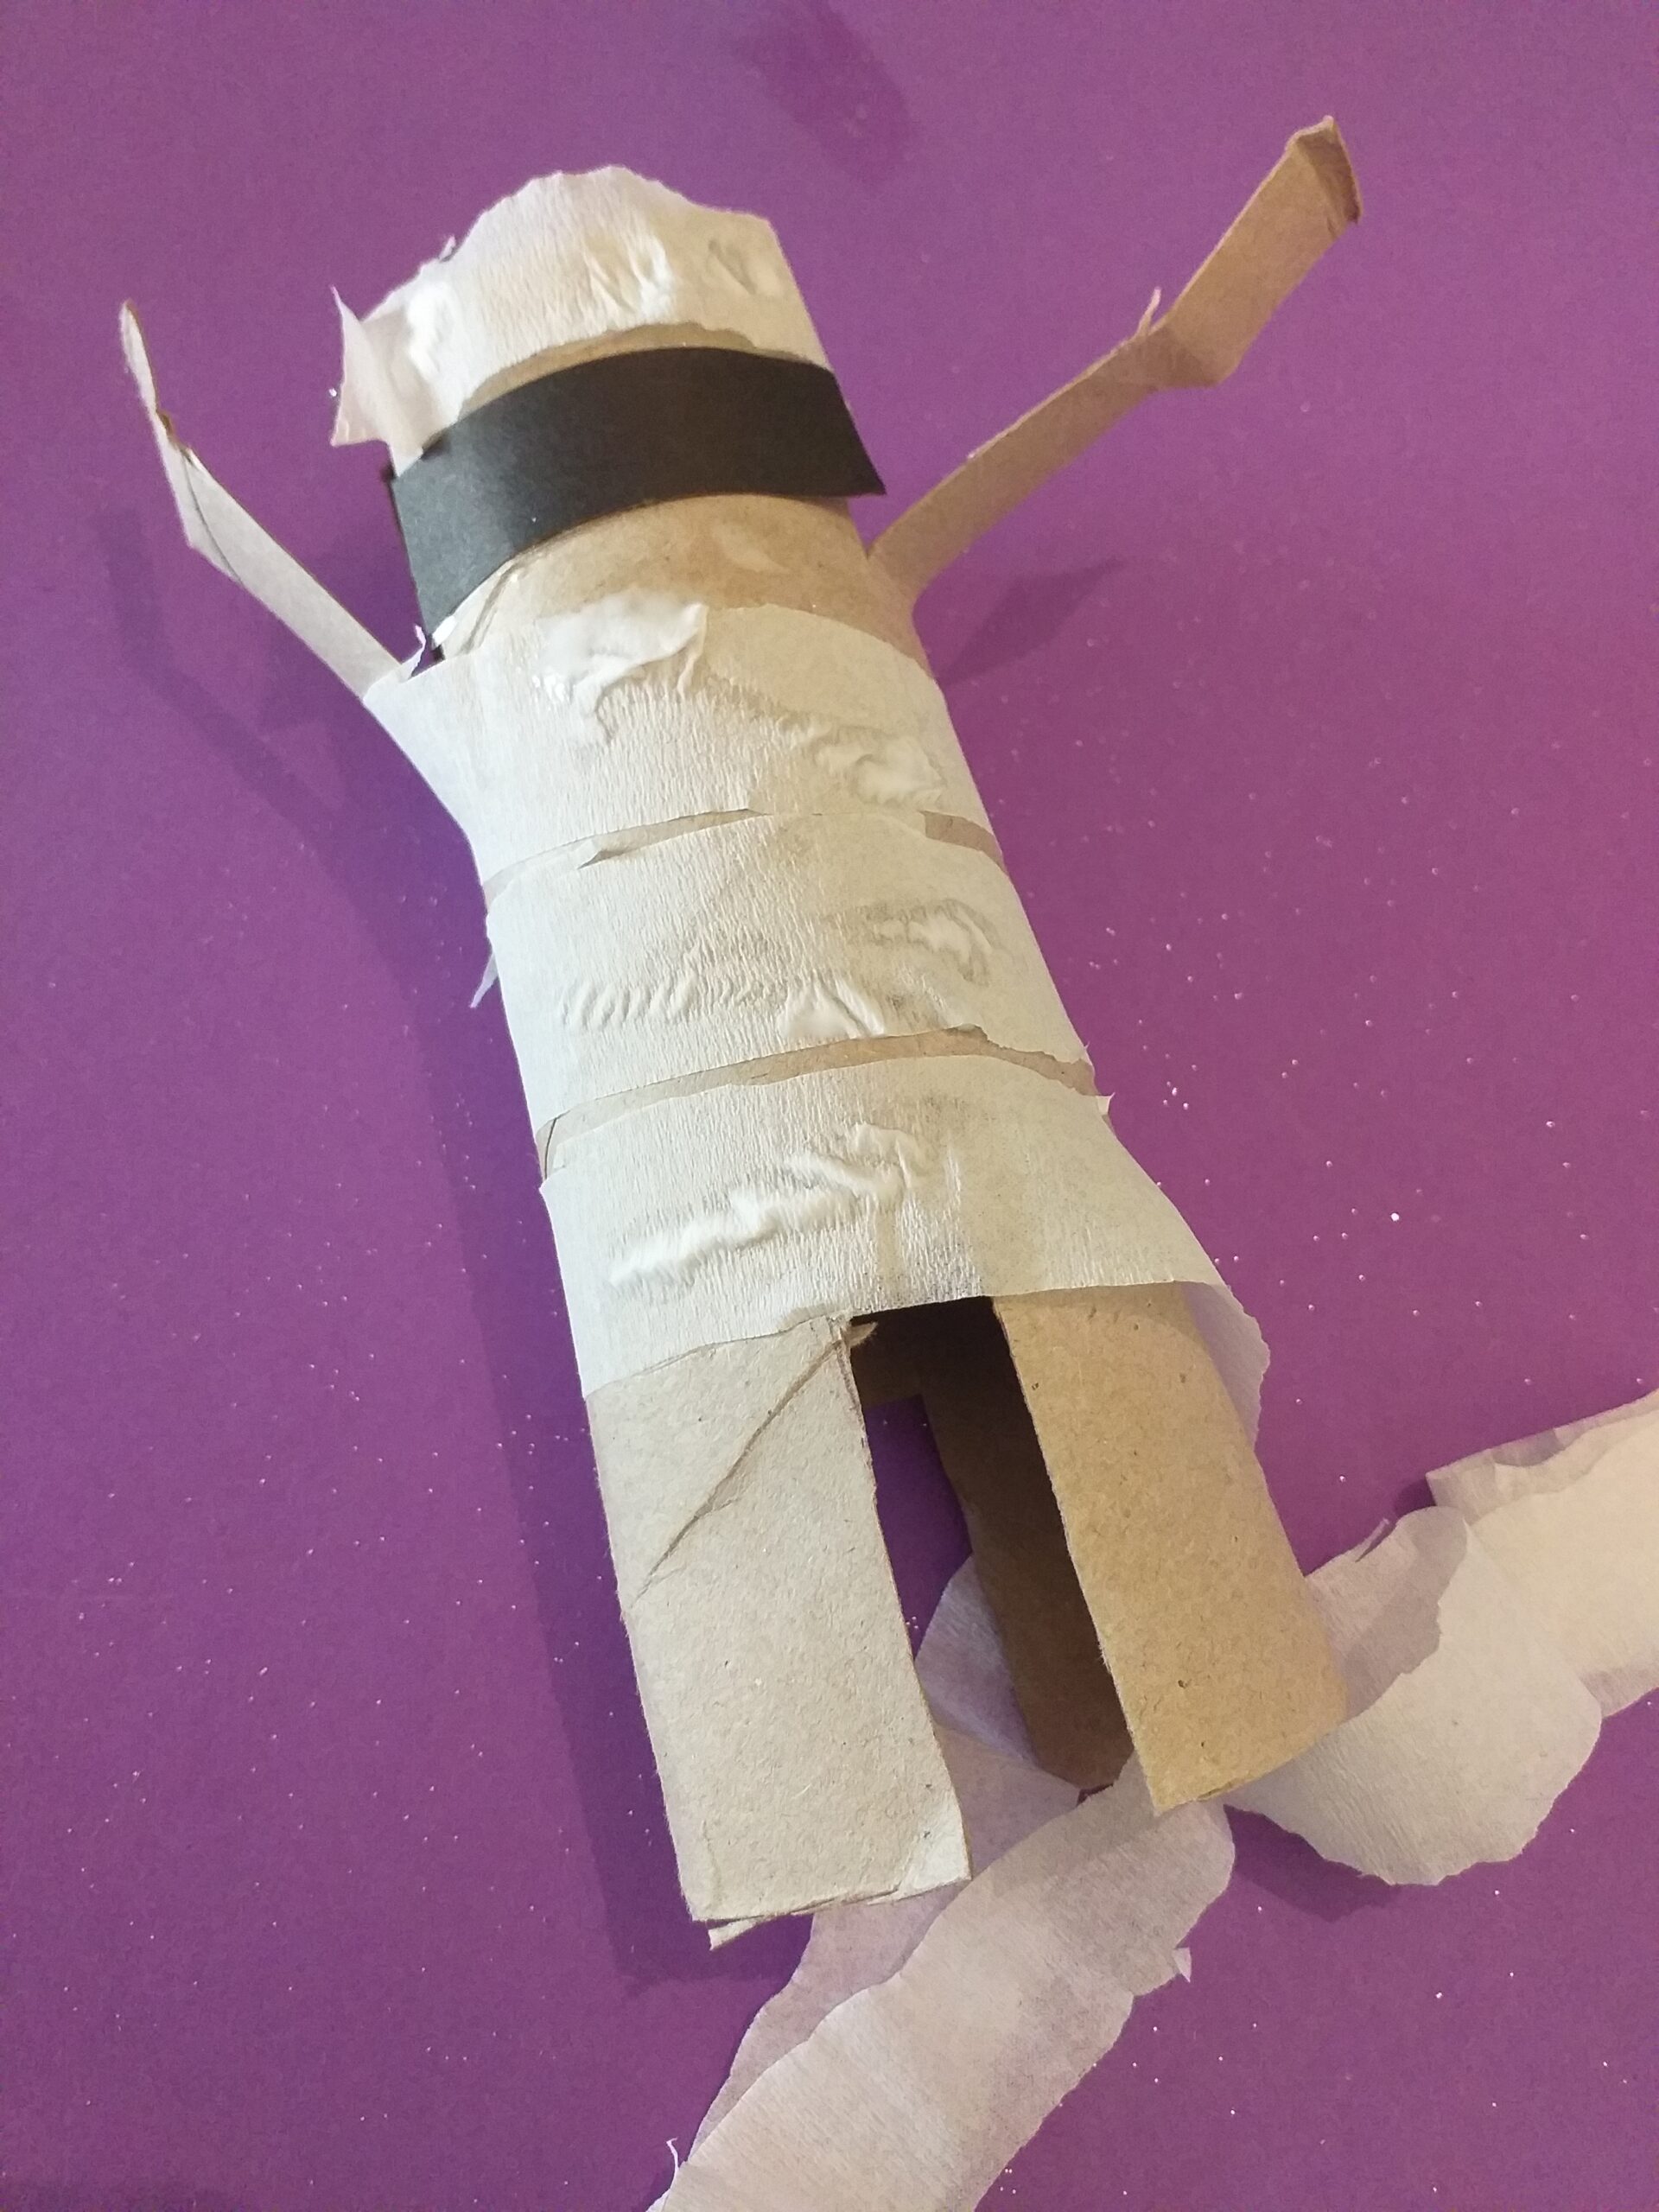
TO MAKE ARMS!
So when cutting the top part for the head, pull down two sections on either side and cut further down to form the arms. (shown in image 4).
CUTTING OUT THE LEGS!
Cutting out the legs, at the other end will give this mummy more of a body shape.
Squeeze the tube together and hold tight to flatten the hollow section whilst cutting out the legs, they will be even front and back.
WHAT GLUE?
Wrapping with the crepe paper I found PVA glue wetter which took some time to dry and appeared to be a little bit transparent.
You can do the initial part with wet glue and when finalizing the wrapping of crepe paper around the body, use the glue stick.
GLUE STICK TO FINISH!
Using a glue stick will look less transparent when dry and less messy to work with, take care as it may rip the crepe paper whilst applying it.
You can leave a bit of crepe paper to hang loose giving it the effect of the bandage trailing behind the mummy.
Wet glue might make the crepe paper a bit transparent, so you may prefer to use the glue stick instead. It’s really trial and error.
THIS MIGHT BE OF INTEREST TO YOU, AN ESPECIALLY YOUR KIDS!
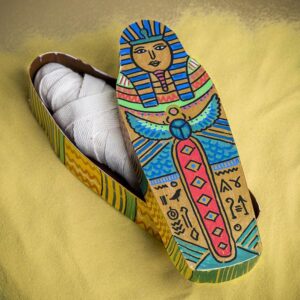
Your kids can learn a lot about the type of Mummy coffins that Egyptians were buried in, and how they were decorated, with hieroglyphics.
WHAT ARE HIEROGLYPHICS?
Generally, hieroglyphics would include four key elements.
This would include the name and title of the deceased, a list of food offerings, a door which they could pass through, and eyes to see outside the coffin.
This would be a super project for your kids to get involved in and show off in school!
After I watched the video I have included above, ‘Pyramids and Mummies’, they would have some interesting facts to talk about!
These excellent projects and super Halloween resources are available at Baker Rossat affordable prices and withquick delivery!
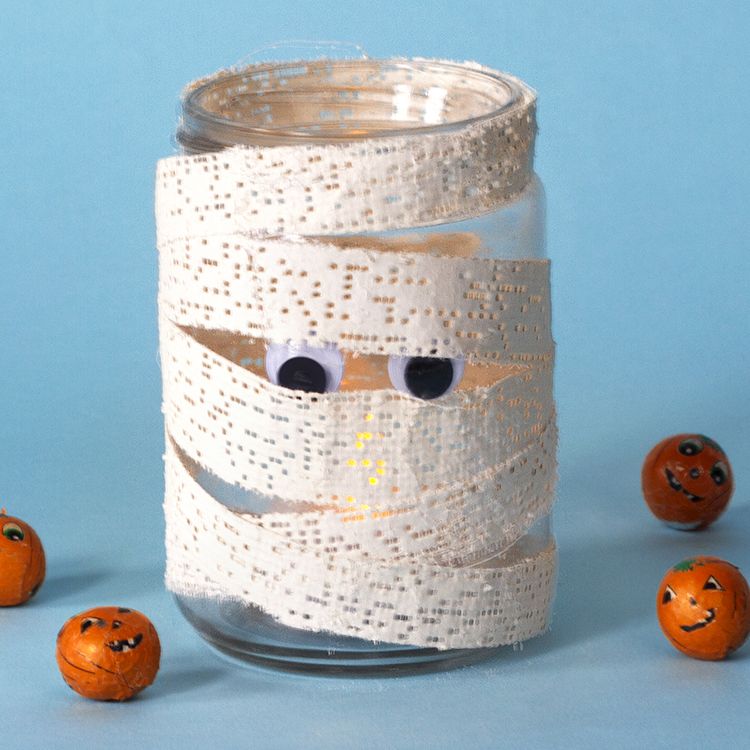
A Mummy Lantern
A Mummy and Sacophagus.
Hey there, when you click on links in this post and you make a purchase, I may earn a small commission that l can use towards resources (other than throw-outs) for project making within my website😀
I have presented two different styles of Mummies made from recycled cardboard inner tubes.
EASY AND CHALLENGING!
One is easier to make and the other just has a little bit more to it, with arms and legs.
Both have the same resources and you will become more skilful as you proceed with the turning and tacking in the strands of crepe paper, which in this case represents the bandage
KIDS LEARN!
It’s good practice for kids to work on their fine motor skills, and it’s all about practice, practice, practice which makes perfect.
They are discovering tools, cutting handling, and moving, a skill that will improve with time.
So let’s have fun making these Mummies galore, with recycled inner tubes!
On a final note, I thought to include this video as a bit of fun!
Have you seen a dancing Mummy on Ice?
Here is Todd Eldredge doing the Mummy Walk!
Would you like to see more posts on Halloween projects to do with your kids?
Check out these links, and try out some other projects you can do with your kids over the half-term holiday!