Up-cycle your throw-outs, into two types of easy Spooky Halloween Ghosts out of cardboard tubes!
Halloween Ghosts BOOOOOOO! Let's craft them out of cardboard tubes!
Halloween being around the corner, you’ll see within the theme, Spooks, Ghouls, Witches, Monsters, Vampires, and not forgetting our white-clouded spoooooky ghosts!
Within this post!
I will walk you through, stage by stage, how to make a Halloween ghostly image, using our friend the cardboard tube of a kitchen towel or toilet roll, some soviets, and crepe paper!
These tubes are so versatile and plentiful that they call out for so many projects to be made with them.
So for now, we shall be crafting Spooky Halloween Ghosts out of cardboard inner tubes!
In many of the posts I have presented, I have shown different kinds of projects using varied throw-outs from my recycled bag.
Or saved to use one day, and time and time again, I keep coming across these tubes that I have put aside.
MY INTENTION!
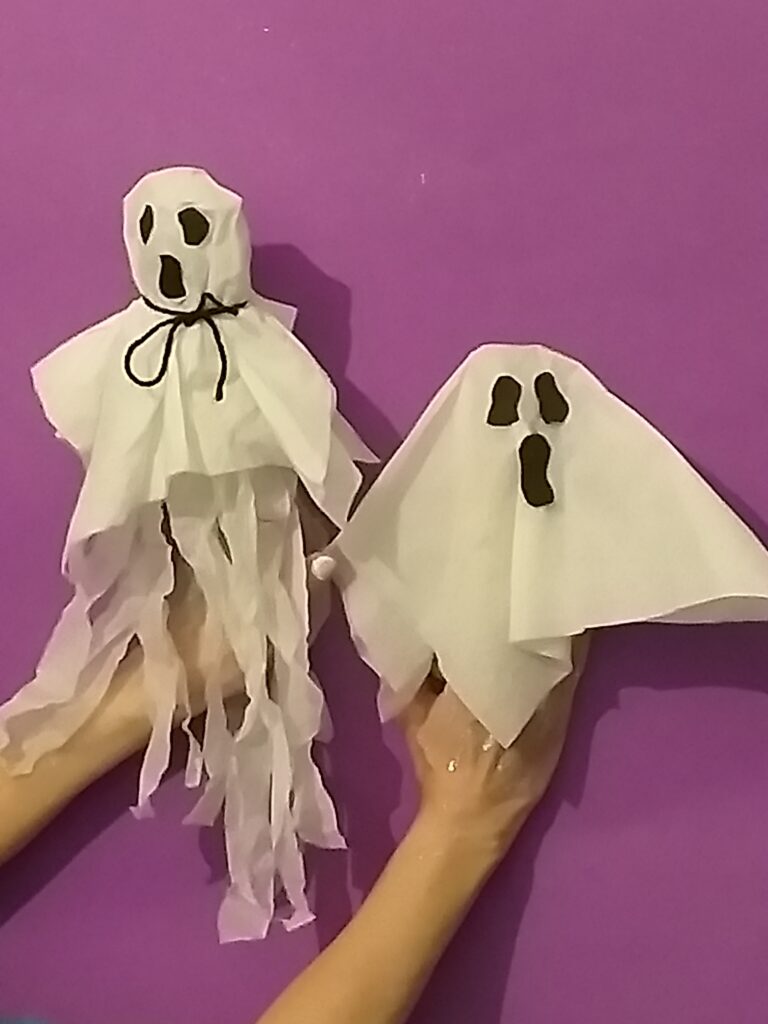
These will be quick and easy projects, and I am going to show you two ways of making Ghosts!
Our first model will be a quick and easy version for younger kids.
The second will be a bit more advanced for older children.
HALLOWEEN AND SPOOKS!
Halloween being around the corner, you’ll see within the theme, Spooks, Ghouls, Witches, Monsters, Vampires, and not forgetting our white-clouded spoooooky ghosts!
LET’S CRAFT SPOOKY HALLOWEEN GHOSTS OUT OF CARDBOARD TUBES!
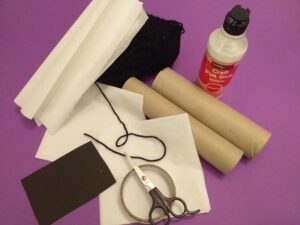
Resources you will need for both versions of our spooky ghosts!
The resources shown are for both versions, though you can choose which one you want to make.
2 cardboard inner tubes (kitchen towel).
Small piece of black card.
Glue stick/PVA glue
2 White Soviet/Scissors.
Sticky tape (Selotape)
1 stripe of black yarn (30cm)
White crepe paper.
LET’S GET CRAFTING!
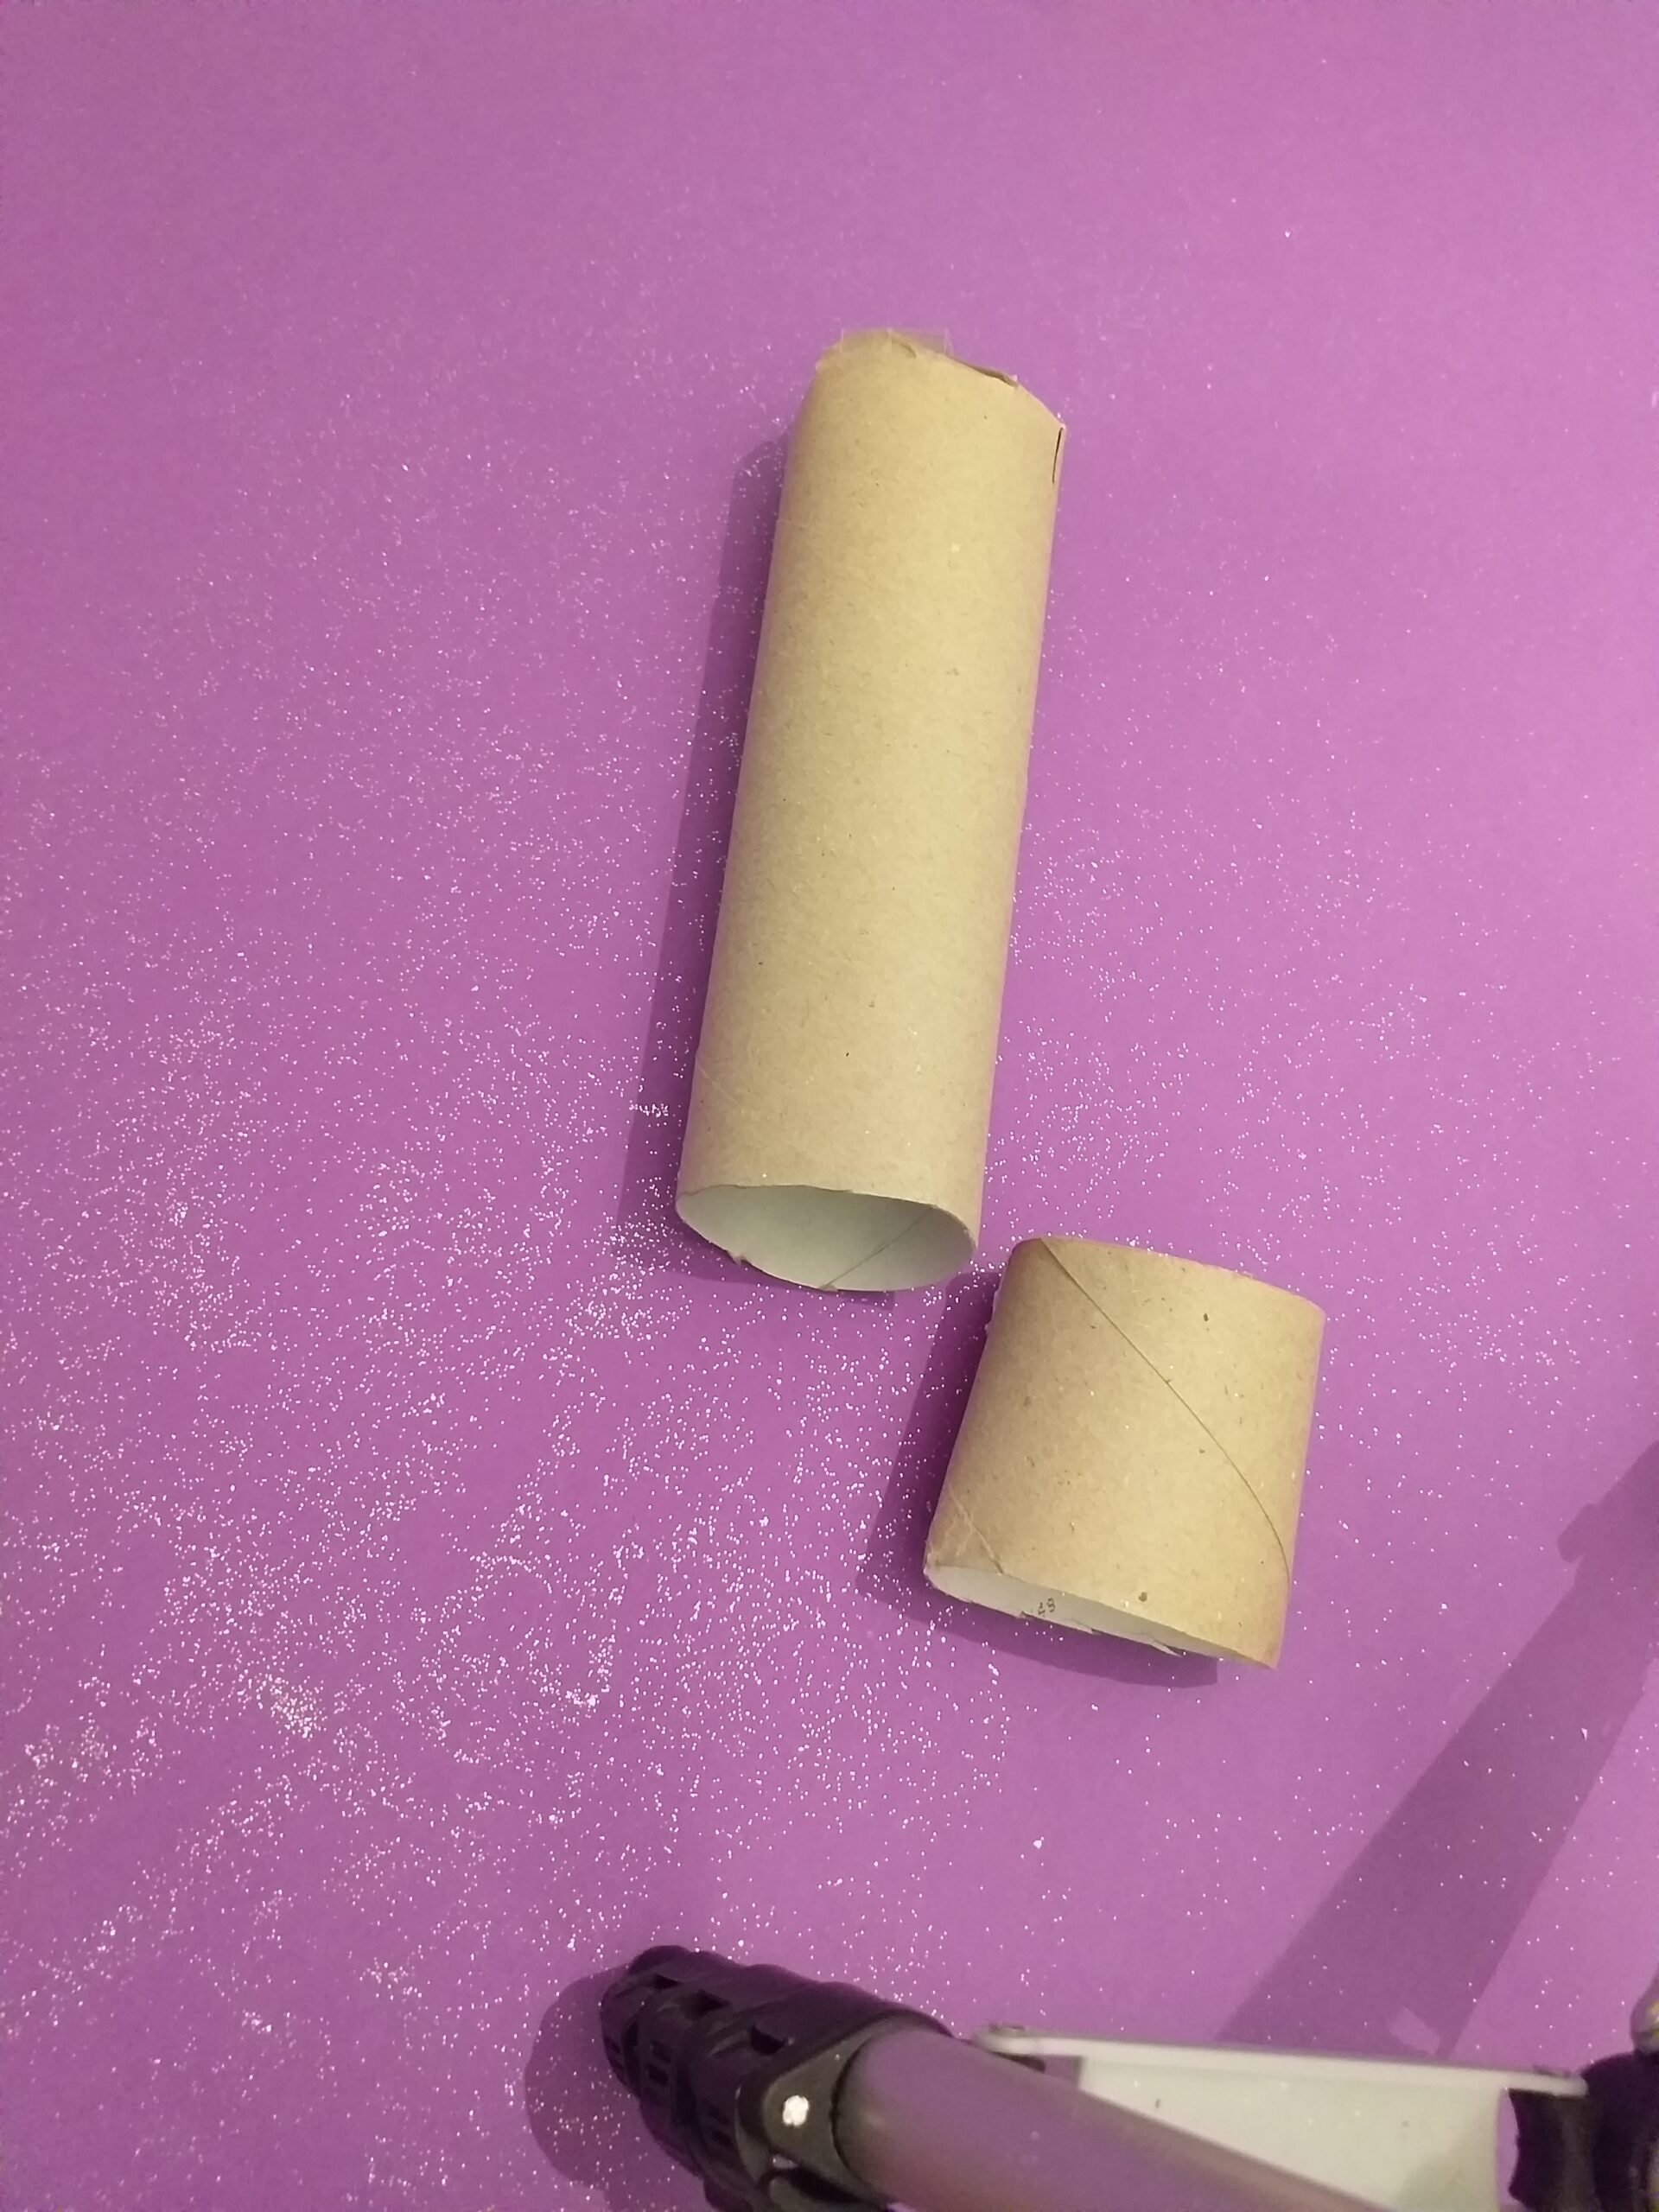
1) Grab 1 inner tube and cut approx. 5cm off the bottom., for the easy ghost.
2) Cut less off bottom, for the advanced ghost.
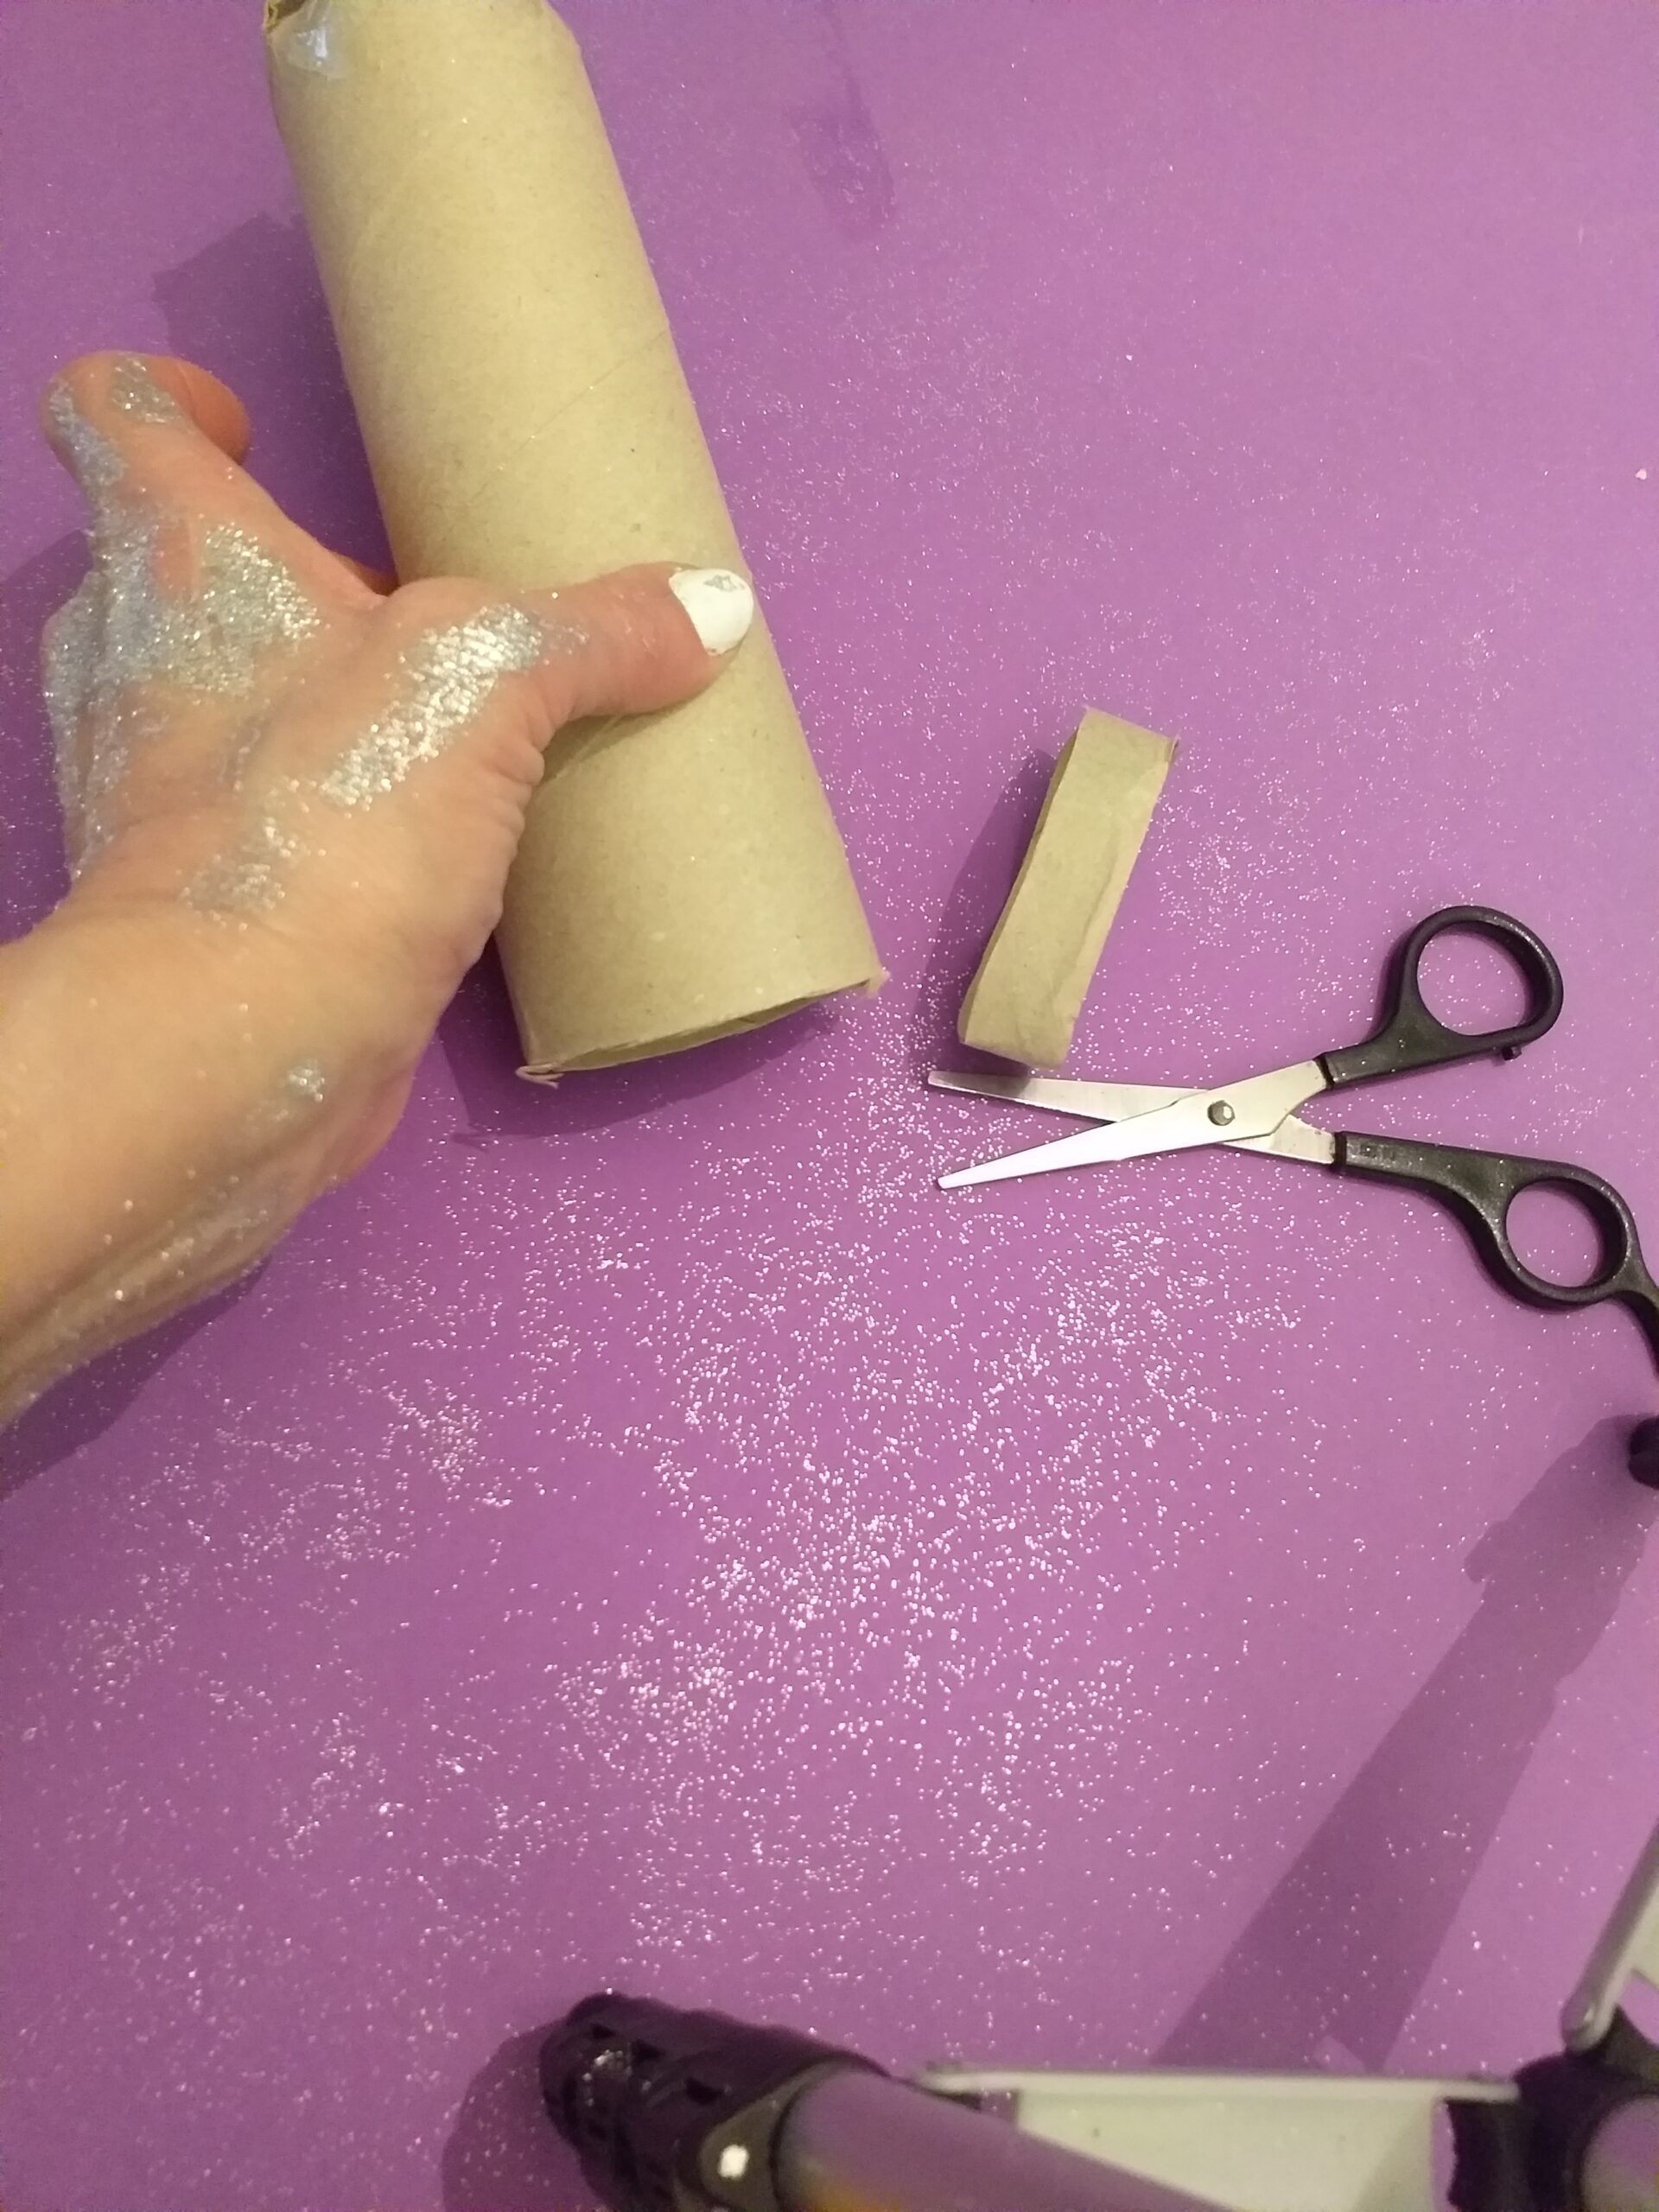
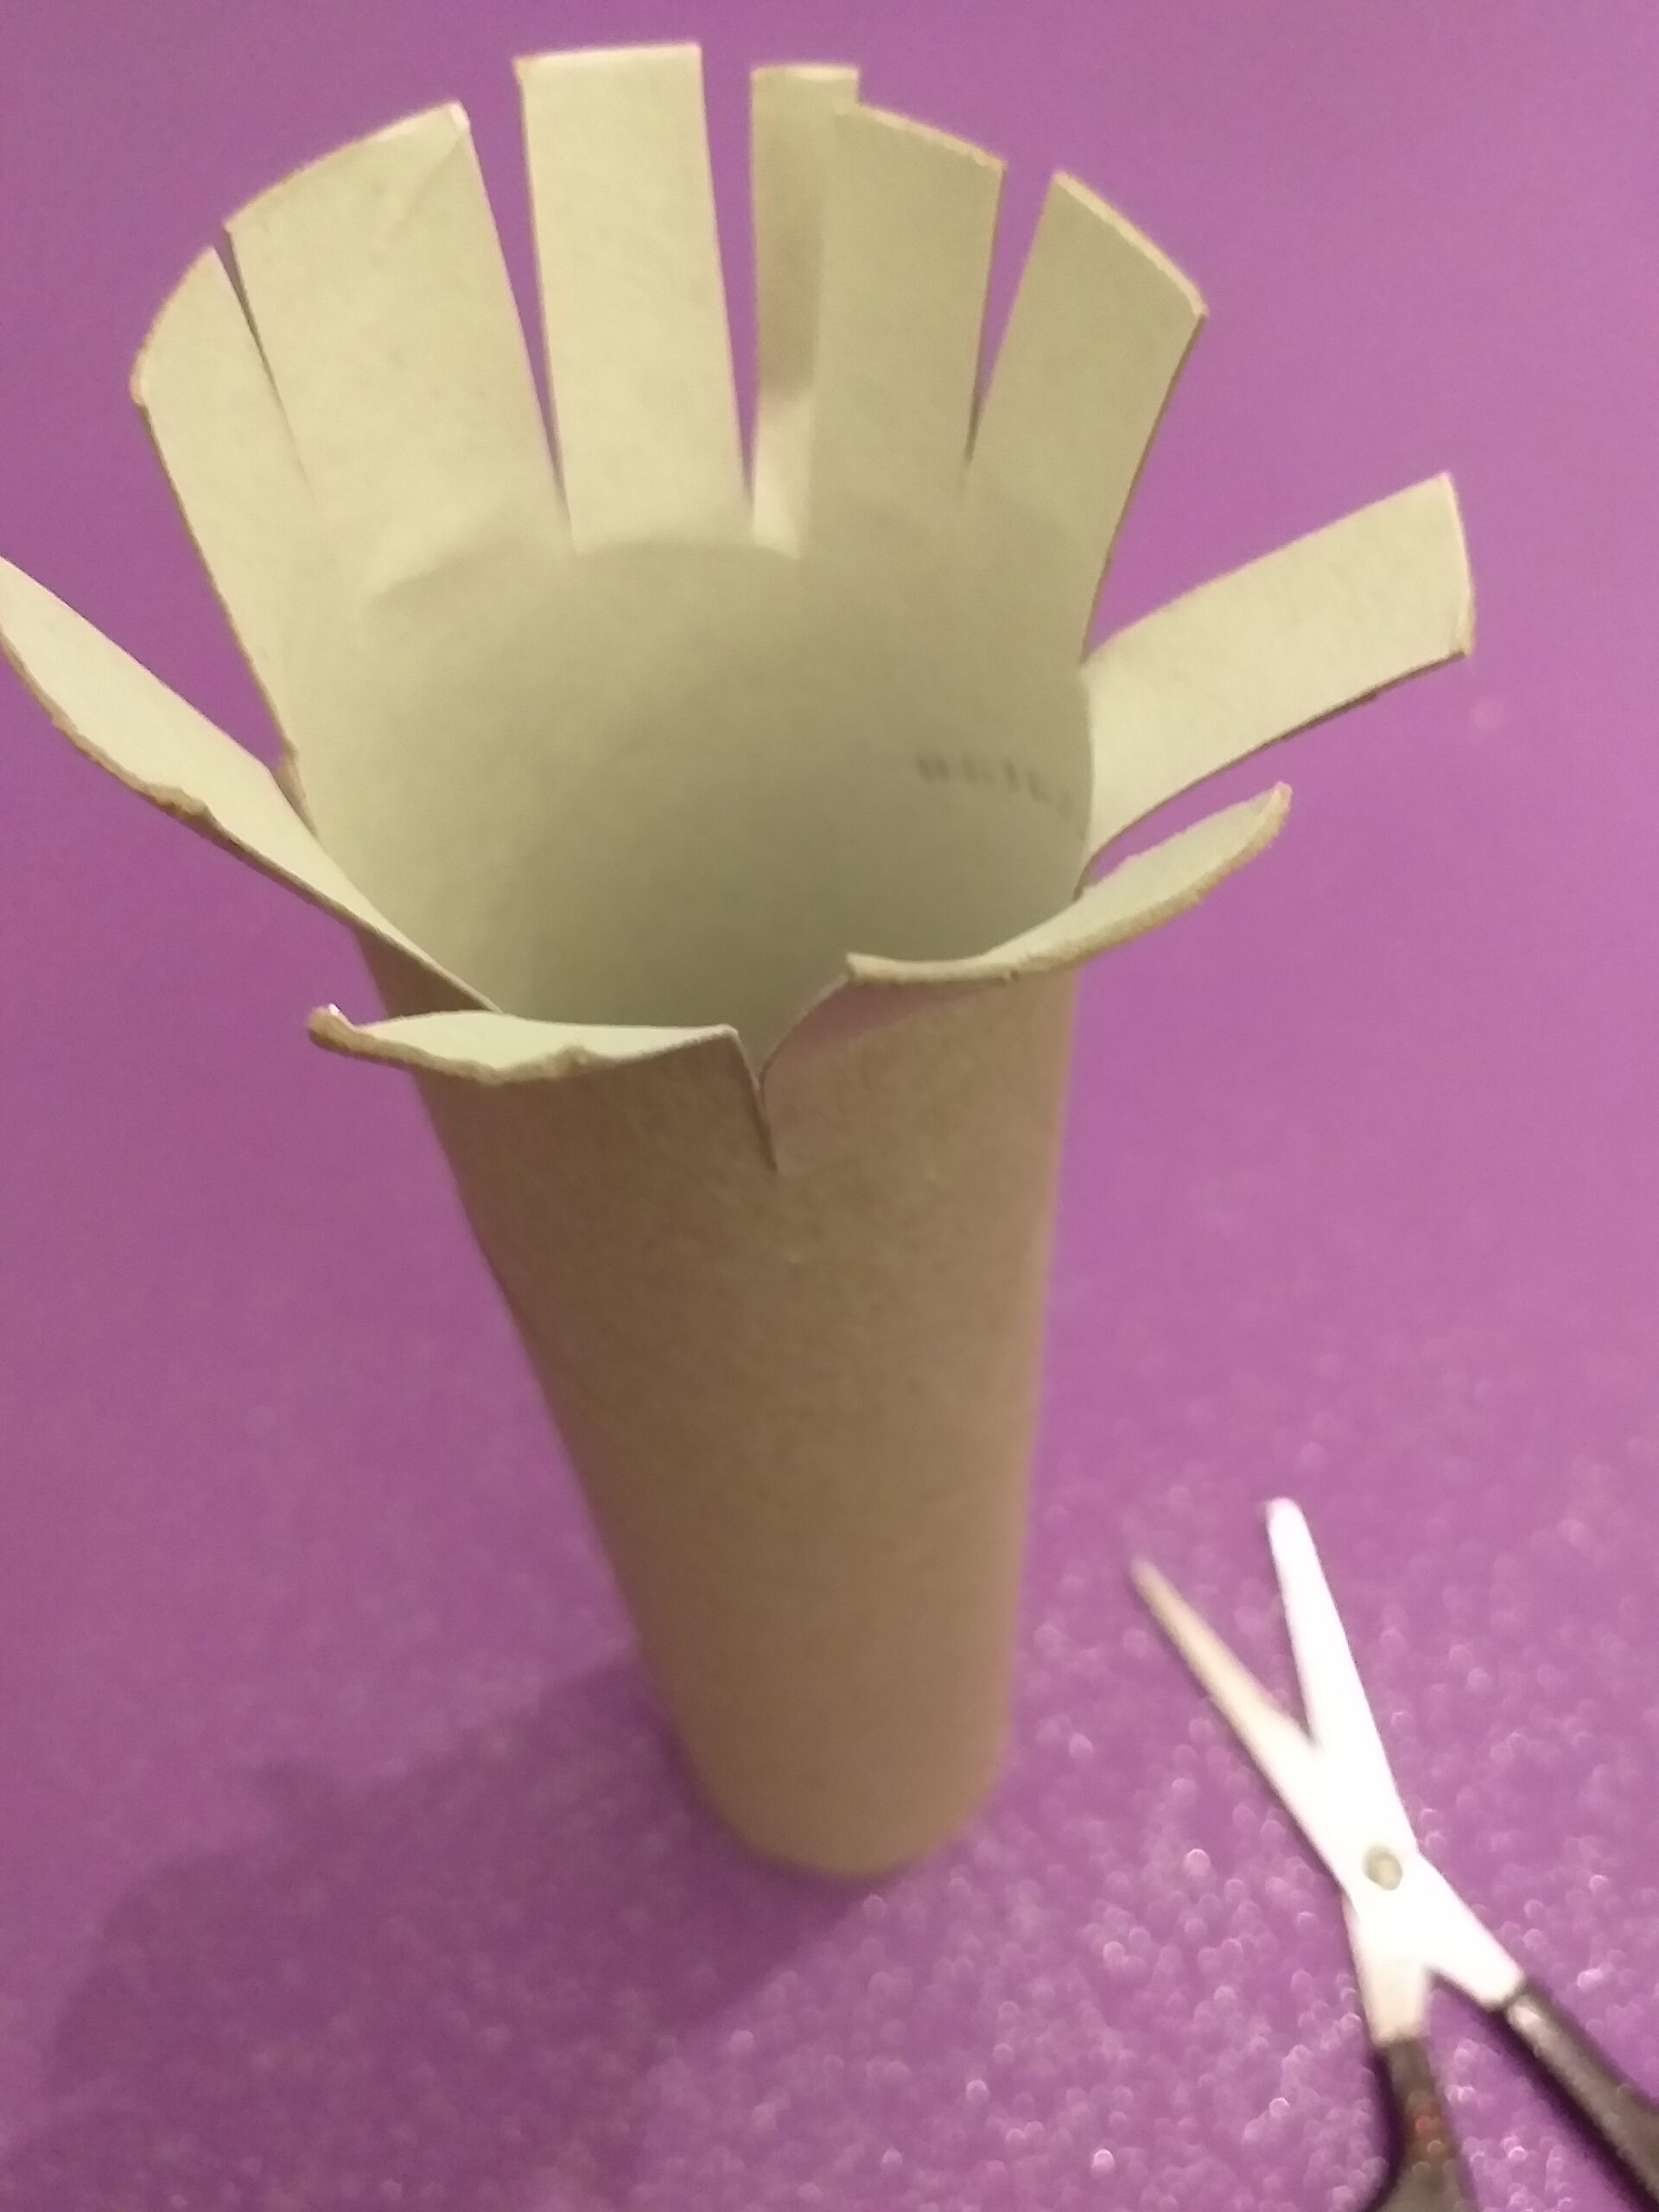
3) Cut all the way round as shown.
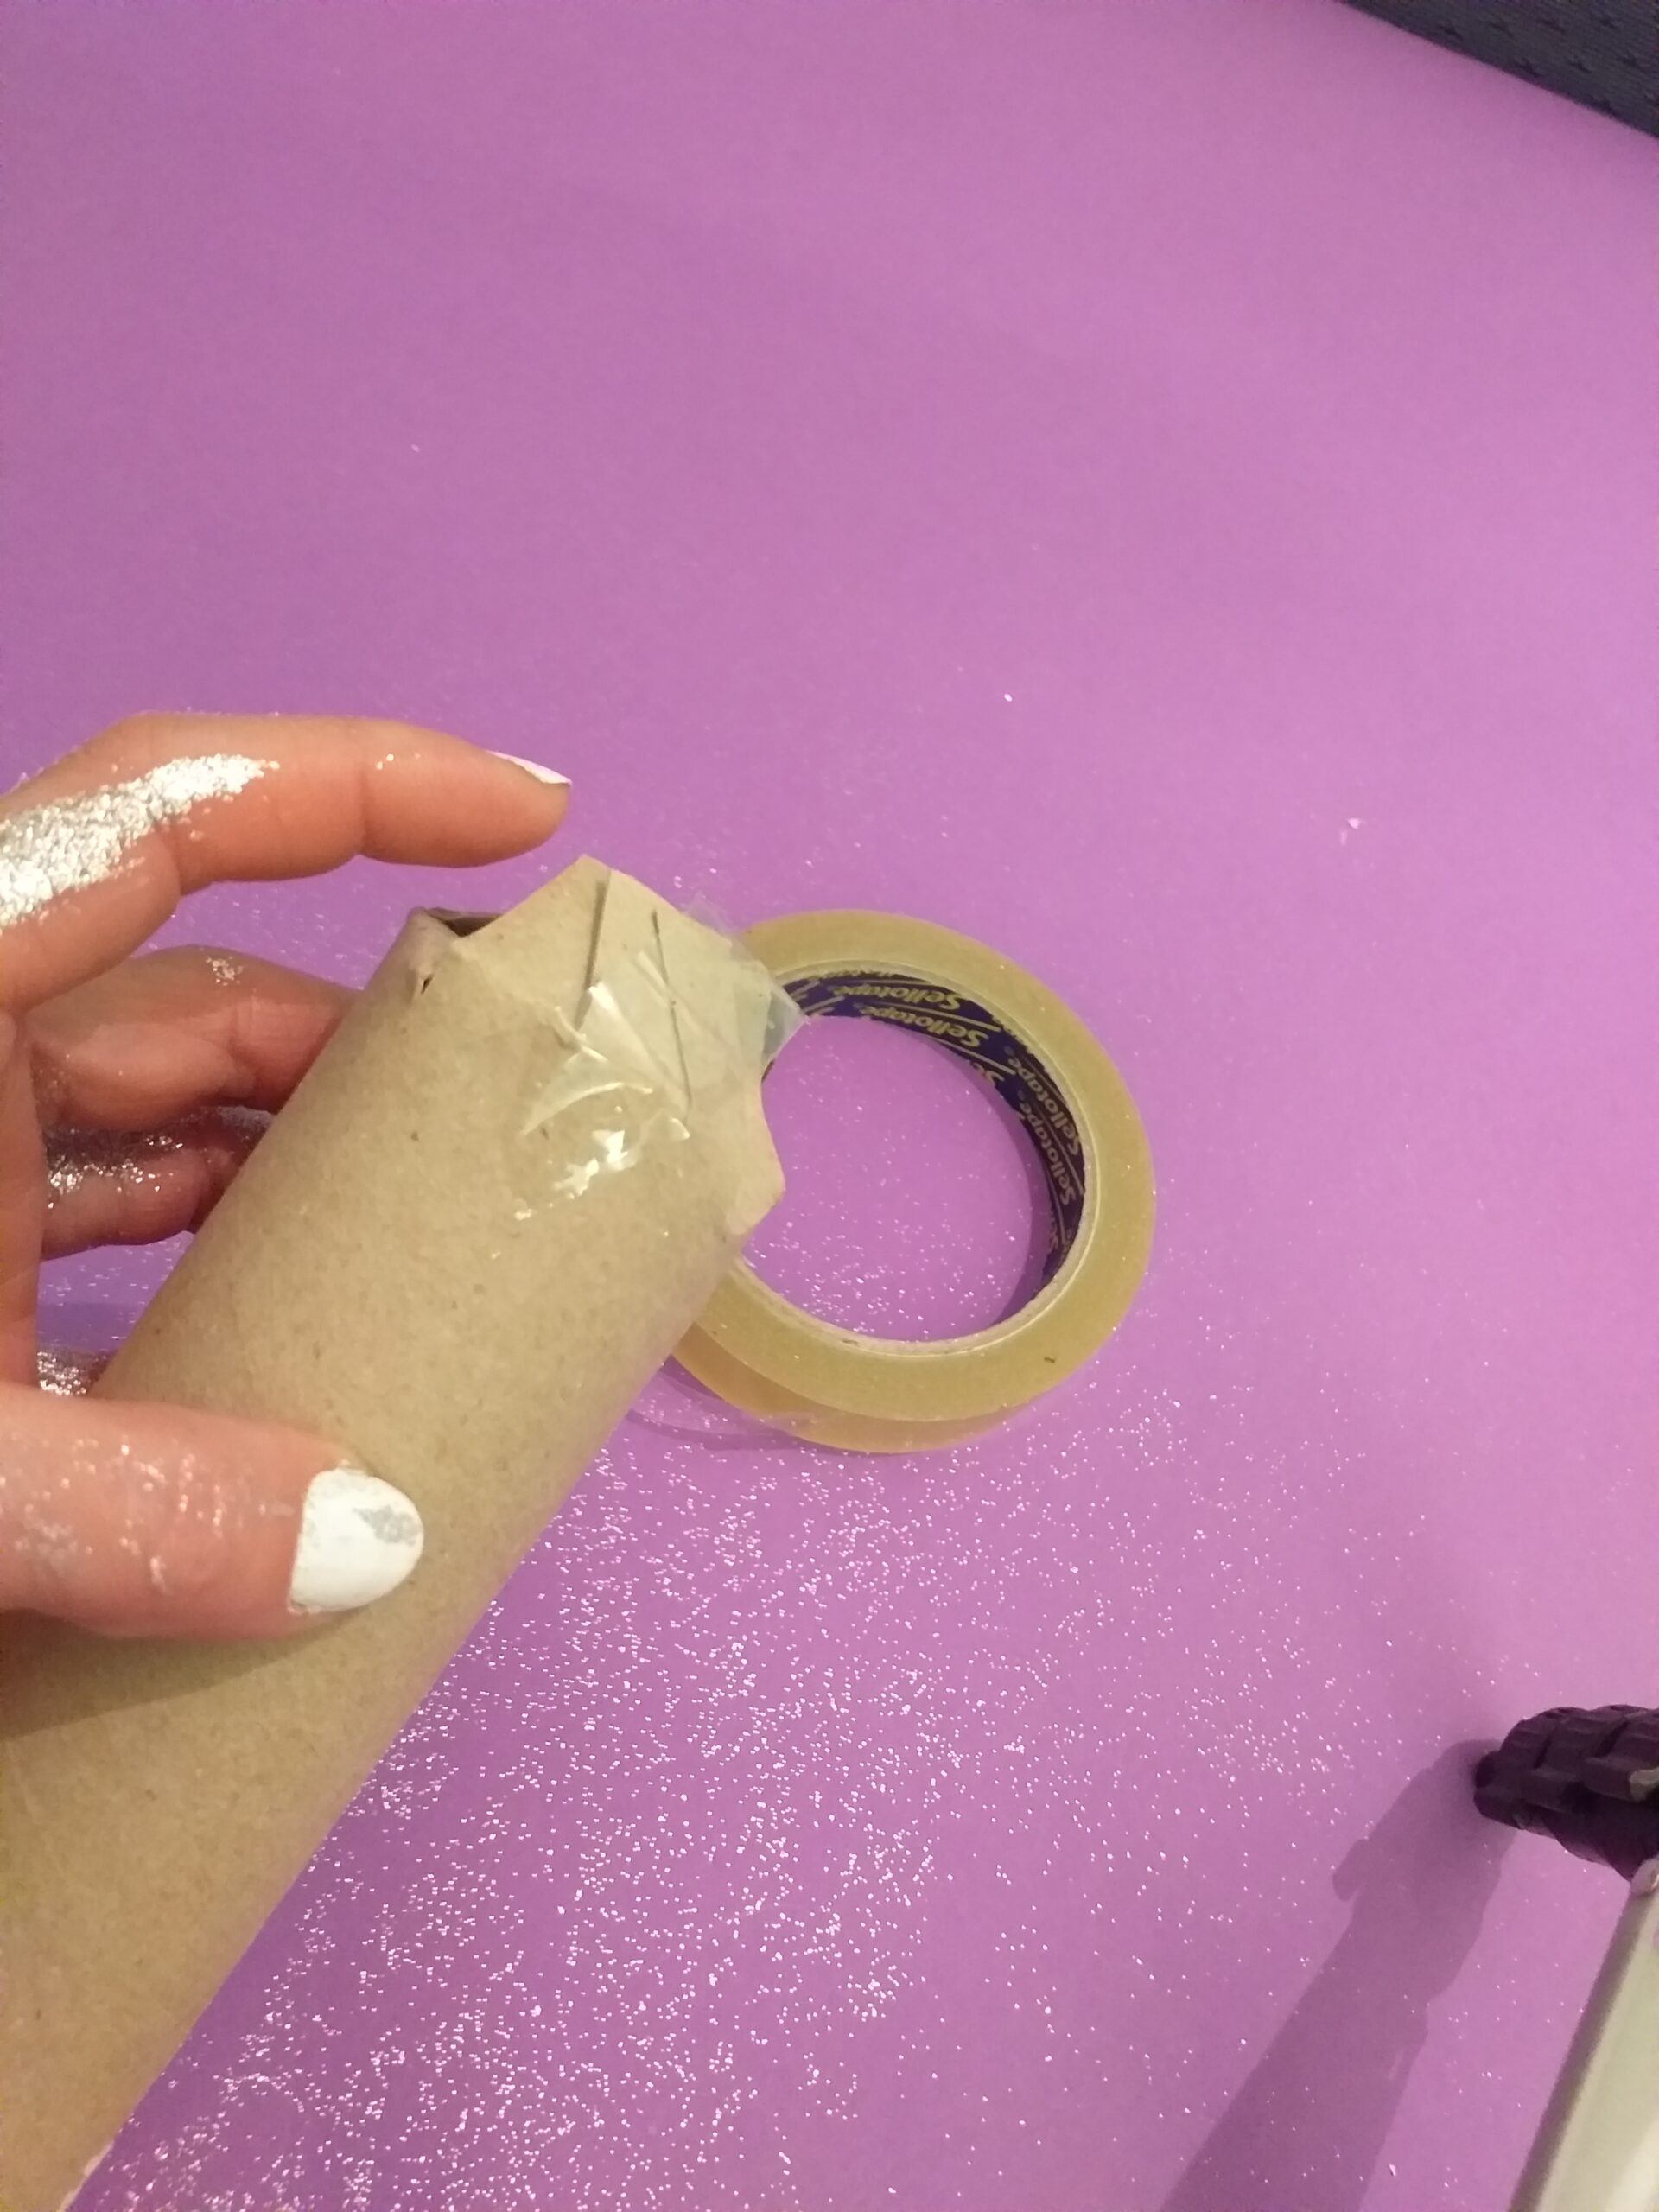
4) Fold in and stick fast with sticky tape.
5) Run glue around the tube.
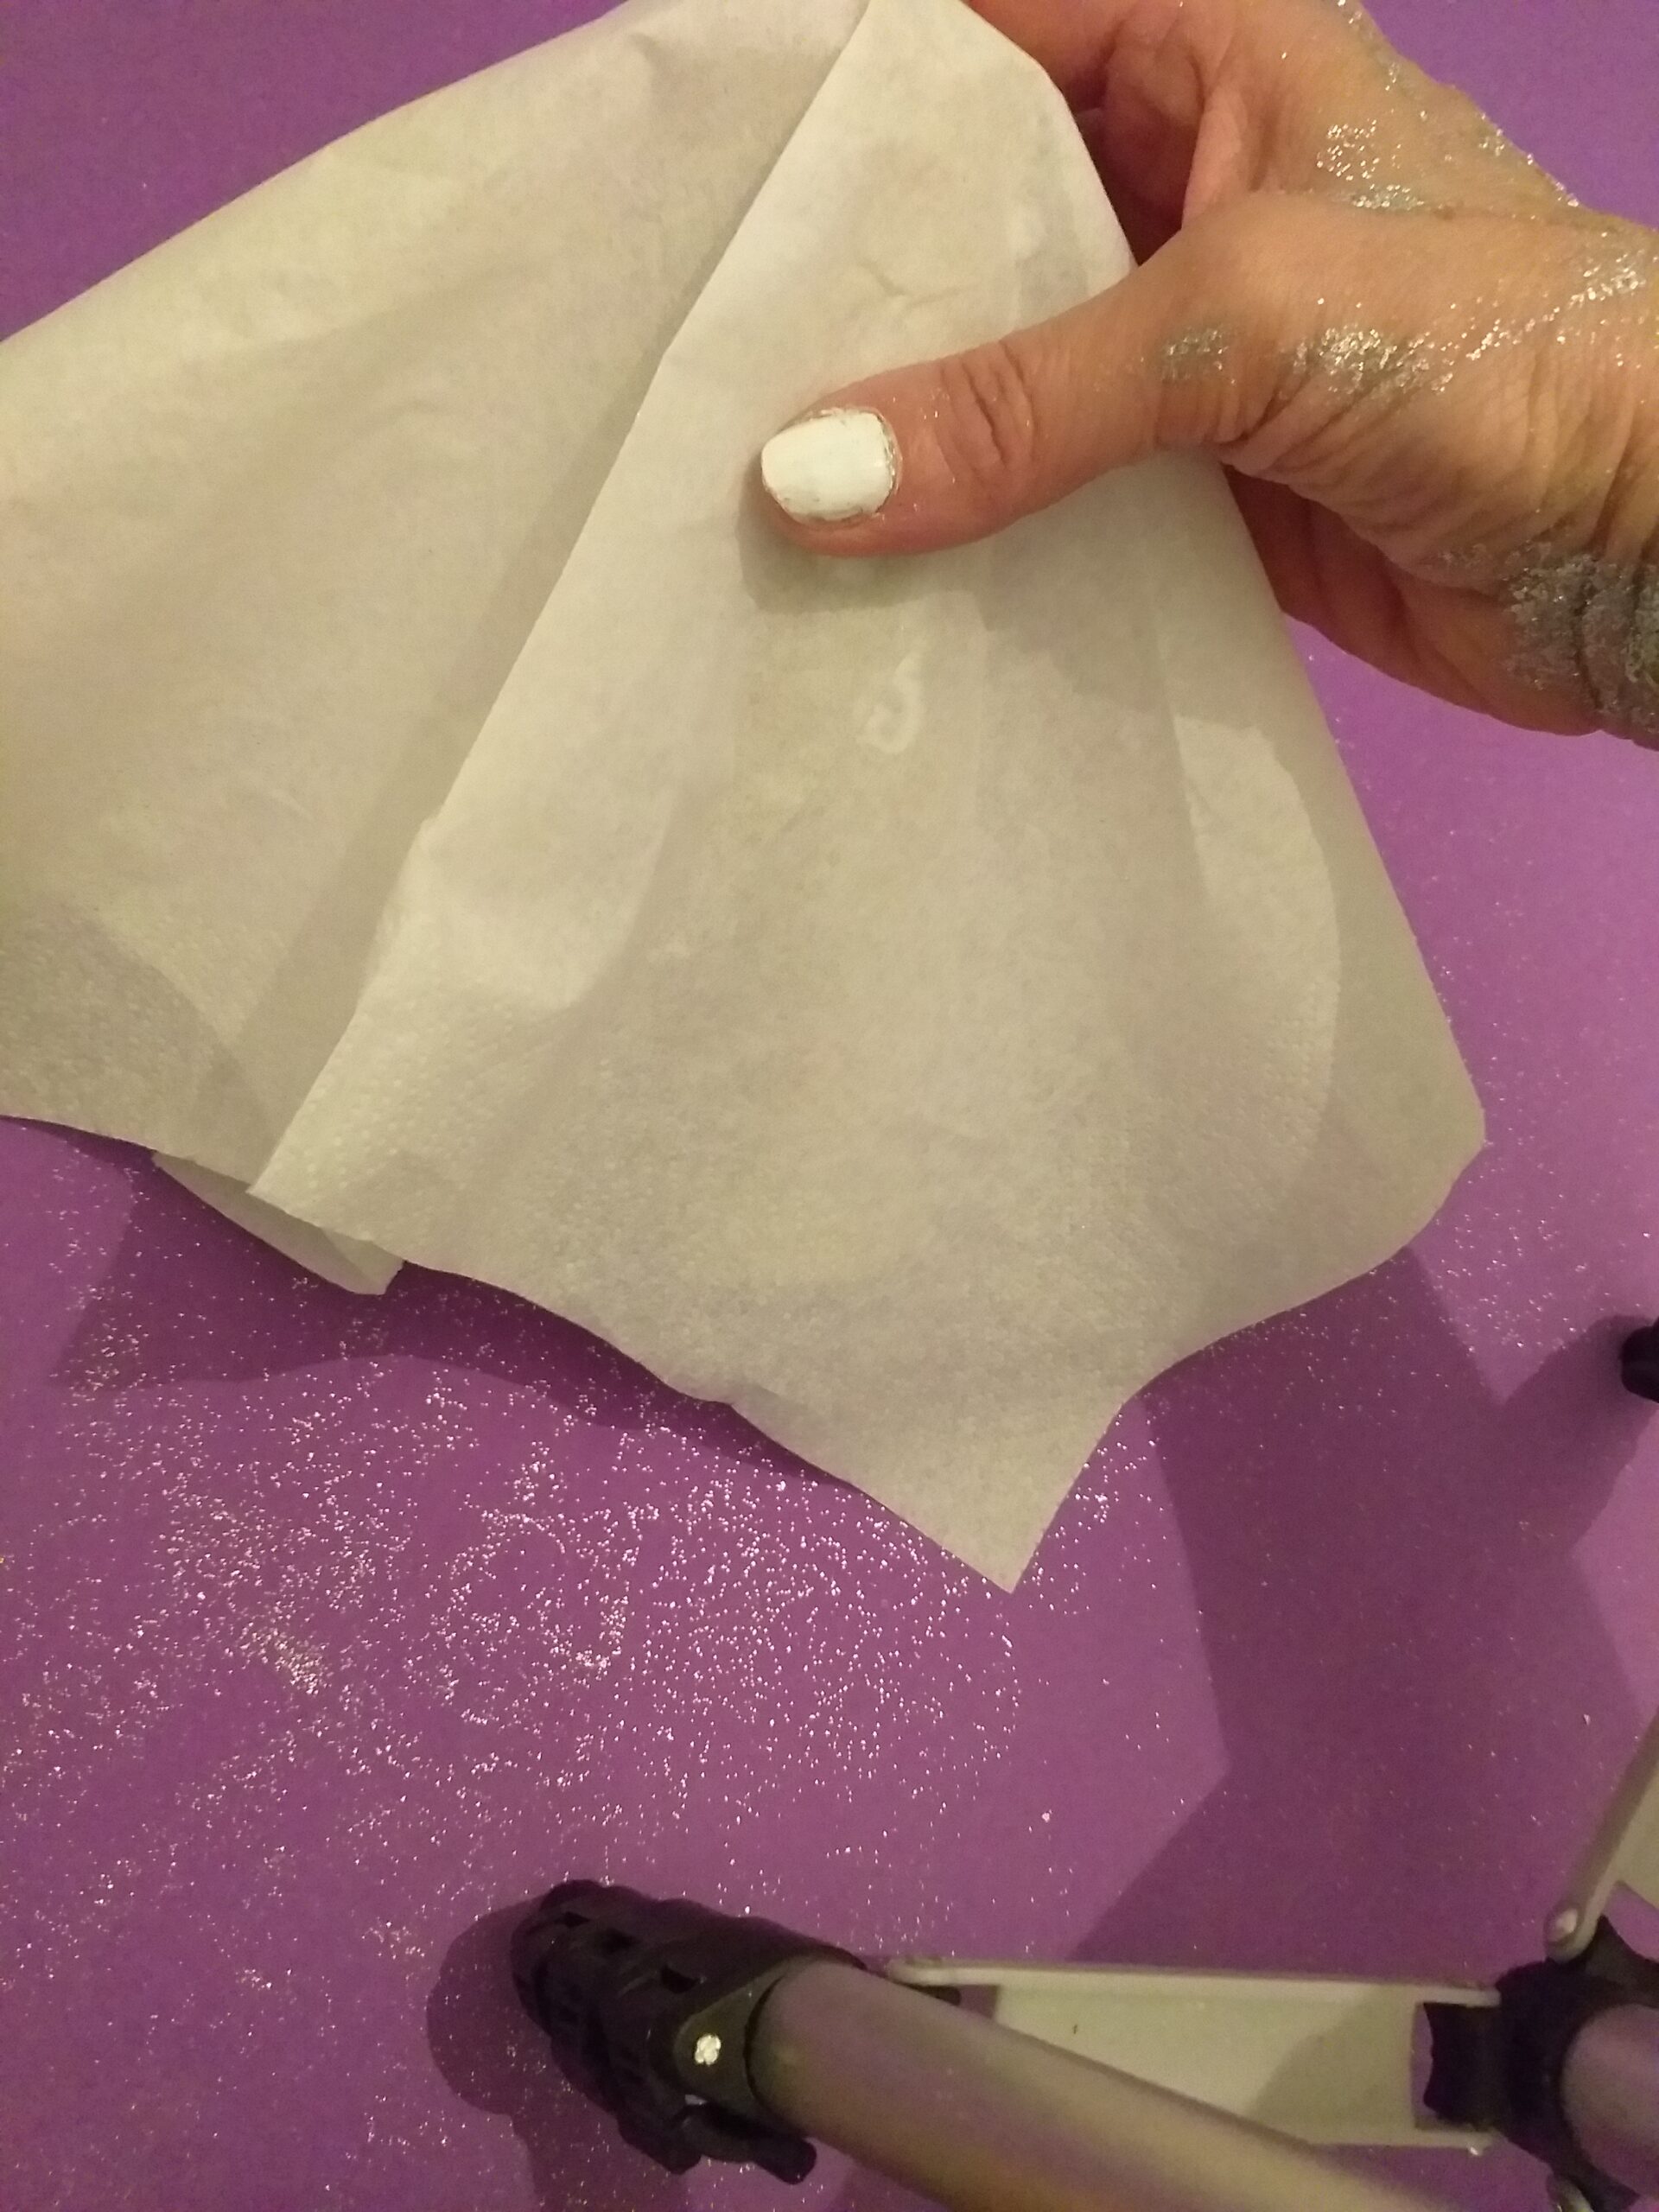
6) Glue soviet over tube.
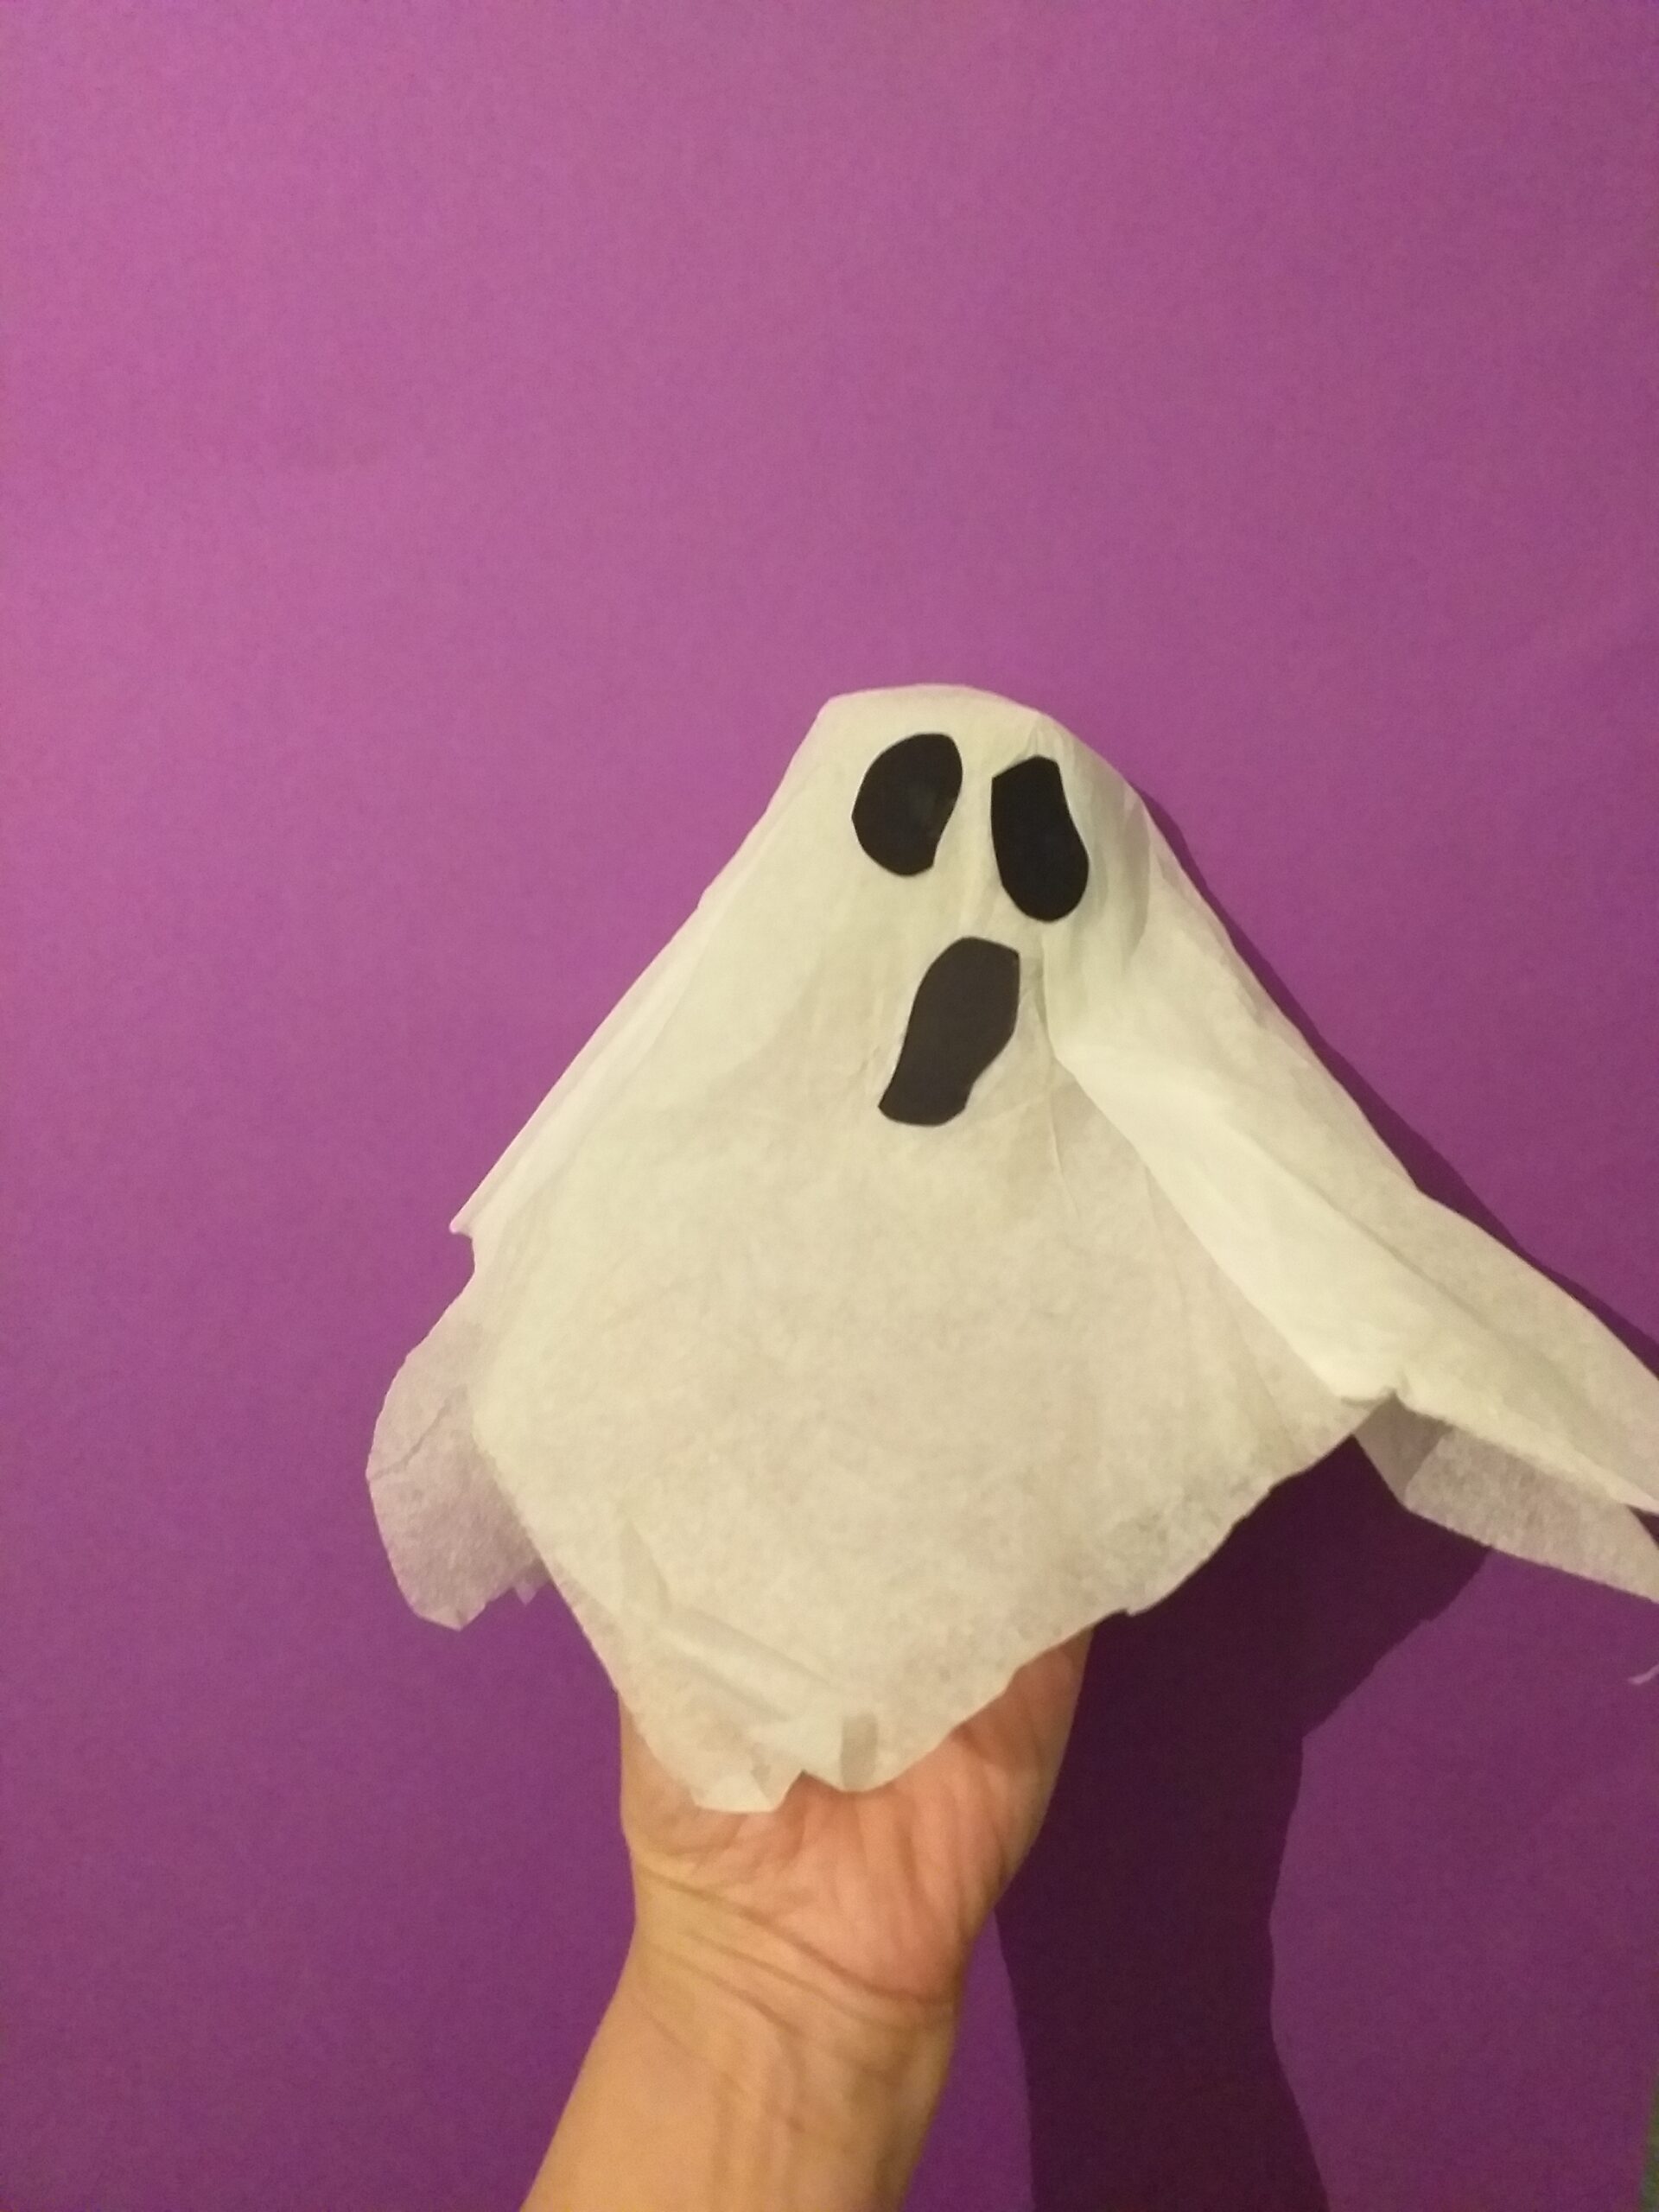
7) Cut the spooky eyes and mouth as shown.
8) Glue on face.This is the finished easy spook.
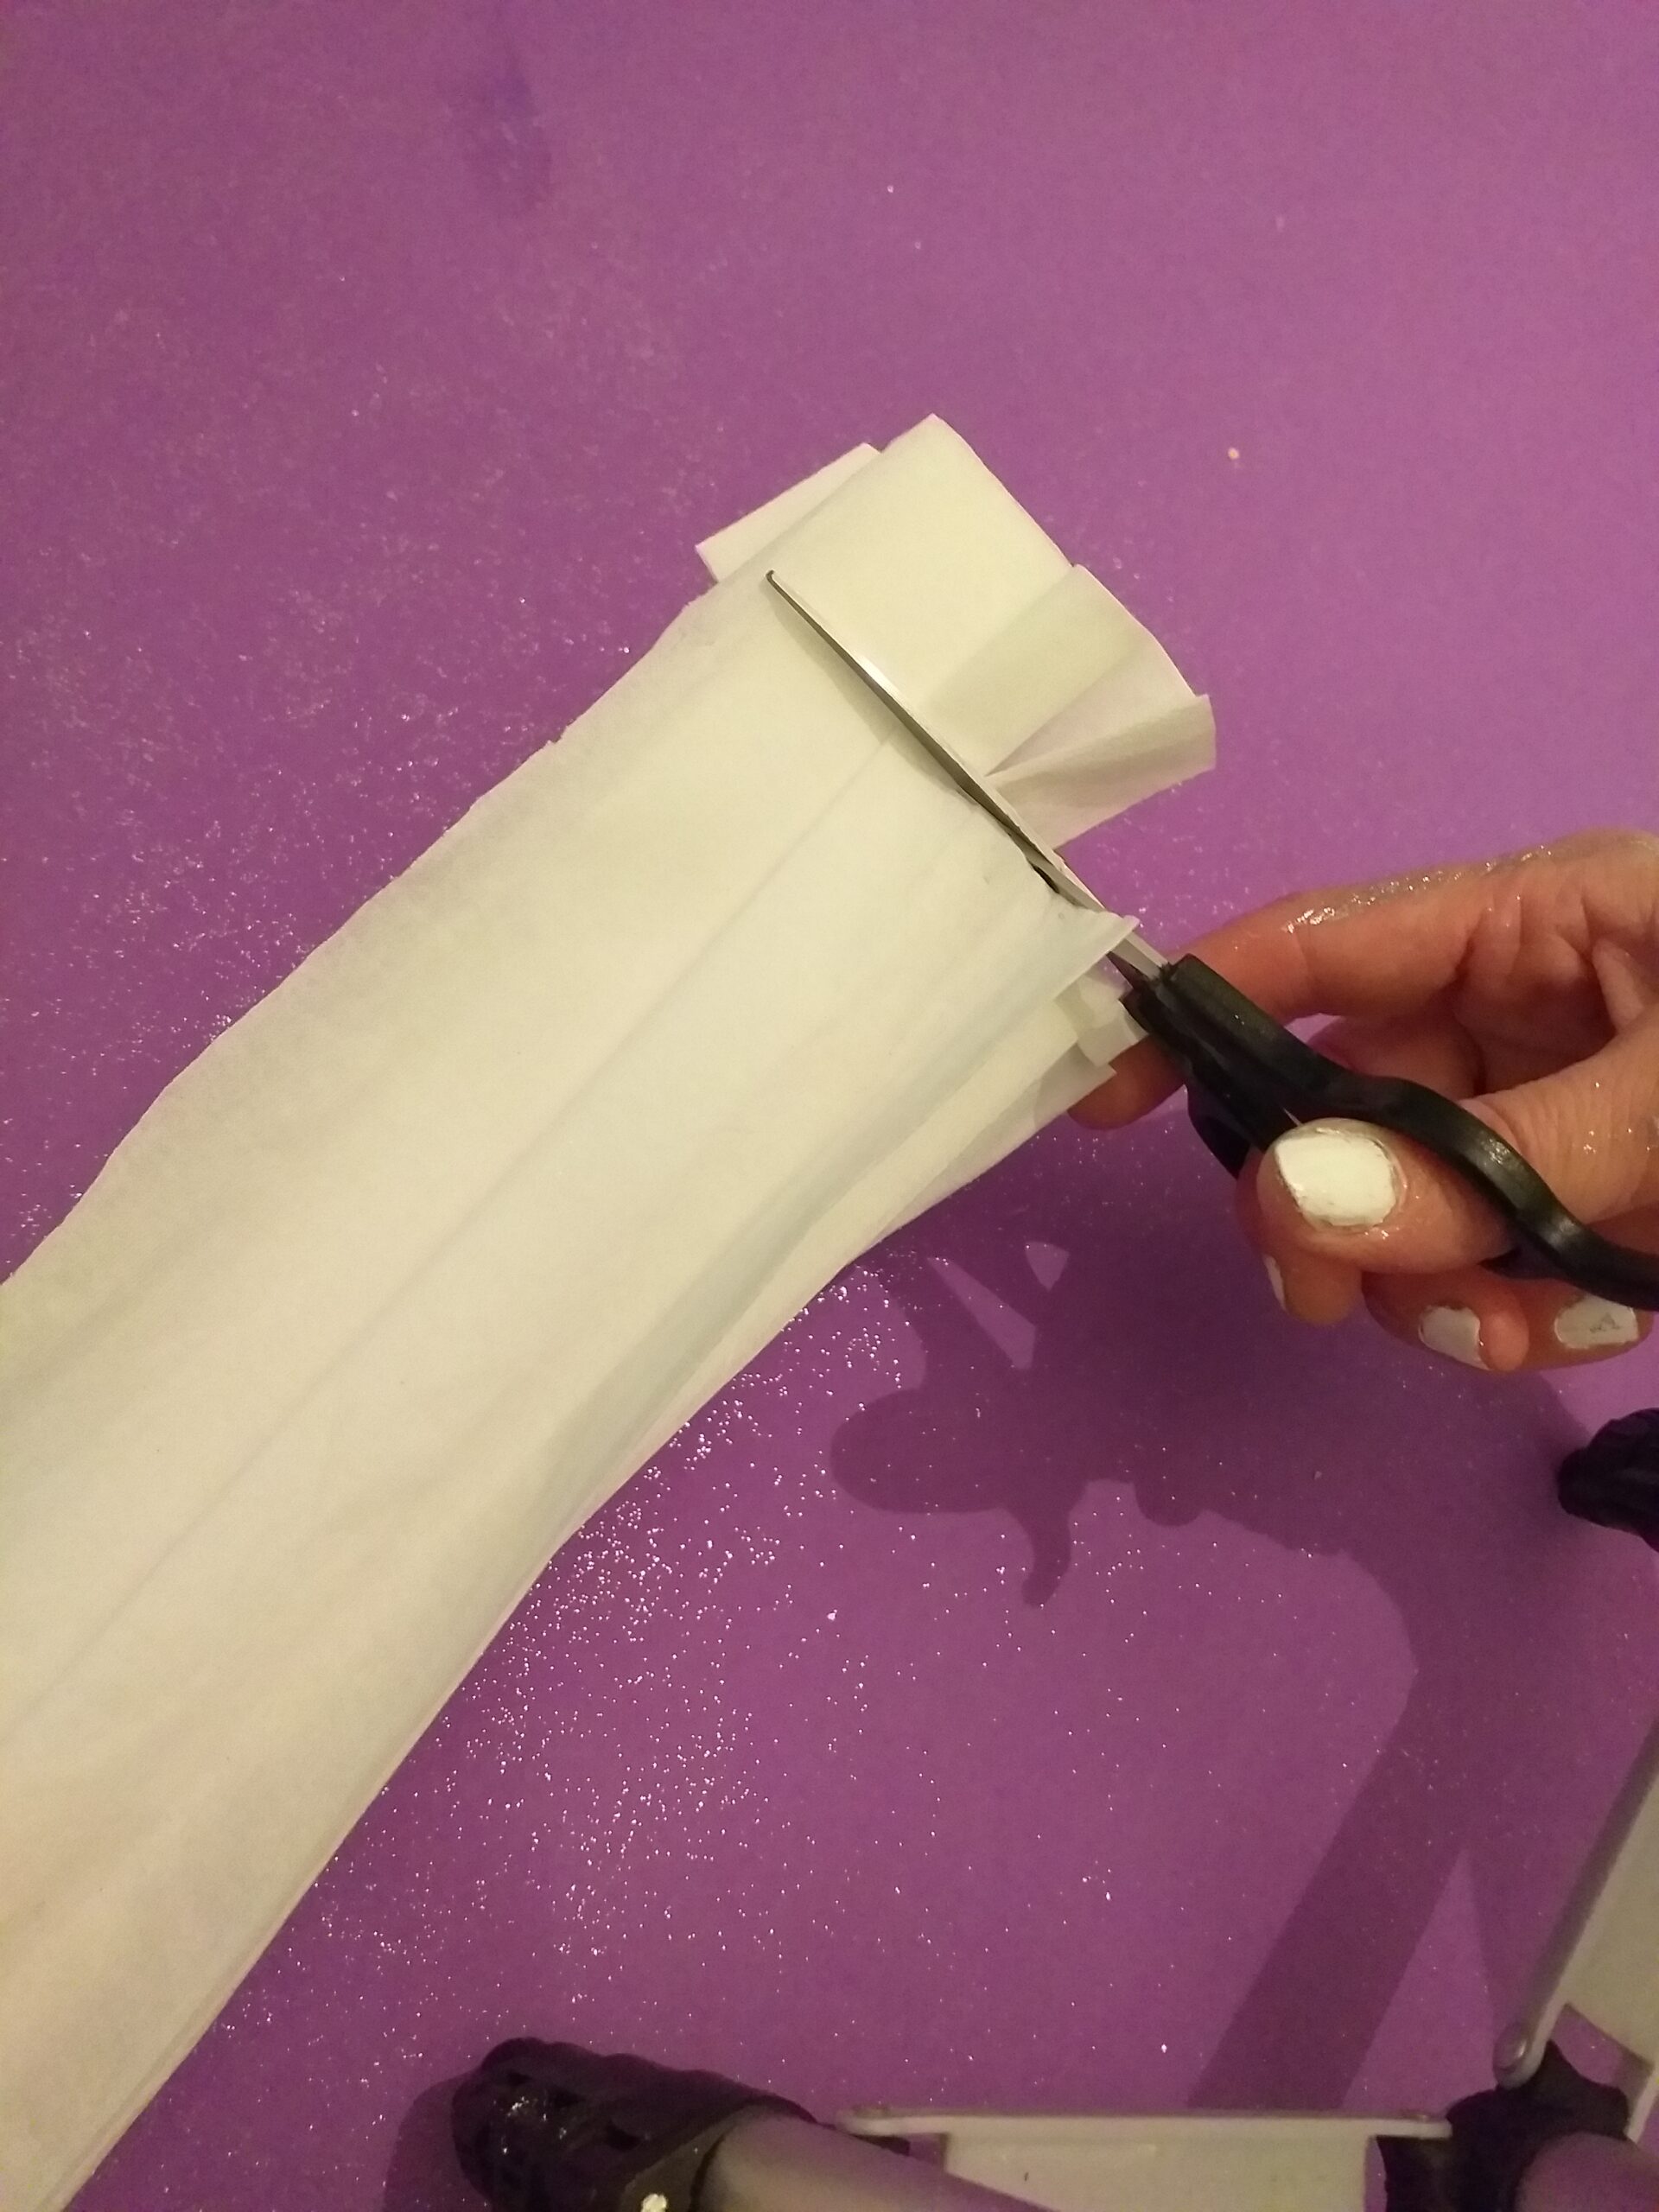
9) Now cut strips of crepe paper.
10) Glue all the way round the bottom, of a longer tube with PVA glue. Follow same instructions of the easy version. When you get to image 8, tie black wool around the neck.
11) This is the finish second spook. The longer tube allows for the trails to be glued on and to hold it.!
12) Here are our 2 spooks, one, for the younger kids and the other for older kids.
A QUICK COMMENT!
That was easy, wasn’t it? I hope you enjoyed making one or both of these models.
The good thing about working with a tube is that you can pop your fingers inside the bottom of the tube and move your spectre with ease around as if it’s a floating spoof!
USEFUL TIPS!
FOR THE EASY VERSION.
Follow the 12 images as shown; it’s pretty straightforward. I suggest cutting the top part of the tube all the way around so that when turned inwards, it gives a rounded effect for the head, so you don’t have that flat head look.
THE SECOND VERSION OF SPOOKS!
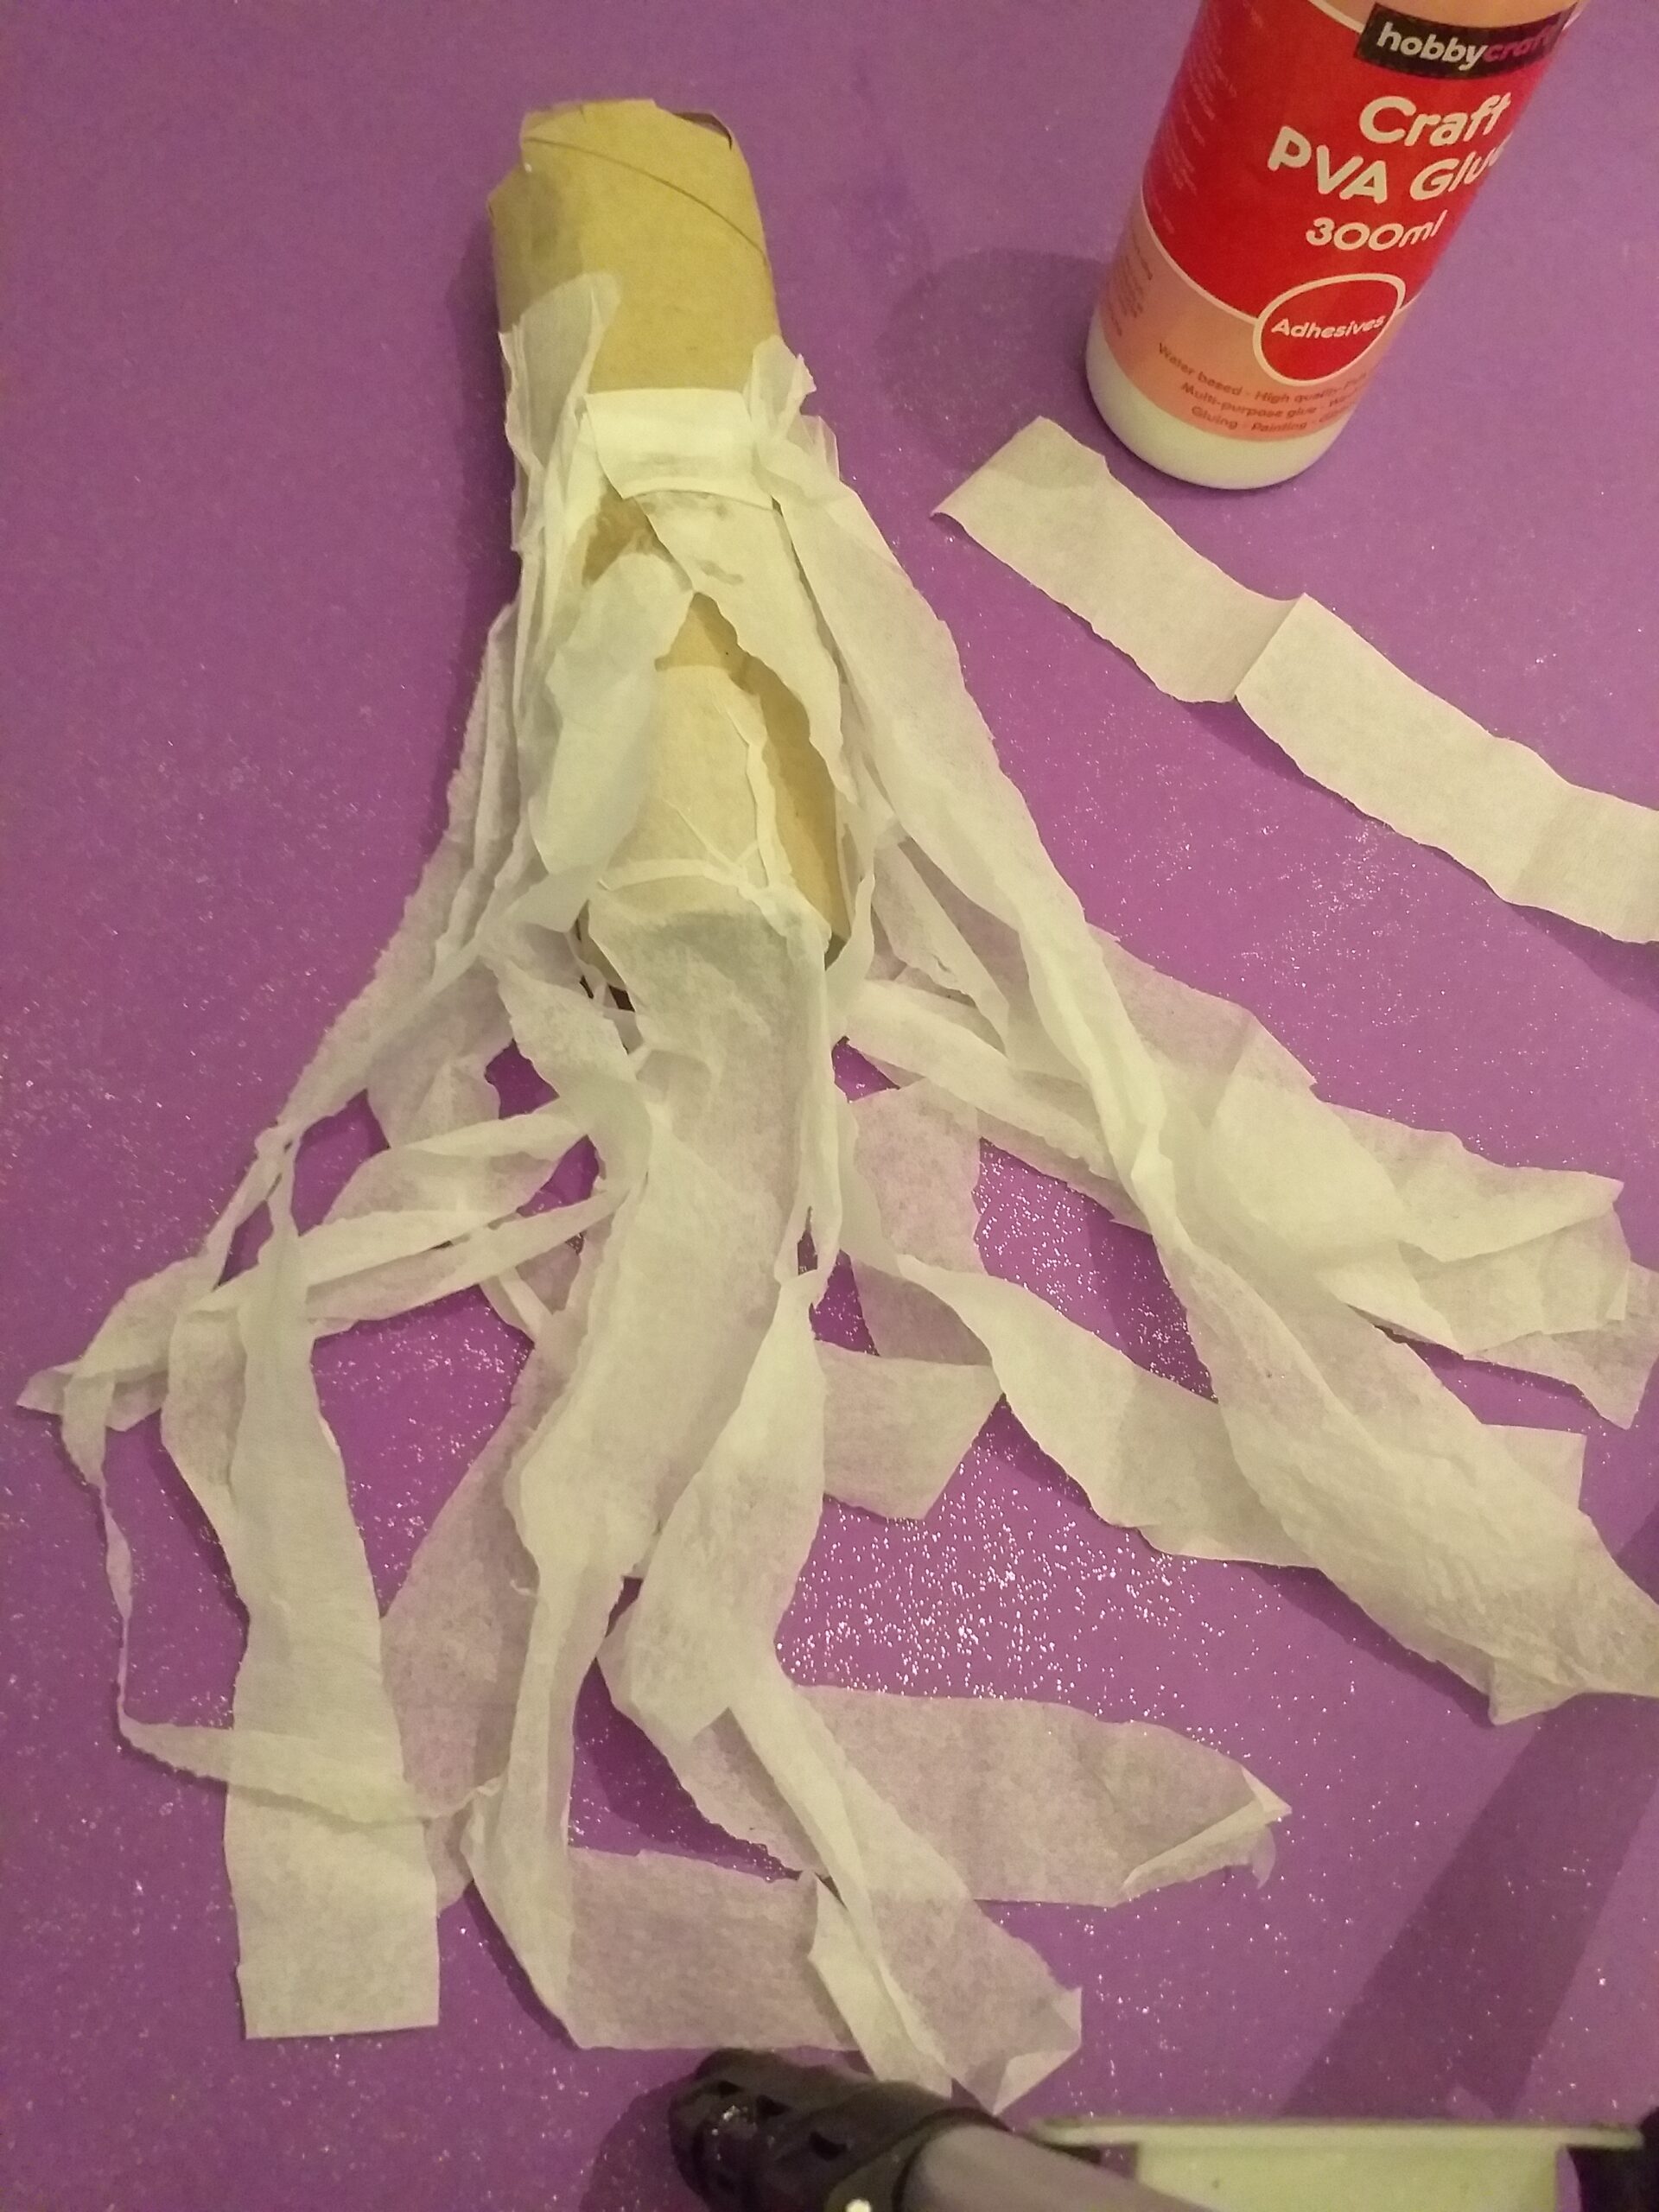
Repeat phase 1 (easy version). This time the inner tube has less cut off the bottom, so you have the length for the body to glue the strips of cut crepe paper around it.
HOW TO HOLD GHOSTS!
So when you hold it up, and your hand is inside the tube, the trail of crepe paper will hang in the air, so when you are moving it around, it will give it a spooky feel, as if floating in the air!
STICKING STRIPS OF CREPE PAPER!
Follow the images for the extension; it’s a little bit fiddly as the strips of crepe paper would get tangled up.
Stick each strip separately around the tube.
When cutting the strips, decide how long you want them to hang down.
QUICK TIP!
Another way to do the extension would be to glue the crepe paper around the bottom of the tube first, so you get the sticky part out of the way.
FOLLOW IMAGE 8.
Finish off by covering the tube with the soviet then stick the eyes and mouth on and tie around the neck part, with the black yarn into a bow. This would secure the soviet,
You may not need to use glue here, although a little bit will secure the soviet to the tube.
Remember to allow the model to dry if you use wet glue.
INTERESTING INFORMATION!
Did you know that Halloweenmeans ‘Holy evening’, which dates back to Pagan times? It was thought that this originated with the Celtic pagan festival of Samhain.
This festival was the celebration of the end of the harvest season, which meant summer’s end.
SPIRITS AND GHOULS!
It was believed that the walls between the two worlds were thin, and they allowed spirits or ghouls to pass through and that they would damage the crops for the next season.
THEIR BELIEFS!
So to pacify the spirits, food and drink were placed as an offering, and bonfires were lit to scare the spirits away.
Dressing up in costumes or impersonating spirits in this way, they thought, would offer protection from them.
TODAY’S TRICK OR TREATING!
So continuing the tradition to date, when the 31st of October arrives, children will continue to dress up in supernatural costumes and knock on people’s doors saying, Trick or Treat! If you didn’t give them a treat, they would cause mischief to you or your property.
WHAT TREATS!
Although that rarely happens, the majority of people just offer treats, including anything from chocolate, chews, lollipops, crisps, fruit ( the healthiest option) or even money!
So be prepared, if you refuse to offer treats or simply ignore them, you may have a few eggs thrown against your house or even car!
HERE’S THE HISTORY OF HALLOWEEN!
Interesting isn’t it? I find sometimes when you see short videos like this, things fall into place.
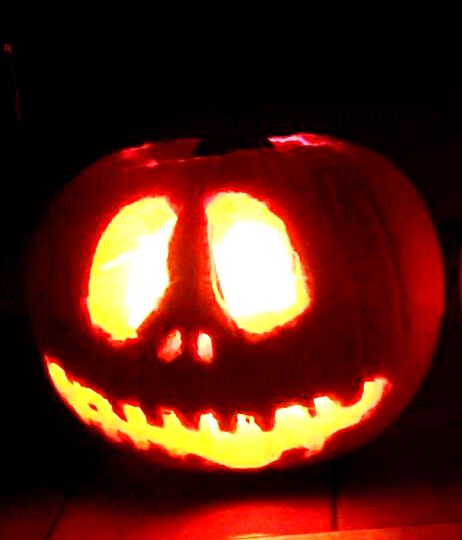
Pumpkins
Also, let’s not forget our
bright-coloured friend, the good old Pumpkin! Pumpkins are plentiful this time of the year and are also a good food source. The pumpkin is recognised as a symbolic image and is connected to Halloween. These would be portrayed in front of the house with carved faces and a light candle inside them. The candle would make them glow at night from afar, enticing our little characters in their spooky costumes to
come for treats.
The idea behind the Pumpkins originated from the Celtics, who did this to welcome the spirits!
TO CONCLUDE!
In this post, I show you how you can craft very quick and easy ghosts.
FOR YOUNG AND OLDER KIDS!
I demonstrate two versions, a very straightforward one for younger children and a more advanced one for the older kids.
With the right resources, you and your kids can craft fun Spooky Halloween Ghosts out of Cardboard tubes!
GATHER YOUR CARDBOARD TUBES!
All you need to do is hold on to your tubes, as they will be the bodies of your ghosts; the rest, I am sure, you will be able to get your hands on.
ADAPTABLE PROJECT!
So what are you waiting for? If these ghosts don’t have to be for Halloween, they can be just a fun, quick craft to pass the time with your kids when they are bored and looking for something spooky to do!
Here’s wishing you a Happy Halloween!
I have included this fun, catchy song that your kids might like to sing along with. It’s about ghosts on Halloween!
They also offer great Ghostly craft kits,👻 for you to have a peek at, and keep your kids busy over the holidays!
When you click links in this post and make a purchase, I may earn a small commission at no extra cost to you. This helps support the craft projects shared on this website.😀